



Small locs can look a little unruly in the mirror and then, with the right shape, suddenly make sense. That is the part people miss. You do not need a dozen tools or a long prep session to make them look polished; you need a style that respects the size of the locs, the weight at the roots, and the fact that short-to-mid-length locs like movement when you let them have it.
Beginners often want two things at once: something neat enough for work, school, or errands, and something that does not take 45 minutes to build. Small dread loc styles fit that sweet spot. They can hide awkward growth, soften frizz, and still feel light on the scalp. When the parts are clean and the tension stays low, the whole style looks sharper than people expect.
One thing worth saying out loud: tiny locs behave differently from chunky ones. They slide more, puff more, and show band marks faster if you crank them too tight. Heavy beads and tight elastics can make the roots look stressed before the style even gets a chance to settle. Light tension matters. So does a clean part.
The styles below start with the easiest shapes and move toward looks that need a little more pinning, wrapping, or patience. Some are everyday staples. Some are the kind you pull out when you want your locs to look deliberate without making a big production out of it.
1. Two-Strand Twists for Small Locs

Two-strand twists are the safety net of small loc styling. They’re simple, they stay put, and they work on locs that are still short enough to feel fussy in a ponytail.
Why beginners like them
Each twist gives the locs a cleaner shape without forcing them into a tight hold. You can wear the twists loose, gather them into a puffier ponytail, or tuck them into a bun later if the day runs long. That flexibility is why this style shows up so often in beginner routines.
A good twist starts with small, even sections. If one side has chunky parts and the other side has skinny ones, the whole look feels off. Keep the root loose, twist down to the ends, and stop pulling once the locs lie neatly together.
- Use sections about the width of a pencil or your pinky.
- Add a tiny bit of light gel or cream only if the roots need smoothing.
- Twist both strands with the same tension so one side does not collapse faster.
- Finish with a small elastic only if the ends keep loosening.
Best part: it looks intentional even on a plain day, and that matters more than people admit.
2. Half-Up, Half-Down With a Clean Part

Why does half-up styling keep showing up for small locs? Because it solves a real problem: you get shape at the crown without giving up the swing and fullness in the back.
The cleanest version starts with a part from ear to ear or temple to temple, depending on how much hair you want up top. Clip the upper section out of the way, smooth the sides with your hands, and tie the top half into a small bun, puff, or ponytail. Leave the rest down. Done.
The trick is balance. If the top section is too big, the back looks thin. Too small, and the style feels accidental. Aim for a split that gives you a clear top shape and enough length left down to show off the loc texture.
This one is good for days when your roots are a little puffy but the ends still look nice. It also works well with small starter locs because it keeps the weight off the hairline. That alone makes it worth keeping in regular rotation.
3. High Ponytail That Sits Above the Crown
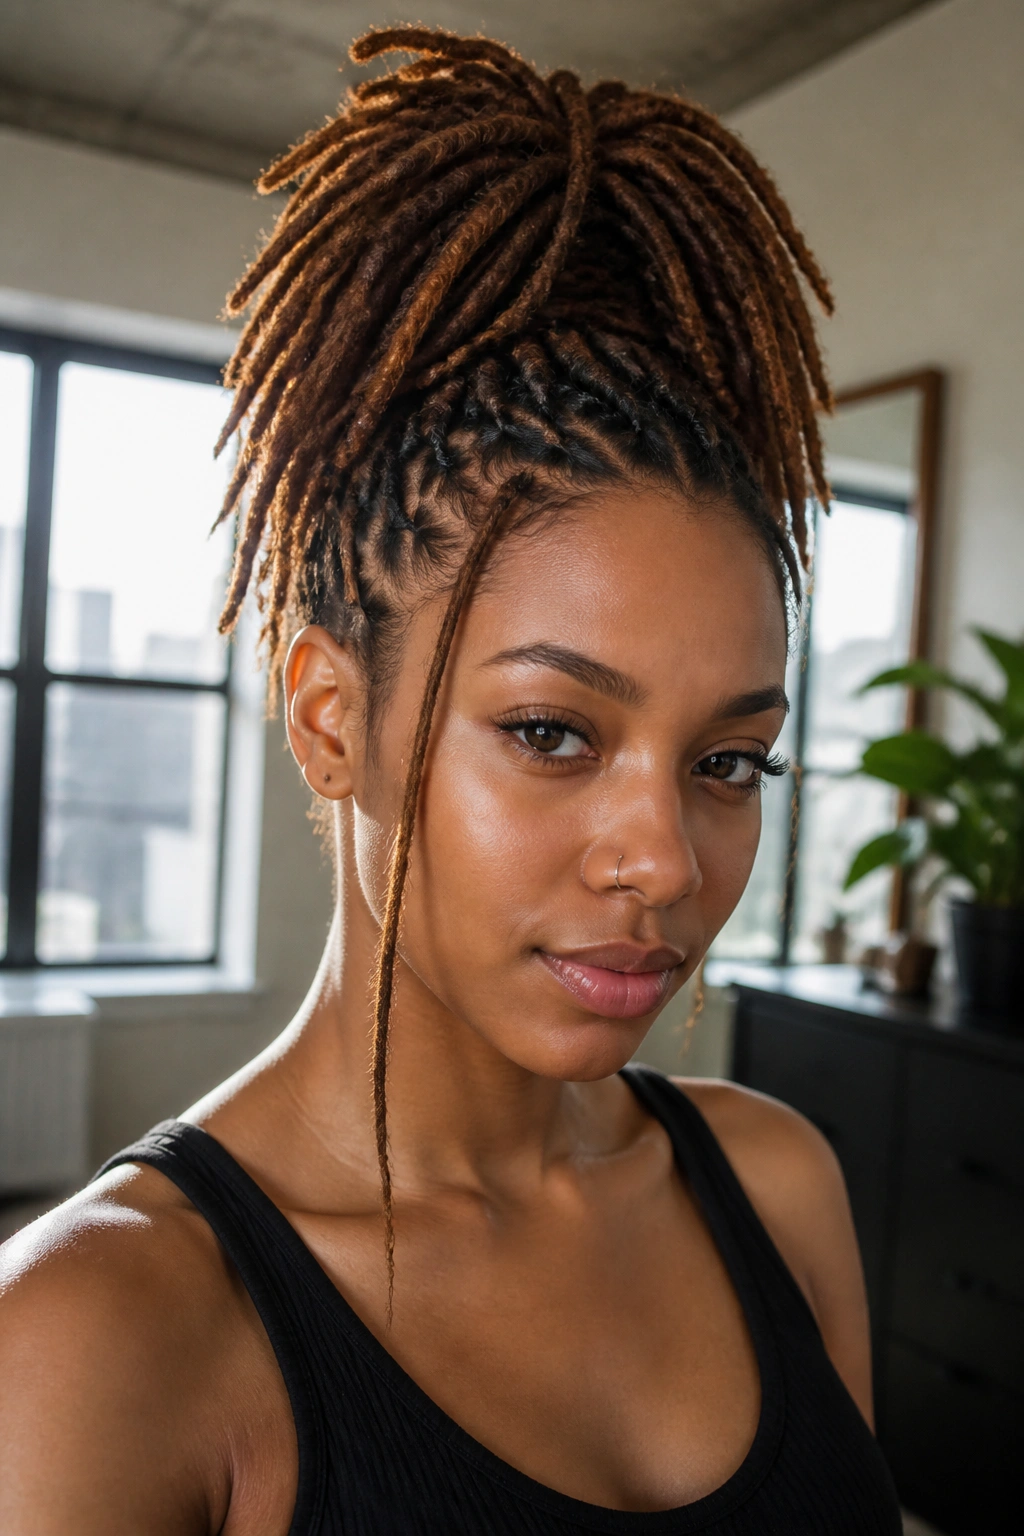
A high ponytail changes the whole mood. It lifts the face, keeps the neck clear, and makes small locs look longer than they really are.
The placement matters more than the tie. Set the ponytail high enough that it sits above the crown, but not so high that the edges get yanked back. If the hairline starts to ache, the style is too tight. Simple as that.
I like this style when the locs are a bit fuzzy around the roots and I want the hair to read clean from a distance. A soft brush, a light hand, and one covered elastic are usually enough. You do not need to chase every frizzed strand. A little texture reads better than a helmet.
Use a high ponytail when you want energy in the style. It works for casual days, but it also looks good with a hoop earring, a sharp brow, or a plain tee that needs a bit of shape.
4. Low Ponytail at the Nape
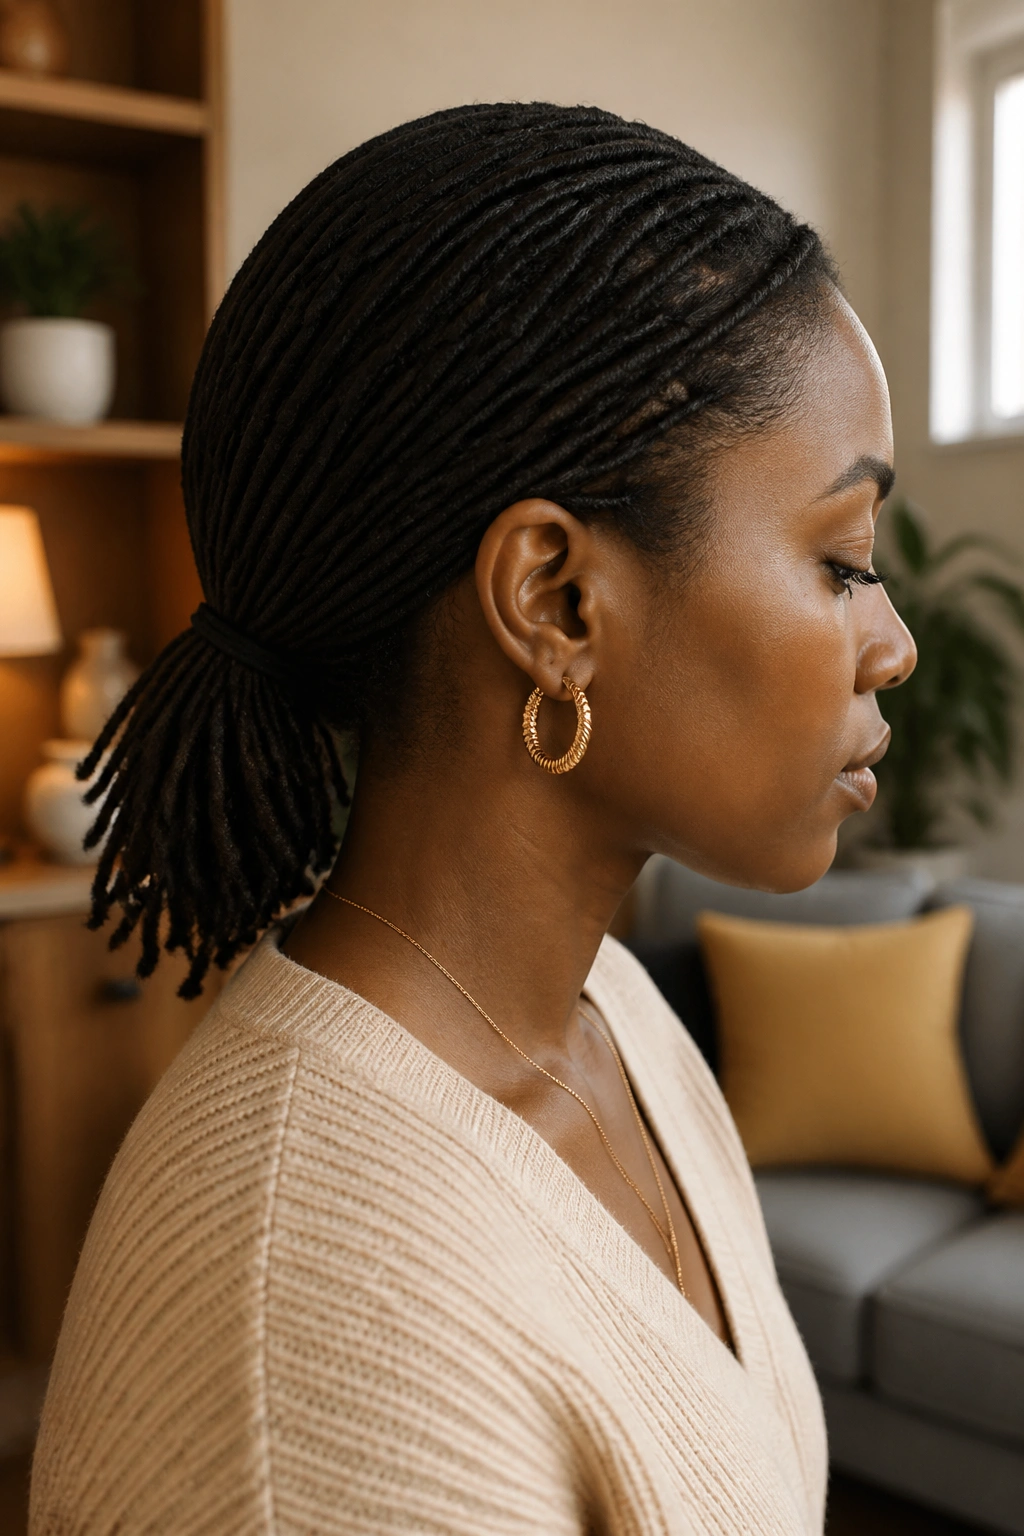
The low ponytail is quieter, and that is its strength. It sits close to the nape, keeps the roots calm, and looks neat without trying too hard.
What makes it beginner-friendly
You are not fighting the locs upward. You are guiding them back and down, which means less strain on the scalp and fewer flyaways near the temples. That makes this a smart choice for fresh styling days and for longer wear.
A satin scrunchie or a soft elastic helps here. Regular ties can leave a hard dent and make small locs feel snagged when you take the style down. Keep the ponytail snug enough to hold, loose enough that the roots still move when you touch them.
There’s also a nice side effect: the low ponytail makes thin or short locs look more even. It hides uneven growth better than a high tie does. If your locs are in different stages or lengths, start here.
5. Space Buns for Short and Mid-Length Locs
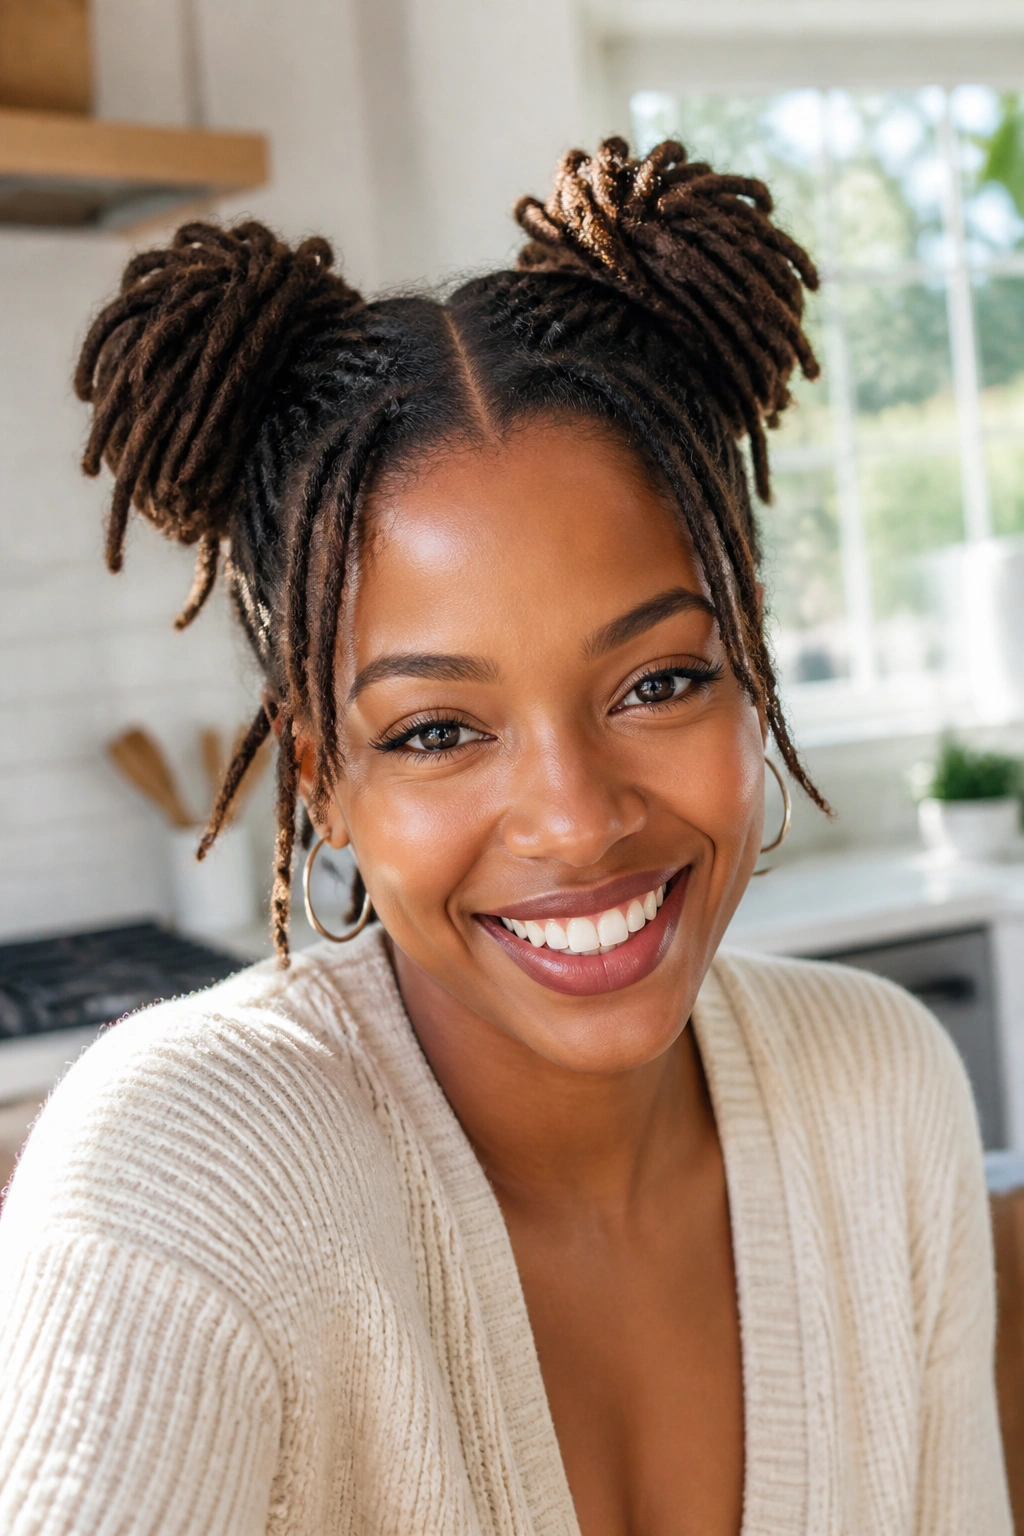
Space buns are fun, yes, but they also solve a practical problem. Two smaller buns spread the weight out, which is helpful when your locs are too short for a big top knot but long enough to feel tired hanging loose.
Keeping both sides even
Part the hair straight down the middle first. That part is the whole game. If it leans, the buns will lean with it, and you will keep adjusting them all morning.
Then gather each side high, twist the locs around themselves, and coil them into buns. Pin or tie each side separately. If the locs are very short, place the buns a little lower and a little tighter. If they are longer, you can let the buns sit higher and fluff the shape a bit.
- Keep the part crisp from forehead to nape.
- Use two small elastics or six to eight bobby pins, not a dozen.
- Let a few locs fall loose near the temples if the style feels too stiff.
- Avoid pulling the buns far apart; that stretches the scalp for no good reason.
Space buns are playful, but they’re also efficient. That combination is rare.
6. Simple Top Knot With Tucked Ends

A top knot is the style you reach for when the day starts loud and your patience starts low. It pulls the locs up, tucks the ends away, and keeps the whole look contained.
Unlike a high ponytail, a top knot hides more of the length. That can be useful when the ends are frizzy or the locs are still in that awkward middle stage where some pieces stick out at odd angles. Twist the ponytail, wrap it around itself, and pin the coil in place. Three to five pins usually hold small locs; more than that and the bun starts to feel crowded.
This style works especially well if your locs are short enough that a bun sits compactly instead of sagging. If the bun keeps drooping, skip the heavy wrap and use a smaller coil. Tight shape beats big shape here.
It is a plain style. That is not a flaw. It keeps the hair off your shoulders and makes room for earrings, scarves, and a clean neckline.
7. Side-Swept Locs Over One Shoulder

Sometimes the easiest style is not an updo at all. Sweeping the locs to one shoulder gives small locs a clear direction, and that alone can make them look more settled.
The look feels soft because the eye sees one line instead of two competing sides. A simple side part can be enough. You can tuck one side behind the ear, let the rest fall over the opposite shoulder, and smooth the front with your palm. No heavy shaping needed.
There is something nice about the texture here. The locs rest against the collarbone, the ends move a little when you turn, and the whole style looks less rigid than a ponytail. If your locs are short, this is one of the easiest ways to make them feel longer without adding anything.
Useful on days when you do not want to think hard. Also good when the roots are puffy and you would rather work with the puff than fight it.
8. Twin Pigtails for an Easy Everyday Look
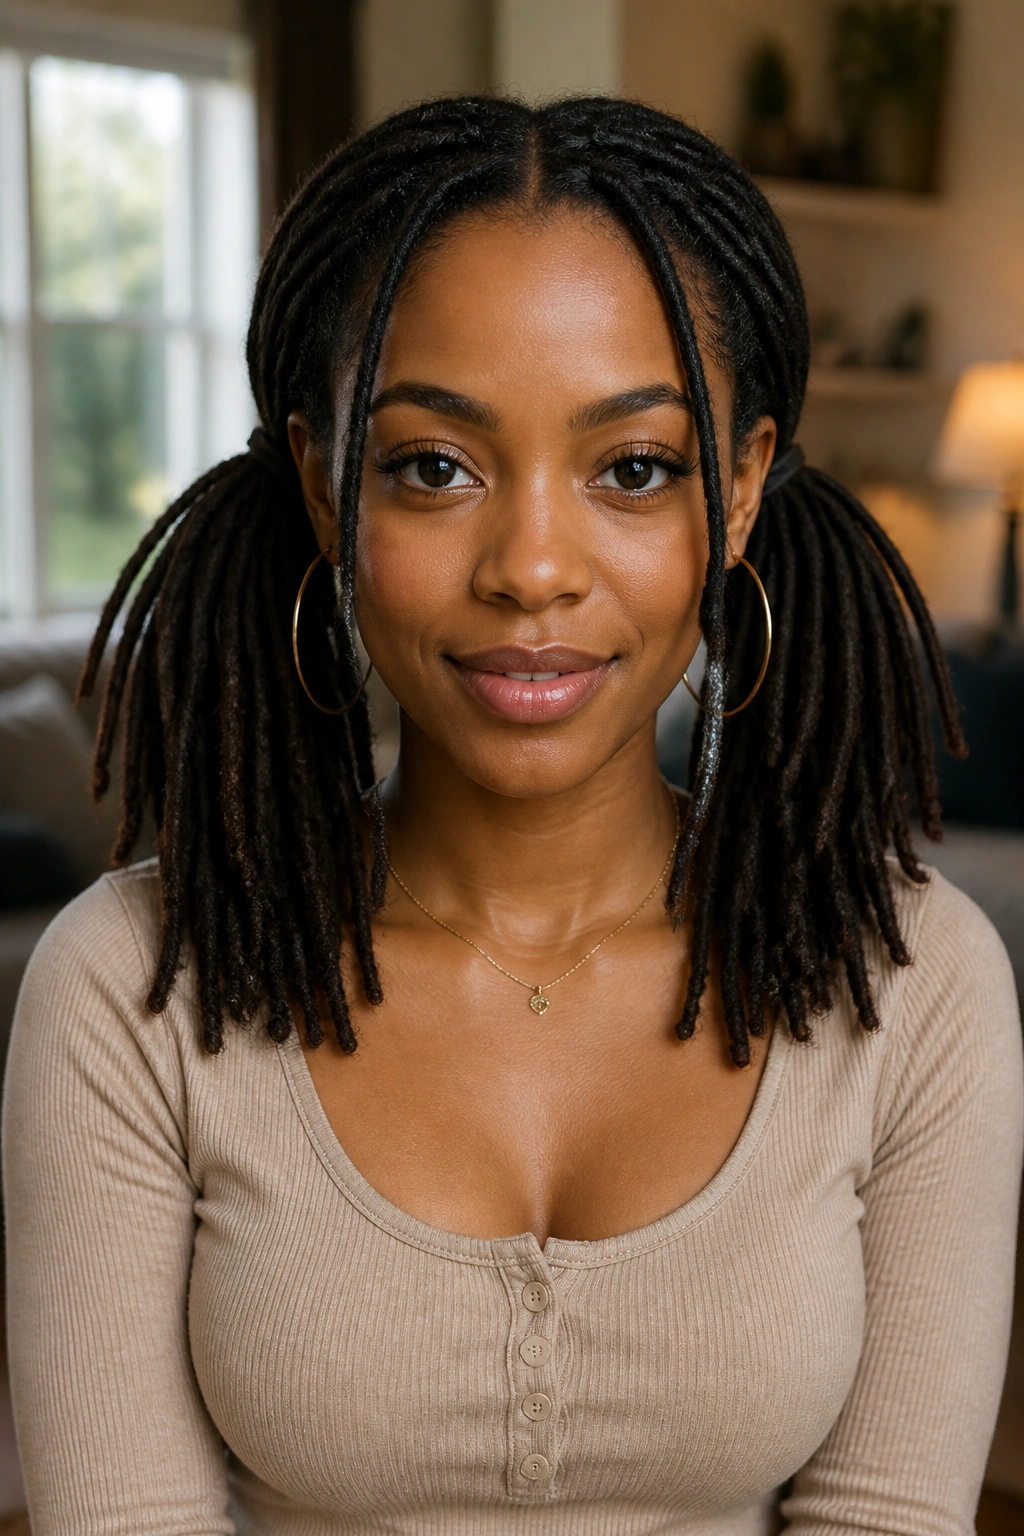
Why do pigtails work so well on small locs? Because they keep the hair balanced without asking the roots to carry all the weight at the center of the head.
A straight middle part is the starting point. From there, gather each side into a low or mid ponytail. You can keep the pigtails neat, puff them a little, or leave a few locs loose around the face. That little bit of looseness makes the style feel less school-uniform and more like an actual choice.
What to watch for
Do not tie the pigtails too high if the locs are still short. The ends will spring out in strange directions. Low placement keeps the shape grounded and helps the locs settle into the ties.
Use soft elastics and keep the part clean. A crooked part is the fastest way to make twin pigtails look rushed. If the two sides are not matching perfectly, adjust the placement of the ties before you smooth anything else. The symmetry comes from the base, not from the finish.
9. Barrel Twists Across the Crown

Barrel twists are a little more hands-on, but they still belong in a beginner list because the shape does a lot of the work for you. Once the twist line is set, it stays visible and neat.
The style works by twisting sections across the crown in a curved line, almost like laying rope over the top of the head. On small locs, that can mean two large twists or several slimmer ones depending on how much hair you have to work with. The look is polished without feeling stiff.
The part that matters most
Keep the rows even. A twist that starts too wide and ends too narrow will twist off-center and pull the eye to the wrong place. Use clips while you build each row so the sections stay separated. A rat-tail comb helps, but your fingers will do most of the real work.
This style is best when you want something that looks a little more styled than a ponytail but still feels secure. It also hides roots that need a retwist better than loose styles do. That is a nice bonus.
10. Flat-Twist Front With Loose Back Length
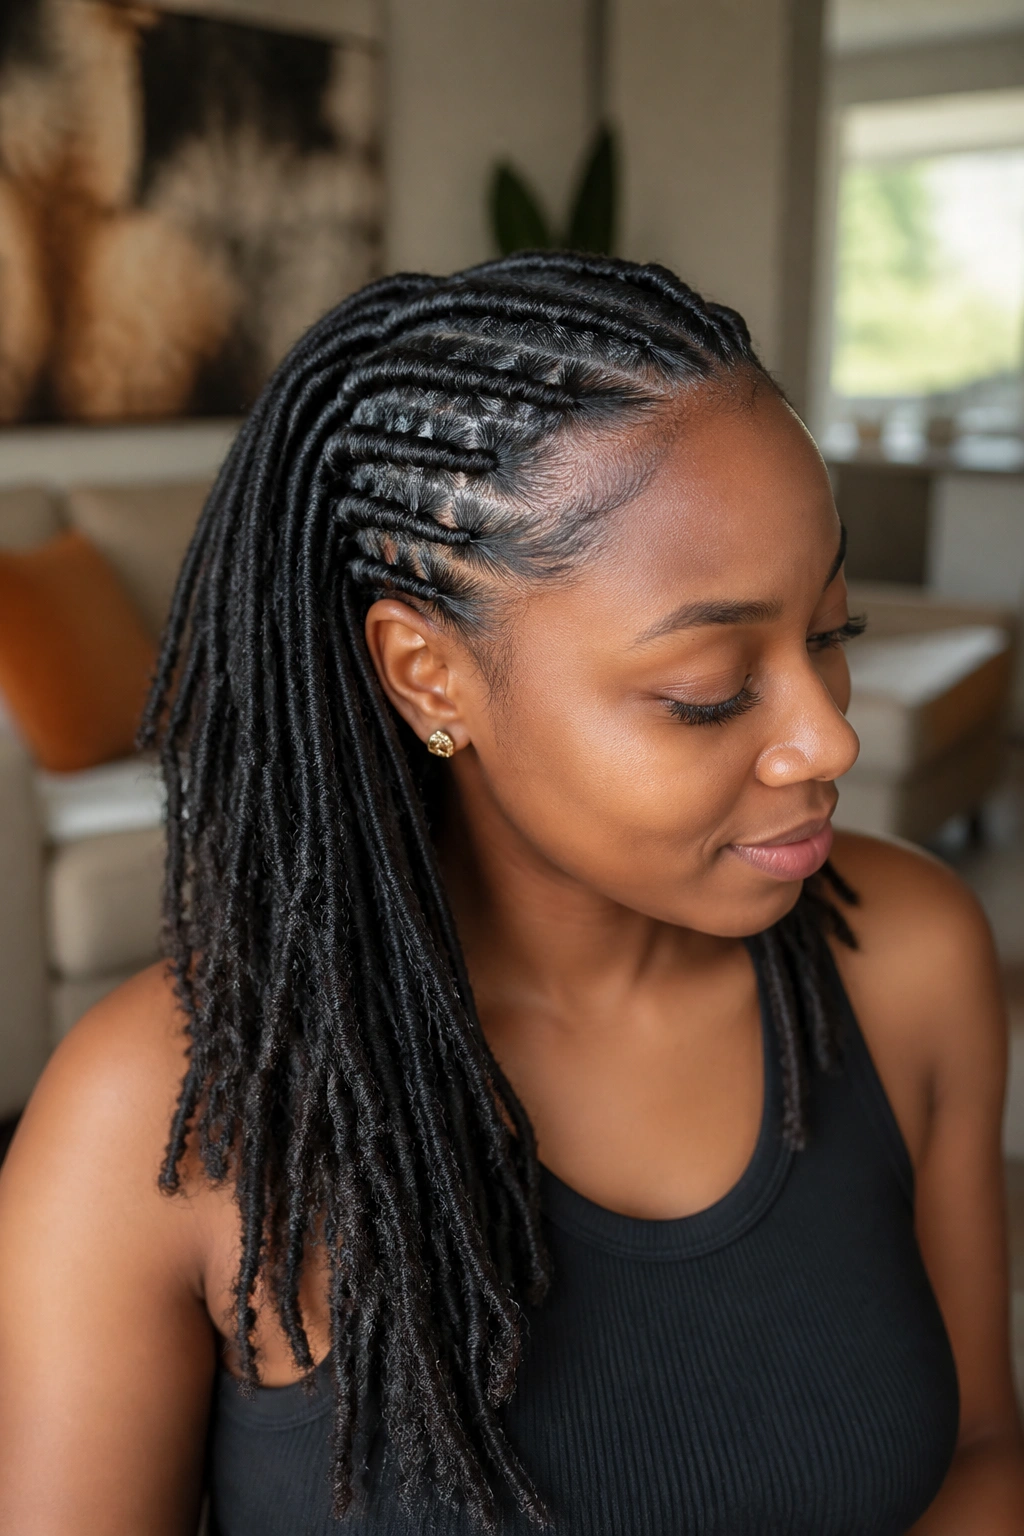
This one is useful when the front of your locs needs to stay tidy but you still want the back to move. It gives shape right where people usually look first.
Take a front section from one temple to the other, divide it into two or three parts, and flat-twist it back toward the crown. Leave the rest down. That contrast is what makes the style work. The front looks neat. The back keeps its texture.
- Part the front section cleanly before you start.
- Flat-twist close to the scalp, but not so tight that the roots strain.
- Pin the ends flat under the back locs so they do not stick up.
- Leave the loose back section soft; do not overbrush it.
This is a good beginner style because you only need to manage one part of the head. The rest can stay as it is. That takes a lot of pressure off, especially if your locs are uneven in length or still settling.
11. Criss-Cross Ponytail With a Little Detail

A plain ponytail is fine. A criss-cross ponytail just gives it a bit more shape, and that small change matters on short locs.
You can create the crossing effect by taking two front sections, laying one over the other, and securing them with pins or a small tie before pulling the rest back. It looks like a tiny bit of design work, even though the actual effort is low. That is why people like it.
The style is useful when the front needs to look intentional. Maybe your part is not quite fresh. Maybe the locs near the hairline are growing in different directions. The cross pattern distracts the eye in a good way.
Keep the detail near the front and let the rest stay simple. Too many extras in the back can make the style feel cluttered. One clean feature is enough.
12. Crown Wrap With a Scarf or Head Wrap
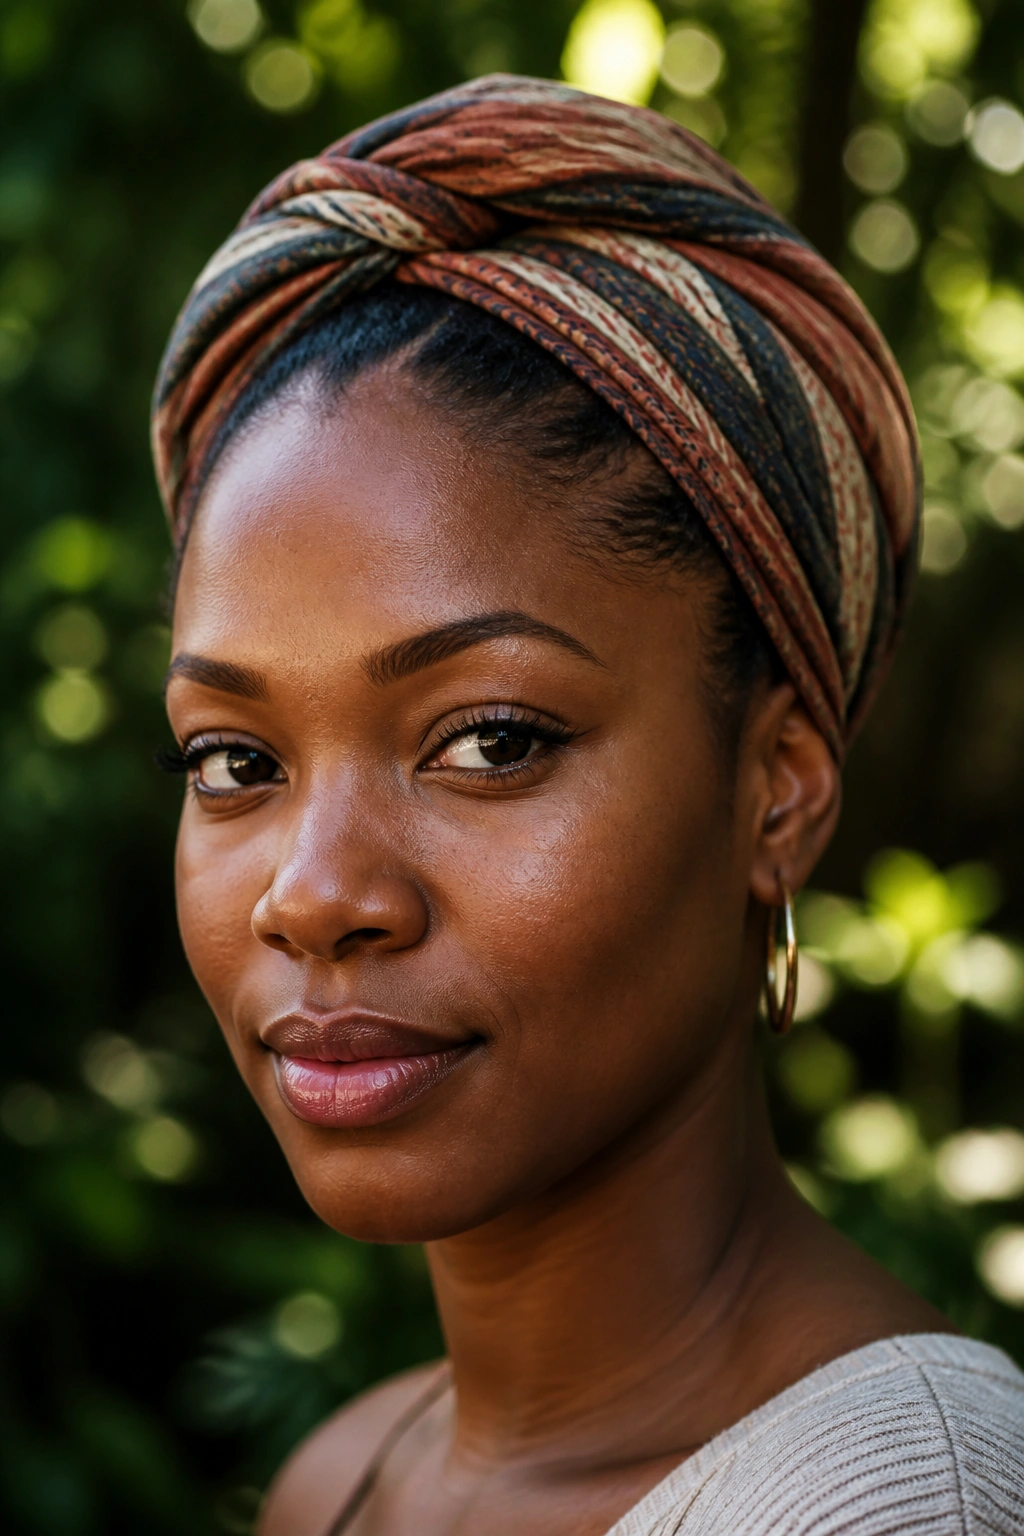
A crown wrap is not a cop-out. It is a style, and a smart one at that. When the locs need a break from tension, a scarf or head wrap can carry the whole look.
Choose a scarf with enough width to cover the front edge cleanly. Satin and silk are kinder to the hairline than rough fabric, and they slide less once they’re tied. Wrap the base first, then tuck the locs back or let them rest low and loose under the cloth.
The nice part is the contrast. You get softness at the top and texture underneath. That combo works especially well with small locs because it keeps the shape close to the scalp instead of making the hair look overstuffed.
One sentence here: easy, protective, useful. That is the whole appeal.
13. Claw-Clip French Roll for Locs

Can a claw clip really hold small locs? Yes, if the clip is wide enough and the roll is not packed too tight.
Start by gathering the locs at the back, twisting them upward, and folding the length inward toward the crown. Slip the clip over the roll and let the teeth catch both the twist and the tucked ends. If the hair feels slippery, add one or two bobby pins under the clip for backup.
A claw clip works best when the locs are medium short to medium long. Very short locs may need a few pins first. Very long locs may need a bigger clip than you think. Do not force it. The style should hold because the shape is right, not because you’re fighting the clip.
I like this one for a fast, clean finish. It looks like you made a decision, which is half the battle with beginner styling.
14. Mohawk Updo With the Sides Pinned
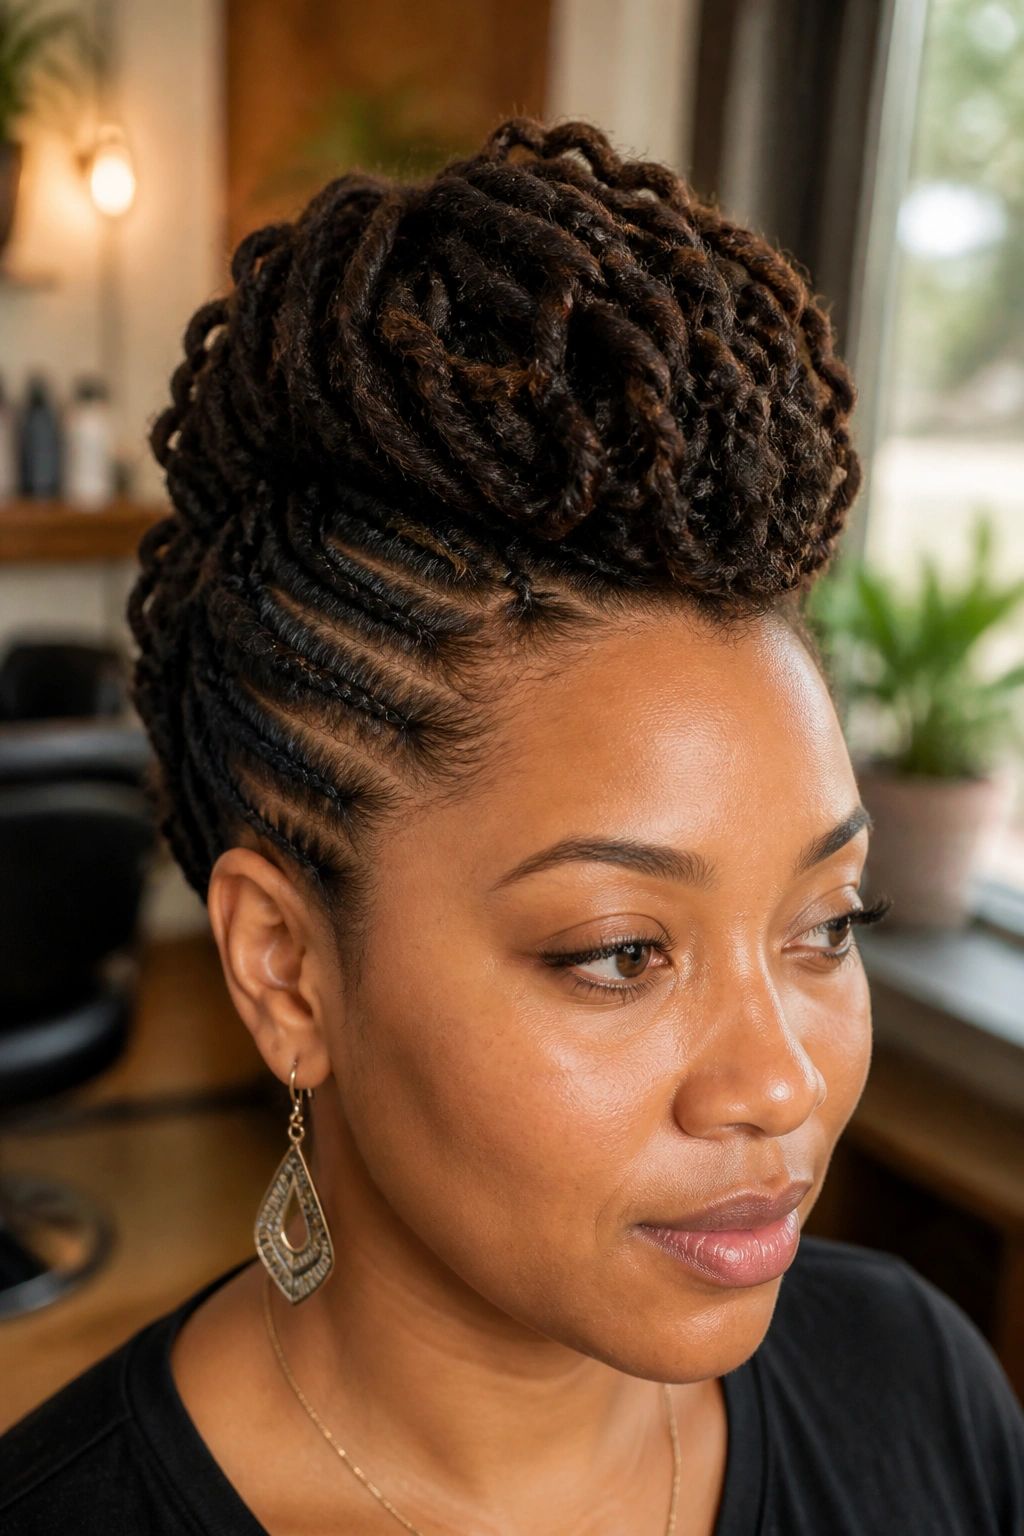
A mohawk updo gives small locs height without demanding a full bun. The center section stays lifted, and the sides get pinned flat so the shape reads strong from the front.
That height can be dramatic, but the style still works if you keep the pins under control. Use a few bobby pins on each side and smooth the locs back with your hands first. You want the sides to lie clean, not smashed down so hard that the scalp complains later.
This is one of those styles that looks harder than it is. Once the middle section is gathered, the rest is just shaping. If your locs are uneven or your crown is a bit puffy, the mohawk shape actually helps. It uses the texture instead of hiding it.
Do not over-tighten the sides. That is where the style goes from sharp to annoying.
15. Bubble Ponytail Down the Center

Bubble ponytails give small locs a playful line without needing complicated sectioning. They also work better on locs than a lot of people expect, because the texture holds the bubbles in place.
How to space the bubbles
Gather the locs into a ponytail, then place small elastics every 2 to 3 inches down the length. Gently puff each section between the bands until it rounds out. If your locs are shorter, use fewer bubbles and keep the spacing tighter. If they’re longer, you can stretch the sections a little more.
- Use snag-free elastics.
- Puff each section with your fingers, not a brush.
- Keep the first band close to the head so the ponytail does not sag.
- Stop if the ends start poking out sharply; that means the spacing is too wide.
It’s a simple idea, but it changes the whole mood of the ponytail. Instead of one straight line, you get shape all the way down.
16. Beads, Cuffs, and Simple End Accents
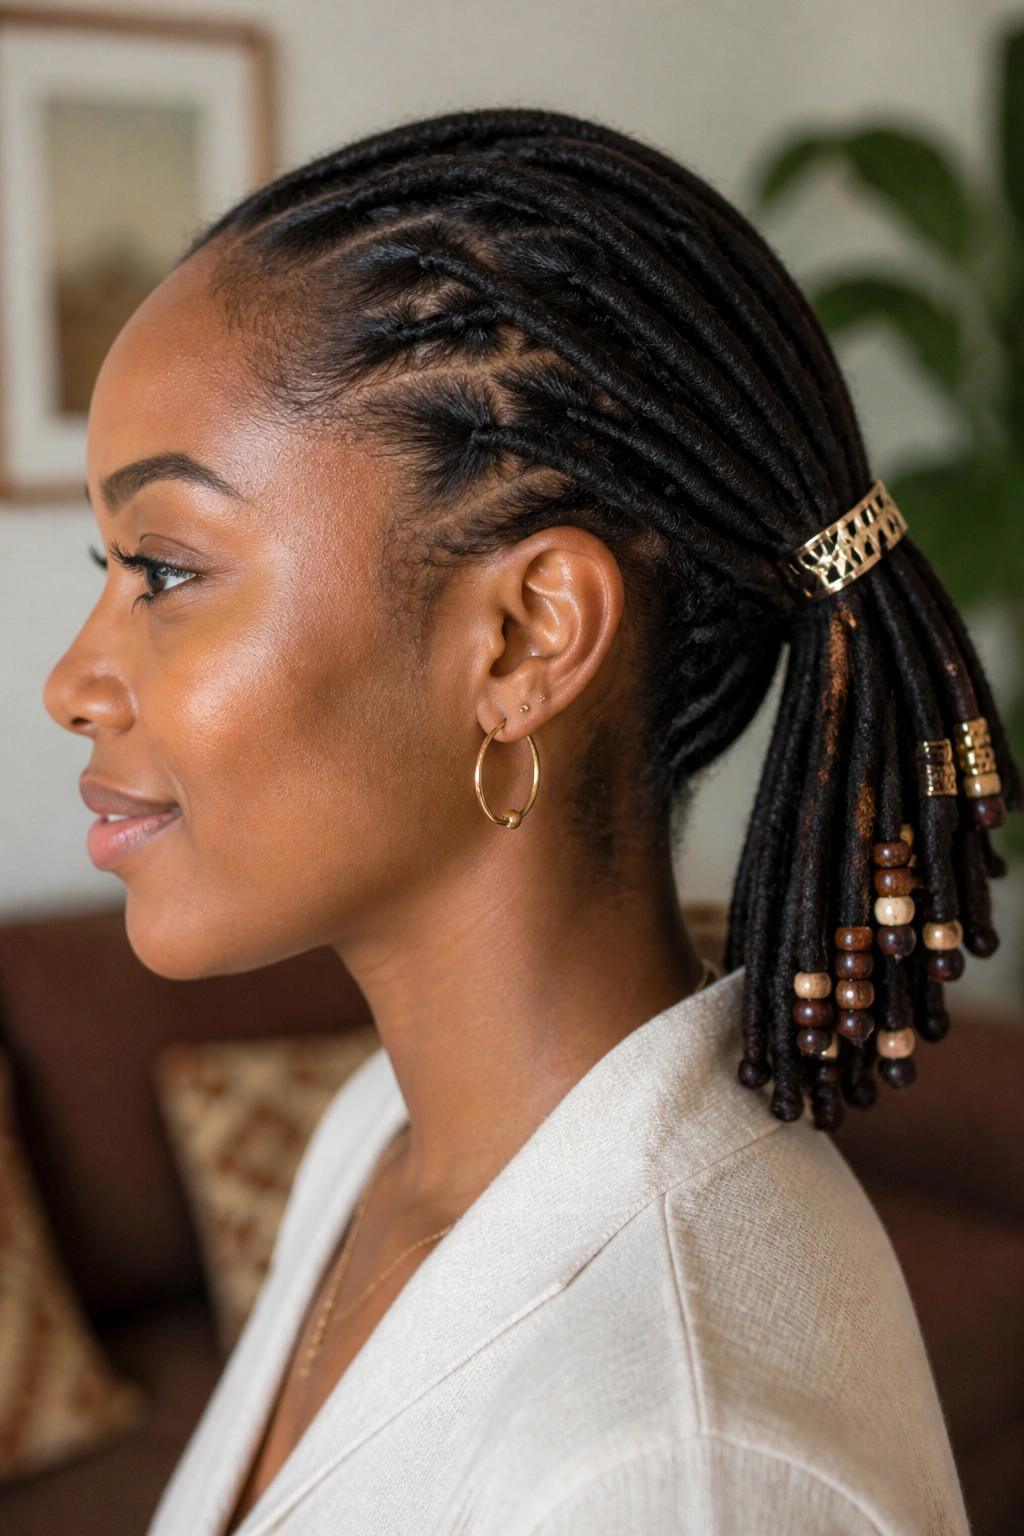
Sometimes the style is not about changing the shape. It is about finishing the ends in a way that looks deliberate. Beads and cuffs do that job well.
A few beads on the ends of small locs can make even a plain ponytail feel styled. Metal cuffs, wooden beads, and small translucent beads each read differently. The point is not to pile them on. Two or three accents per side is enough to catch the eye without loading the locs with weight.
What to keep in mind
Fresh locs and very short locs can get stressed by heavy beads. Start light. If the beads slide too easily, wrap the end with a tiny bit of thread or use a small knot beneath the bead for grip. If they feel heavy after a few hours, take them out. Your scalp will tell you.
Beads work well on simple styles that need a little personality. Ponytail, pigtails, side-sweep—almost anything improves with a clean accent at the end.
17. Wrapped Bun With a Soft Finish

A wrapped bun is one of those styles that looks more complicated than it is. You gather the locs, wrap them into a bun, then finish the outside with a scarf, string, or a loose wrap of one loc around the base.
Useful. Also fast.
The wrap helps hide rough ends and gives the bun a smoother edge. That matters with small locs because the ends can stick out at odd angles when they are not long enough to tuck deeply. Wrap the bun until the shape feels secure, then stop. If you keep circling and circling, the bun gets bulky and the pins start slipping.
This style is good for workdays and low-effort dress-up days. It sits well under a hat too, which is something people forget. If you need your hair to behave for eight hours, this is a safe bet.
18. Side Bun That Hugs the Ear

A side bun is the friendlier cousin of the low bun. It keeps the same simple idea but shifts the weight off-center, which makes the style feel a little softer.
Gather the locs just behind one ear, twist them into a bun, and pin them close to the head. You want the bun to hug the side, not hang loose like it is waiting for a stronger breeze. That tight placement keeps the style neat and gives the face an open side.
This works well when the locs are different lengths, because the side bun does not expose the unevenness the way a centered bun can. It also pairs well with a side part or a tuck behind the opposite ear. Small change. Big effect.
If you want something that feels a touch more dressed up than a low ponytail but less formal than a chignon, this is the one.
19. Pin-and-Tuck Updo for Short Locs
Pin-and-tuck is the move for locs that are too short to fold neatly into a full bun. You tuck the ends inward one section at a time and pin them where they stay hidden.
A simple way to build it
Split the locs into three sections: left, center, and right. Twist or fold each section toward the middle, then pin the ends flat against the scalp or beneath the neighboring section. Keep the pins close to the base so the style does not spread out.
This style is one of the most useful options for beginners with shorter locs because it does not depend on length alone. It depends on placement. Once you get the first section secured, the rest usually follows.
- Use bobby pins with a strong grip.
- Tuck the ends inward, not upward.
- Pin each section as you go.
- Check the back with a hand mirror before you leave the house.
Short locs need this kind of style. Not flashy. Just smart.
20. Braided Front With the Rest Left Down
A braided front with loose back length gives you structure without committing to a full updo. That is what makes it so wearable.
Take one or two front sections, braid or flat-twist them back, and pin them near the crown. Leave the rest of the locs free. The front stays out of your eyes, the back still moves, and the whole look feels balanced. It is also forgiving if the front locs are shorter than the back.
Best when you want shape without full hold
Use this style on days when your edges need a break but you still want some frame around the face. It works especially well if you like to wear a middle part or a soft off-center part. The front braid gives the eye a place to land, and the loose back keeps the loc texture visible.
Do not overbraid the front. One clean braid on each side is enough. Too much detail up front can make the style feel busy.
21. Loc Petal Bun for a Dressier Day
A loc petal bun sounds fancier than it is. The shape comes from fanning the locs around the bun so the ends sit like petals around a center.
Gather the locs into a bun first, then take the ends and spread them around the outer edge instead of hiding every single one. Pin them in place as you go. The effect is softer than a tight doughnut bun and more interesting than a plain coil.
This works best when the locs are medium-short to medium length and have enough bend to sit where you place them. If the ends are stiff, warm them in your hands first. They will cooperate better.
The style has a bit of occasion energy to it. Not overdone. Just a touch dressed up. If you need your locs to look like you put in effort without spending an hour, this is a strong pick.
22. Low Rolled Chignon at the Nape
A low rolled chignon gives small locs a neat, tucked shape that feels polished without asking for advanced skill. The roll is the main move. Everything else is just support.
Start at the nape, roll the locs inward toward the head, and pin as you go so the shape holds. A few stronger pins will do more than a pile of weak ones. Keep the roll tight enough to stay compact but not so tight that it turns into a little hard knot at the base of your neck.
This style is one of my favorites for beginner-friendly dressy looks. It works on locs that are still fairly short, and it does not depend on perfect length or perfect thickness. The chignon hides a lot of unevenness if you let it.
A clean side part can make this look even better, but it is not required. The roll does the heavy lifting.
23. Faux Hawk With the Sides Sleeked Down
A faux hawk gives small locs attitude without needing a real cut or a complicated set-up. The sides get pinned or smoothed down, and the center section stays lifted so the whole style runs from front to back.
The payoff is shape. You get height in the middle, clean lines on the sides, and a style that feels more intentional than a loose ponytail. It is also one of the better choices when your locs are short but thick, because the center section holds itself up more easily than people expect.
Keep the sides snug, not strained. A little gel or cream near the hairline can help, but heavy product can make the roots look stiff. And that is not the look.
If you want something with edge but still beginner-safe, this is it. It looks like effort. The work is lighter than it seems.
24. Twisted Bangs and Face-Framing Locs
Do you want your locs off your face without tying everything back? Twisted bangs and face-framing locs do exactly that.
Leave two to four locs loose at the front, then twist or pin them back just enough to create a soft frame. The rest of the hair can stay down, in a ponytail, or in a bun. That front detail changes the whole shape because it pulls attention to the eyes and cheekbones instead of the center of the head.
This style is useful when you like the feeling of loose locs but hate hair touching your forehead all day. It also helps if the front locs are a little shorter than the rest. You can turn that unevenness into shape instead of hiding it.
Keep the twists loose. If you pull them too flat, the front starts to look strained. Soft curves work better here.
25. Clean Center-Part Ponytail
A center-part ponytail is the plainest style on this list, and I mean that as a compliment. When it is done well, it looks neat, balanced, and calm.
Start with a straight middle part from hairline to nape. Smooth each side back with your hands, gather the locs at the point you want the ponytail to sit, and secure it with a soft elastic. If the locs are very small, a second tie can help hold the base without over-tightening it. Keep the part sharp and the sides even. That is where the style earns its clean look.
This one is especially good when you want to let the locs themselves be the focus. No extra wrapping, no heavy accessories, no trick. Just a clear line and a simple tie. If the roots are puffing a little, that is fine. Small locs often look best with a bit of movement at the scalp rather than a hard, pressed-down finish.
If you can only keep one beginner style in your back pocket, make it this one. It is easy to redo, easy to adjust, and hard to mess up once the part is right.
