



A good twist out on 4C hair should look shaped on purpose, not wrestled into place. The best twist out styles for 4C natural hair keep the coil pattern visible, let the roots move, and give you enough stretch that the style still looks good after a full day of life happening around it.
4C hair gives you thick, plush texture that a lot of people try to fake with products. It also shrinks hard, holds moisture longer than looser patterns, and punishes sloppy sectioning. If the hair is still damp when you separate it, the style can puff in odd spots and lose its clean lines fast.
That matters.
One twist out can read soft and full, another can look sharply defined, and another can save a day when the crown refuses to cooperate. Length, parting, and the way your ends sit change the whole mood. That is the real game here.
So the trick is not finding one “right” twist out. It is choosing the version that fits the shape you want, the amount of time you have, and the way your 4C hair likes to behave once it dries.
1. Chunky Shoulder-Length Twist Out
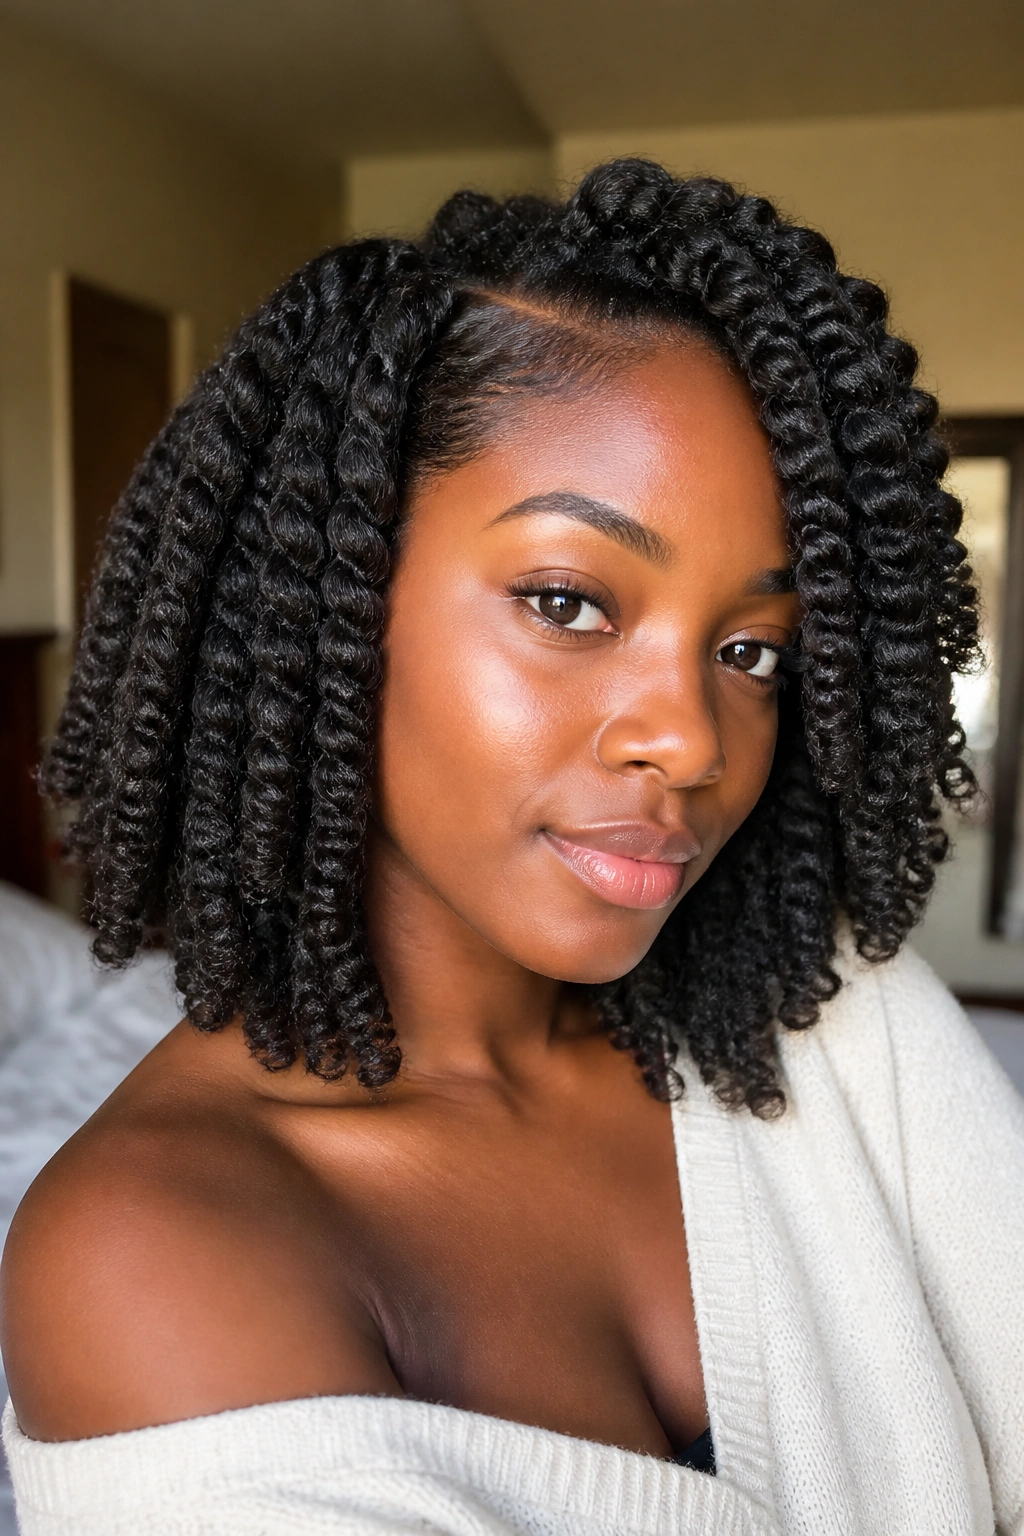
Chunky twists are the easy crowd-pleaser for 4C hair. They give you big, plush definition without making the style feel fussy, and shoulder-length hair holds that shape in a way that looks full from every angle.
Why it works on 4C hair
The larger sections help your hair dry more evenly, which matters more than people think. On dense coils, a twist that is too thick at the base and too wet in the middle can look fine at first, then puff out in a weird triangle shape when you separate it.
Keep each section around 1 to 1½ inches if you want the twist out to stay soft and chunky. Two-strand twists work best here, and a little cream plus a light hold product at the ends keeps the definition from disappearing by midday.
- Best for hair that falls between the chin and shoulders.
- Usually takes 6 to 10 twists, depending on density.
- Works well with a hooded dryer or a full overnight dry.
- Separate each twist once, then stop messing with it.
Quick fix: Smooth a tiny bit of gel along the part before twisting if your roots always frizz first.
2. Mini Twist Out With Sharp Definition
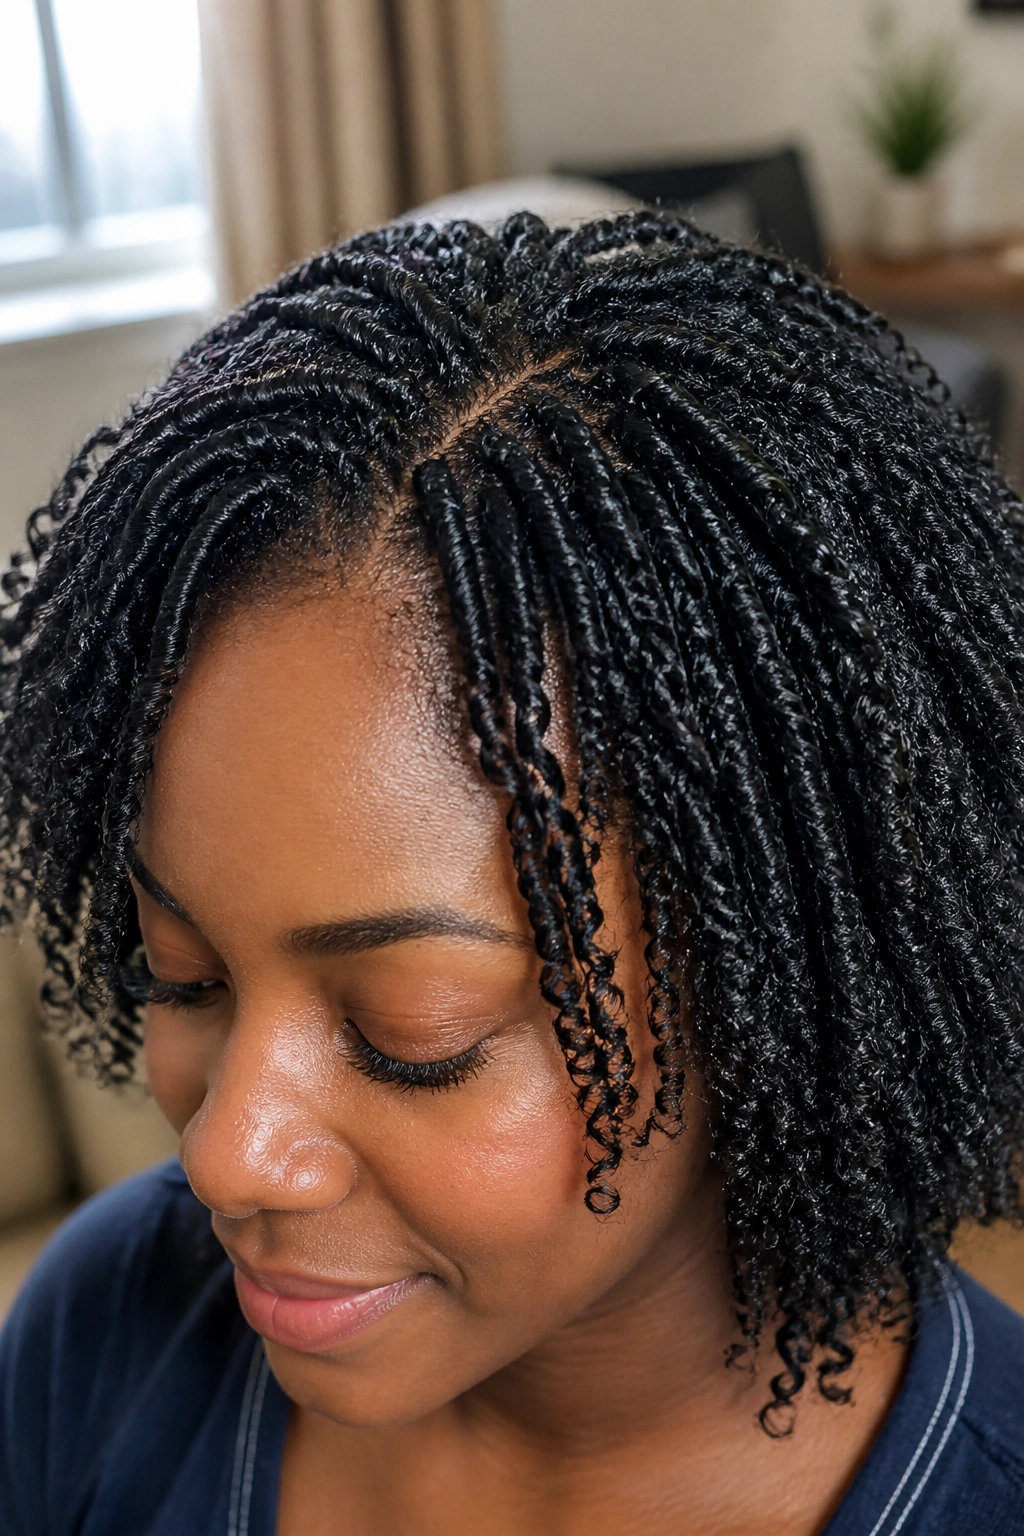
Want less fluff and more pattern? Mini twists are the answer, but they ask for patience. The payoff is a twist out that shows off every tiny coil and gives 4C hair a polished, almost woven look.
The sections need to be small enough that the twist can set all the way through — think pencil-size to marker-size, not chunky rope twists. That smaller size gives you better definition near the roots and keeps the ends from expanding too much when you separate them.
The catch is dry time. Longer. Much longer.
If you rush the unraveling stage, the style can turn fuzzy before you ever get to wear it. Let the hair dry until the twists feel cool, light, and a little crisp at the center. Then separate gently with a thin coat of oil on your fingertips, not a heavy hand full of product.
Mini twist outs suit people who like shape more than volume. They also work well when you want the hair to look neat for a few days and not just on day one.
3. Side-Part Twist Out
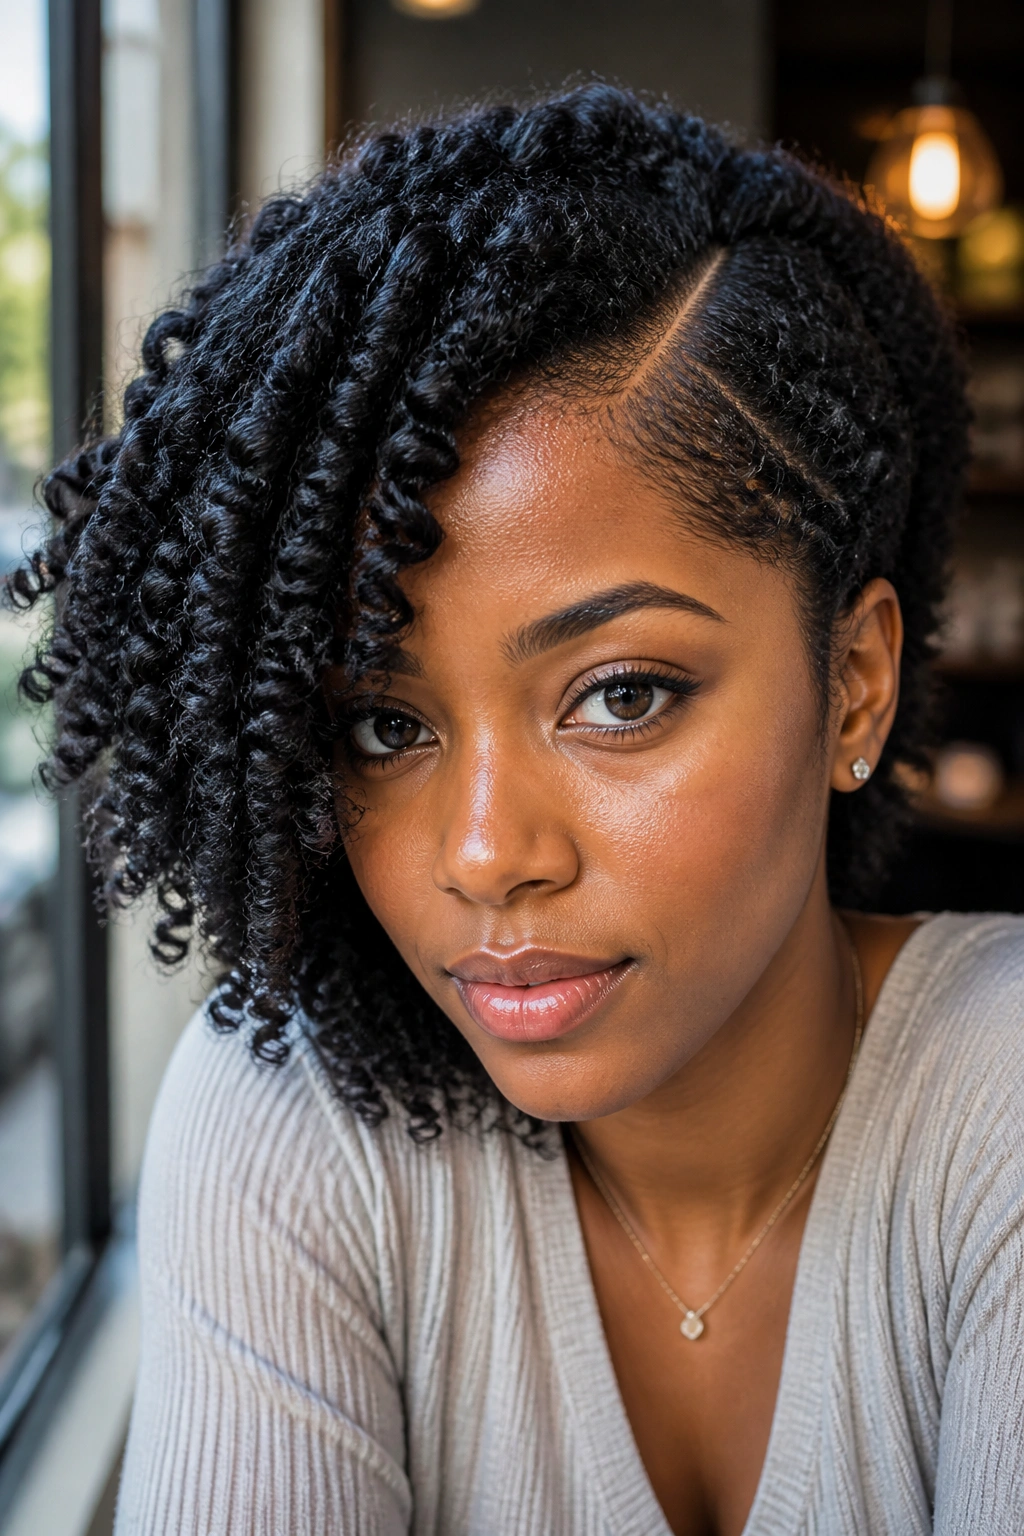
A deep side part changes the whole story of a twist out. Same hair. Different mood. The volume falls across the face in a way that feels deliberate, and 4C hair gives that side sweep enough body that it doesn’t collapse by noon.
How to keep the part crisp
Start the part on damp hair with a tail comb, not after the twists are already in. Once the hair dries, the line wants to stay where you placed it. If you move too late, you’ll end up with a soft blur instead of a clean part.
- Smooth a pea-sized amount of gel along the part.
- Clip the smaller side out of the way while you twist.
- Twist the bigger side away from the face for extra lift.
- Fluff the roots on the heavy side only after fully dry.
That last part matters. If you pick at both sides too early, the part loses its shape and the style starts looking accidental. Keep the side with less hair neat and let the other side do the drama.
Side parts are also a lifesaver when one side of your face frame sits flatter than the other. The diagonal line gives balance without making the style stiff.
4. Middle-Part Twist Out With Face-Framing Pieces
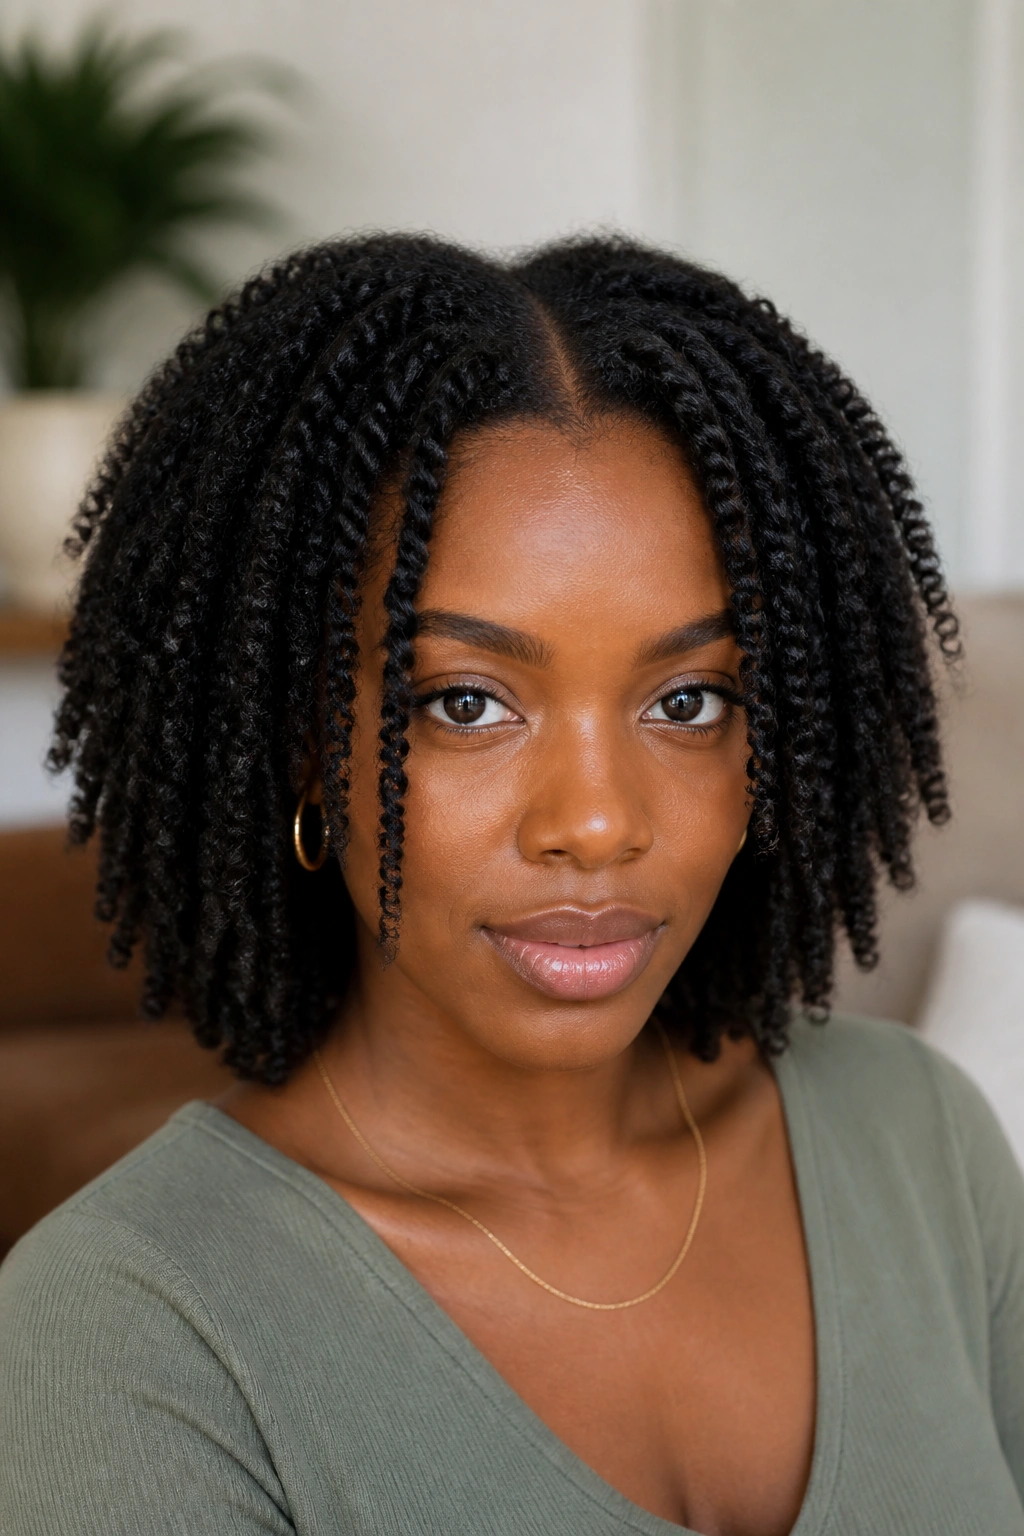
A middle part is cleaner than a side part, and on 4C hair it can feel almost architectural. The look works because the symmetry lets the texture do the talking. Nothing has to fight for attention.
The front pieces matter most here. Leave the first two twists on each side a little thinner, or twist them forward so they fall softly beside the cheeks instead of sticking straight out. That small move keeps the style from looking boxy, which is a common problem with dense coils.
If your hairline likes to frizz, set the middle part first and pin the front sections flat while they dry. You do not need a ton of gel. Too much can make the front look wet and heavy, which is the exact opposite of what this style wants.
This version works well on oval and round faces because it lengthens the center line. It also looks good with hoop earrings, a plain tee, or anything that lets the hair be the main event.
5. Stretched Blowout Twist Out
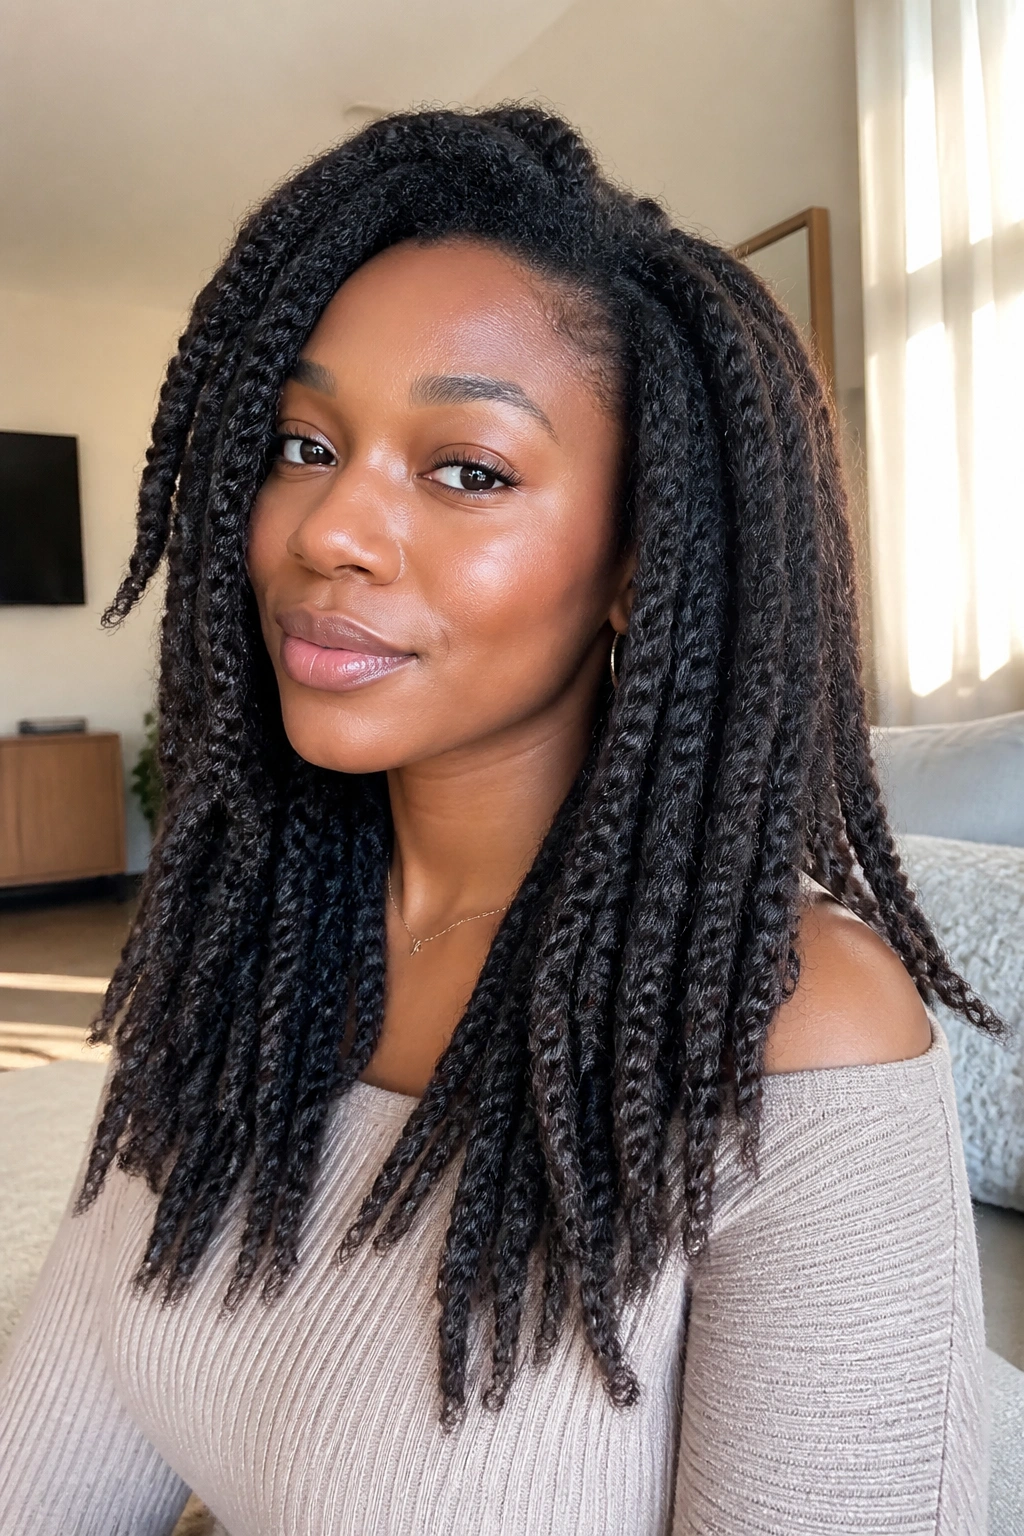
Stretched hair changes everything. The twist out looks longer, the separation is easier, and the shape usually lasts a little better because the strands are already halfway past their shrinkage.
You do not need a full silk press for this. A low-heat blow-dry with tension, banding, threading, or even a careful braid-out base can give you enough stretch to change the final look. The point is to reduce the coil spring, not erase it.
This style is the one I reach for when I want length to show. 4C hair can look especially lush in this version because the twists sit more like soft ropes than tight little springs, and the ends do not puff as fast.
Use a lighter cream than you would on shrunken hair. Stretched strands already have movement, so heavy butters can sit on top and make the twist out feel coated. Keep the twists medium-sized, dry them fully, then separate with patience. That’s the whole game.
6. Flat Twist Crown With Loose Ends
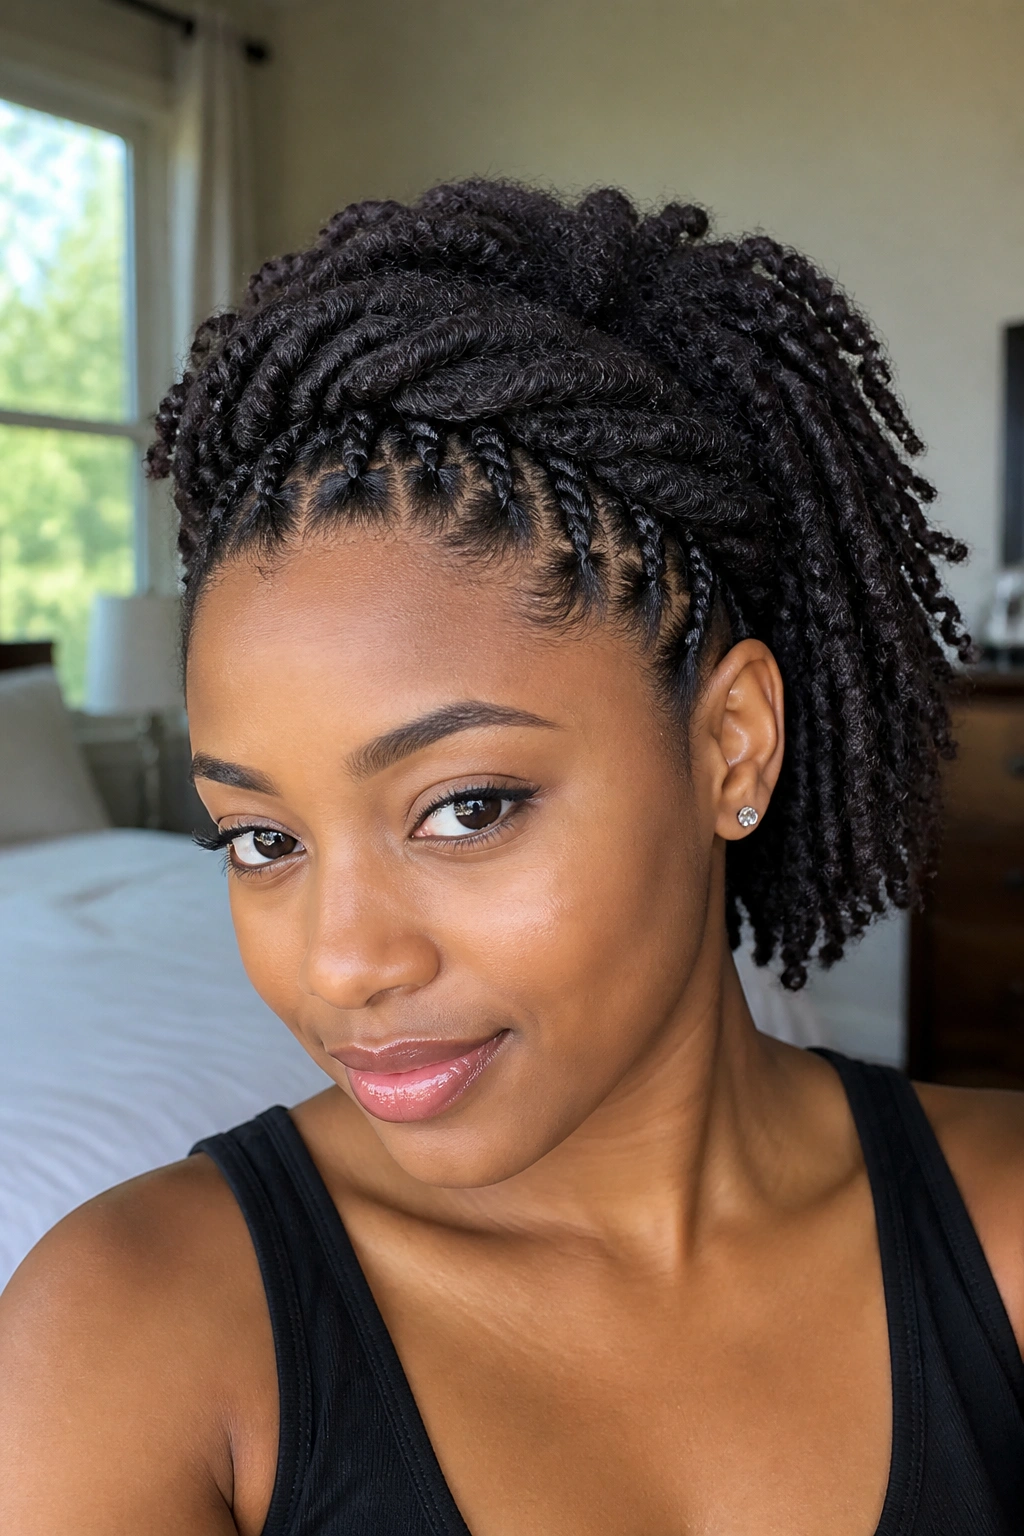
If you need a twist out that can survive a long day, pinning the front into flat twists buys you a lot of structure. It also gives the style a crown-like shape that feels a little dressier than loose twists alone.
Where to place the flat twists
Keep the flat twists along the hairline, temple area, and first inch or two of the crown. Let the back fall in regular two-strand twists so you still get the loose, full texture people love in a twist out.
- Use 2 to 4 flat twists across the front.
- Anchor the ends under the crown with small pins.
- Leave the back twists chunky for volume.
- Lift the roots at the crown only after the style is fully dry.
The contrast is what makes it work. The front stays close and neat, while the rest of the hair stays soft and airy. That combination is useful for weddings, dinner plans, or any day when you want the style to look finished without turning it into a full updo.
And yes, it holds up well when the weather gets annoying.
7. Twist Out With Rod-Curl Ends
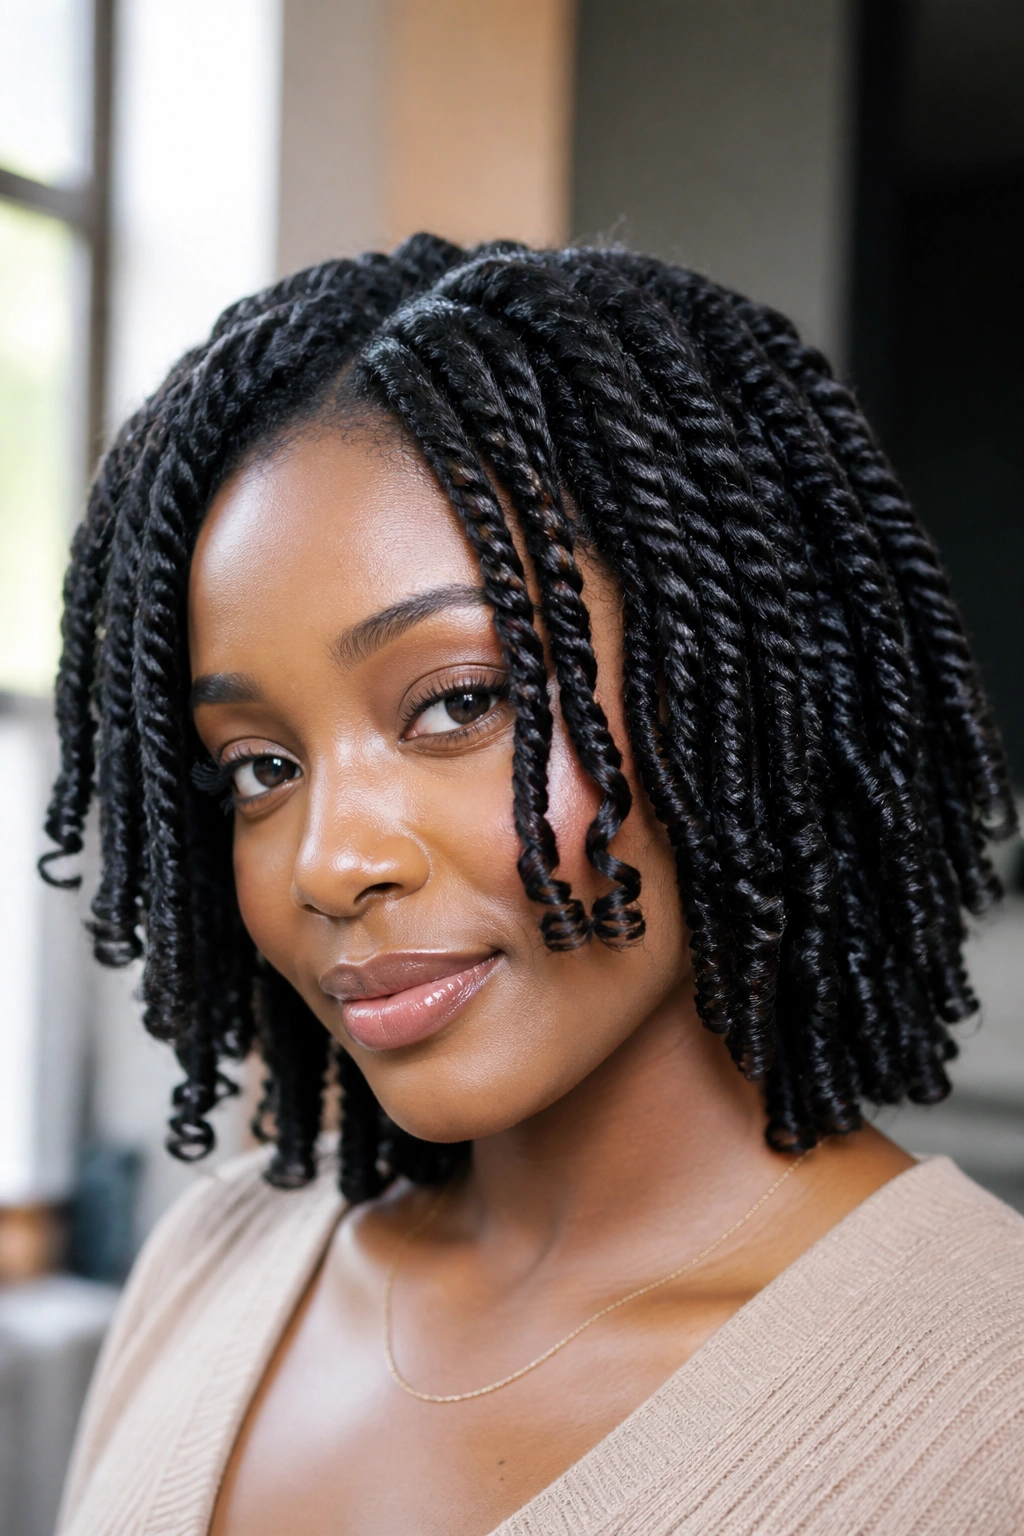
The cleanest twist outs usually have better ends. A small rod on the last inch or two of each twist changes the whole finish and keeps the style from looking stringy at the bottom.
This works especially well on 4C hair that is layered or shoulder length, where the ends can sometimes vanish into the rest of the shape. A flexi rod or perm rod on the tail of the twist gives the ends a little curl pop, and that one detail makes the whole style look more deliberate.
You only need to roll the ends, not the whole head. Keep the rod size small enough to create a visible bend, but not so small that the ends look like separate corkscrews. The goal is a soft curl at the bottom, not a tiny spiral on every strand.
Take the rods out only when the hair is fully dry. If the ends are still cool or slightly damp, wait. Damp ends collapse fast, and the whole point of this style is that clean finish.
8. Half-Up, Half-Down Twist Out Puff
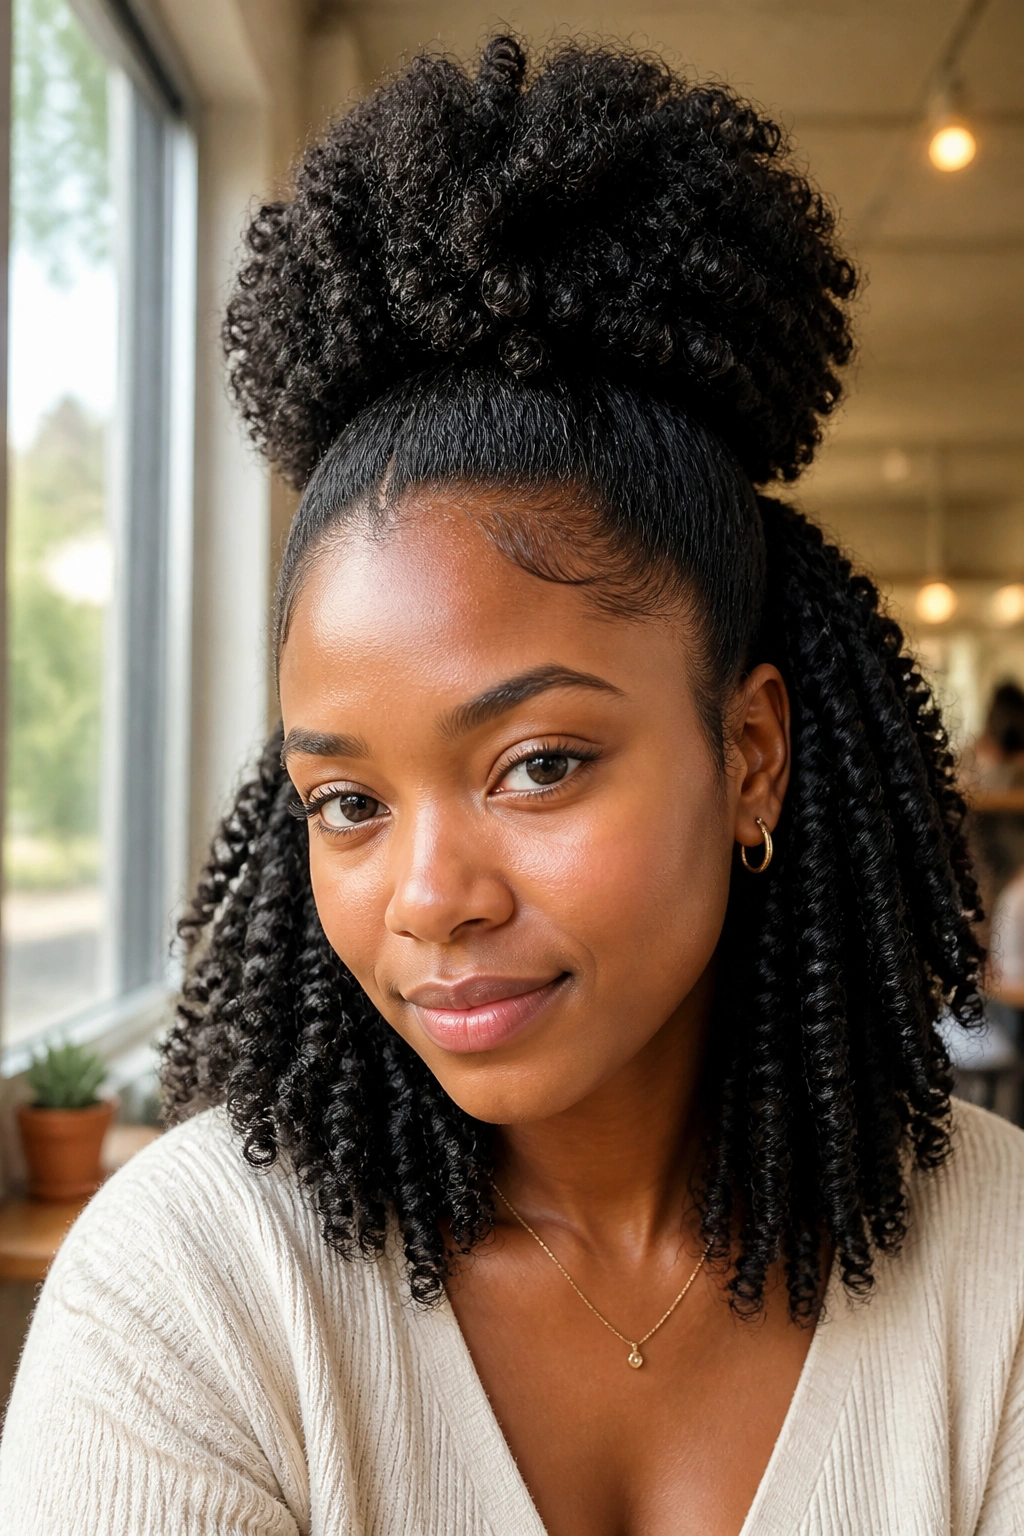
What if you want the length down your back and the hair off your face? A half-up, half-down twist out solves that without flattening the whole style.
Sectioning the crown
Part the hair ear to ear, then pull the top half into a puff, puff pony, or loose knot while leaving the bottom half free. The lower section keeps the twist out texture visible, while the top half controls the shape around the face.
This style is smart on second- or third-day hair because the roots usually need a little help by then. You can smooth the top with a satin scrunchie, then fluff the lower half with your fingers and let the texture take over.
- Keep the top section wide enough to avoid pulling at the edges.
- Use a soft band, not a tight elastic.
- Leave a few front twists loose if you want face framing.
- Add a little oil to the ends of the free section for shine.
It is one of those styles that looks casual and intentional at the same time. Handy combination.
9. High Puff Twist Out
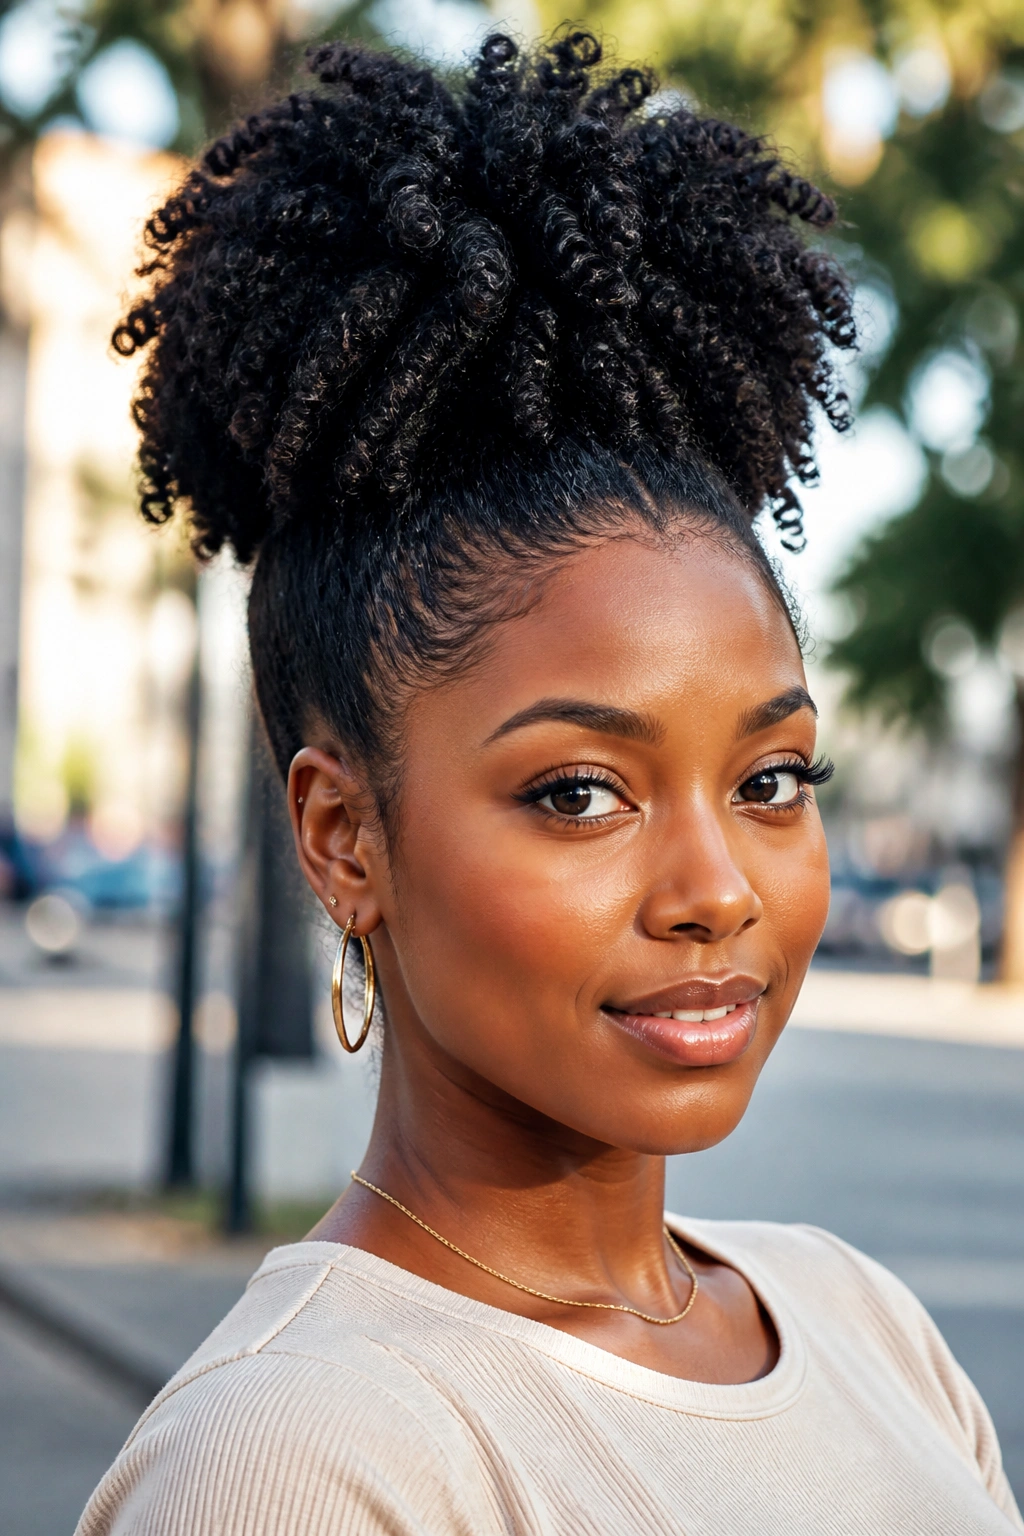
On days when the roots are too soft to behave, a high puff saves the whole look. It keeps the hair lifted, shows off the twist out texture, and gives 4C hair a big, rounded shape that feels bold without needing extra work.
The trick is not to flatten the puff while gathering it. Use a wide satin scrunchie or a stretchy puff cuff, and stop pulling once the hair sits high enough to lift away from the forehead. If you yank it too tight, the puff starts looking squeezed instead of full.
This style works best when the twist out has some stretch already. If the hair is very shrunken, the puff can sit too compact and lose the fluffy shape that makes it interesting.
- Smooth the edges lightly, not heavily.
- Lift the hair at the crown with your fingertips after securing it.
- Leave the ends free and airy.
- Use a little edge control only where you need it.
It’s a clean fix for gym days, errand days, and those mornings when you want volume more than anything else.
10. Faux Hawk Twist Out
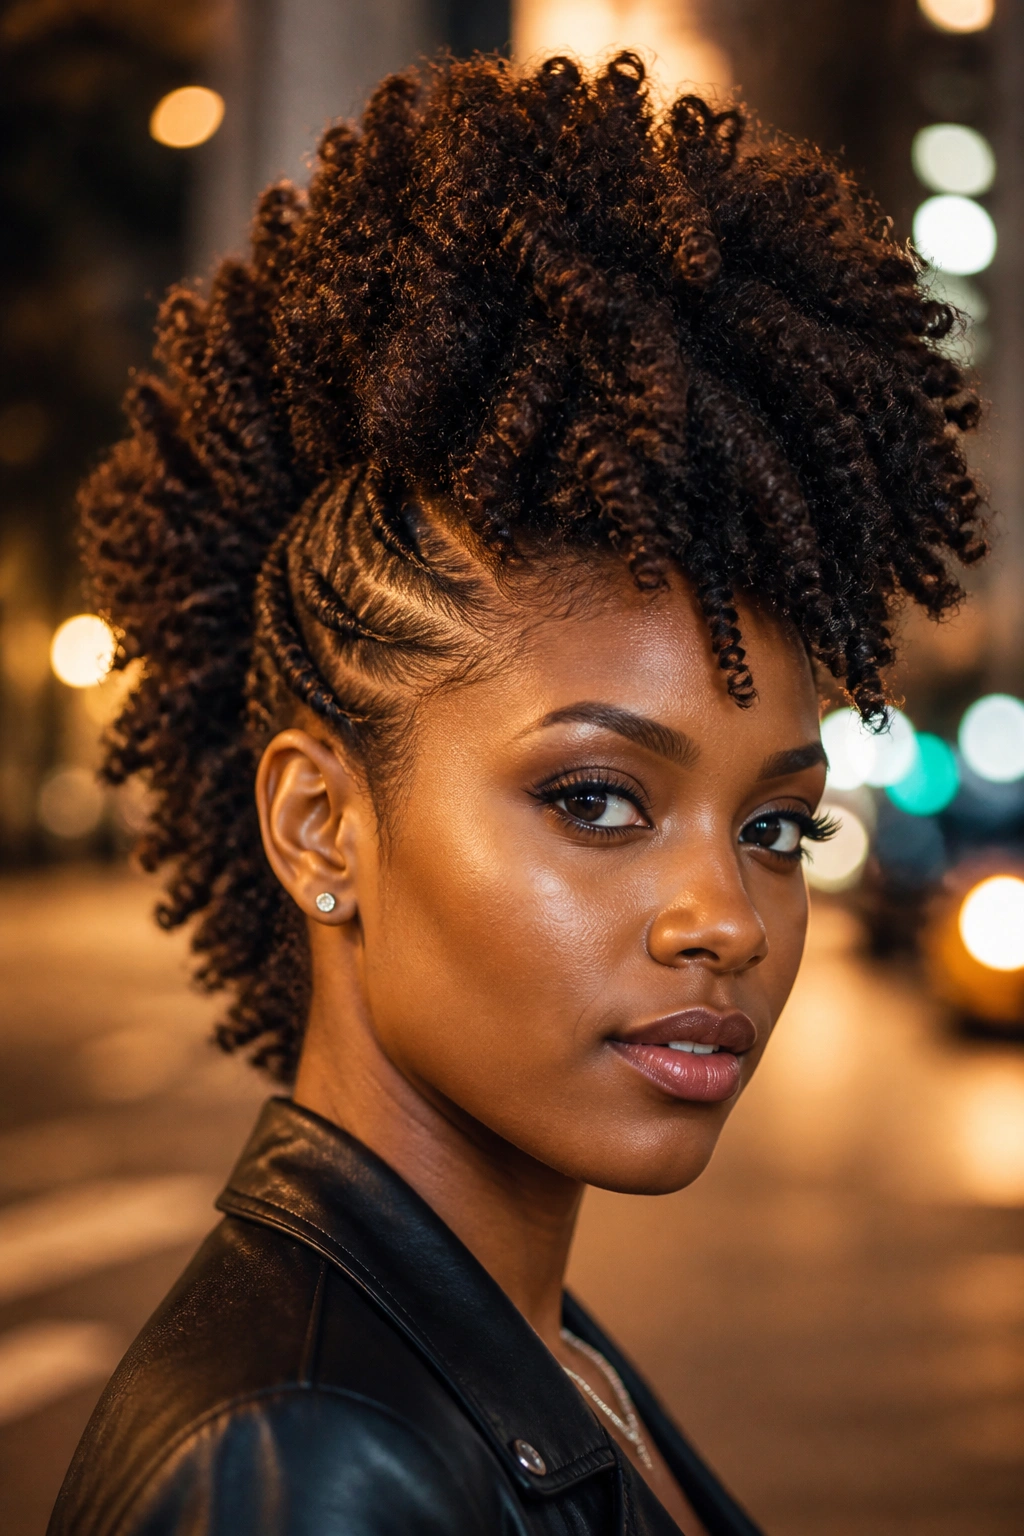
A faux hawk looks sharper than a puff and less formal than a bun. That middle strip of volume gives 4C hair a strong shape, and the pinched sides make the texture on top stand out even more.
The best version uses pins to tuck the side sections toward the center, not straight back. That slight angle creates height in the middle and keeps the head from looking too wide. If your hair is dense, you may need 4 to 8 pins, depending on how much hair you are folding in.
The center section should stay loose enough to puff, but not so loose that it splits apart. Twist the center in larger sections, then lift and pin the ends toward the back so the shape rises instead of drooping.
This is the style I’d pick for a night out, a concert, or any setting where a regular twist out feels too soft. It has edge. A little attitude. And it still protects the ends.
11. Twist Out Bob
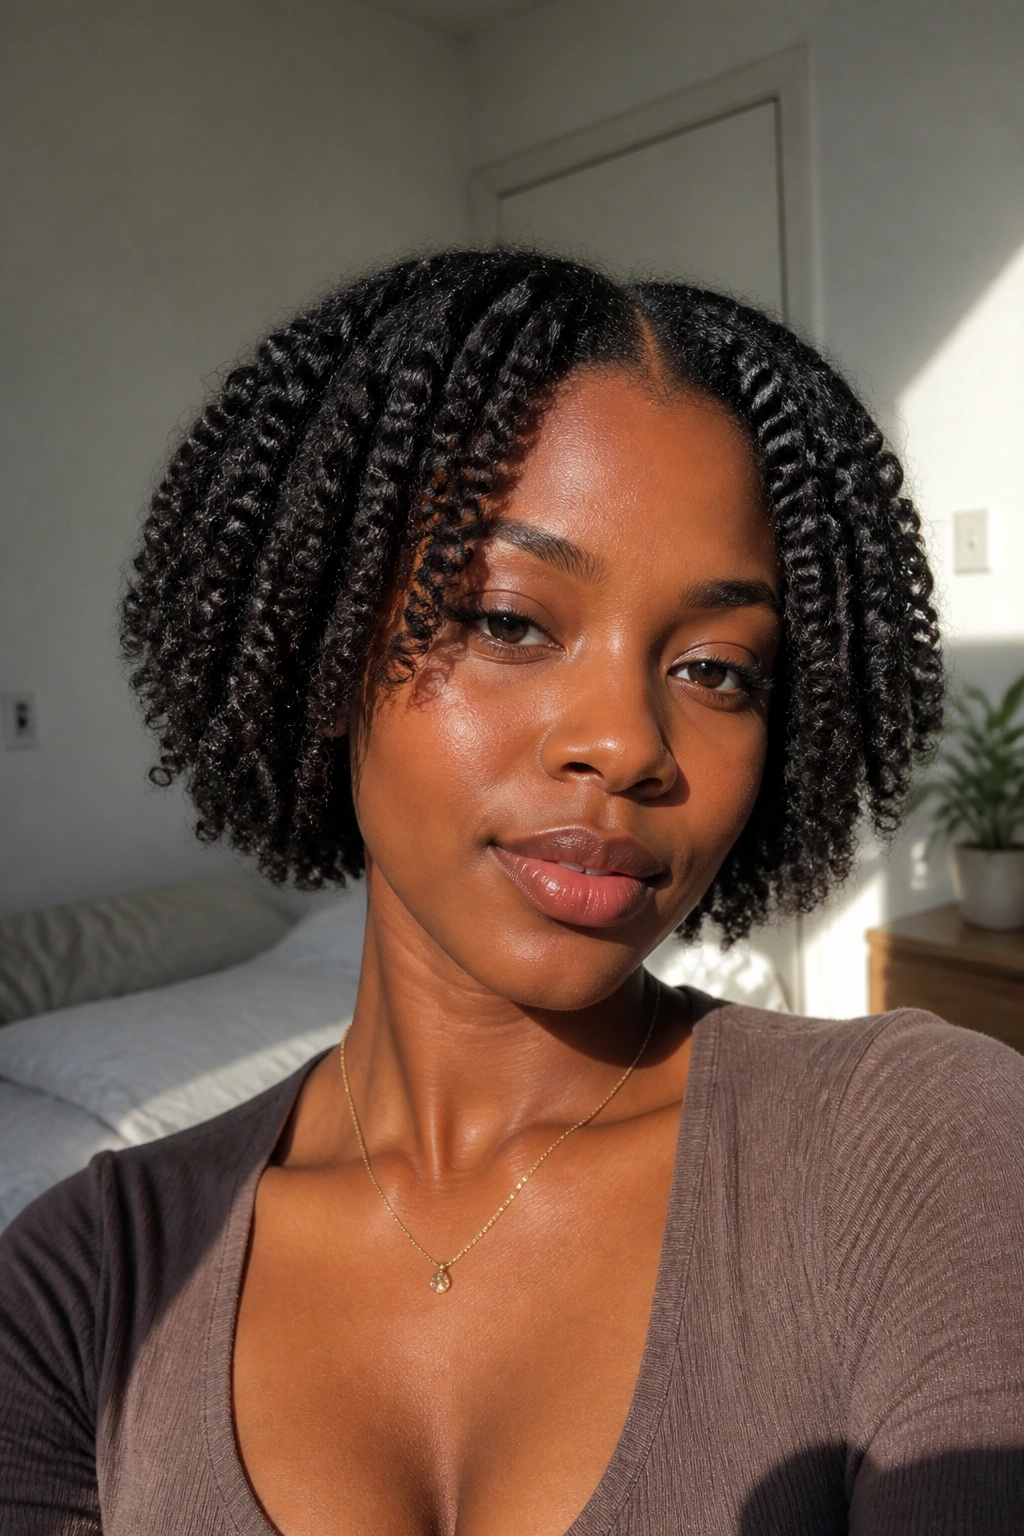
A twist out bob sits close to the jaw and moves like a soft cloud. The shape feels tidy, but the texture keeps it from looking severe, which is exactly why it works so well on 4C hair.
If your hair is naturally bob-length, the style almost makes itself. If it is longer, you can fake the shape by twisting the nape a little tighter, letting the sides fall at the jawline, and tucking the longest pieces under with a couple of flat pins.
The clean part is what matters here. Center or side, choose one and keep it. A bob twist out looks best when the outline is easy to read, even if the curls themselves are fluffy and a little uneven.
This style is especially good when you want movement near the face without the bulk of a full-out big twist out. It feels neat without being stiff. And that’s a rare balance.
12. Tapered Cut Twist Out
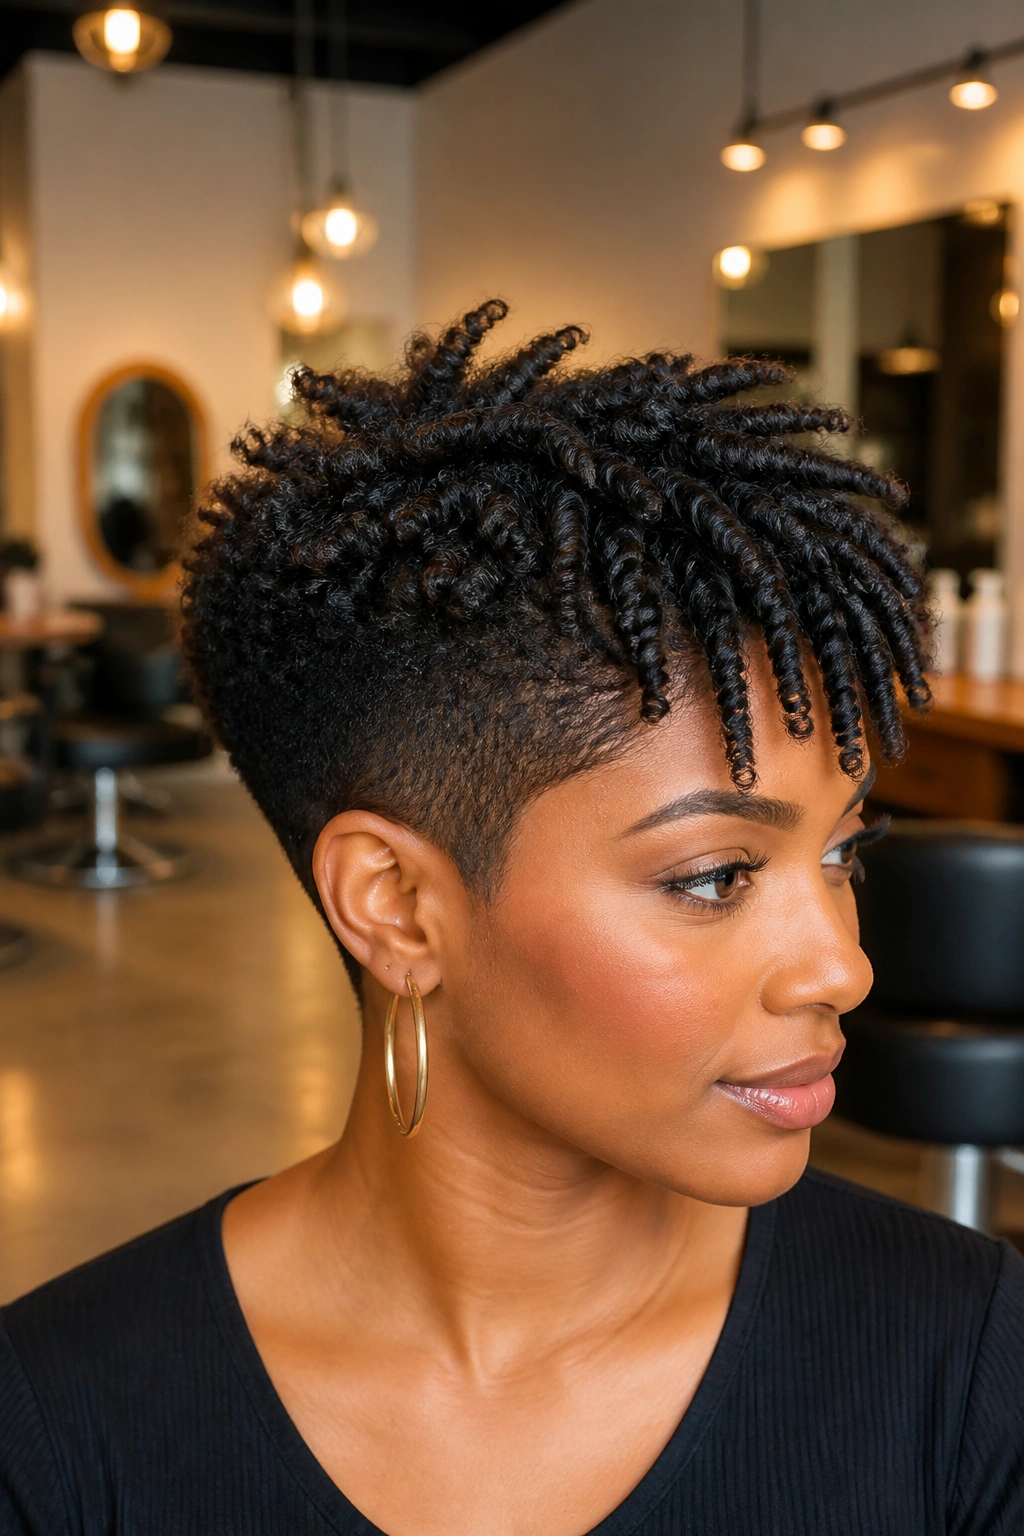
Tapered cuts make twist outs look more expensive than they are. The shorter sides and back frame the longer top section, so the texture on top gets all the attention and the whole shape feels sculpted.
The top needs the most work here. Twist it in smaller sections if you want clear definition, or go medium-sized if you want more height and less separation. The faded sides should stay neat, so use only a small amount of product there — enough to smooth, not enough to weigh the hair down.
A tapered cut twist out looks sharp because the hair is already giving you a shape before you even separate it. That saves time in the morning. It also means you can fluff the crown without worrying about the sides getting too wide.
If you wear a tapered cut, this is probably the easiest style on the list to keep looking intentional on day two. The cut does half the work. Nice when the haircut pulls its weight.
13. Twist Out With Bangs
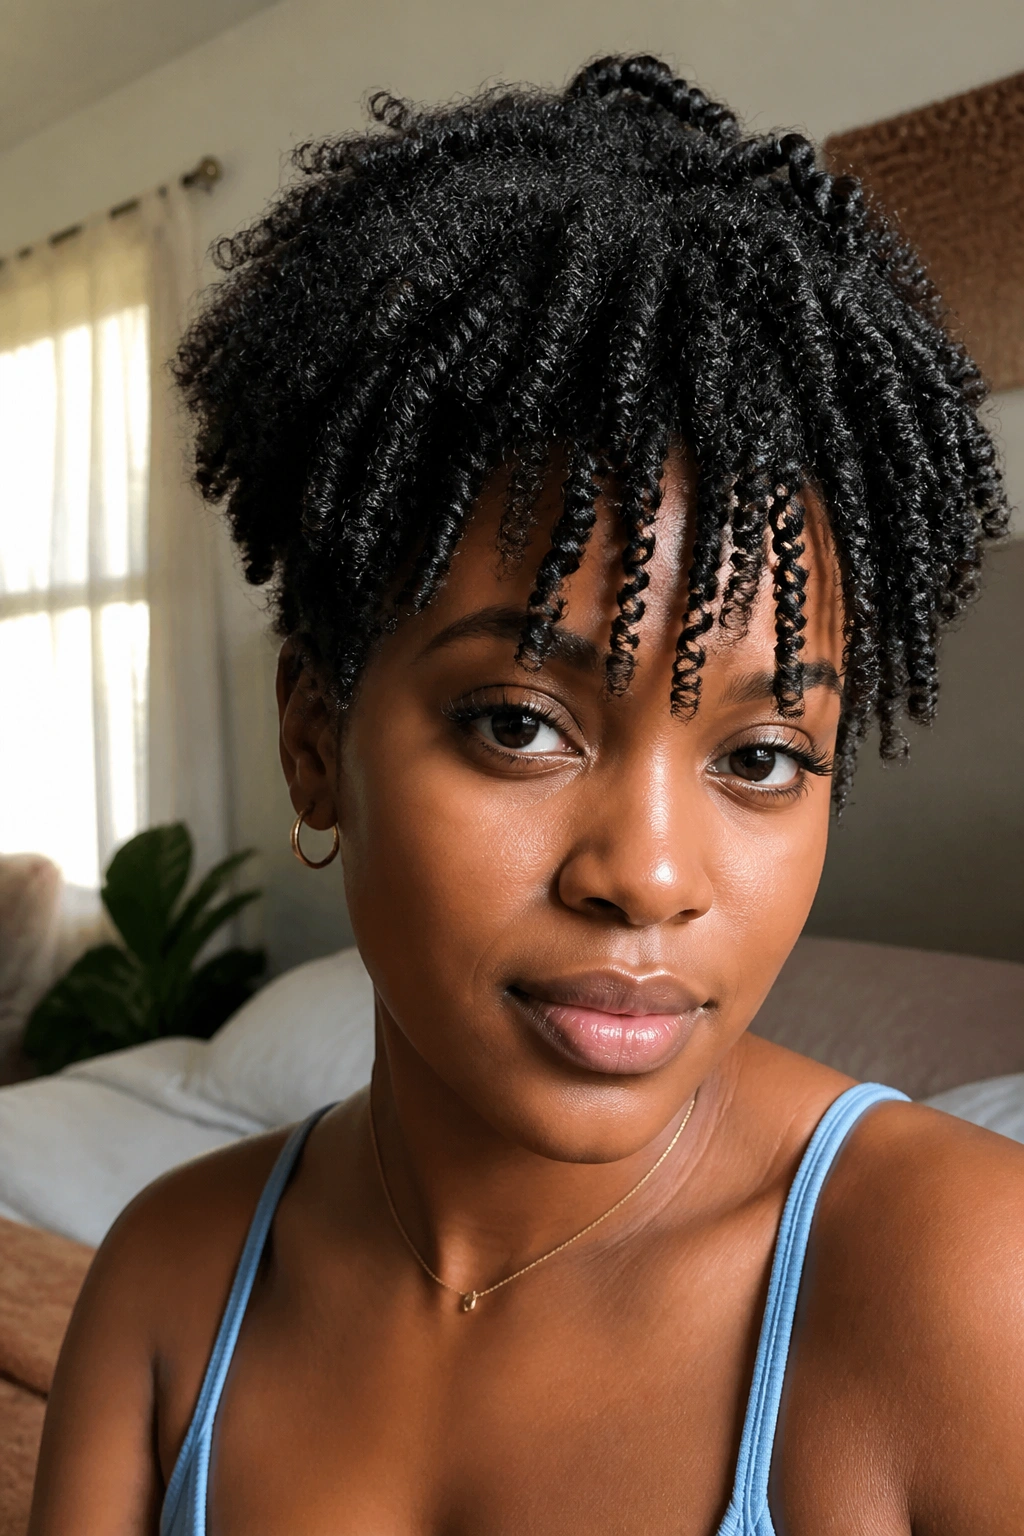
Can a twist out fake bangs without a cut? Yes, and on 4C hair it can look surprisingly good when the front is handled with care.
Twist the front section forward instead of away from the face, then let the shortest front pieces fall loose enough to brush the forehead. If your hair is layered, this gets even easier because the shorter pieces naturally fall into a fringe shape.
Keeping the fringe soft
Use smaller twists only in the bang area so the front does not swell too much. If you twist those pieces too chunky, the fringe turns into a front pouf. Not the same thing.
Pin the ends away from the face while they dry, then separate the front gently with oily fingertips. That keeps the fringe soft and a little piecey instead of blunt. The rest of the twist out can stay fuller and bigger.
Bangs like this are handy when you want shape around the eyes and cheekbones without cutting anything. Temporary fringe. Smart move.
14. Twist Out Low Bun
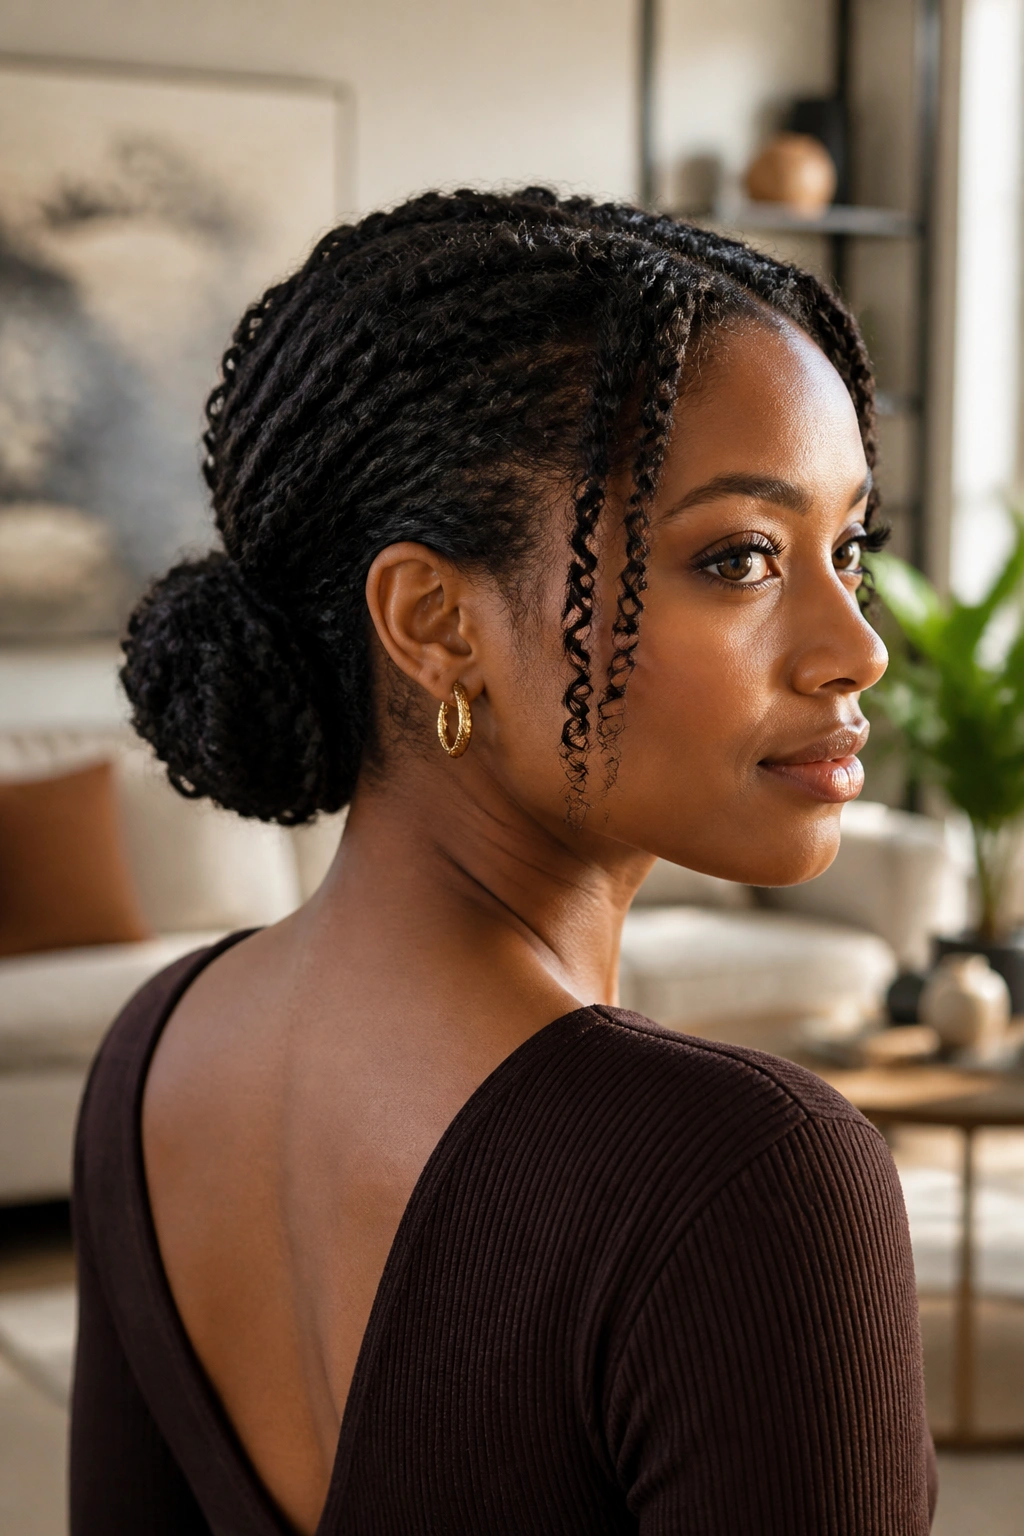
When humidity creeps in, the low bun is the style that still looks deliberate. It takes the twist out texture and pins it low at the nape, which gives you polish without forcing the hair to stay loose all day.
The shape works best if the twist out is already stretched a bit. Gather the hair low, then fold the lengths into a bun or tucked roll. Leave a few face-framing pieces free if you want softness around the hairline.
This is where pins matter more than elastics. Use U-pins or bobby pins to lock the bun shape without smashing the texture. A tight elastic can leave a dent that takes forever to disappear.
- Keep the bun low and centered.
- Pin from underneath so the top stays smooth.
- Tuck the ends in small loops, not one big fold.
- Use edge control only on the front hairline.
The result is calm, clean, and practical. Also handy when your twist out is too good to fully hide under a scarf.
15. Twist Out Pineapple
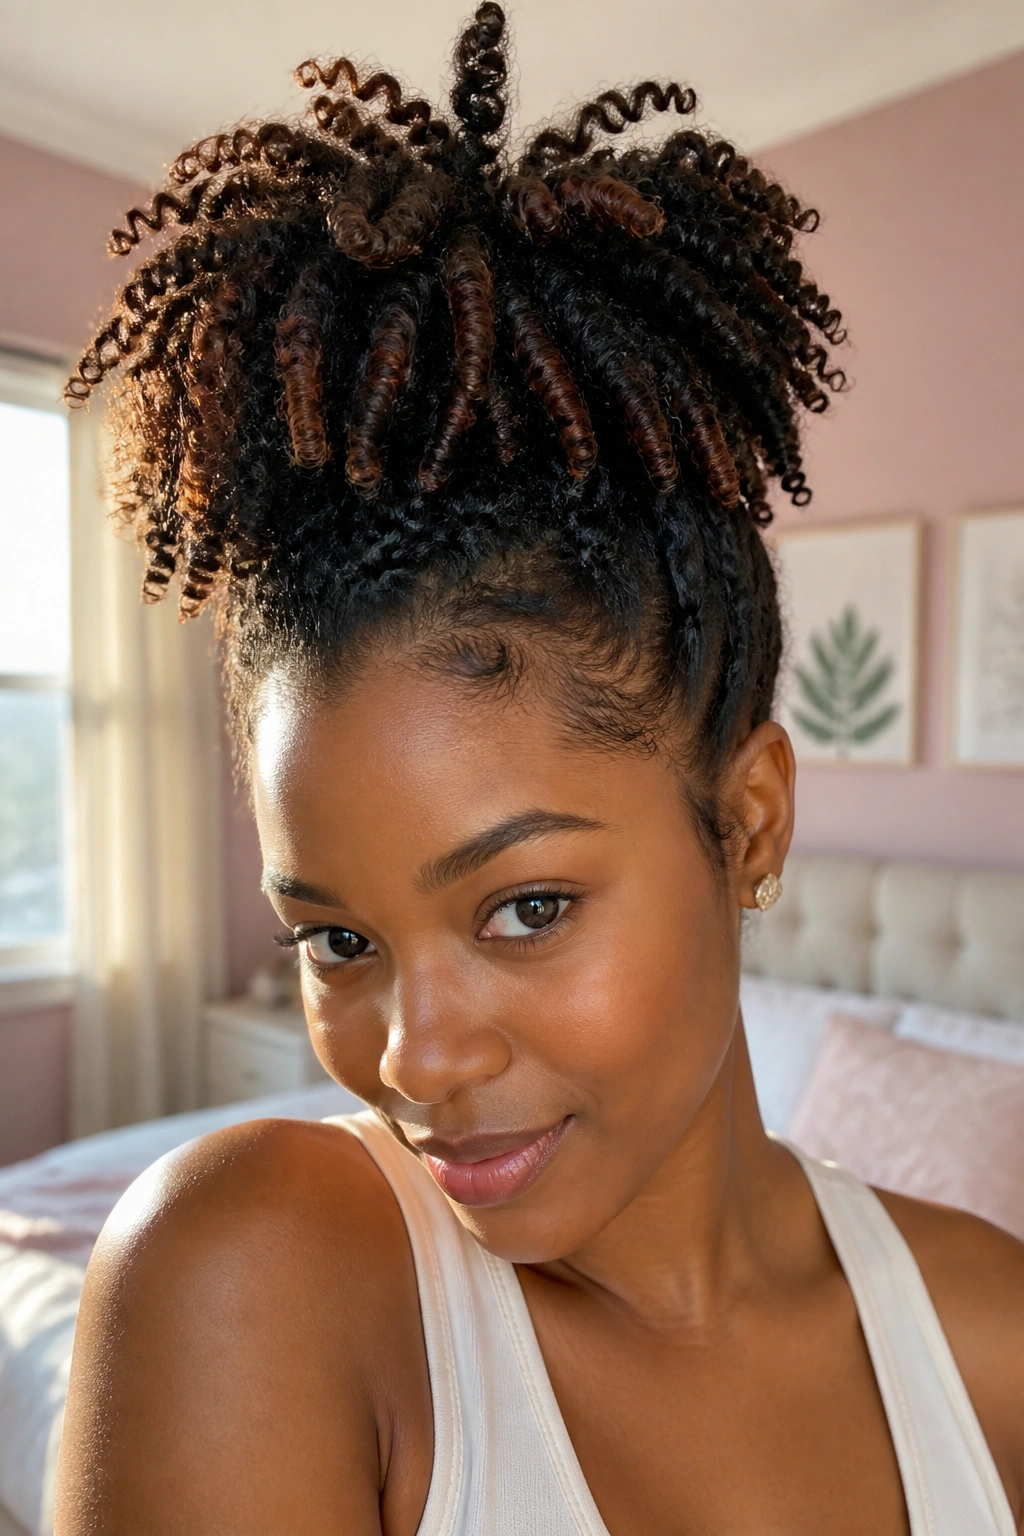
A twist out pineapple is the loose, high, slightly messy version that keeps the curls sitting up and away from your face. It is one of the easiest ways to keep volume while protecting the shape overnight or wearing it as a daytime style.
The difference between a pineapple and a high puff is softness. A puff gets smoothed and gathered. A pineapple stays more relaxed, with the twist out texture still visible and the lengths allowed to spill upward instead of being fully controlled.
Messy is the point.
Use a loose satin scrunchie or scarf tie, place it near the crown, and let the hair fan upward. If the front pieces fall too hard into your face, tuck just those under the band or pin them lightly at the sides.
This style works well when you want the twist out to keep moving. It also keeps the ends from rubbing against collars, which is a small thing that makes a real difference.
16. Accessorized Twist Out With Cuffs
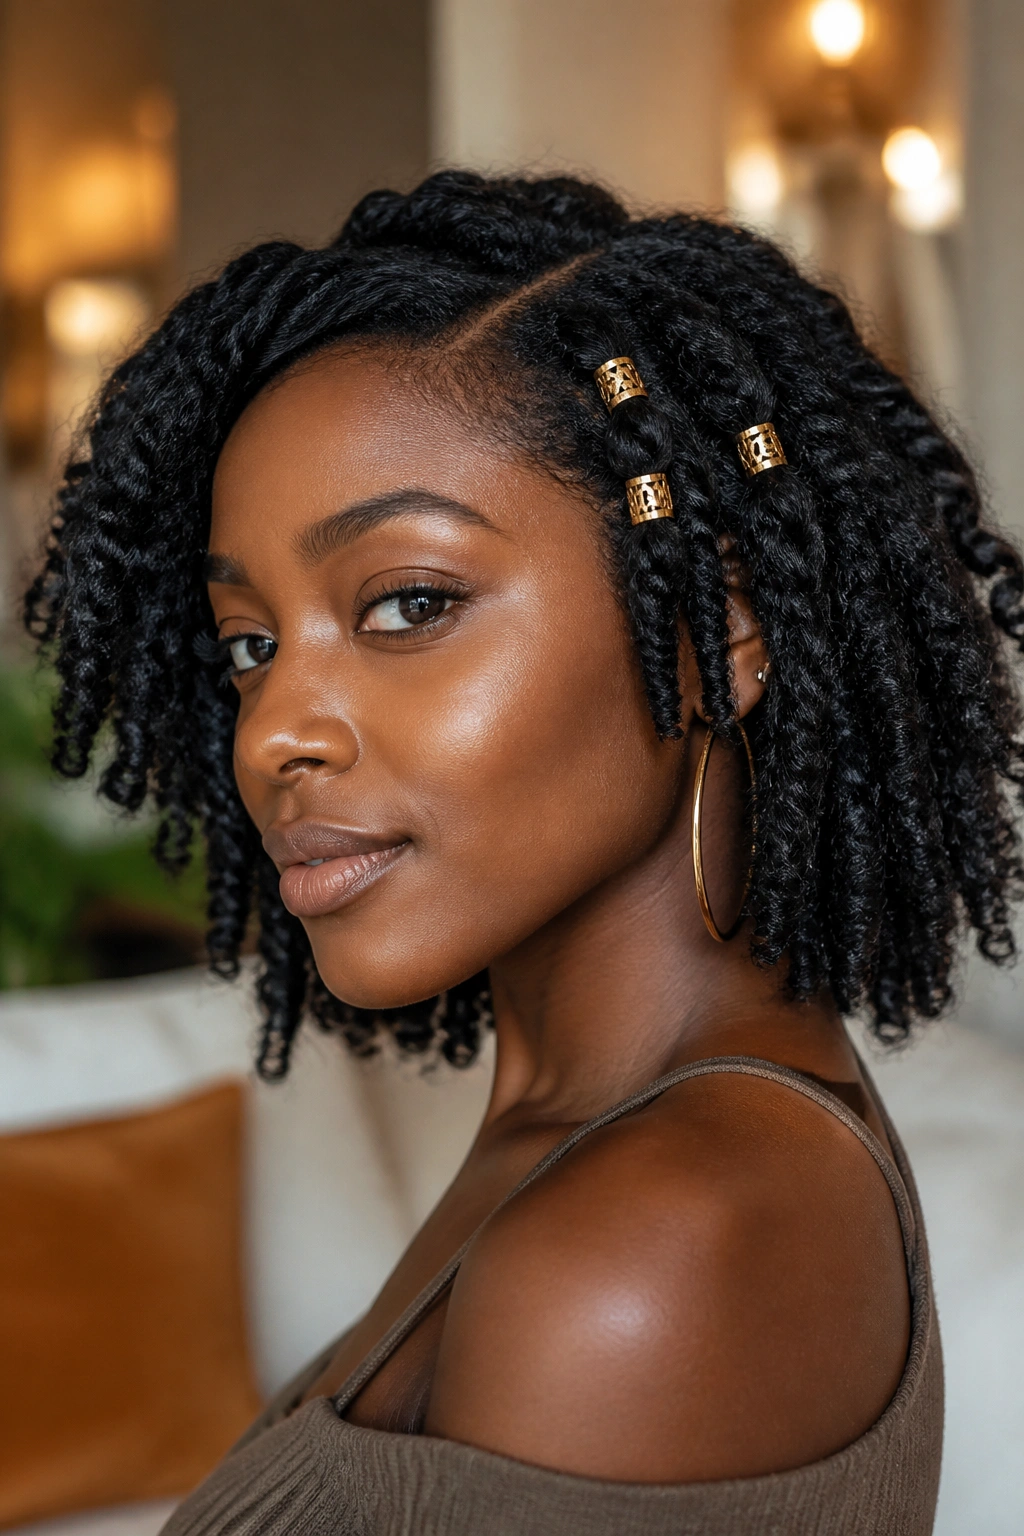
Hair cuffs change the whole mood of a twist out. Same texture. Different attitude. A few gold cuffs, a fabric headband, or a slim scarf can make 4C hair feel dressed without hiding the work you put into the twist pattern.
The trick is restraint. Too many accessories can crowd the style and make the twists look busy instead of styled. Pick one focal point — maybe two cuffs on each side, or a headband with the rest of the hair free — and let the texture stay visible.
This version is good when the twist out itself is simple and you want a little extra interest without changing the shape. It also helps when the roots are soft but the ends still look fresh. Add a cuff near the part or along one side, and suddenly the whole style reads intentional.
- Place cuffs where the twist is thick enough to hold them.
- Use one metallic tone instead of mixing everything.
- Keep earrings smaller if the hair accessories are loud.
- Let at least half the texture stay bare.
That balance matters more than people admit.
17. Twist Out on Short TWA
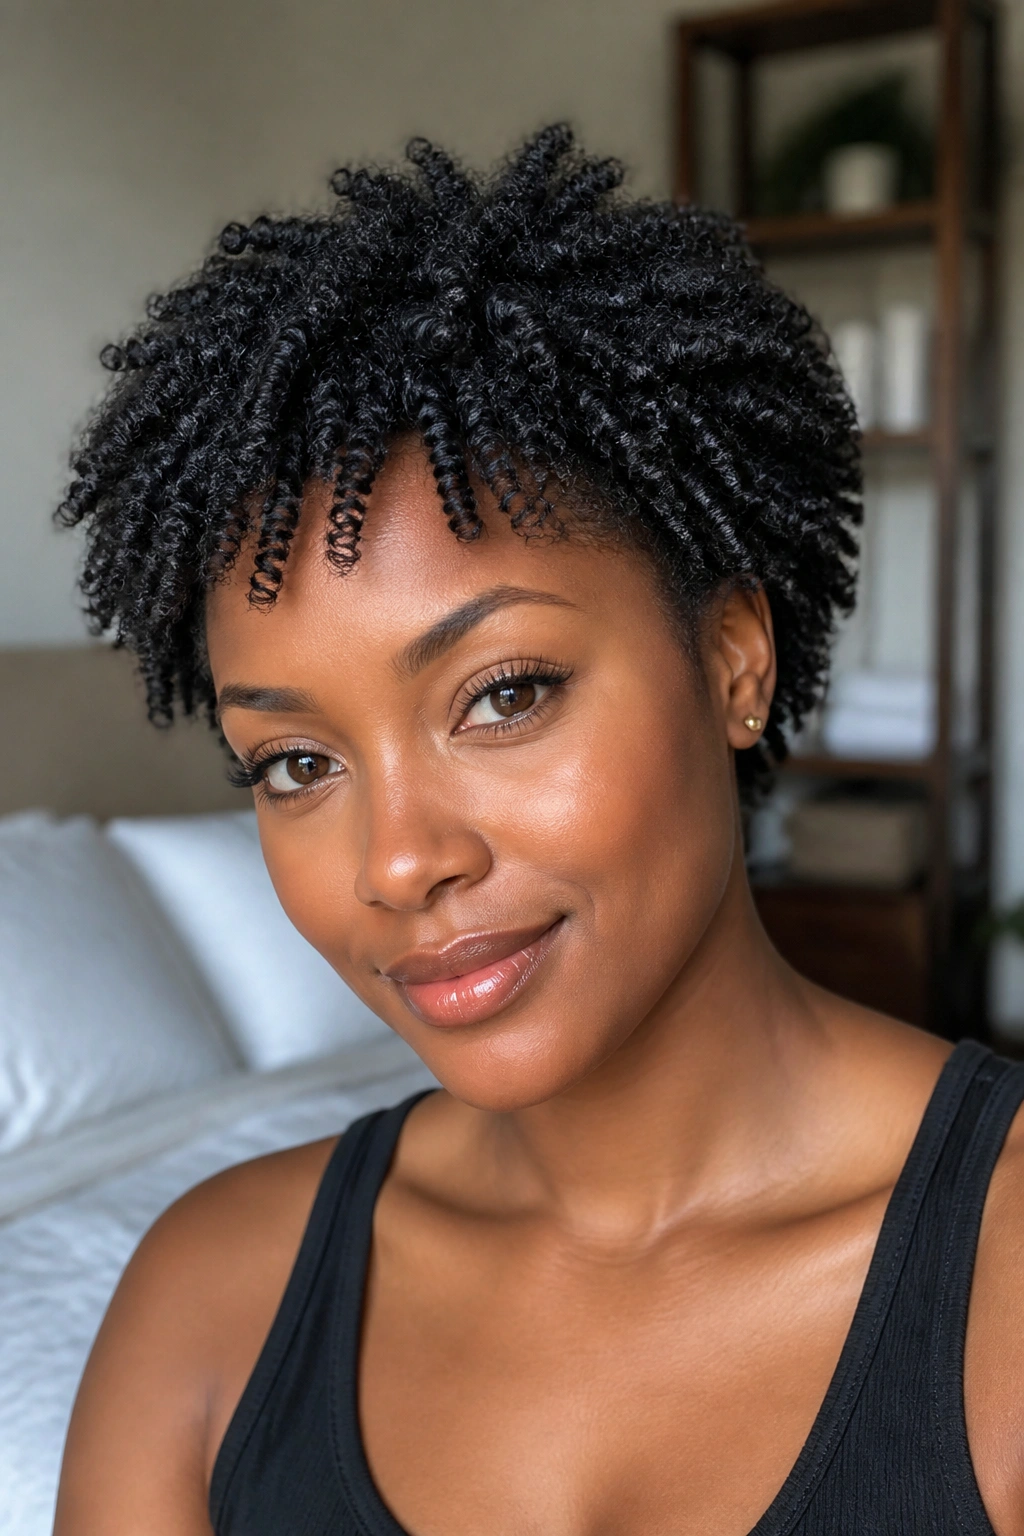
Short hair can still hold a twist out. In fact, a TWA twist out can look sharper than a long one because the pattern sits close to the scalp and every coil shows up clearly.
Use tiny two-strand twists on hair that is roughly 1 to 3 inches long. The sections need to be small enough to hold shape, but not so tiny that the style turns into a tiny tangled puzzle when you separate it. That line is thinner than it looks.
What makes short hair different
You cannot fight the shrinkage on a TWA. So don’t. Work with it. Let the style become a fluffy halo, and use your fingers to separate the twists once they are dry, rather than pulling at them with a comb.
A soft cream with a little hold is enough here. Heavy product will flatten the short coils and make the twist out lose the little ridge that gives it personality. If you want extra lift at the roots, use a pick only at the very base, not through the whole head.
This style is proof that length is not the main event. Texture is.
18. Twist Out Updo With Pinned Sides
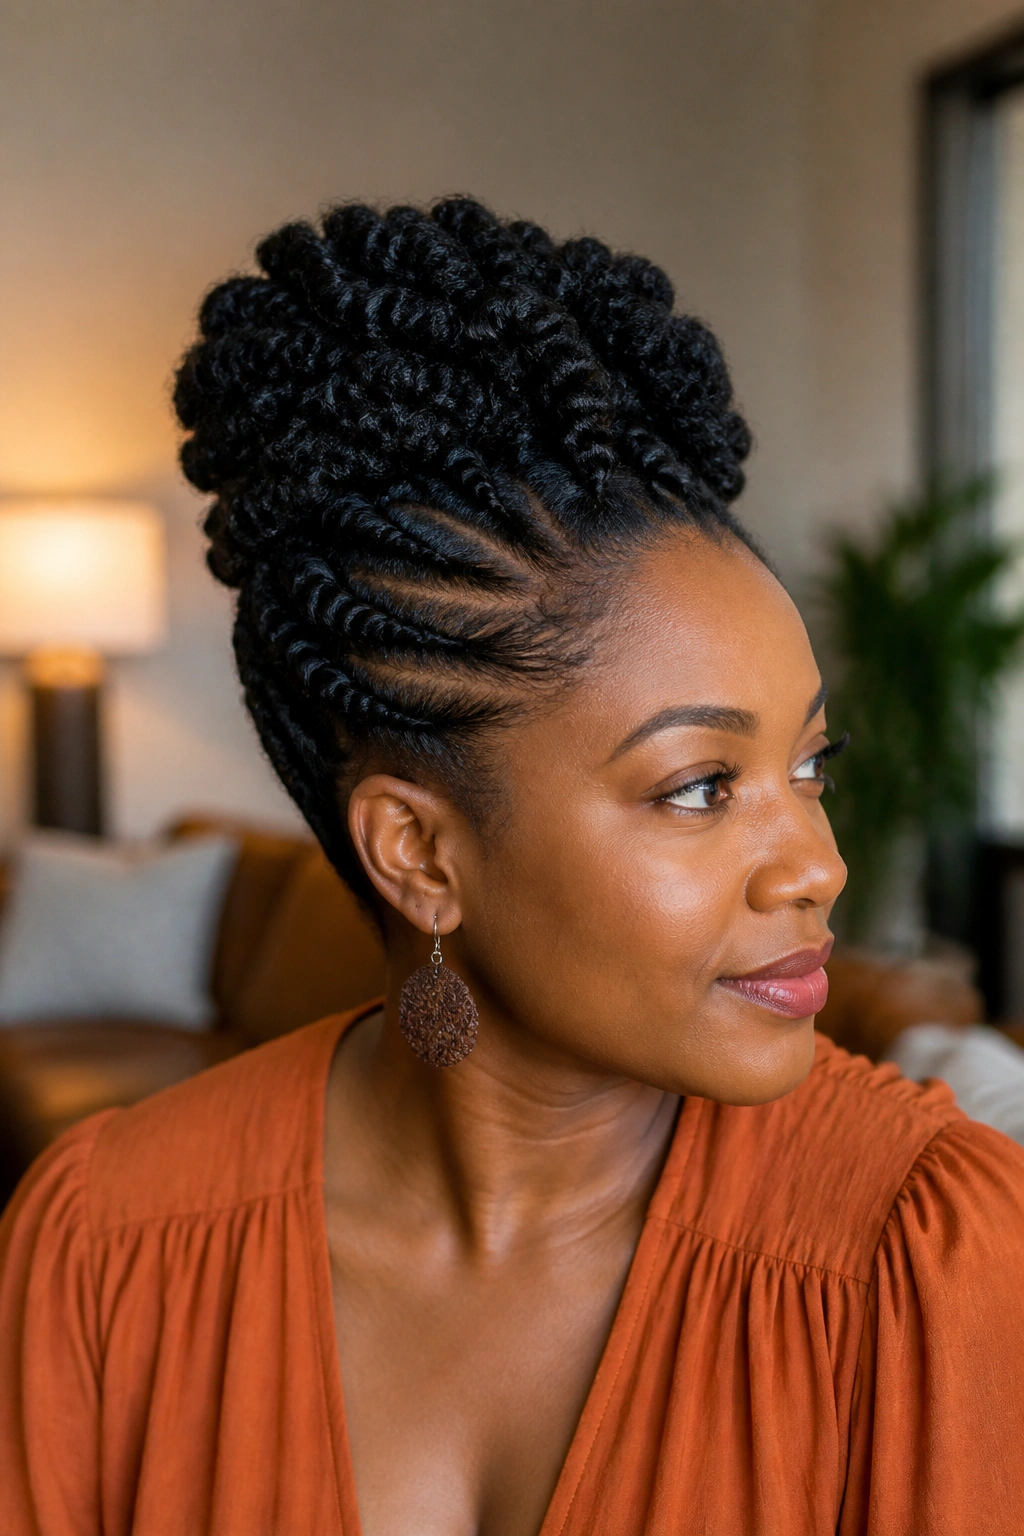
This is the style I reach for when I want the twist out to look finished, not accidental. The sides get pinned up, the crown stays full, and the whole shape feels more dressed up than a regular loose twist out.
Start with a twist out that has enough stretch to fold back without breaking the shape. Then sweep each side toward the back, crossing or tucking the twists so the center stays tall. A few pins hidden under the top layer keep the structure in place without killing the texture.
If your hair is dense, this style gives you a way to use the volume instead of fighting it. The updo can sit high and rounded, or lower and smoother, depending on how much of the nape you want to show.
It is also one of the better options when you want the twist out to last through a long day. If the style starts to loosen later, it still looks good because the shape is already built to handle a little extra puff. That’s the kind of ending a twist out deserves.
