



A braid can do a lot of heavy lifting on a bad hair day. It can keep layers out of your face, hide greasy roots, make fine hair look fuller, and turn a plain outfit into something that feels thought-through.
The nice part is that braid hairstyles are not limited to one hair type or one length. Straight hair, curly hair, coily hair, thick hair, fine hair — they all take to braiding in different ways, and that’s half the fun. A clean part, a little grip, and steady hands matter more than fancy tools.
Some braids are practical. Some are polished. A few are more decorative than secure, which is fine if you know what you’re getting into. The styles below cover the easy everyday options, the ones that stay put, and the braids that look complicated even when they’re not. Start with the simplest one first, because the hand pattern matters more than people think.
1. The Classic Three-Strand Braid
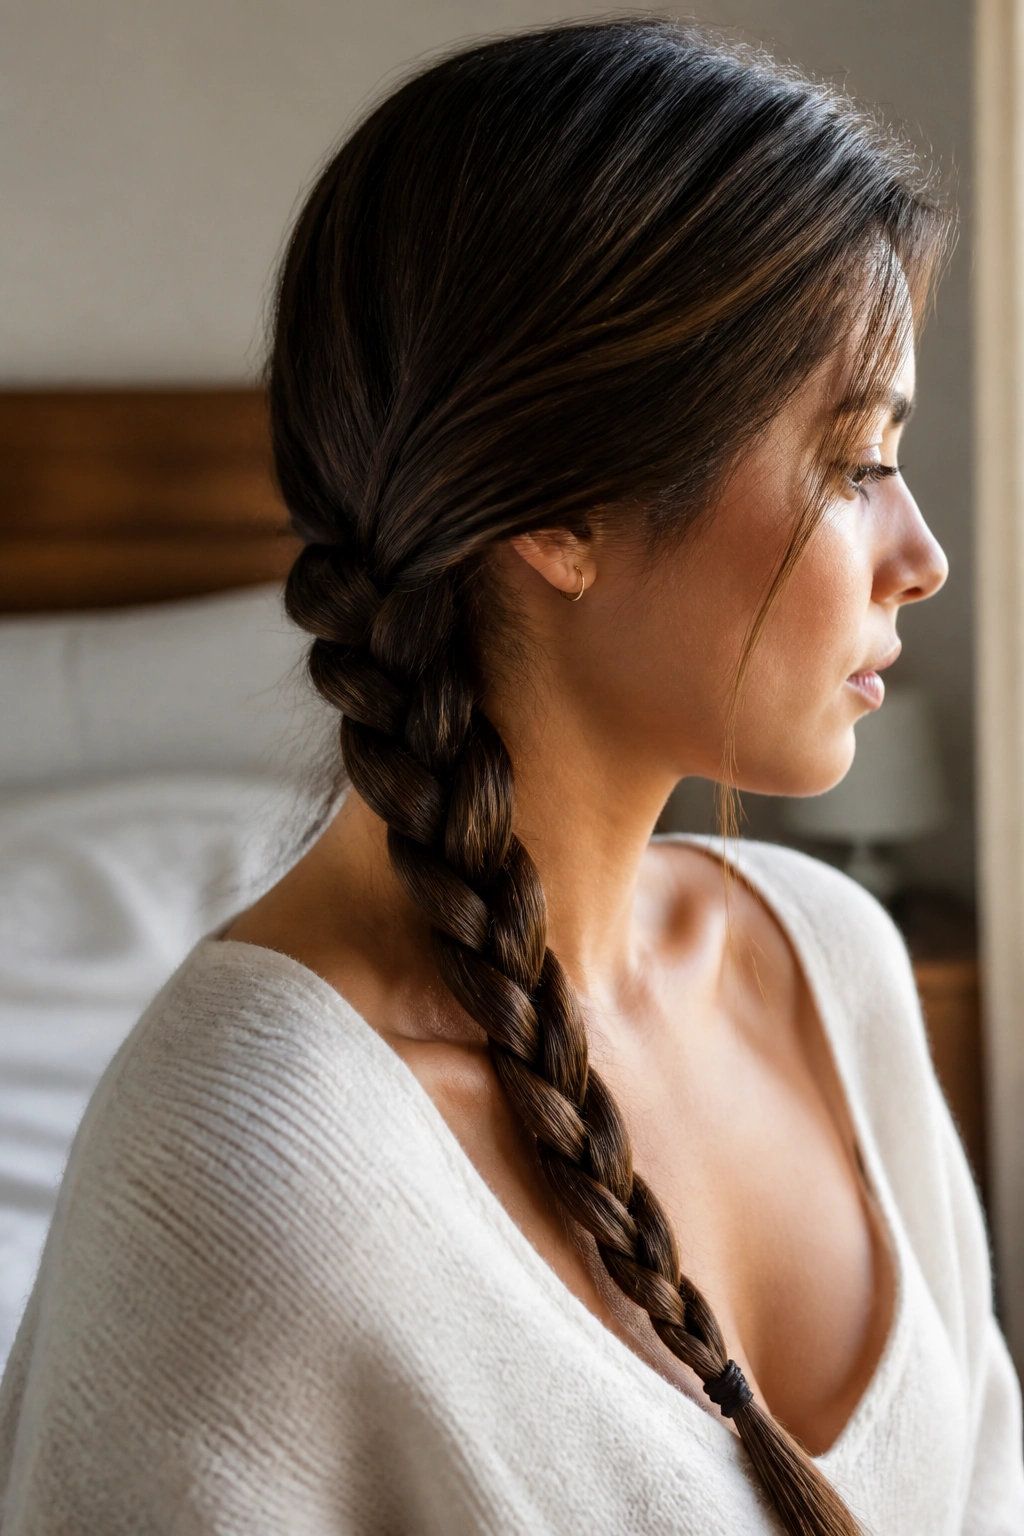
Every other braid hairstyle borrows from this one. If you can separate hair into three even sections and keep your hands from drifting all over the place, you already know the hardest part.
Why It’s Worth Learning
The classic braid is the cleanest place to start because it teaches tension. Too loose, and it falls apart into fuzz. Too tight, and the braid gets stiff, which is how people end up with a sore scalp by lunchtime.
This style works on hair that’s a little dirty, a little dry, or slightly damp. In fact, day-old hair often braids better because it has more grip. Freshly washed hair can slide around and split at the ends.
Quick details that help
- Use a small elastic at the bottom, not a thick one that bulks up the tail.
- Keep your sections even from the start; uneven sections show up fast.
- If your ends slip, smooth a pea-sized amount of cream or leave-in through the last 2 inches.
- Braid with your hands close to the nape if you want a neat finish.
My one non-negotiable tip: stop re-pulling the braid apart every few seconds. Tighten as you go, then leave it alone. Constant fiddling makes the braid look messy in the wrong way.
2. The French Braid
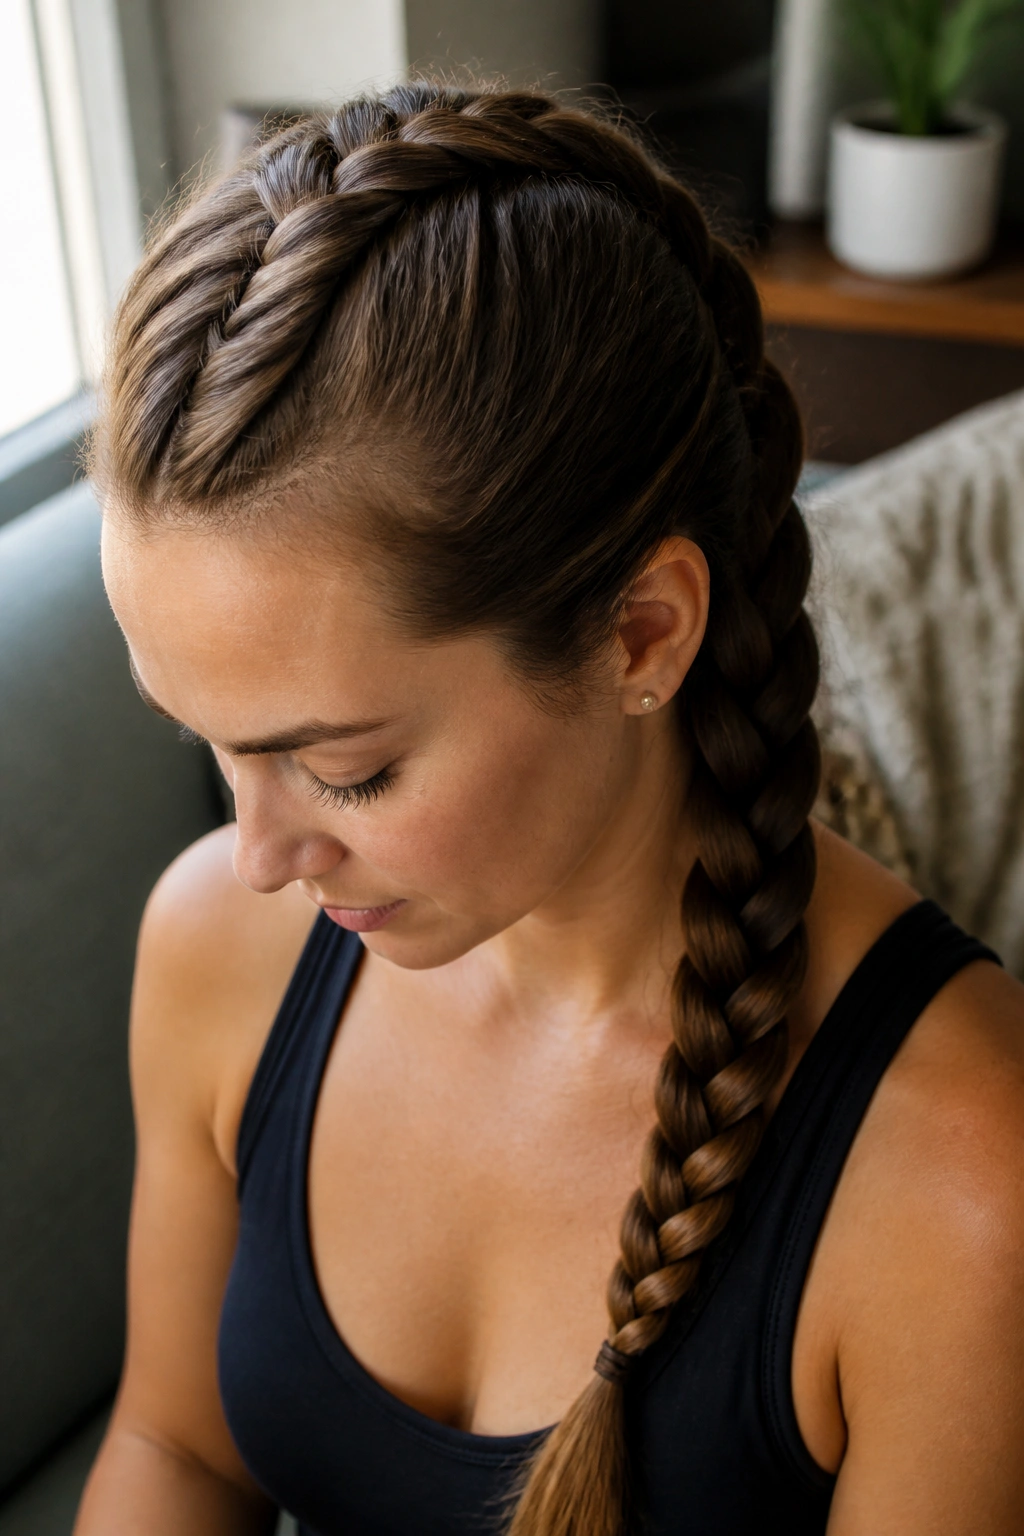
A French braid looks fancy because it sits flat against the head, but the actual pattern is straightforward: you keep adding hair from the sides as you braid downward. That steady pickup motion is what gives it that smooth, tucked-in look.
It’s a smart choice when you want hair off your face without putting it into a ponytail. The braid can start at the crown for a sleeker finish, or lower down if you want something softer and less severe. Either way, the braid grows into itself, which is why it stays put better than a loose plait.
I like this style for straight, wavy, and medium-density hair because it holds shape without needing a gallon of product. Curly hair can wear it well too, though the surface texture changes the look. That is not a flaw. It’s the point.
For the neatest result, section the top of the head with a tail comb first. Then add hair in small, even pieces from each side instead of scooping in big chunks. Big sections make the braid lumpy, and once that happens, you spend the rest of the style trying to hide it.
3. The Dutch Braid
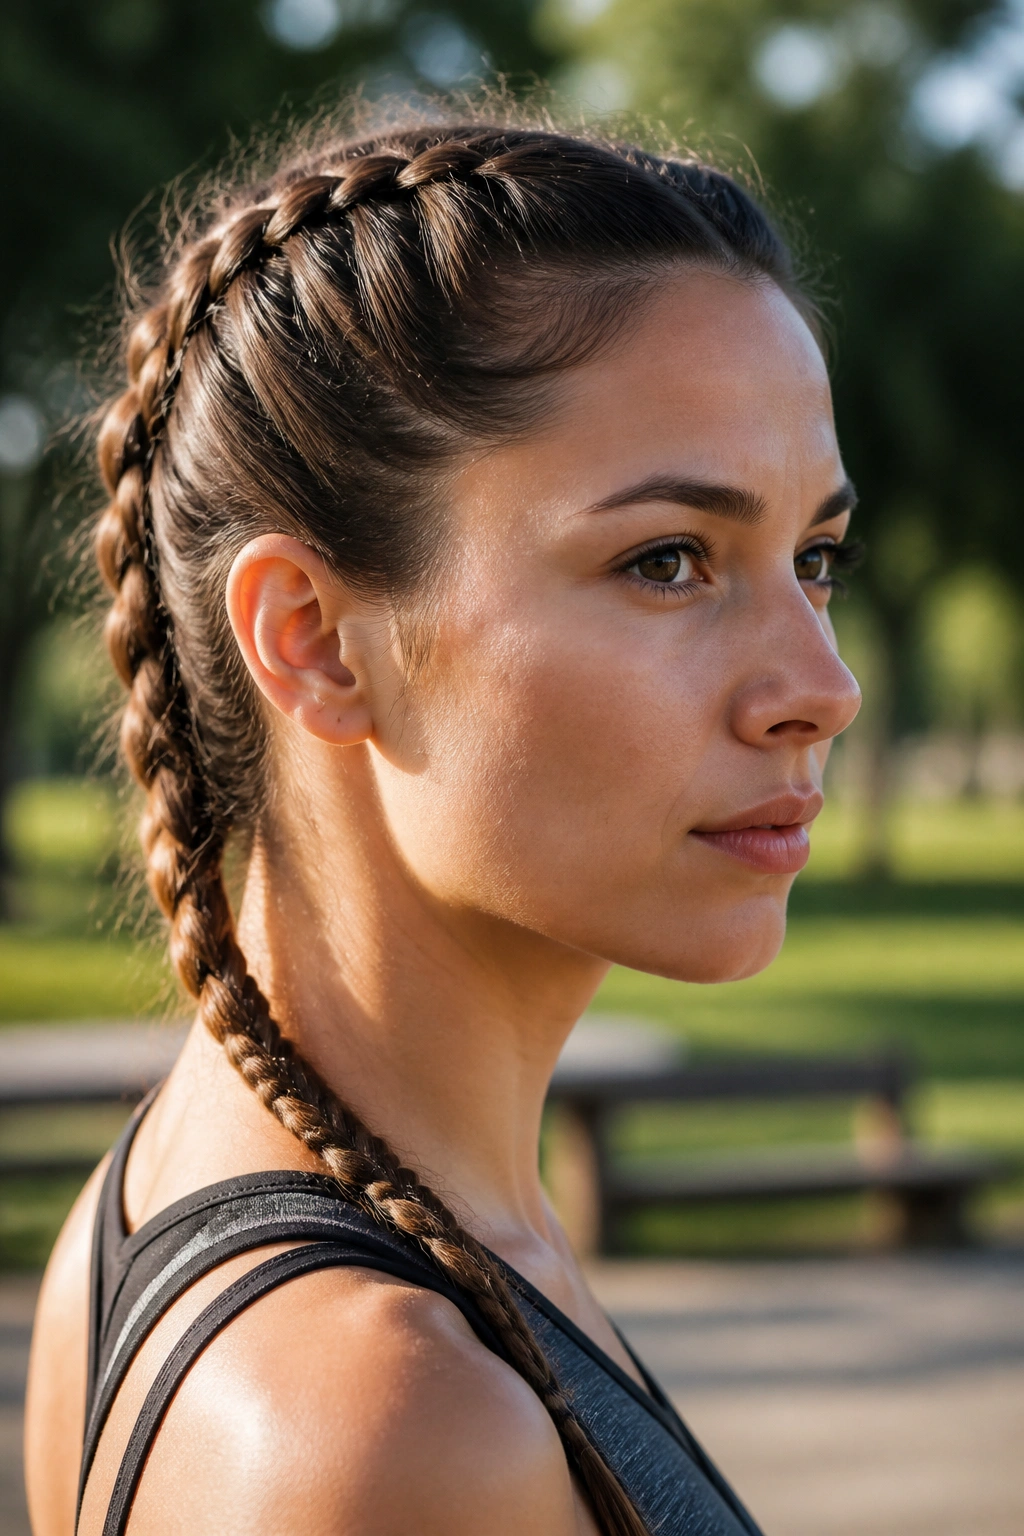
Why does a Dutch braid pop off the scalp while a French braid lies flat? Because the strands cross under instead of over. That one change gives the braid its raised, rope-like look, and it makes the whole style read bolder from across the room.
Dutch braids are a favorite when you want visible texture. Fine hair suddenly looks thicker. Dark hair gets a stronger outline. Thick hair gets structure instead of a big shapeless mass.
How to wear it
Start with a clean middle part if you want two braids, or begin at the hairline if you only want one. Pick up small pieces from each side, keep the tension steady, and don’t rush the first few inches. That first section sets the tone for the whole braid.
If you’ve only ever done a French braid, this can feel backward for the first five minutes. It isn’t harder, though. It just asks your fingers to move in the other direction, and your hands need one or two tries to stop fighting that change.
The style is especially good for workout days and windy weather. It holds better than a loose braid and looks intentional even when a few flyaways escape. That bit of messiness suits it.
4. The Fishtail Braid
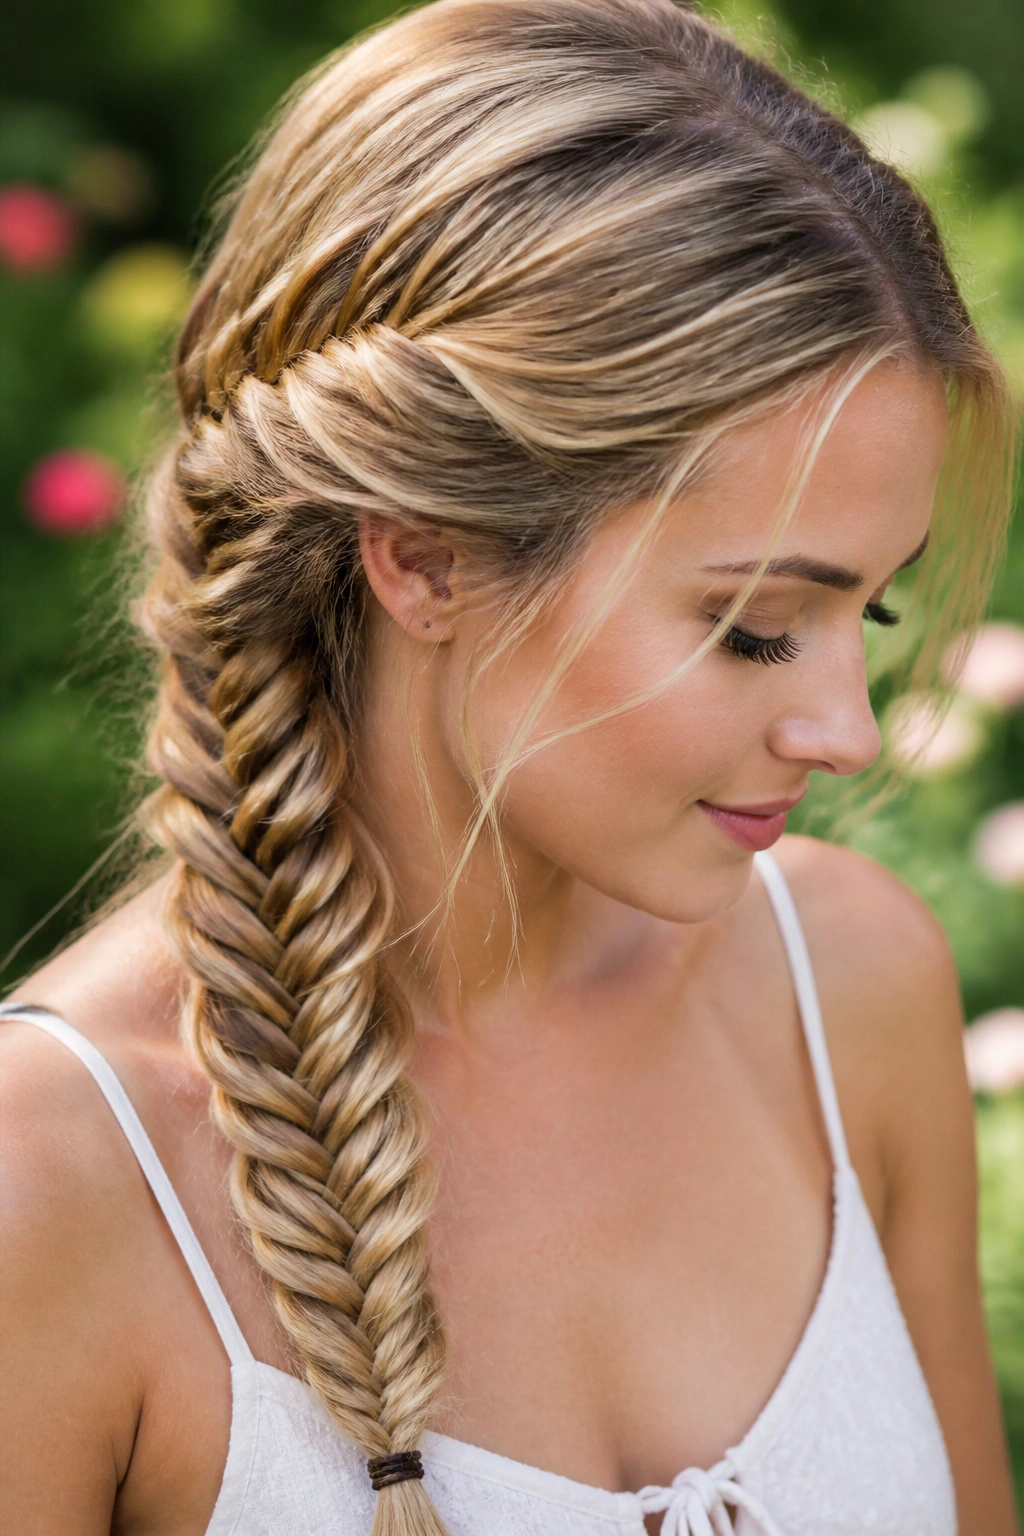
A fishtail braid looks intricate because it uses tiny sections, but the pattern is simple enough to learn at a kitchen table with no mirror panic involved. You split the hair into two sections, then keep crossing small outer pieces over to the opposite side.
I remember the first time I watched someone do one on long hair. It looked like magic from the back, and then I saw the hand movement up close. Small piece from the left, over to the right. Small piece from the right, over to the left. That’s the whole trick, and the braid gets prettier the more irregularly neat it is.
What makes it different
- It has a flatter, more detailed surface than a classic braid.
- It needs a little more time, but not a lot more skill.
- It works best on medium to long hair because short layers pop free fast.
- A mist of texturizing spray can help if your hair is silky and slippery.
The best fishtails are not pin-straight and perfect. They have a slightly broken, woven look that catches light in a subtle way — not shiny, more textured. If you want the braid to feel fuller, pull the edges apart after you secure the end, not before. That keeps the shape intact.
5. The Side Braid

A side braid has a quieter mood than a braid down the back. It sits over one shoulder, brushes against your collarbone, and makes even a basic T-shirt feel a little more put together. No drama. No extra fuss.
What I like about this one is that it works when your hair is not cooperating. Layers can slip out. Ends may be uneven. The braid still looks good because the off-center placement makes everything feel intentional, even when it’s not perfectly tidy.
It also gives you room to play. You can make it sleek and low, start it behind one ear, or pull it loosely for a softer shape. A side braid works well when you want your hair down but not in your face, which is a very specific need and an extremely common one.
A lot of people overthink this style and start with hair that’s too clean and too smooth. Slightly lived-in hair is better. A tiny bit of texture gives the braid a shape it can hold onto. If your hair is freshly washed, a light spray or a dusting of styling powder at the roots helps more than a whole head of product.
6. Boxer Braids

Boxer braids are basically two tight Dutch braids, and they earn their reputation by staying put. They’re the braid hairstyle you reach for when you want zero hair in your face and no loose ends whipping around while you move.
Unlike looser styles, boxer braids are built for security. The tension is firmer, the parts are cleaner, and the braids hug the scalp from front to nape. That makes them good for long walks, workouts, and long days when you do not want to think about your hair every ten minutes.
They suit straight hair, curly hair, and coily hair, but the finish changes a lot depending on texture. On fine hair, they look sleek and sporty. On thick hair, they look fuller and more graphic. On textured hair, they can be a protective style if you keep the parts gentle and avoid dragging the braid too tight at the hairline.
If you want them neat, use a tail comb and part the hair down the center first. Then mirror your section sizes on both sides. One braid with a fat front piece and the other with a skinny one will bother you the entire time. It’s one of those small things that makes a huge visual difference.
7. The Crown Braid

A crown braid wraps around the head like a halo, and that shape changes the whole mood of the style. It can look formal, yes, but it can also look calm and practical if you keep it a little looser and let a few pieces move around the face.
The braid usually starts on one side, travels around the head, and gets pinned or tucked near the opposite ear. Some people use two braids and pin them across the crown. Others do a single braid and wrap it into place. Either route works.
Why people keep coming back to it
The crown braid keeps hair away from the neck, which matters more than people think when the weather is warm or the day is long. It also gives a sense of fullness at the top of the head, so it flatters hair that falls flat in other styles.
This one can be tricky on very layered cuts because the shorter pieces want to escape. Bobby pins fix a lot of that, and a few hidden pins are part of the style, not a failure. If you have shoulder-length hair, the braid may need to be pieced together with extra pinning. That is normal.
Use it when you want a braid that feels a little dressed up without turning into a fussy updo. It looks especially good with a center part and a clean hairline.
8. The Waterfall Braid
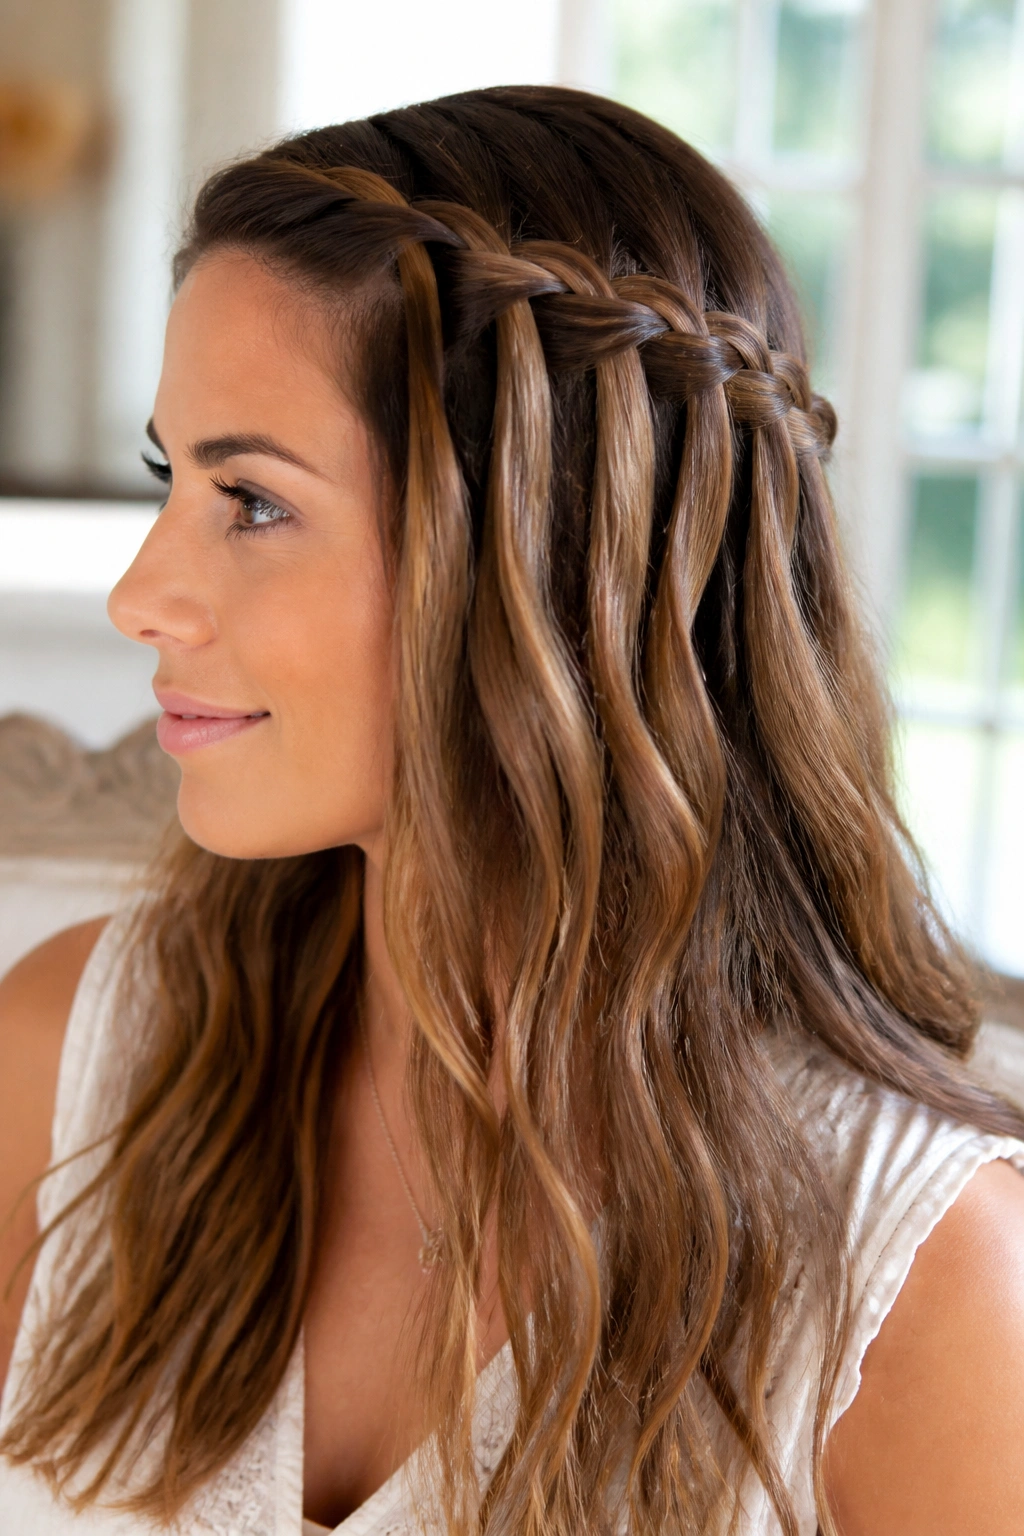
The waterfall braid is the decorative one in the group. It lets pieces drop through the braid so the hair underneath shows in soft sections, almost like the braid is sketching a line across the head instead of sealing everything in place.
That makes it less useful as a hold style and more useful as an accent. If you want every strand off your face, this is not the one. If you want a braid that looks pretty in profile and plays well with loose waves, it’s excellent.
A waterfall braid needs a little patience because the pattern depends on consistent dropping and picking up. Once the rhythm clicks, though, it becomes surprisingly repeatable. I find it works best on hair with some bend to it — straight hair can still do it, but a touch of wave gives the braid more shape.
How to get the most from it
- Curl or bend the lower lengths slightly if you want the loose pieces to sit evenly.
- Keep the braid relatively close to the hairline.
- Pin the starting point firmly; that first anchor matters.
- Use it as one side detail rather than trying to cover the whole head.
The best part is the way it softens a look without making it seem overworked. It is a small braid with a big visual effect.
9. The Rope Braid
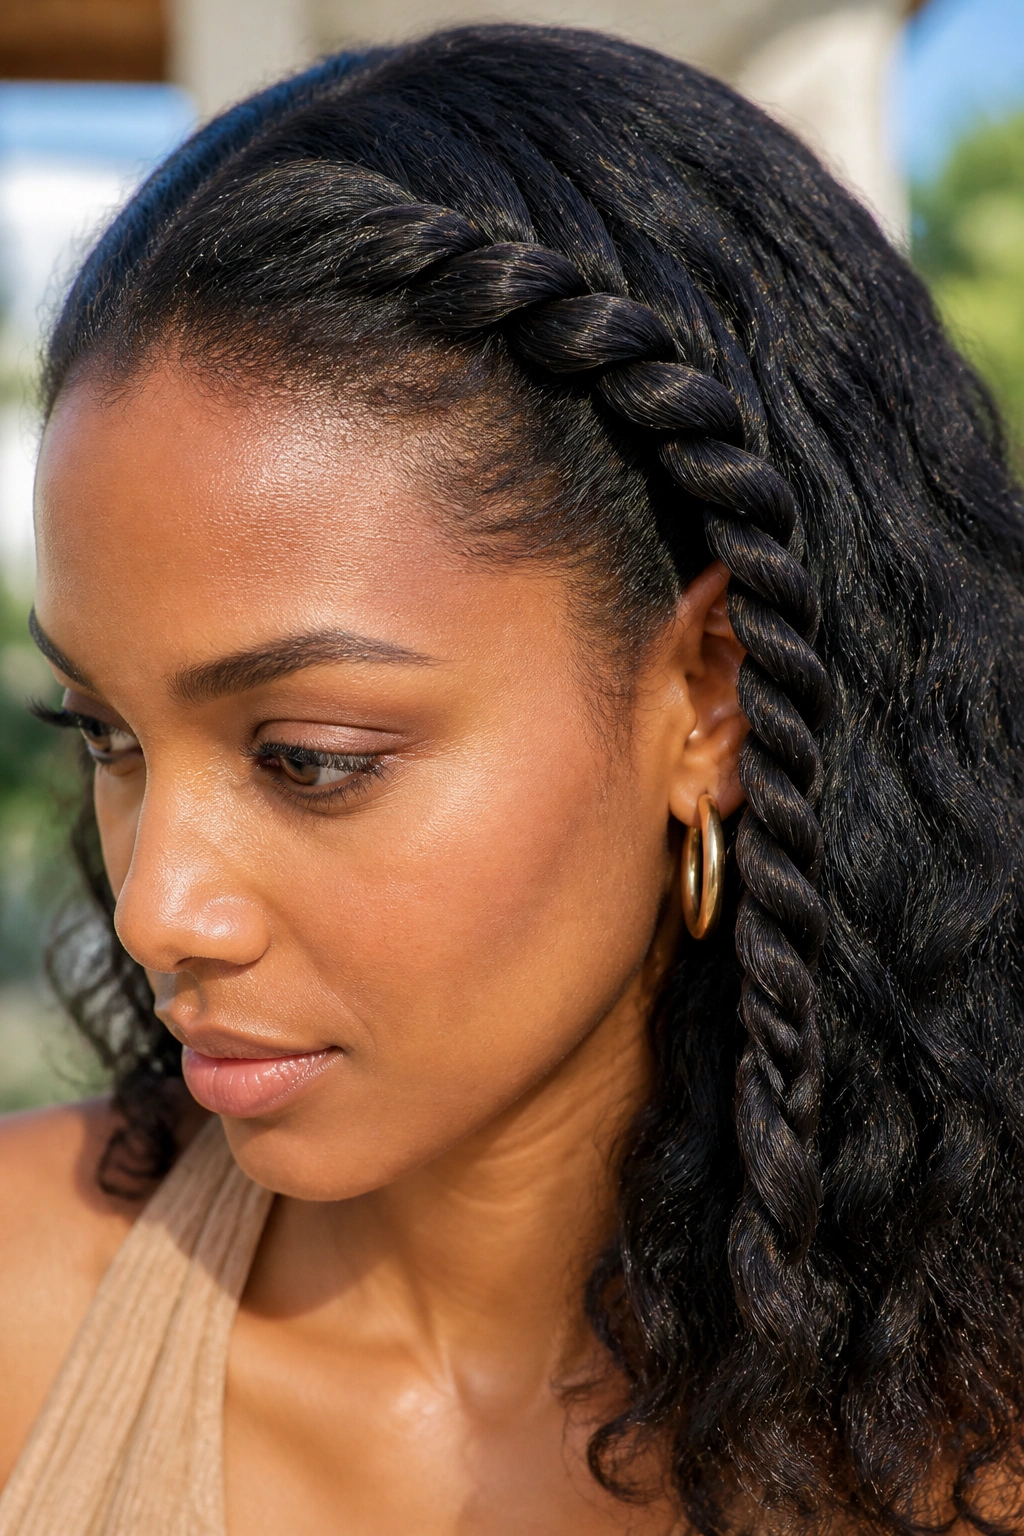
Twist two sections together and you have a rope braid. That’s it. No three-strand pattern, no complicated hand crossing, no need to memorize a longer sequence while your arms get tired.
It’s one of the fastest braid hairstyles to learn, and it has a clean, graphic look that reads polished even when it takes under five minutes. The finished twist can be done low, high, or off to one side, and it works well for kids, busy mornings, and hair that slides out of more detailed braids.
The catch is that the twist can unravel if you don’t keep the direction consistent. Both sections need to twist in the same direction before you wrap them around each other in the opposite direction. That sounds fussy written out, but your hands learn it fast.
A rope braid holds especially well on hair that has some natural texture or a little grit from dry shampoo. Slippery hair tends to loosen faster, so if your strands are fine and shiny, use a lightweight mousse first. Not a lot. A golf-ball-sized amount is too much for most people. Half that is plenty.
It’s a small style with a neat finish, and that’s exactly why it earns a place here.
10. The Milkmaid Braid

A milkmaid braid has a soft, old-fashioned feel that still looks current when it’s done cleanly. Two braids are wrapped over the head and pinned across the crown, which means the style sits between a braid and an updo.
It sounds more complicated than it is. You make two braids — usually side braids or low pigtail braids — then cross them over the top of the head and secure the ends underneath. The shape ends up framing the face in a way that can look romantic without leaning fussy.
This style is especially handy for medium to long hair because you need enough length to wrap the braids around the head. Shorter hair can still fake it with smaller braids and careful pinning, but the braid ends may need extra support. Hidden pins are doing a lot of the work here, and that’s fine.
I like milkmaid braids when the goal is to get hair off the neck but keep the style soft. It’s less severe than a bun and more contained than leaving your hair down. If you have bangs or face-framing layers, let a few pieces fall loose. They soften the whole look without making it sloppy.
11. Pigtail Braids

Pigtail braids are underrated because people often file them under “school hairstyle” and leave them there. That’s a mistake. Two braids can look neat, sporty, sweet, or protective, depending on how tightly you part them and how polished you finish them.
They work well when you want symmetry. That alone changes the vibe. A single braid can feel casual and a little undone; two braids give structure, and structure is useful on days when your hair is doing too much.
What makes them useful
- They divide the weight of thick hair more evenly.
- They keep curls or coils separated instead of mashed into one large braid.
- They can be sleek with gel or soft with loose texture.
- They’re easy to sleep in if you keep the tension comfortable.
For a more grown-up version, part the hair cleanly down the middle and braid low behind each ear. For a more relaxed look, start them higher and leave the ends a little messy. The style is flexible enough to move between playful and practical without much effort.
One thing I’d avoid is pulling them too tight at the scalp. That can make the style look harsh fast. Keep the roots smooth, not straining.
12. The Halo Braid

A halo braid circles the head in one continuous loop, and it has a more wrapped, finished feel than a crown braid. The difference is subtle at first glance, but in person the halo shape sits a little more fully around the perimeter, almost like the braid is sealing the style in place.
This one is easiest on medium to long hair, because you need enough length to travel all the way around. Very short layers make it harder to hide pins, and thin ends can poke out if the braid is too tight. A few strategic bobby pins solve most of that.
The style looks especially good when the braid itself is not razor-perfect. A halo braid with a little softness around the hairline feels less rigid, which suits everyday wear better than a stiff, pulled-back finish. That looseness also helps if you have textured hair, because the braid can follow the natural shape instead of fighting it.
Use this when you want a braid hairstyle that replaces an entire updo. It’s tidy enough for a nicer outfit, but it doesn’t have the hard edge of a slick bun. A bit of face-framing hair keeps it from feeling costume-like.
13. Feed-In Cornrows

Feed-in cornrows are one of the most practical protective styles on this list. Hair is braided close to the scalp, and new sections are added gradually so the braid looks smoother at the root and sits flatter against the head.
Why does that matter? Because the gradual build makes the braid less bulky at the start, which gives a cleaner line and often a more comfortable finish. It also lets you create straight backs, curved parts, or geometric rows depending on how much detail you want.
This style is not a quick casual braid. It asks for neat parting, a calm hand, and a bit of patience. But it rewards all three. The scalp stays visible, the braids can last longer than loose styles, and the ends can be tucked, beaded, or extended depending on the look you want.
How to keep it comfortable
- Part the hair with the tip of a tail comb, not the teeth.
- Start with small sections so the braid lies flat.
- Keep tension firm enough to hold, never so tight that the scalp pulls.
- Use a light oil or braid spray on the scalp, not a heavy grease layer.
If you’re new to cornrows, start with two or four rows. You do not need a full head of intricate parts to get the point. Clean, simple rows are often the smartest place to begin.
14. The Braided Bun

A braided bun solves a very specific problem: you want your hair tucked away, but you don’t want a plain bun that feels too bare. Braid first, then coil or wrap the braid into a bun, and the style suddenly has shape instead of sitting there like an afterthought.
You can do this with one braid, two braids, or several small braids pinned into the base of the bun. That makes it useful for work, dinners, events, and any day when your hair needs to stay contained for more than an hour.
The trick is keeping the braid secure before you wrap it. If the braid is loose at the tail, the bun loosens fast. A tiny clear elastic at the end helps. So does crossing two bobby pins in an X shape at the base before you tuck the braid around it.
What to watch for
- Use pins that match your hair color if you want the bun to look tidy.
- Twist the braid in the same direction as the coil so it sits flat.
- Leave a few ends slightly undone if you want a softer finish.
- Don’t pile all the weight at the very top unless your scalp likes that. It can get heavy.
This is one of those styles that can move from basic to polished with a few small adjustments, which is exactly why it stays useful.
15. The Accent Braid
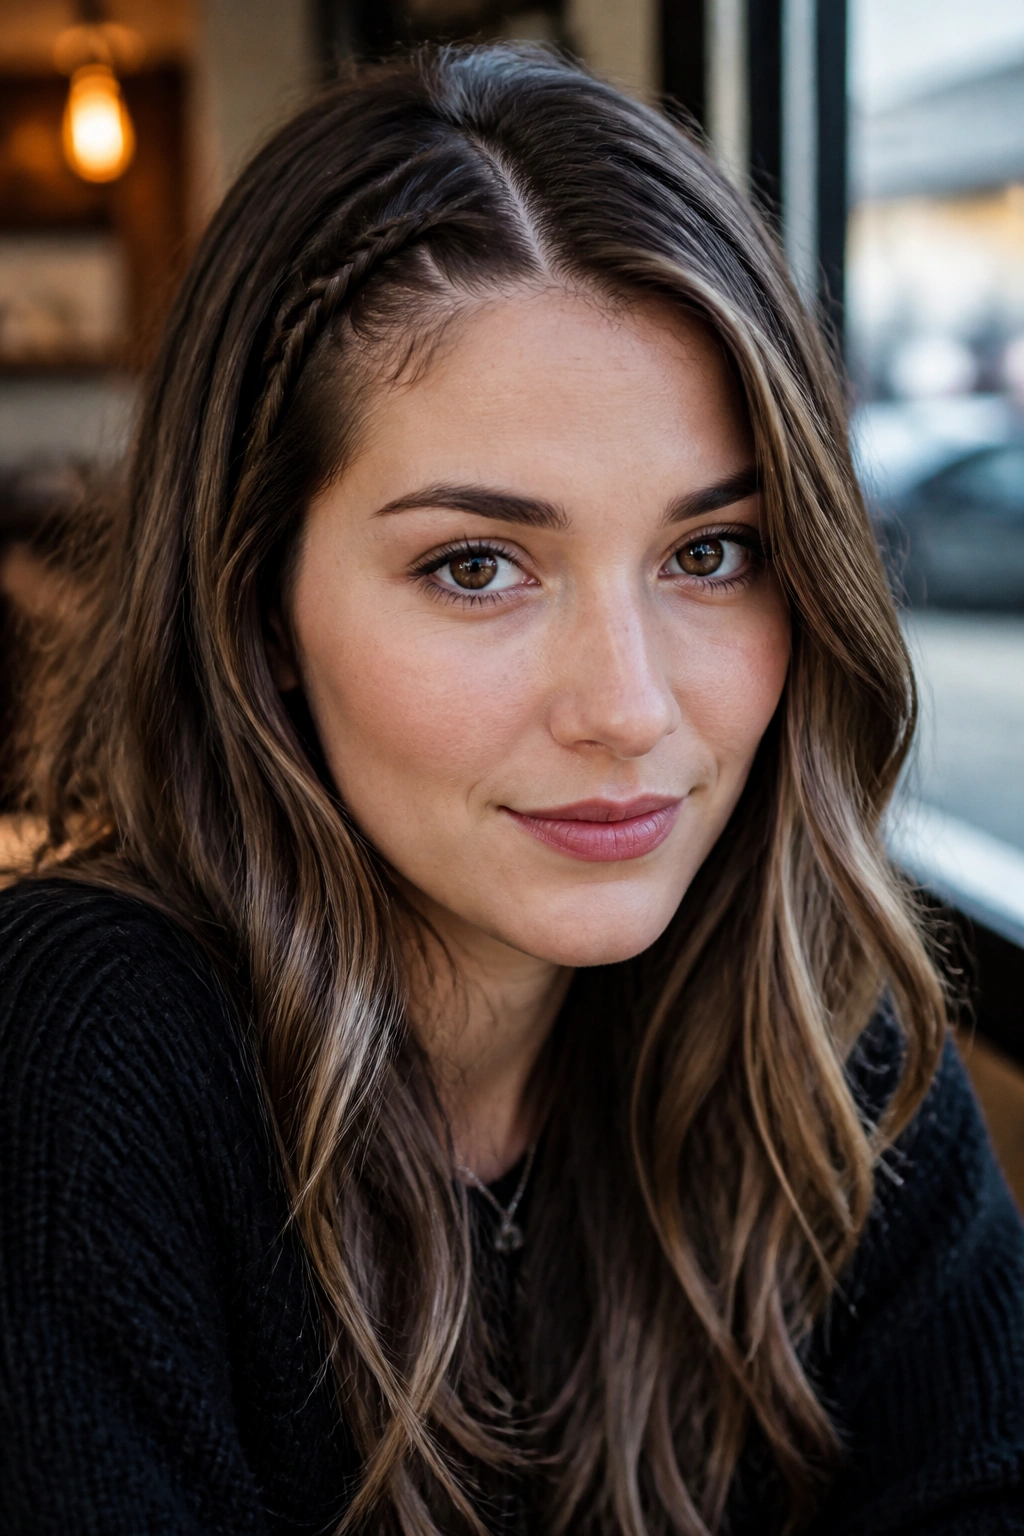
An accent braid is the easiest braid hairstyle to add when you do not want to commit to a full braided look. It can be a tiny braid tucked near the temple, a braid hidden under loose hair, or a small section woven into a ponytail or half-up style.
That flexibility is what makes it so useful. A single accent braid can break up a heavy hairstyle, keep a front layer out of your eyes, or give a plain blowout a little structure. You do not need long hair, and you do not need perfect parting. You just need one section that is neat enough to stand on its own.
It also works as a test run for people who are unsure about braids. If you like how it feels to have something woven into your hair but you don’t want a full head of braids, this is the safest place to start. No pressure. No all-day commitment.
A few small braids can change a whole style faster than most people expect. A braid near the face can sharpen a loose look. One braided section tucked behind the ear can make short hair feel intentional. And when you’re bored with your usual routine, an accent braid is the easiest way to shift the shape without starting over.
If I had to pick one style from this list for pure versatility, this would be high on it. It’s quick, forgiving, and easy to build on when you want more.
