



The best twist style is the one that still looks decent when the front door opens and your week has gone sideways. Twist hairstyles for natural hair earn their keep when they hold shape, keep your hands out of your head, and don’t fall apart the second you hit humid air or a scarf rubs the crown flat.
That’s the part people miss. Twists are not all the same, and they do not age the same way. A crisp two-strand twist on stretched hair gives a different feel from a fluffy passion twist, and both live in a different universe from a flat twist crown pinned into place for a low-key event. The shape, the parting, the size of the twists, and whether you add hair all change how the style wears.
Natural hair likes a little planning. Too much product and the twists go limp. Too little and they unravel at the ends by lunch. Get the balance right, and you get that clean, rope-like texture that looks neat on day one and still feels wearable a few days later. That’s the sweet spot. The good stuff lives there.
1. Classic Two-Strand Twists for Natural Hair
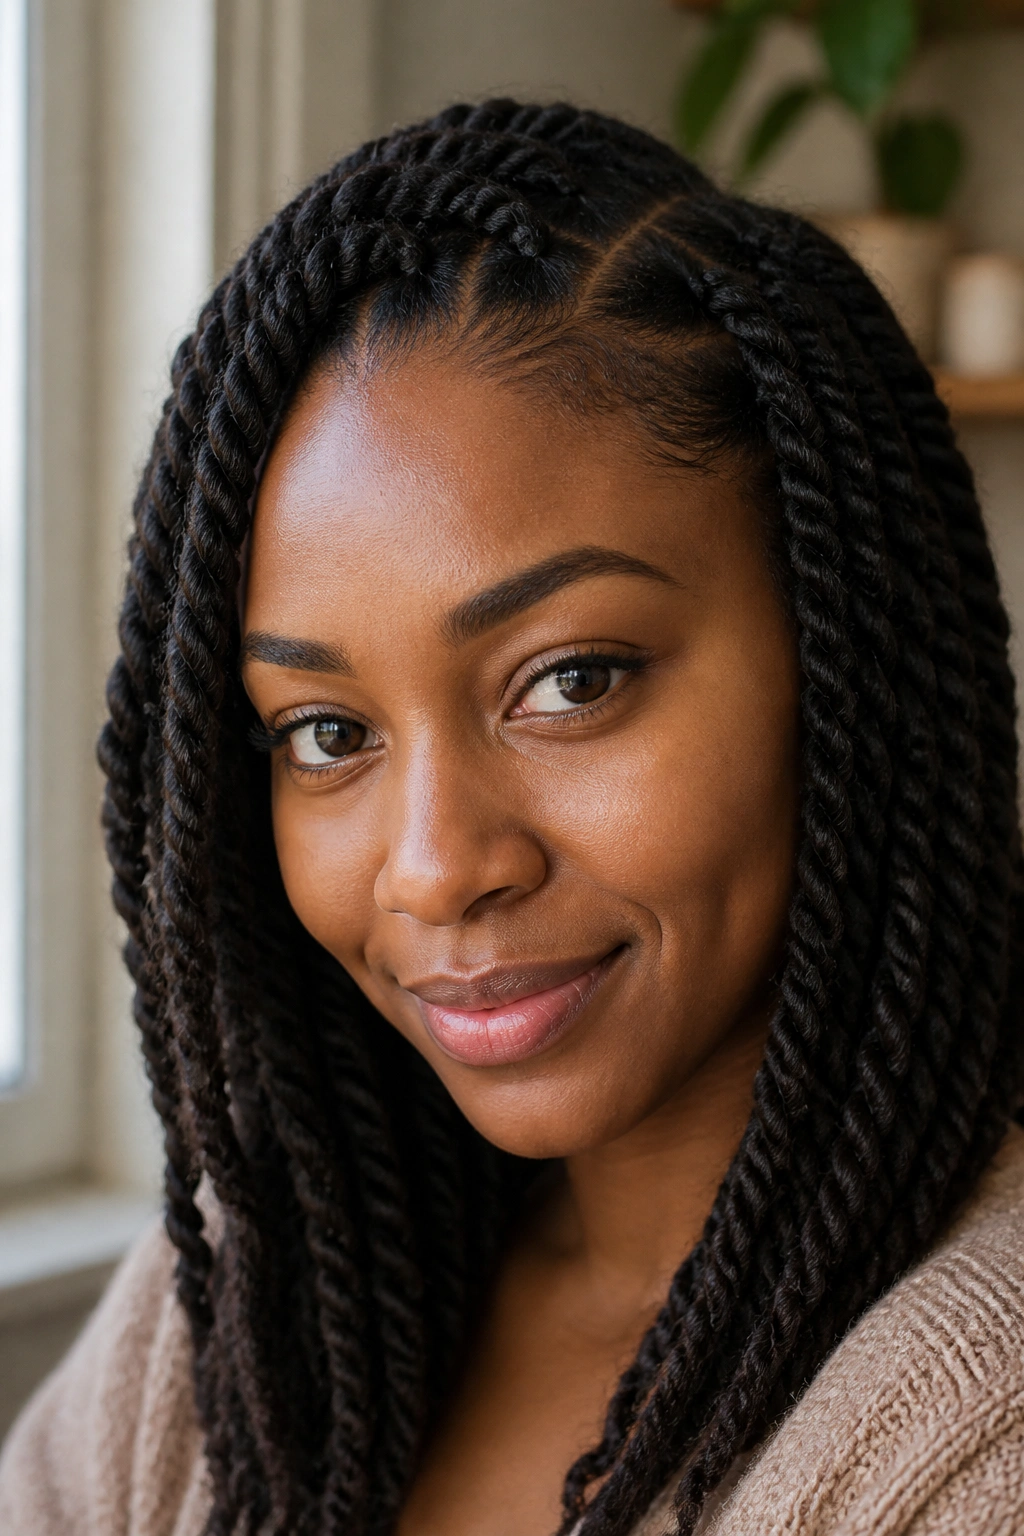
If you want one twist style that can do a little bit of everything, this is the safest bet. Classic two-strand twists are simple, clean, and easy to wear whether your hair is short, medium, or hanging past your shoulders. They work especially well when you want a protective style that still lets your own texture show through.
Why they stay in rotation
The beauty of this style is that it does not try too hard. You part the hair, split each section in two, and twist until the ends hold. That’s it. No filler, no drama.
The key is the base. Hair that has been washed, conditioned, detangled, and lightly stretched twists more smoothly than hair that’s dry and grabbing at itself. I like a creamy leave-in under a small amount of styling butter or gel on the first inch of each section. That keeps the roots neat without making the whole head feel greasy.
- Best for: short to long natural hair
- Wear time: usually several days to about two weeks, depending on your hair and how you sleep
- Finish: soft, defined, and easy to refresh
- Tool that helps: rat-tail comb for clean parts
My one non-negotiable: seal the ends before you move on.**
If the ends look fuzzy before you finish the last section, they’ll look worse by day three. A little extra product at the tip and a tight final twist usually solves it.
2. Mini Twists
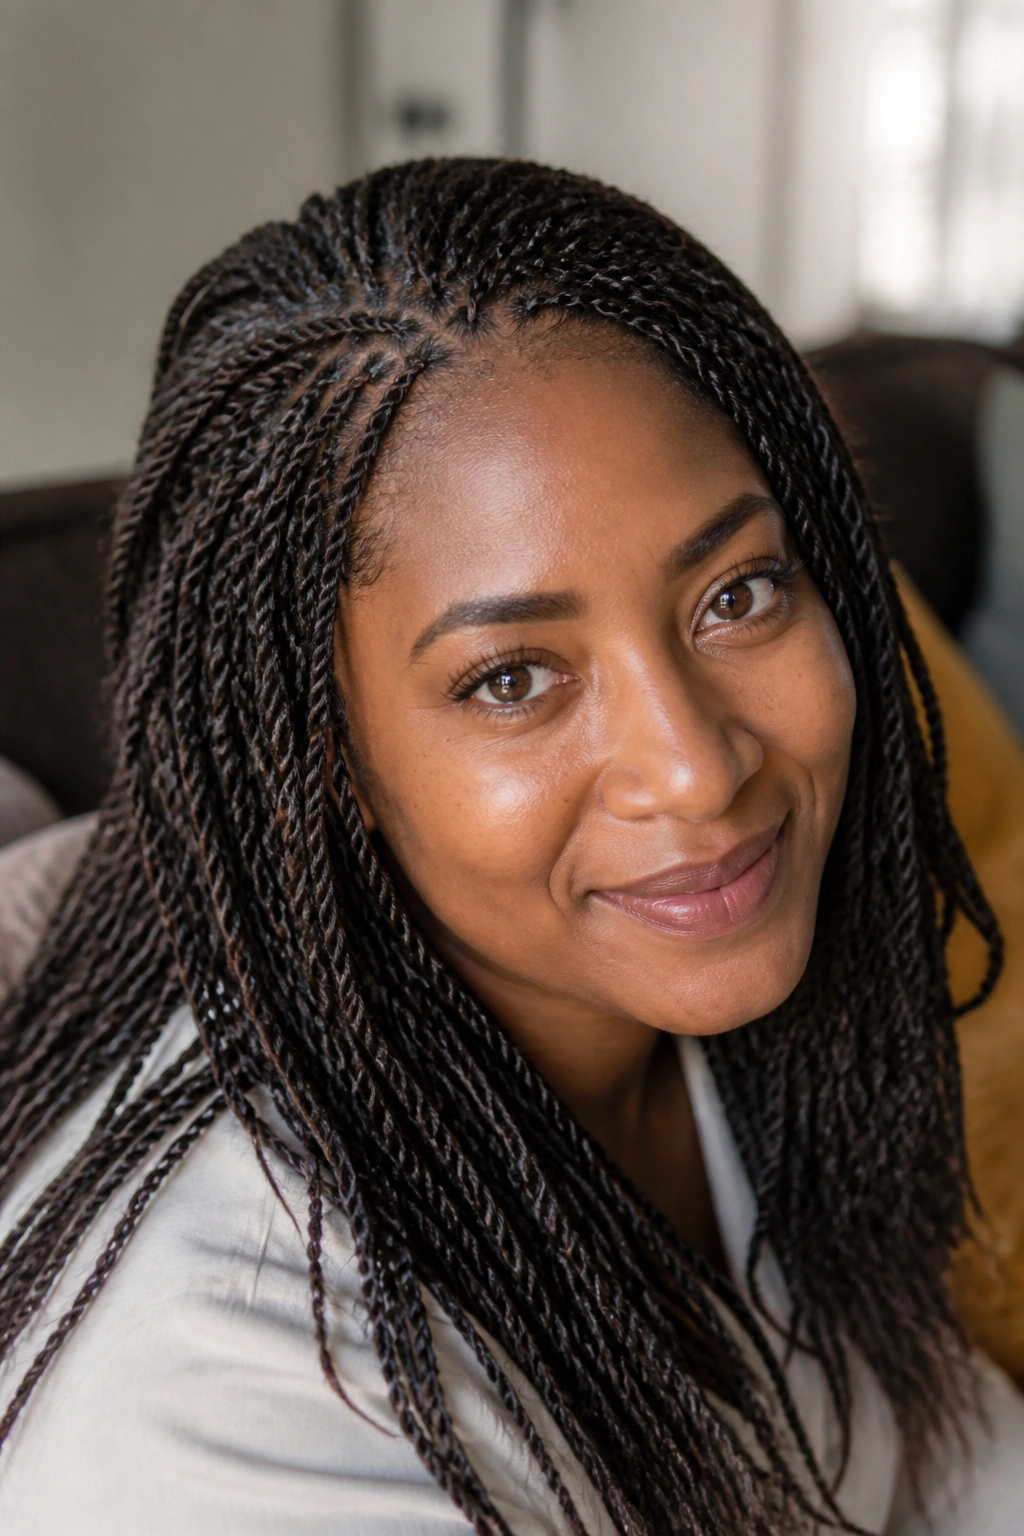
Mini twists are the style I recommend when someone wants the most movement and the longest wear without adding extensions. They look delicate, but they are not fragile. In fact, the smaller size is part of why they hang so nicely and stay neat for so long.
The catch is time. Mini twists take patience, and your parts matter more here than they do with chunkier styles. If the sections are uneven, the whole head starts to look messy in a way that’s hard to fix later. That’s why I like to work with hair that has been stretched first, even if only lightly with a blow-dry on cool or medium heat, or through a banding method the night before.
Mini twists are also a smart pick if your hair shrinks aggressively. The tiny size lets the style move instead of puffing out in a strange, bulky way. They sit close to the head at first, then loosen into a softer shape as the days pass. Good mini twists should look tidy at the root and airy at the ends, not stiff all the way down.
I’m partial to a light foam or setting mousse at the very end of the process. It helps the twists dry in place and cuts down on that scratchy, fuzzy look some styles pick up overnight.
3. Flat Twists
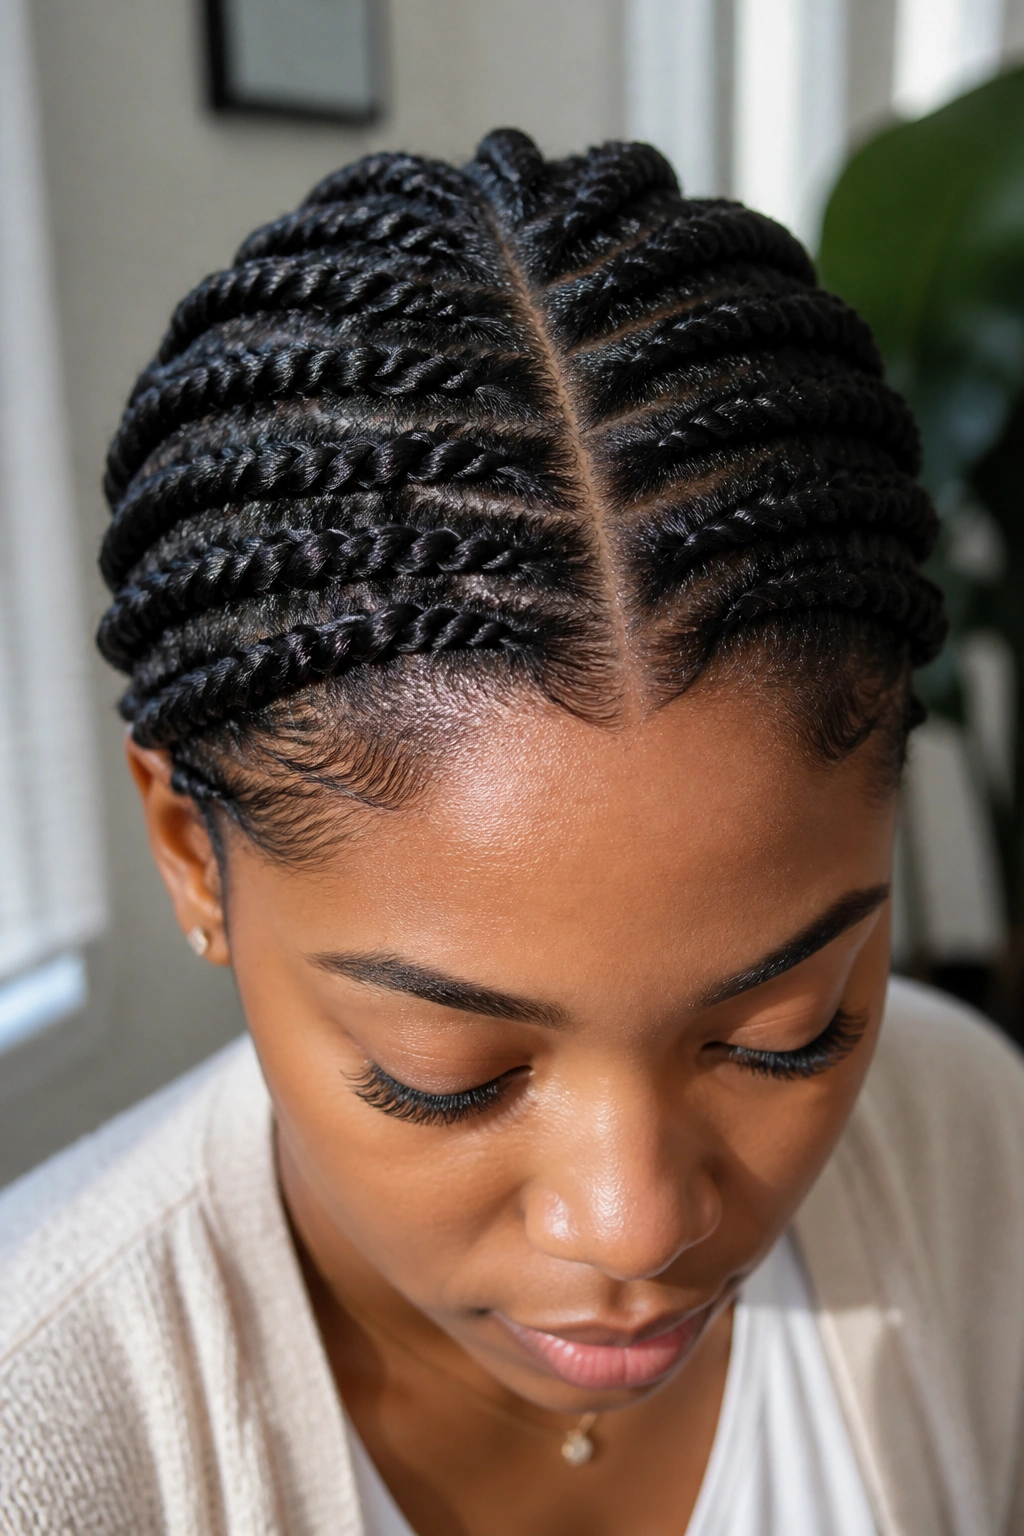
Why do flat twists look so clean so fast? Because they lie close to the scalp and use the head’s shape as part of the design. That makes them one of the smartest twist hairstyles for natural hair when you want a polished look without a full-day install.
Flat twists are the cousin of cornrows, but they are gentler on many textures because the hair is twisted rather than tightly braided flat against the scalp. That can be a huge deal if your edges are tender or your hairline hates pressure. They also work beautifully as a base for updos, halo crowns, and pinned styles.
How to wear them
A center part gives flat twists a neat, symmetrical look. A deep side part feels softer and more face-framing. Either way, the roots should be smooth before you begin, because once the twist is in, you can’t hide sloppy parting.
Flat twists shine when the hair is moisturized but not slippery. Too much oil and they slide open. Too much gel and they get crunchy. A light cream, then a touch of edge control near the hairline, is usually enough.
They are especially useful on days when you want your curls protected but still visible somewhere in the style. That balance matters.
4. Jumbo Twists
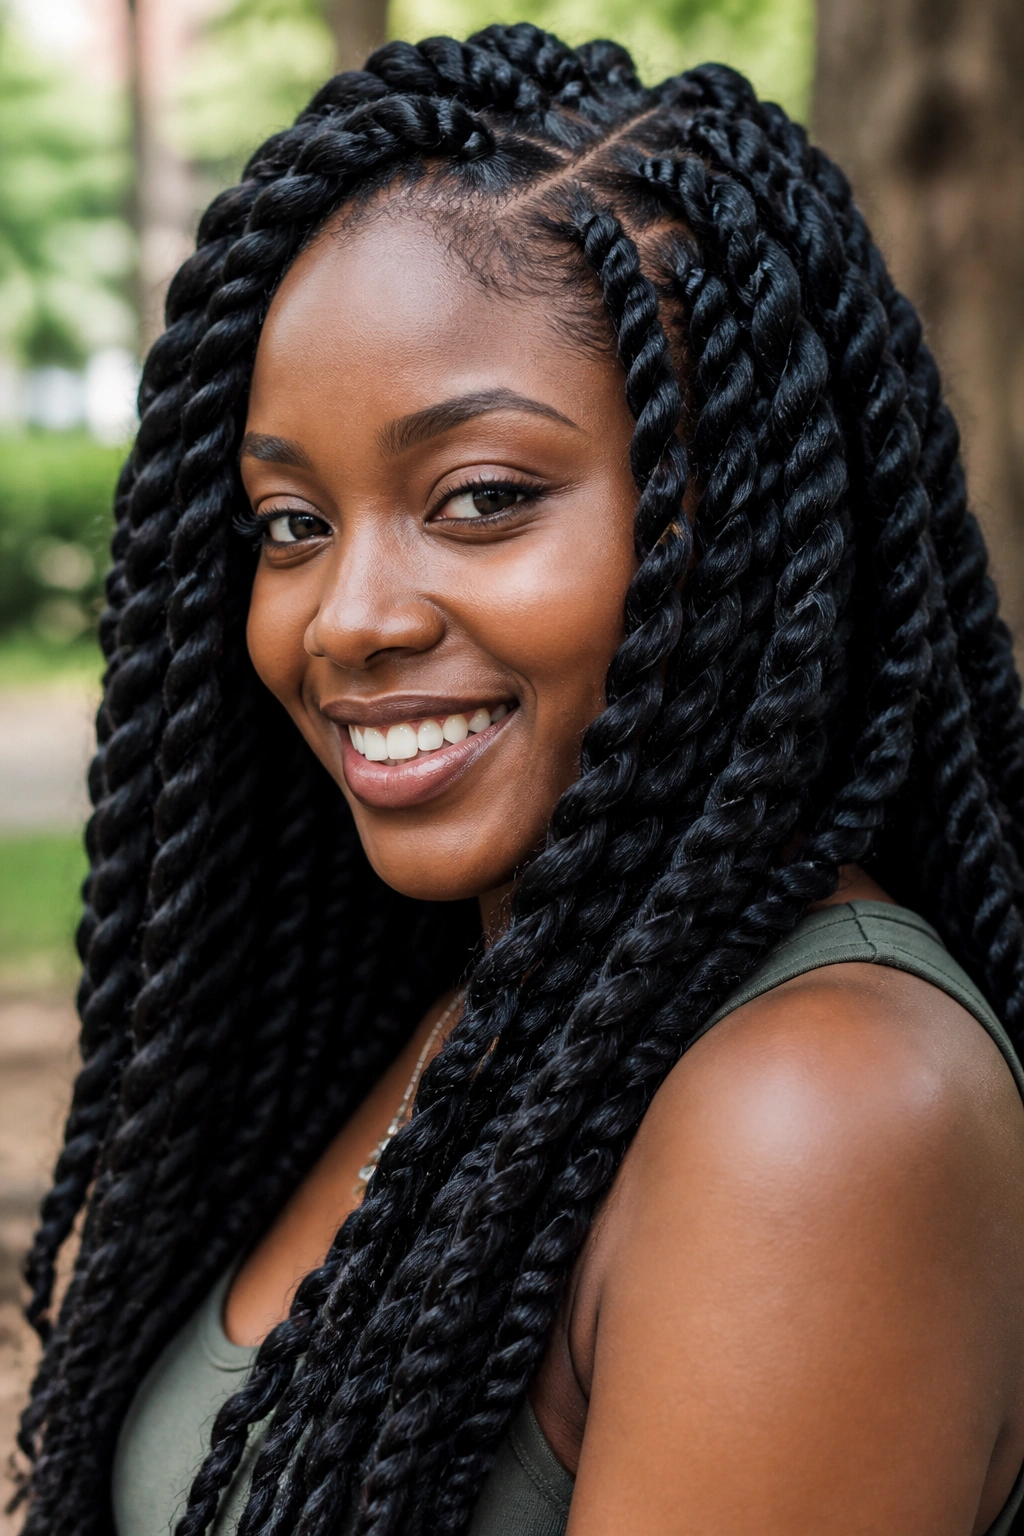
Jumbo twists are what I reach for when I want speed, shape, and a style that looks intentional even when it is not overly fussy. Large sections mean fewer twists, which cuts styling time and gives the finished look a chunky, bold feel.
There is a reason jumbo twists show up so often on thick natural hair. They handle density well. Smaller twists can disappear into very dense coils and make the head look smaller than it is, but jumbo twists keep the shape visible. They also sit with a little more weight, which some people love because the style moves instead of floating.
A clean parting pattern helps here more than anywhere. If the sections are vague, jumbo twists can drift into chaos fast. Keep the base moisturized, twist firmly but not tightly, and leave enough room for the roots to breathe. Pulling too hard at the scalp is a bad trade. The style might look neat for two days, but your head will not thank you.
- Best for: thick or medium-density natural hair
- Best look: bold, chunky, low-maintenance
- Works well with: stretched hair and a soft hold cream
- Watch for: loose roots if you twist too softly
Jumbo twists are also friendly when you want to tuck the ends under later. One style, two moods. That’s useful.
5. Defined Twist-Out on Stretched Hair

A twist-out is not a wear-the-twists style, but it belongs in this list because so many people use twists as the set that gives them the final look. The trick is simple: you twist damp or stretched hair, let it dry completely, then separate the twists into soft, defined curls and coils.
The best twist-outs usually start with restraint. Heavy product weighs the hair down and leaves the ends sticky. Drying time matters more than product layers. If the hair is even a little damp when you take the twists down, the shape falls early and the frizz gets wild by noon.
I like twist-outs on hair that has been stretched first, because the root area tends to stay cleaner and the curl pattern shows up with more clarity. Smaller twists create tighter definition. Bigger twists create a fluffier finish with more volume. That difference sounds small until you see it on your own head.
Do not rush the takedown. Seriously. Separate each twist gently, one by one, and stop as soon as the curl clumps start to split the way you want. If you keep pulling and picking at it, you can blow the whole shape apart before it even gets a chance to shine.
6. Senegalese Twists
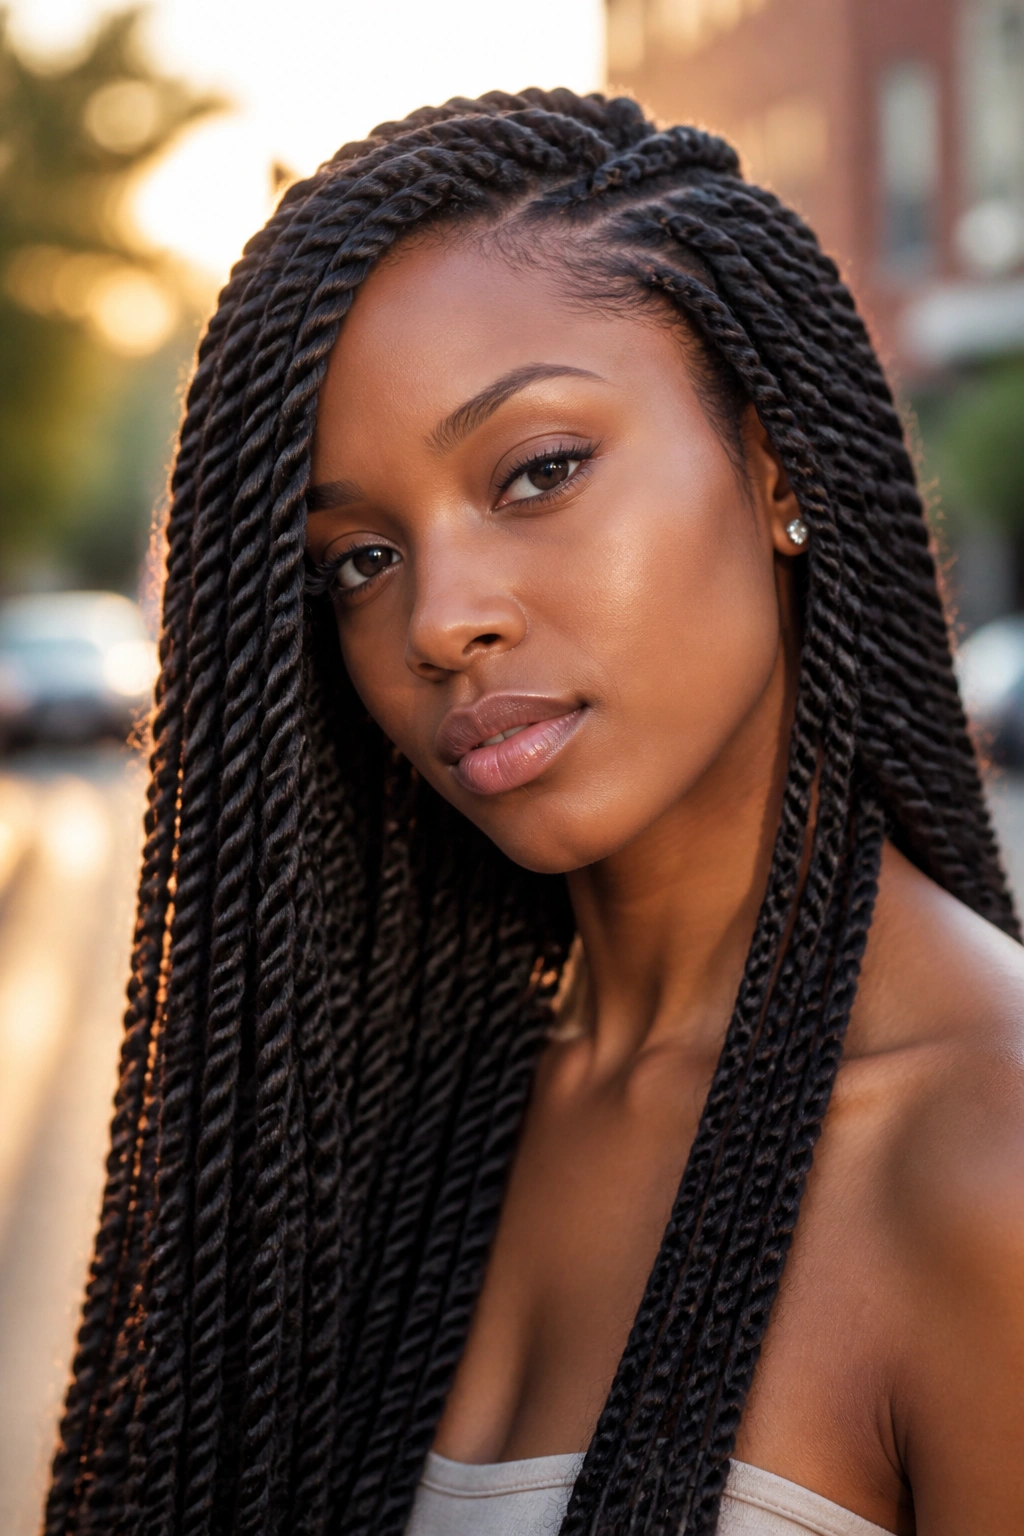
Senegalese twists look smoother than many other twist styles because the extension hair gets twisted in a sleek, rope-like way from the start. Unlike your own-hair twists, these tend to have a tighter, more polished line from root to tip, which makes them a favorite when you want length that reads neat right away.
The extension choice changes everything. Synthetic braiding hair gives a crisp finish and a firmer hold, while softer, lighter hair feels less heavy but can lose that sharp, wrapped look. Either way, the installation needs patience. If the base is pulled too tightly, the scalp will complain before the style even settles in.
This style suits people who like long wear and a more uniform shape. It also plays nicely with outfits that are simple and clean, because the twists do the visual work for you. There is no need to crowd the head with extra accessories.
One thing I appreciate about Senegalese twists is that they age in a predictable way. They get a little softer, a little fuzzier, and still look put together if the parts were clean at the start. That is more forgiving than styles that fall apart in patches.
7. Marley Twists

Marley twists have a rougher, fuller texture than Senegalese twists, and that texture is exactly why people love them. The finish is matte, a little fuzzy, and much closer to the look of thick natural coils than the smoother synthetic styles.
That texture can hide a lot. A section that is slightly uneven does not scream at you the way it might in a sleeker twist. The style has body, so it forgives a small wobble in the parting. Still, the roots need to be tidy. There’s no magic fix for a crooked base.
What makes them different
Marley hair blends into natural hair in a way that feels soft instead of shiny. It gives the twist more bulk without making it look glossy or stiff. That makes it a solid choice for people who want a chunky, earthy finish.
They are a good match for fuller faces and thicker textures because the bulk balances the head shape nicely. If your hair is very fine, Marley twists can feel a bit heavy, so keep the sections smaller than you think.
Use a little mousse as you go, then let the twists dry fully before touching them. Drying time matters more with textured extensions than people expect. If you pull them apart too soon, the frizz shows up fast.
8. Passion Twists for Natural Hair

Why do passion twists feel softer than most extension twists? Because the hair is usually wavy and loose, not stiff and rope-like. The result is a twist that moves more, spills over the shoulders more easily, and looks a little more lived-in from day one.
That softer texture is part of the appeal, but it also changes the care routine. Passion twists can frizz faster than sleeker protective styles. They do not need to look perfect to look good, though. A little fuzz at the root reads as texture here, not failure.
How to keep them neat
The best install starts with clean sections and enough grip at the base to hold the twist. If the root is weak, the twist opens up and gets sloppy before the style has a chance to settle. Keep the tension gentle. Passion twists should feel secure, not tight.
A small amount of mousse on the finished twists helps the wavy strands settle after installation. I would skip heavy creams here. They can make the style look limp, and the whole point is to keep some movement. The loose finish is why people wear this look in the first place.
Passion twists are especially good if you like the idea of a protective style but do not want your hair to look locked down and rigid. They have a softer mood. That counts for a lot.
9. Flat Twist Halo Crown
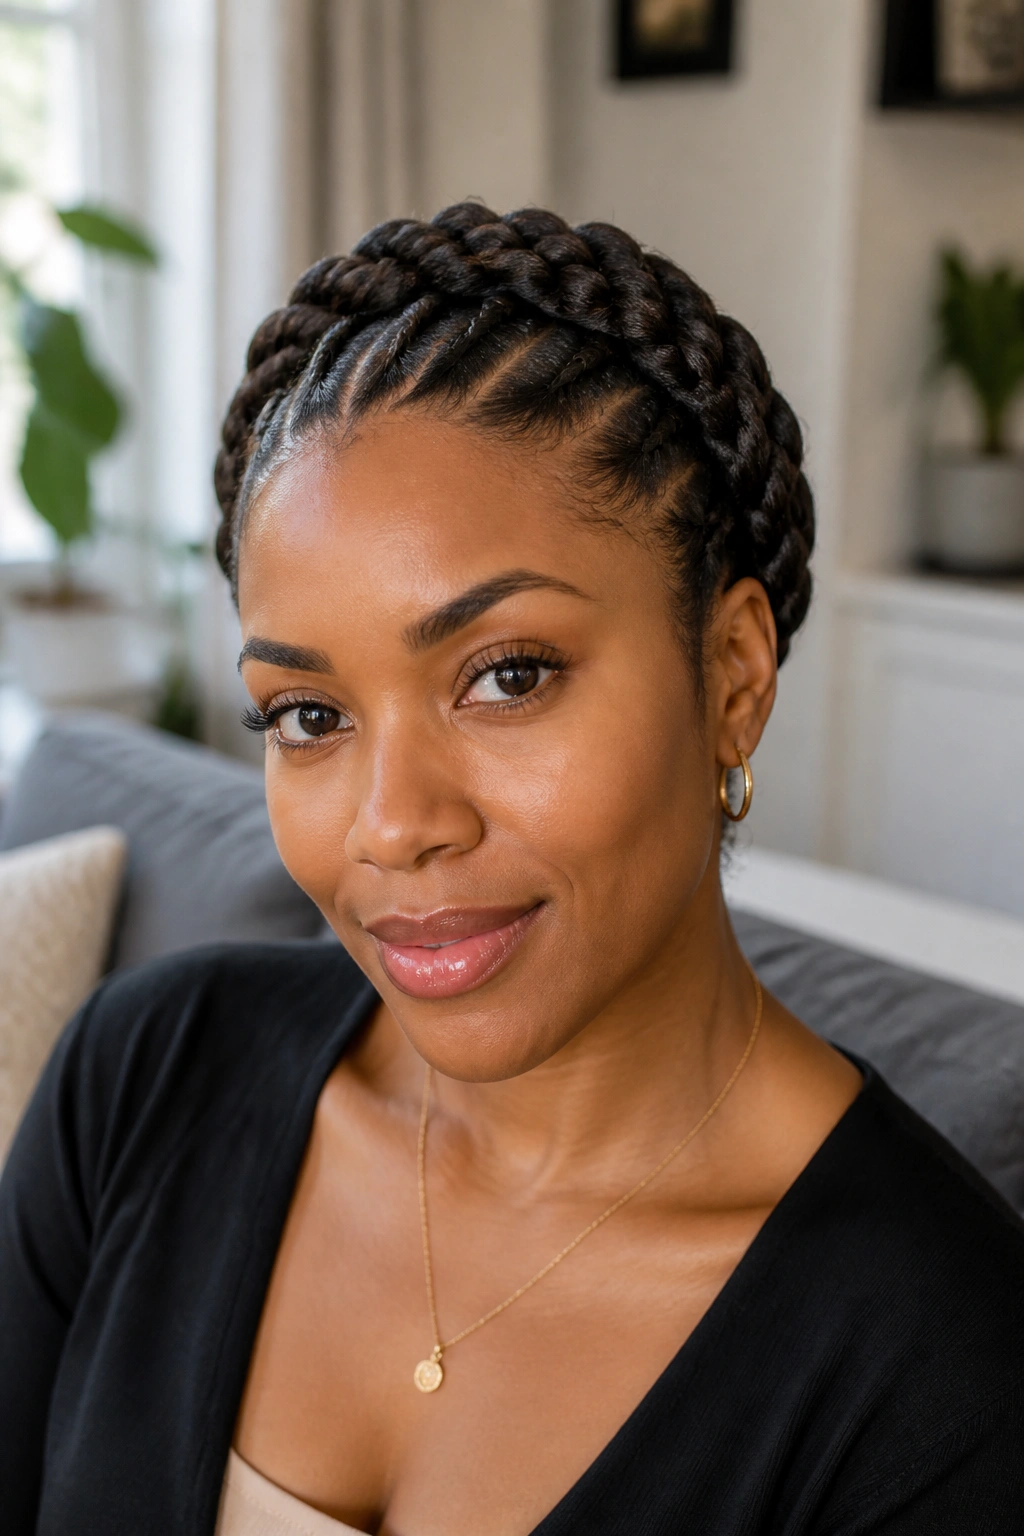
Picture a style that wraps around the head like a built-in headband and leaves the neck completely open. That’s the flat twist halo crown, and it solves the “I need my hair out of my face, but I still want it to look styled” problem better than most updos.
The crown shape works because the hair is guided in one direction around the perimeter of the head. Once the twist reaches the opposite side, the ends can be tucked, pinned, or hidden under the curve. A little moisture at the roots helps the twist lie flat, but too much product makes the crown slippery and hard to anchor.
- Best for: medium to long natural hair
- Good for: work, church, events, or any day when your hair needs to behave
- Tools: bobby pins, small U-pins, and a fine-tooth comb
- Watch for: loose nape pieces that poke out
The halo crown has a nice trick up its sleeve. It looks more complicated than it is. Once the front and sides are clean, the rest of the style falls into place, and the finished result reads deliberate without looking heavy.
10. Side-Swept Twist Style
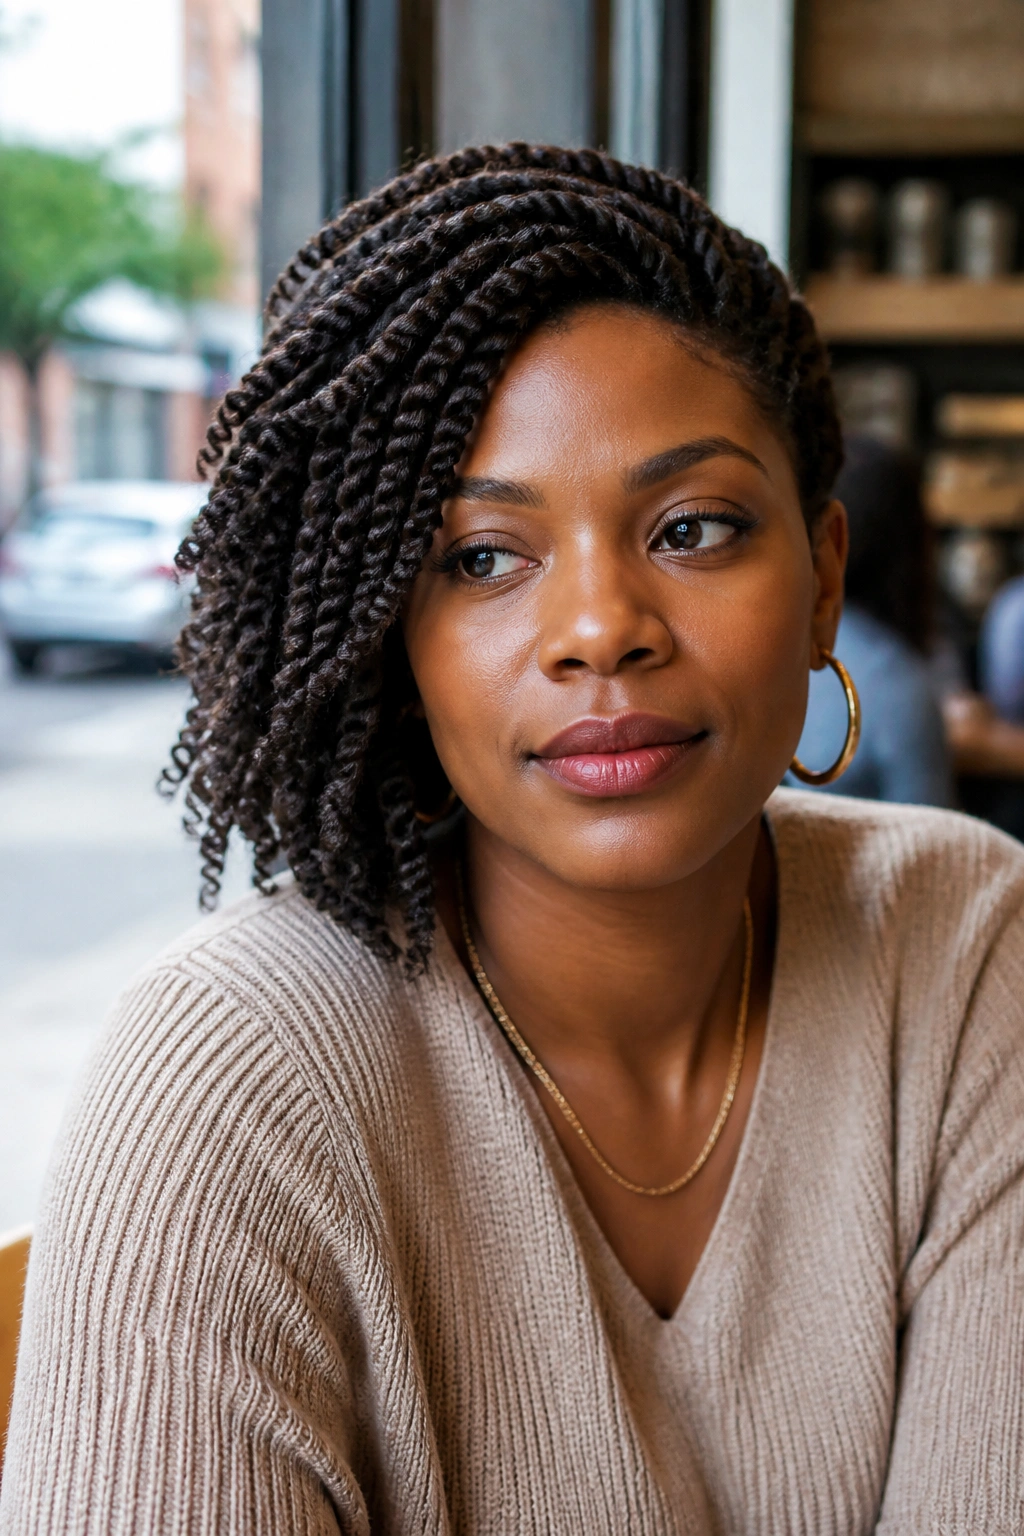
A side-swept twist style changes the whole mood of the hair with one move: everything leans to one side. That shift creates softness around the face and gives the style a little asymmetry, which keeps it from feeling too formal or too stiff.
This look works whether the twists are small, medium, or chunky. The parting does a lot of the visual work. A deep side part creates drama. A shallow side part feels easier and more casual. Either way, the volume lands on one side, which gives the style a shape you can actually see from across the room.
I like side-swept twists when the front hairline is behaving but the rest of the head feels too plain on its own. Pulling the twists over one shoulder or pinning them at the opposite temple changes the balance fast. No extra fluff needed.
The one place people slip up is the front edge. If the hairline is slicked down hard, the style can look overdone. If it is left too loose, the front frizzes first. A light touch is the answer, which is annoyingly simple and also true.
11. Twist Ponytail
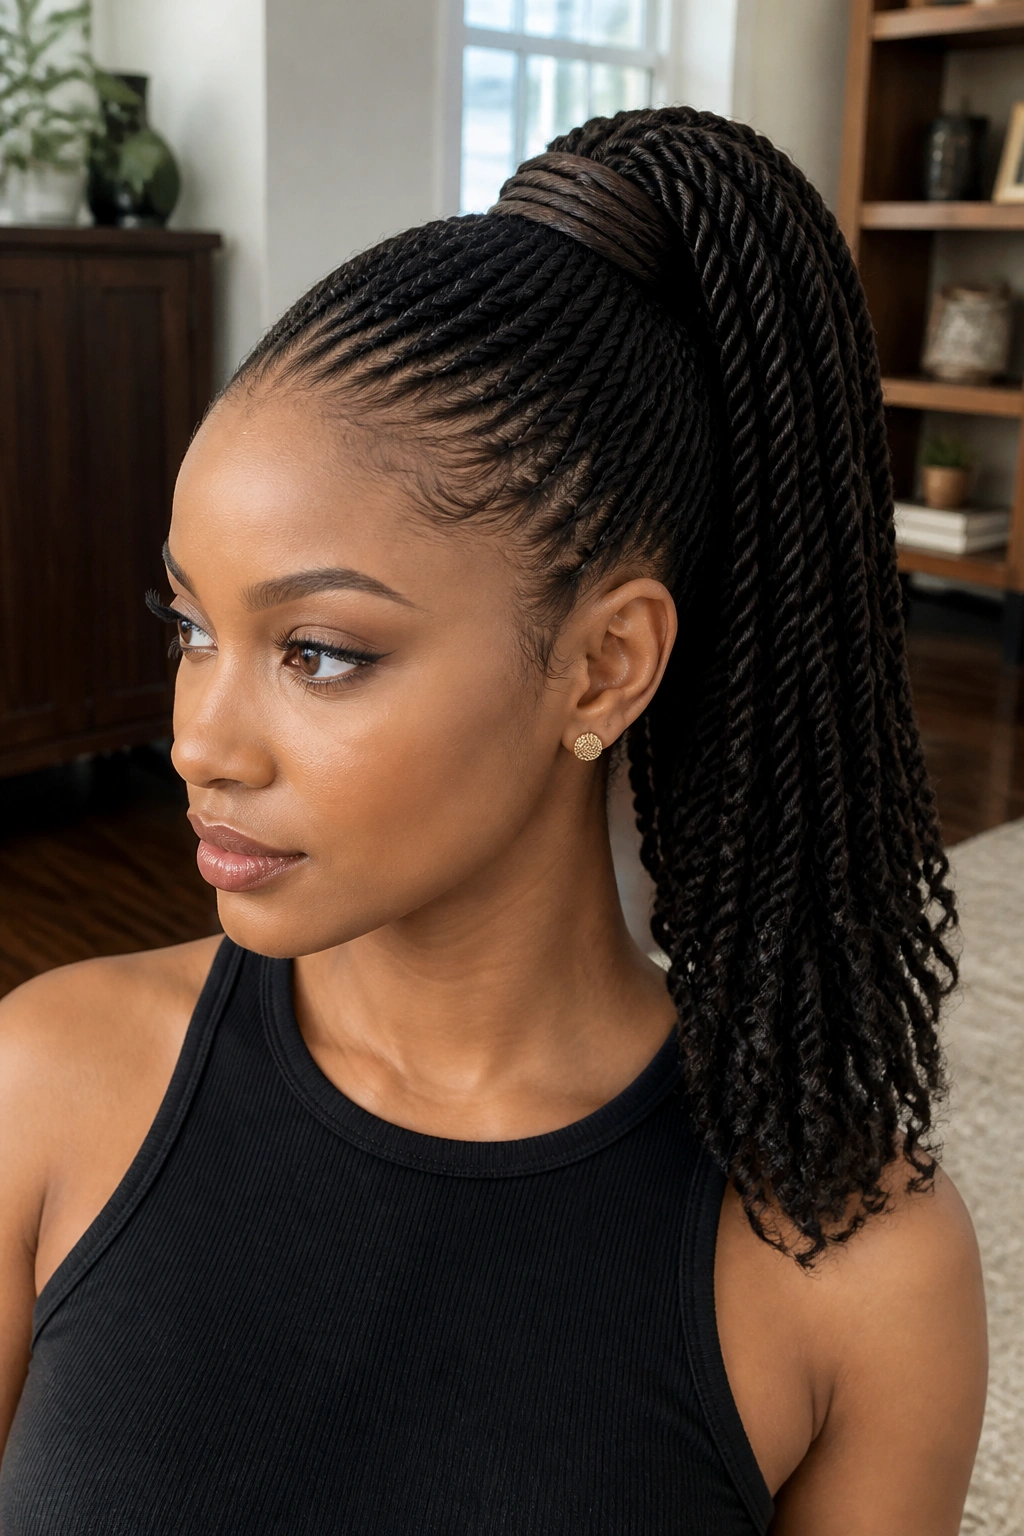
Unlike a high puff, a twist ponytail keeps the hair gathered and controlled, so the whole style stays smoother through the day. It is a strong choice when you want your twists visible but don’t want them hanging loose around your face and shoulders.
You can wear this as a high ponytail, a mid ponytail, or a low one if you want the look to feel softer. On longer hair, it works with twists alone. On shorter hair, a few added pieces can give the pony more length and make the shape easier to secure.
The base matters here more than people admit. If the elastic band sits too tight, the crown gets sore. If it sits too loose, the pony droops. A wrapped section of hair around the band hides the hardware and keeps the finish cleaner. That small detail makes the style look more finished without much extra work.
This is one of those styles that looks good with both casual clothes and dressier outfits. Sneakers or a blazer, it does not care. The line of the ponytail does the talking.
12. Twisted Low Bun
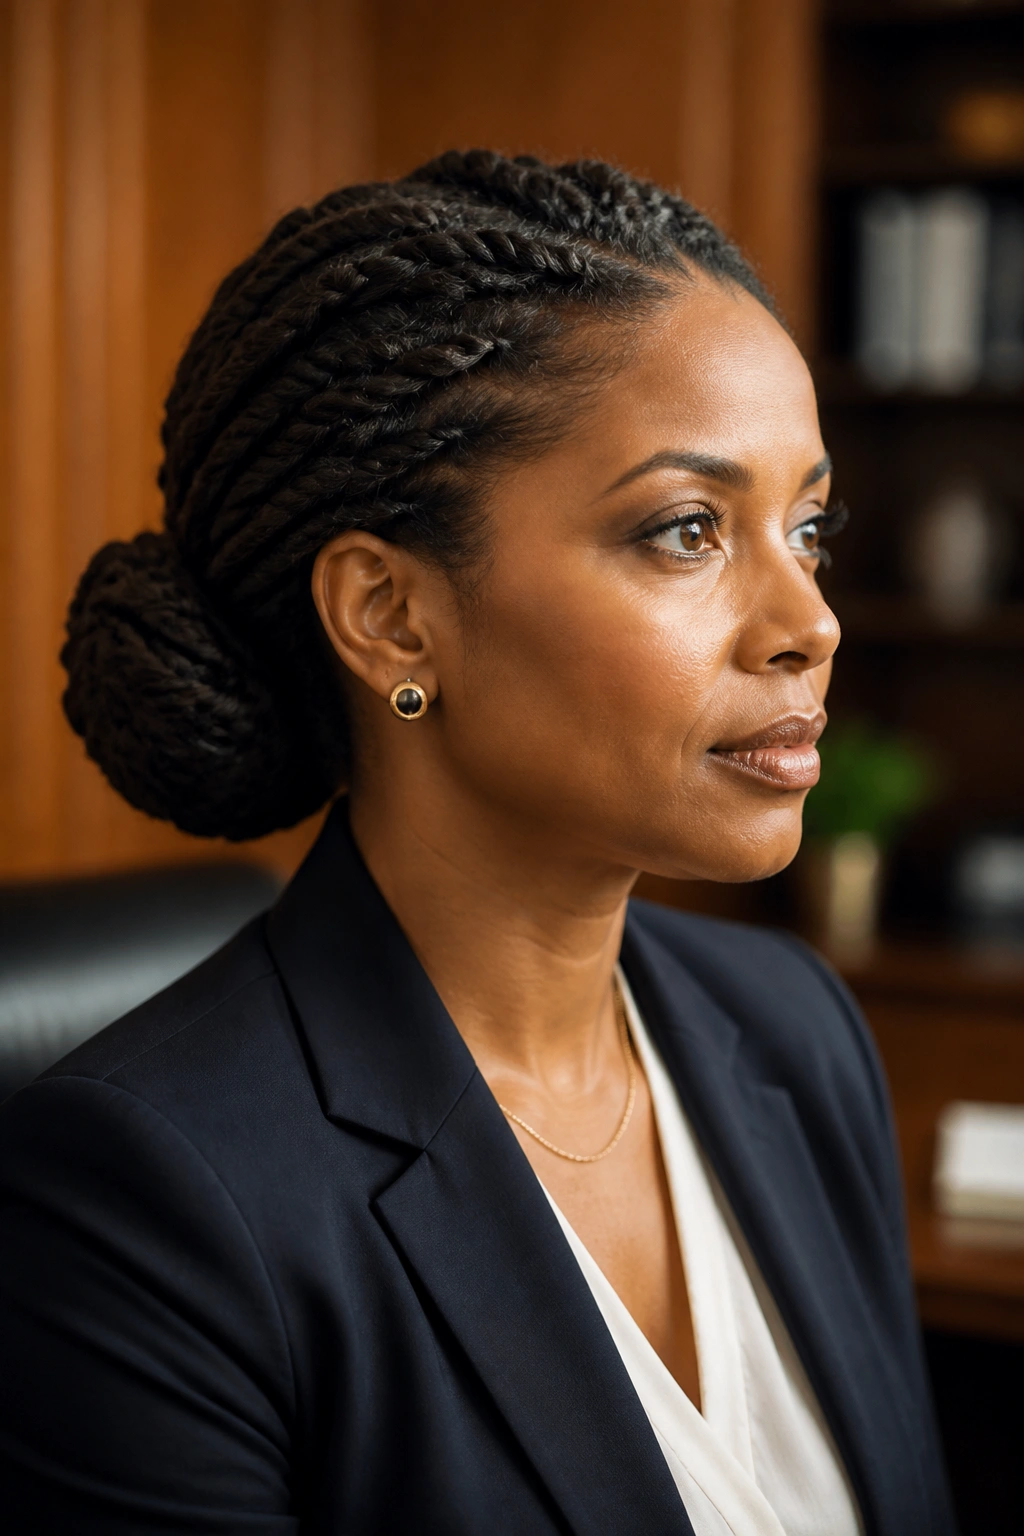
A twisted low bun is one of those styles that quietly fixes everything. The hair gets gathered near the nape, twisted into sections, then wrapped or pinned into a compact bun that sits low and neat.
The shape works because it keeps the bulk close to the head. That means less pulling, less movement, and fewer flyaways than a higher style might give you. It also makes the back of the head look clean, which matters more than people think when your front is not the only thing anyone sees.
How to make it hold
Start with hair that has a little stretch and a little grip. If it’s too soft and freshly oiled, the bun slides. If it’s too dry, the twists can snap and look rough when you fold them back. Aim for the middle ground.
Use pins that match the size of the bun. Tiny pins disappear into smaller buns. Larger U-pins help anchor fuller hair without leaving strange bumps. Do not stab the pins straight through the middle of the bun and call it done. Cross them under the base so the shape actually stays.
This style is especially good for long days, formal settings, or moments when your hair needs to sit still. Which, to be honest, is a beautiful thing.
13. Twist Mohawk
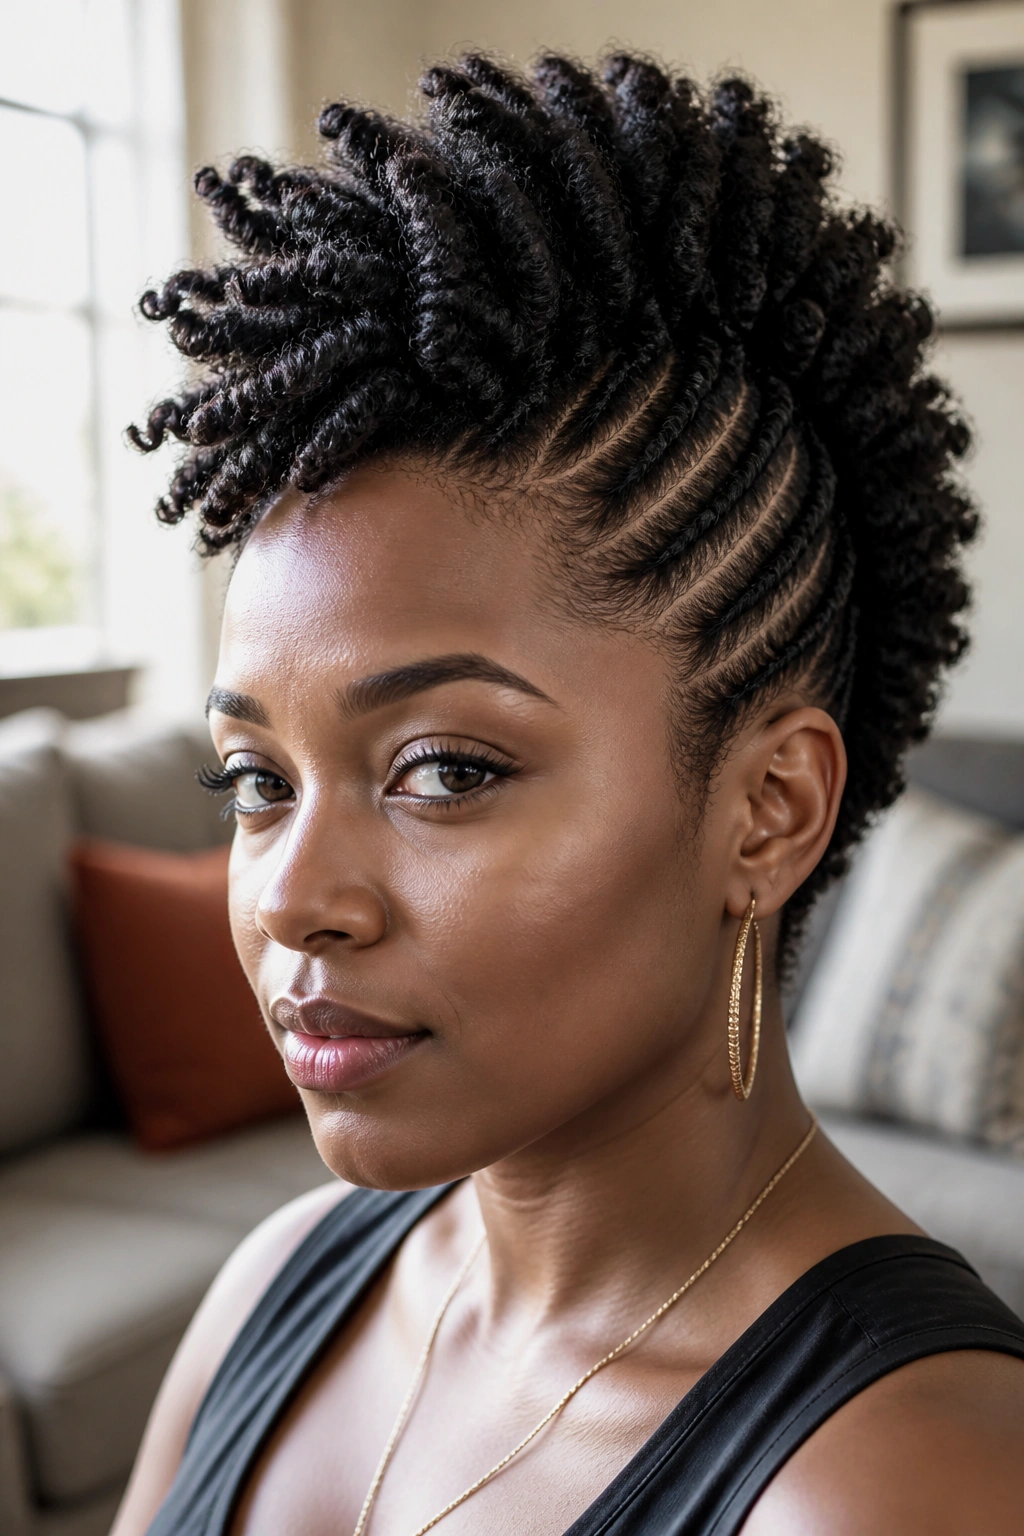
The twist mohawk is for days when you want volume without losing structure. It pushes the hair up through the center, keeps the sides controlled, and gives you a shape that has a little edge without turning into a full-on statement piece.
The structure usually comes from flat twists, pinned sides, or stretched twists gathered toward the middle. The top can stay fuller and more textured, which creates the mohawk line. That line is the whole point. If the sides are too bulky, the shape gets lost. If the center is too flat, the style loses its attitude.
I like this style on medium to thick natural hair because the body helps it stand up. Fine hair can wear it too, but it may need more pinning and a little more product at the sides to keep the profile clean. No need to drown it in gel. That usually makes the hairline look hard and brittle.
The mohawk version of twists has a nice side effect: it works on both stretched and slightly shrunken textures. The contrast between smooth sides and textured middle is what makes it interesting. Clean, but not boring.
14. Twists with Beads or Cuffs

Do beads change a twist style? Absolutely. They change the weight, the sound, the movement, and even the way people look at the hair. A row of small wooden beads near the ends feels playful. A few metal cuffs placed at the right spots feel sharper and more deliberate.
The trick is not to overdo it. Too many beads turn a twist style into a noisy pile of clutter. A few placed at the ends or near the middle of selected twists create a clean accent instead of a costume effect. That’s the line worth keeping in mind.
How to use them well
- Place beads on twists that are fully dry so the weight does not tug the base.
- Use tighter bead openings on smaller twists so they do not slide around.
- Mix one type of bead with one type of cuff if you want contrast, not chaos.
- Keep the heavier pieces closer to the bottom of the twist.
Beaded twists are especially good for kids, vacations, festivals, or any moment where you want the hair to feel a little more alive. The style has motion. That’s the magic.
15. Crown Twists with Loose Ends
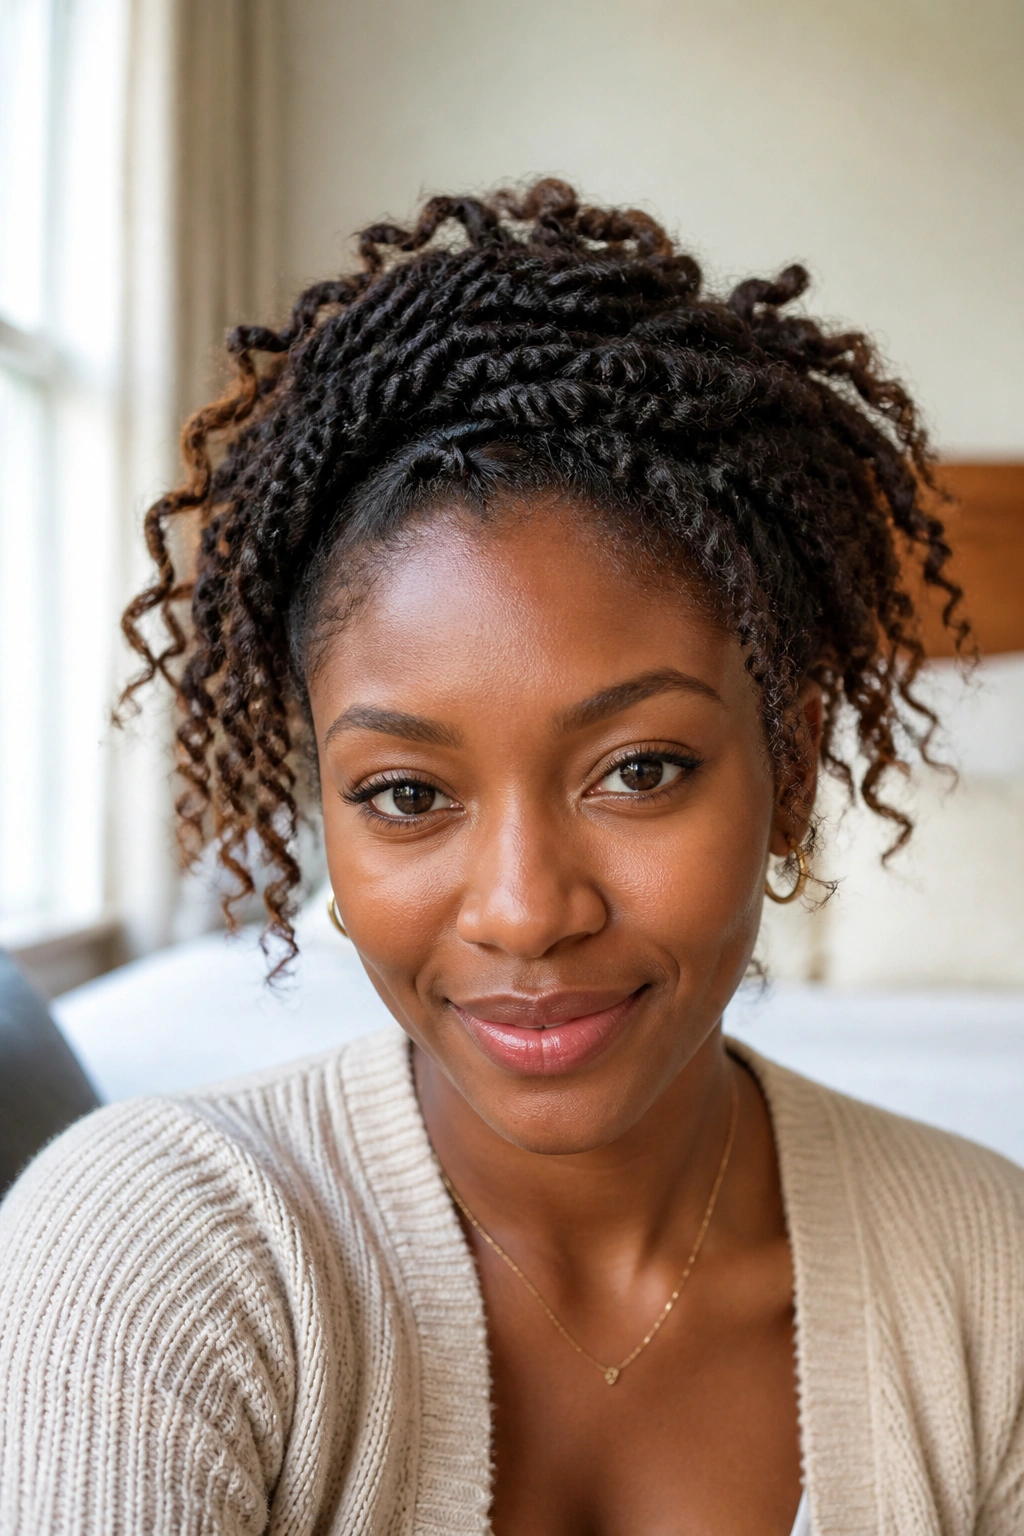
A crown twist style with loose ends gives you the shape of a halo and the softness of free hair in one look. The front and sides get twisted back toward the crown, while the ends are left out, curled, stretched, or lightly defined instead of being tucked away.
That contrast is what makes the style work. The crown keeps the top neat, and the loose ends stop the whole look from feeling too severe. It is a smart compromise for people who want a partial protective style and still like seeing some movement around the shoulders.
The best version starts with a clean, centered or side part. From there, the twists should guide the eye back and away from the face. If the front is too flat, the style loses life. If the crown is too loose, the whole thing starts to slide. There’s a narrow sweet spot, and it’s worth finding.
I like this style on hair that has enough length to show off the ends without turning into a puffball. The loose sections can be a little fluffy. That is the point. It keeps the style from feeling boxed in.
16. Twist Bob

A twist bob feels lighter on the neck, easier on the scalp, and cleaner around the shoulders than long twists do. That alone makes it a smart option for people who like the twist look but do not want the weight of long hair hanging all day.
The cut or shape can be blunt, rounded, or slightly angled. A blunt bob looks crisp and modern. A rounded bob softens the jawline and gives the hair more bounce. An angled shape, with the front a touch longer than the back, adds a bit of drama without asking for much upkeep.
Unlike long twists, a bob puts the focus on the face and the neck. That matters if you wear big earrings, high-neck tops, or jackets that tend to fight with long hair. Everything sits together better. The style also dries faster after washing because there is less length holding water.
This is the one I’d pick for someone who wants a neat twist style that does not get in the way. Shorter twists can still look full. They just feel easier to live with.
17. Rope-Twist Updo

A rope-twist updo is what happens when you want your hair off your shoulders but still want to see the twists themselves. The twists get lifted, wrapped, and pinned into a shape that sits higher than a bun and often looks a bit more sculpted.
This style is more flexible than people think. You can build it from long twists, medium twists, or even smaller twists if you want more detail in the finished shape. The actual updo can be soft and loose or tight and polished. I prefer the softer version because it keeps the hair from looking helmet-like, which is a real risk with pinned styles.
The beauty of an updo like this is that it hides the hairline stress that sometimes shows up with other styles. The length is contained. The scalp gets a break. And if the back starts to loosen a little, you can usually pin it back into place without starting over.
A little texture spray or mousse on the finished twists helps the shape hold. No need to drown the hair in product. A few strategic pins do more work than half a jar of anything sticky.
18. Twisted Space Buns
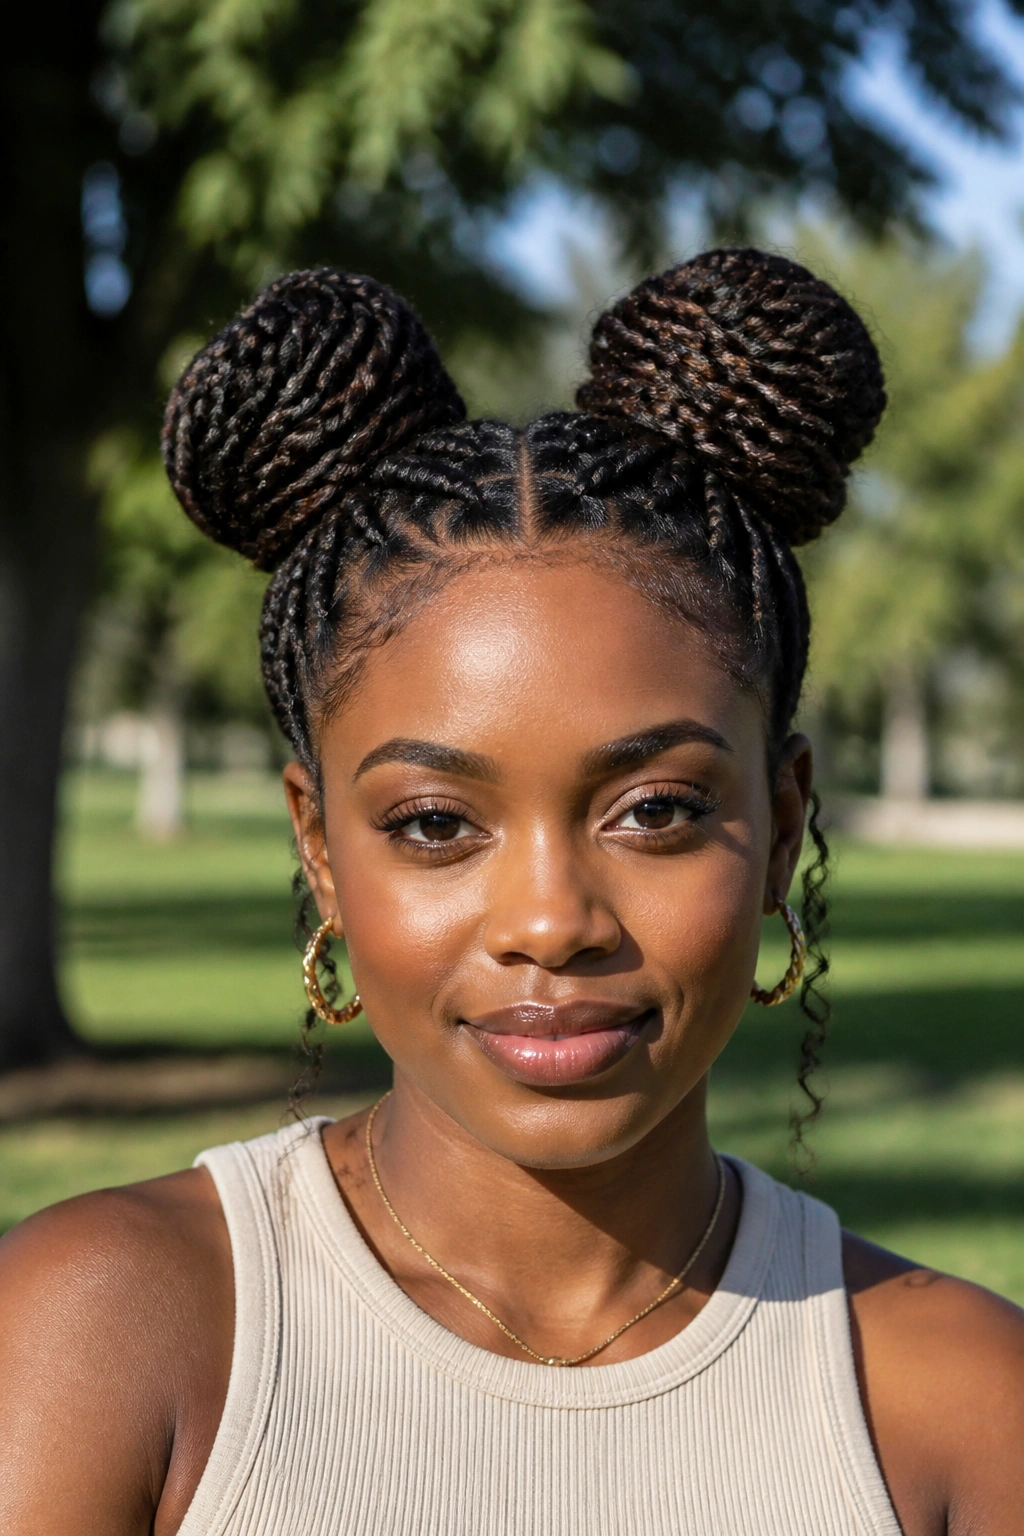
Space buns with twists are playful, but they are not childish unless you make them that way. The style can be neat, bold, sweet, or a little messy, depending on where you place the buns and how tight you make the twists feeding into them.
I like this look because it gives you two shapes at once: lift at the crown and softness around the face. The buns can sit high and dramatic, or lower and calmer. The twists leading into them can stay chunky for a fuller feel or slim down for a cleaner finish.
What makes the style work is balance. If both buns are too large, the head can start to look top-heavy. If they’re too small, the whole look loses the fun. Keep the parts clean, secure the base with pins or a band that does not yank, and tuck the ends well so the buns do not split open halfway through the day.
This is the sort of style that feels good on a day when you want a little personality in your hair without dealing with loose length all over your face. Simple idea. Strong payoff.
The Bottom Line
Twist styles work because they give natural hair shape without fighting the texture. The best version is the one that matches your density, your length, and how much time you want to spend at the mirror.
Some looks are soft and loose. Others stay tight and neat for days. That range is the whole appeal. You can keep it simple with classic two-strand twists, go fuller with Marley or Senegalese twists, or switch things up with a crown, bob, bun, or space-bun shape when you want more personality.
If a twist style keeps slipping, frizzing, or pulling at your edges, the fix is usually not more product. It is cleaner sectioning, gentler tension, and a better match between the style and your hair’s actual behavior. That part matters more than the photo.
