



Face framing layers can make a haircut look lighter, sharper, and a lot more intentional without sacrificing length. A few well-placed snips around the front can soften a hard jawline, open up the eyes, or stop long hair from hanging like a heavy curtain.
That tiny change matters. A front section that lands at the cheekbone does one job; the same section cut an inch lower does something else entirely. On straight hair, the difference can feel crisp. On wavy or curly hair, it can change the whole shape once the hair dries and springs up.
And that’s why this topic gets so specific so fast. Face shape matters, sure. Hair density matters more than people think. So does where you part your hair, how much bend you have at the ends, and whether you want something that needs a round brush or something that can air-dry and still look like it makes sense. The ideas below cover the useful range, from soft and subtle to pieces that make a cut feel brand new.
1. Curtain Face Framing Layers That Start at the Cheekbones

Middle-part curtain layers are the easy win when you want softness without losing the shape of your hair. They split away from the face, then fall back in a gentle curve, which keeps the front open instead of crowded. The best versions start around the cheekbones and slide longer toward the jaw, so the line feels balanced instead of chopped.
Why This Shape Works
A middle part gives the eye a clean line to follow. The layers do the rest. When the shortest piece lands near the cheekbone, it gives the face a lifted look without making the front feel too short or too trendy.
Quick details to ask for:
- The shortest face piece should hit at the outer cheekbone when dry.
- The next section can graze the mouth or jaw.
- Keep the ends blended into the side length, not carved into a hard step.
- Ask for a soft bevel, not a blunt shelf.
Good to know: this shape usually looks best when the stylist checks it in your natural part, not just on wet hair. Wet hair lies. Dry hair tells the truth.
If your hair flips out at the ends, ask for a softer transition on the front pieces. That one small adjustment keeps the curtain effect from turning into a triangle.
2. Cheekbone-Grazing Layers That Lift the Eyes
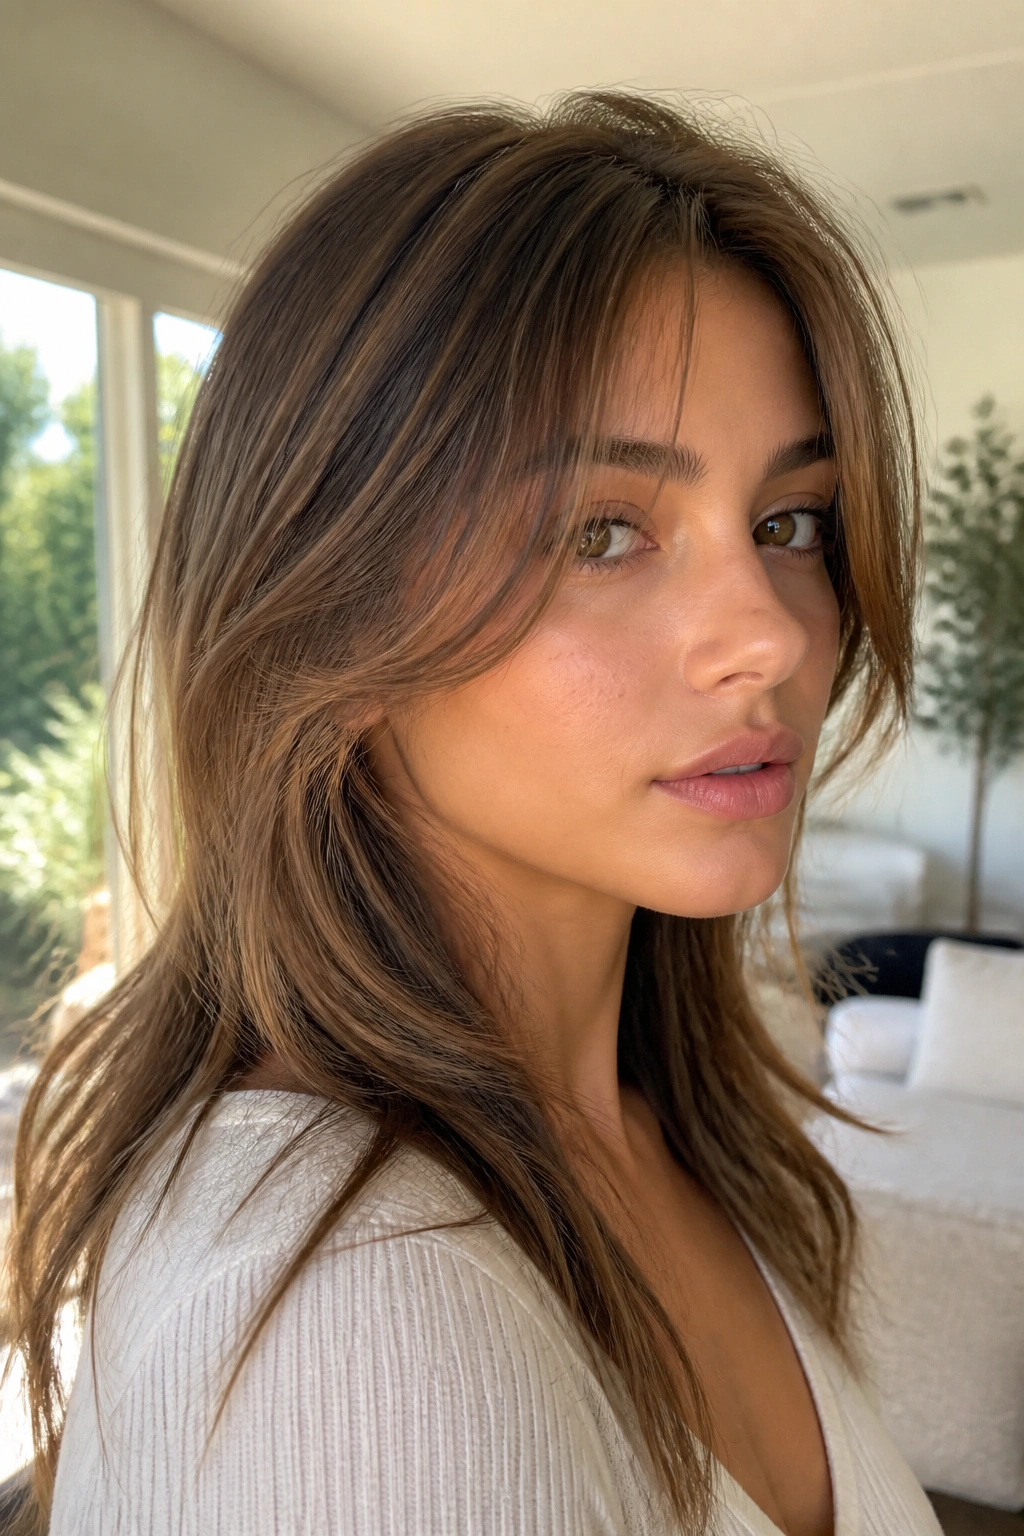
A cut can change where people look first. Cheekbone-grazing layers do exactly that, and they do it fast. The front pieces skim the upper cheek area, which draws attention upward and makes the whole face feel more open.
This is one of those shapes that looks simple in a mirror and does a lot in motion. Turn your head. Tuck one side behind your ear. Let the hair fall forward again. The layers catch light differently each time, which is part of why they feel fresh even when the haircut itself is restrained.
The trick is not to cut them too high. If the shortest piece starts above the cheekbone on a face that already feels narrow, the result can look too airy and a little overdone. Start lower and build up only if the hair is dense enough to handle it.
This idea is especially nice for people with longer faces, since it breaks up vertical length without crowding the chin. It also works on wavy hair that tends to puff out at the sides, because the layers give the front a shape instead of a blob.
One sentence matters here: placement decides everything.
3. Jaw-Skimming Layers That Soften a Square Line

Why does jaw length matter so much? Because the jaw is where a cut starts to feel either sharp or soft, and that small shift changes the whole mood. Layers that land right at the jaw can blur a strong angle, which is useful if your face feels wide there or your haircut needs less edge.
How to Ask for the Cut
Tell your stylist you want the front to skim the jaw, not stop above it. That wording helps more than saying you want “layers,” which can mean almost anything. If your hair is curly or coily, the stylist may need to leave the pieces a touch longer so they sit in the right place once shrinkage kicks in.
A clean jaw-skimming line works well with side parts and shoulder-length cuts. It also keeps the front from looking flat when you tuck one side back. And yes, that little tucked-behind-the-ear moment matters more than people admit.
If your jaw is already narrow, you may want the layer to land a bit lower, near the top of the neck. That keeps the front from feeling boxed in. The goal is movement, not a frame that sits there and stares at you.
4. Chin-Length Pieces That Flick Out at the Ends

Picture a blunt lob that feels a little too stiff around the face. Chin-length pieces fix that fast. They give the front a touch of swing, and when the ends bend away from the jaw, the haircut stops feeling heavy in the mirror.
The best chin-length pieces do not sit like two sharp points. They should curve in a way that feels natural, almost like the hair decided to move on its own. That works especially well if your hair has a slight wave or if you regularly blow-dry the front with a round brush.
- Keep the shortest section at the chin, not above it.
- Let the outer edge taper slightly so it doesn’t look blocky.
- Use this shape when the rest of the haircut is one length or only lightly layered.
- Ask for a soft finish if your hair tends to puff at the ends.
This is a good shape for people who want a little drama without committing to a short cut. It frames the lower half of the face, but it still leaves enough hair to tuck, pin, or twist back when you are bored with it.
Honestly, that’s the charm. It does not try too hard.
5. Butterfly Layers That Separate at the Front
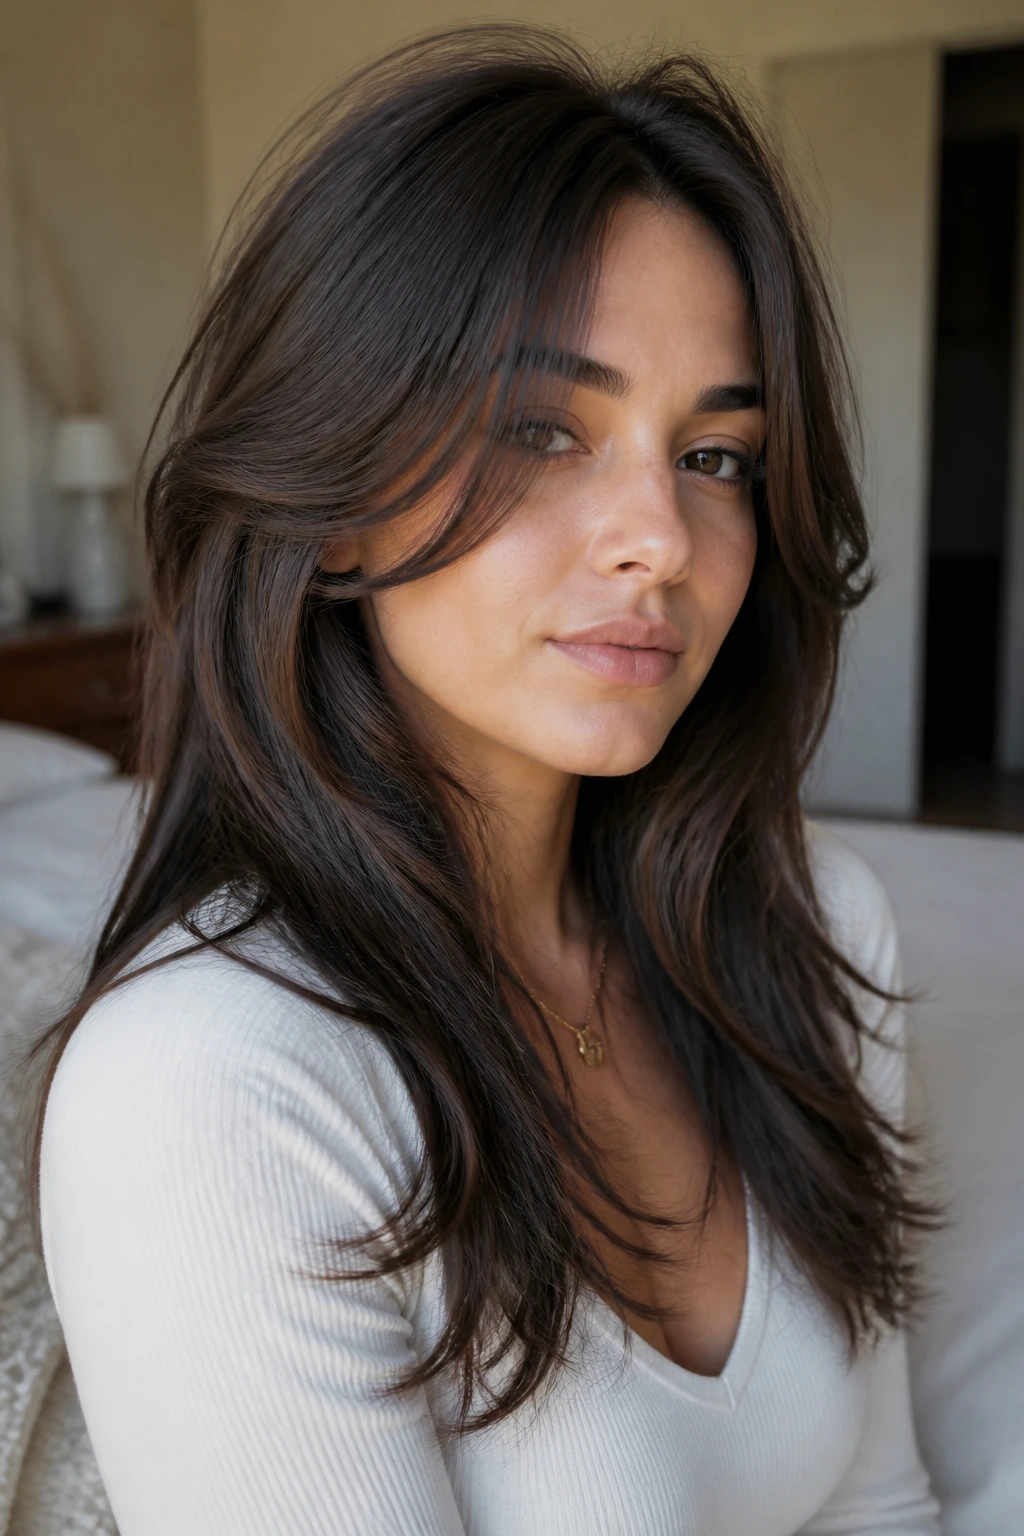
Butterfly layers are the cut people ask for when they want movement up top and length below. The front gets the shorter, more noticeable face frame, while the back keeps a longer fall. That split is what gives the style its shape, and it’s also why it can look blown out even when the styling is fairly simple.
The front pieces usually start around the cheekbone or lip line, then melt into longer layers that sit away from the face. On thick hair, that separation can make a cut feel lighter right away. On finer hair, it can add visible lift without needing tons of product, as long as the shortest pieces are not cut too aggressively.
This style has a big personality when styled with volume, but it doesn’t collapse completely if you let it air-dry. That’s the part people miss. It can look polished, then slightly undone, then polished again after a quick brush-through. The shape keeps working.
If you hate hair that sticks to your cheeks, ask for the front layers to angle away from the face instead of curving straight in. That tiny difference changes the whole result.
6. Long Face Framing Layers That Fade Into the Length
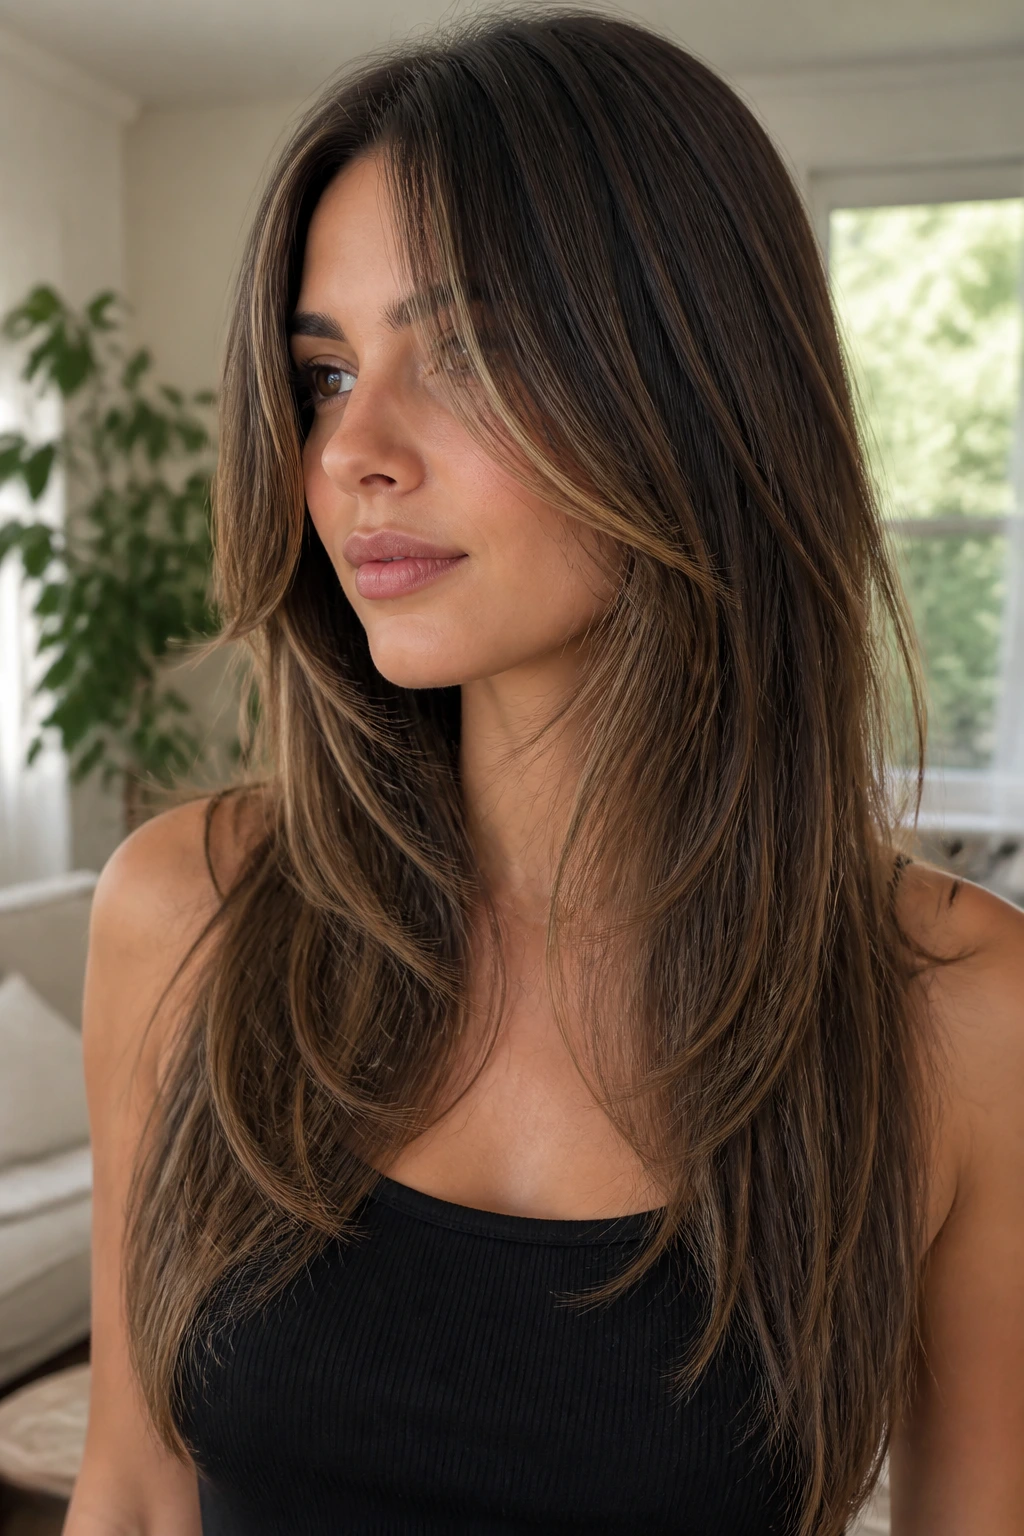
Unlike choppy layers that announce themselves right away, long face framing layers are meant to disappear into the rest of the hair. They’re a better fit when you want movement but do not want to lose the feeling of long hair. The result is softer, quieter, and honestly a lot easier to live with.
These layers usually begin somewhere between the lip and collarbone, then slide down into the perimeter. That keeps the front from looking heavy near the chin while preserving most of the length. It’s a useful shape for thick hair, because the front gets relief without the whole cut losing its weight line.
This is the version I’d point someone toward if they love their long hair but keep complaining that the front feels flat. You get a little lift around the face and still have enough hair to pull back, braid, or twist into a knot that actually stays put.
Ask for the longest front piece to blend into the side of the haircut, not stop in a visible step. If the stylist cuts a hard line, the layer will show every time you move. If they soften it properly, the shape slips in and out of view.
7. Wispy Shag Layers That Break Up Heavy Hair
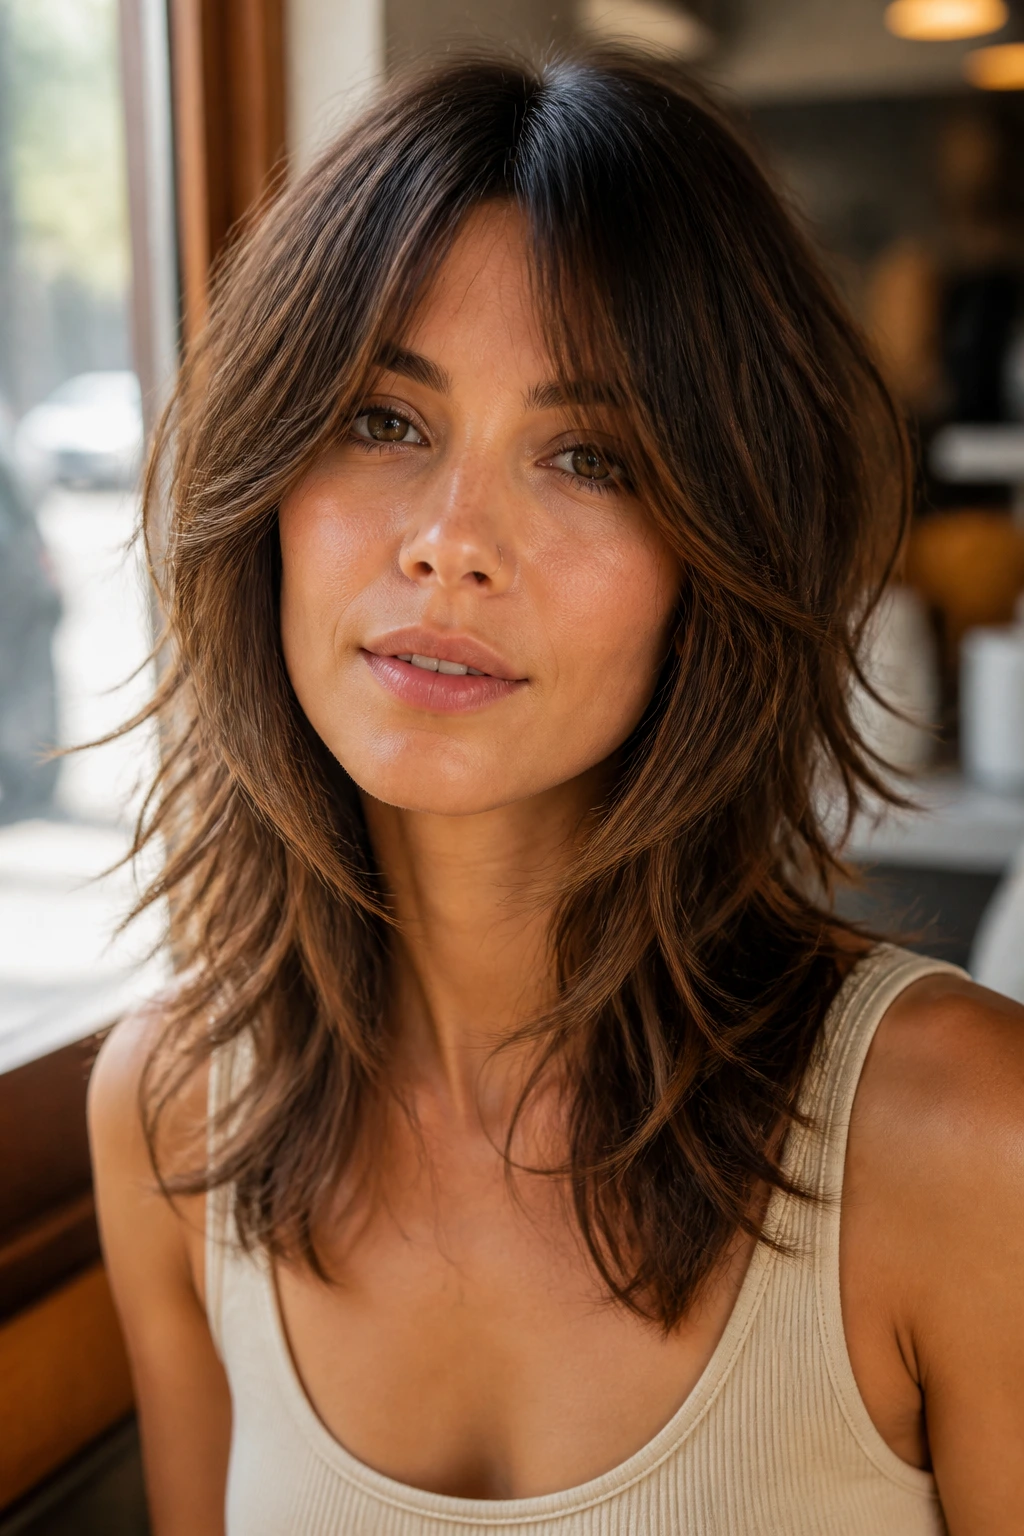
A shag can be gentle. It does not have to look wild or punky to work. The wispy version breaks up bulk around the face, keeps the ends light, and gives the whole haircut a little air between the strands.
Where the Shape Needs to Land
The front usually starts near the temples or cheekbones, then gets feathered outward instead of stacked straight down. That keeps the face open and the fringe area soft. If you already have bangs, the shag layers can blend into them; if you do not, the front can still carry the shape on its own.
Good signs you’re on the right track:
- The hair moves when you shake your head once.
- The front does not sit like a wall.
- The ends look textured, not shredded.
- You can wear it with a center or side part without the front collapsing.
A stylist who likes to cut with point cutting or a light razor can make this shape feel less blunt. Just do not let the front get too short if your hair is dense. That’s where shag layers turn from cool to puffy.
The sweet spot is a little rough around the edges, but still controlled.
8. Razored Face-Framing Layers for Airier Ends

A razor cut changes the edge, not just the length. That matters around the face, because the front is where blunt lines can feel harsh fastest. When a razor is used with a light hand, the ends look softer and move more easily, which is useful on hair that feels bulky or stiff at the cheeks.
This is a smart choice for straight to gently wavy hair. The blade can take away weight without leaving the front piece looking carved. On very frizzy or over-processed hair, though, a razor can make the ends look rough if the stylist goes in too hard. That is the catch, and it’s a real one.
The best razor work around the face should look almost like the hair has thinned itself out at the tips. You still want shape. You do not want the front pieces to fray into wisps that never settle. A good cut leaves movement, not damage.
If you are asking for this, say you want the front to feel lighter while keeping the outline clean. That wording helps. It keeps the stylist focused on softness instead of ripping too much off the ends.
9. U-Shaped Front Layers That Keep Length in the Back

Want the face to soften without losing that full back length? U-shaped front layers are a tidy answer. The front curves down around the cheeks and then blends into a lower center back, so the haircut keeps a rounded outline instead of a blunt edge.
What to Tell the Stylist
Ask for the front to open around the face while the back stays longer and fuller. If you wear your hair over the shoulders, this shape keeps the front from feeling square. If you wear it down your back, the U shape gives the whole cut a smoother flow.
A few useful notes:
- The shortest front piece should not steal too much length from the perimeter.
- The side sections need to connect cleanly so the cut does not look pieced together.
- This shape works well on medium to thick hair that needs a bit of movement near the face.
- It also helps if you prefer loose waves over pin-straight hair.
The U shape is understated, which is exactly why it lasts. You can grow it out for a while before it looks awkward. That makes it a good choice if you dislike frequent trims or just want a haircut that behaves for more than a few weeks.
10. Collarbone Layers That Rest on the Shoulders

Someone is growing out a blunt lob, and the front keeps sticking to the cheeks. Collarbone layers fix that without making the haircut look busy. The pieces land where the neck opens into the shoulders, which gives the front a little swing and keeps the whole shape from falling flat.
The collarbone is a useful place to work because hair naturally bends there. It catches on sweaters, flips when you turn, and sits in a way that feels intentional even when you do nothing special. That makes the cut easy to wear on busy mornings.
- Keep the front piece around collarbone length if your hair is straight.
- Go a touch longer on wavy or curly hair so shrinkage does not push it too high.
- Use this shape when you want movement but still like the security of medium length.
- Ask for soft blending through the sides so the layers do not look stair-stepped.
This one also photographs well in real life, which is rare. The front falls forward, the ends bend a little, and the shoulder line gives the cut a natural stopping point. Nothing fussy. Nothing overworked.
11. Side-Part Face Frame Layers That Build Soft Asymmetry
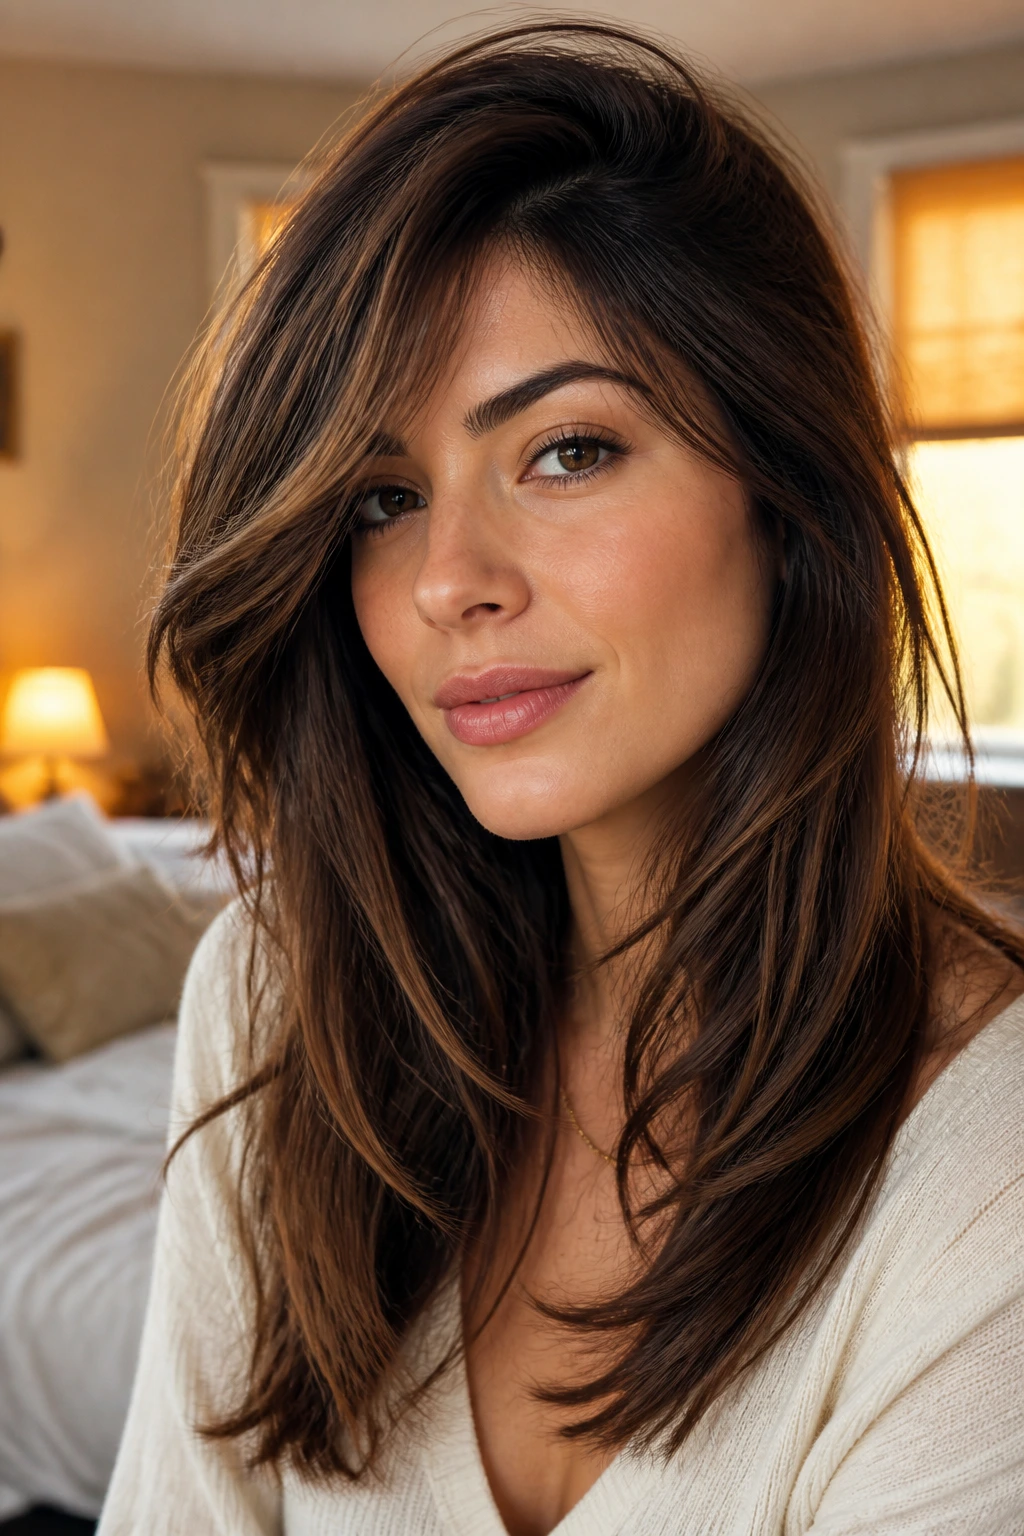
A side part changes the whole conversation. It shifts more hair to one side, which creates a diagonal line across the face and makes face frame layers feel softer without adding more length. That diagonal is the trick. It breaks up symmetry in a way that can be very flattering on rounder faces or on hair that sits flat at the crown.
The nicest thing about this shape is that it can calm a haircut down. If your layers already feel a bit bold, a side part makes them look less frontal and more fluid. If your hair has a stubborn cowlick, a deep side part can also help the front sit where you want it instead of fighting you every morning.
This cut works well when the layers are not overly short. A piece that starts at the cheekbone on one side may need to fall closer to the lip on the other, just because the part changes the angle. Hair is weird like that. It does not care what the diagram said.
If you like to tuck one side behind your ear, this is a strong pick. The exposed side gets clean, the other side keeps the softness, and the whole haircut feels a little less predictable in the good way.
12. Bottleneck Bangs With Feathered Front Layers

Unlike blunt bangs, bottleneck bangs open in the middle and widen toward the temples. That shape makes them easier to live with, and it gives the front a built-in frame before the longer layers even start. Once feathered front pieces are added underneath, the whole cut feels connected instead of split into “bangs” and “the rest.”
This is a smart move if you want fringe but hate heavy maintenance. The center stays lighter, which keeps the brow area from feeling boxed in. The sides blend down into the cheek and jaw, so the cut can grow a little without looking messy right away.
A few reasons this pairing works so well:
- It softens a high forehead without hiding the whole face.
- It leaves room for a round brush or blow-dry brush if you want shape.
- It blends into layered lengths more easily than a blunt fringe.
- It can be adjusted for thick, medium, or finer hair by changing the density.
I like this option most on medium-density hair. There’s enough body to hold the shape, but not so much that the fringe turns bulky. If your hair is very curly, the front will need careful cutting and a little more length than you expect.
13. Invisible Face Framing Layers for Fine Hair
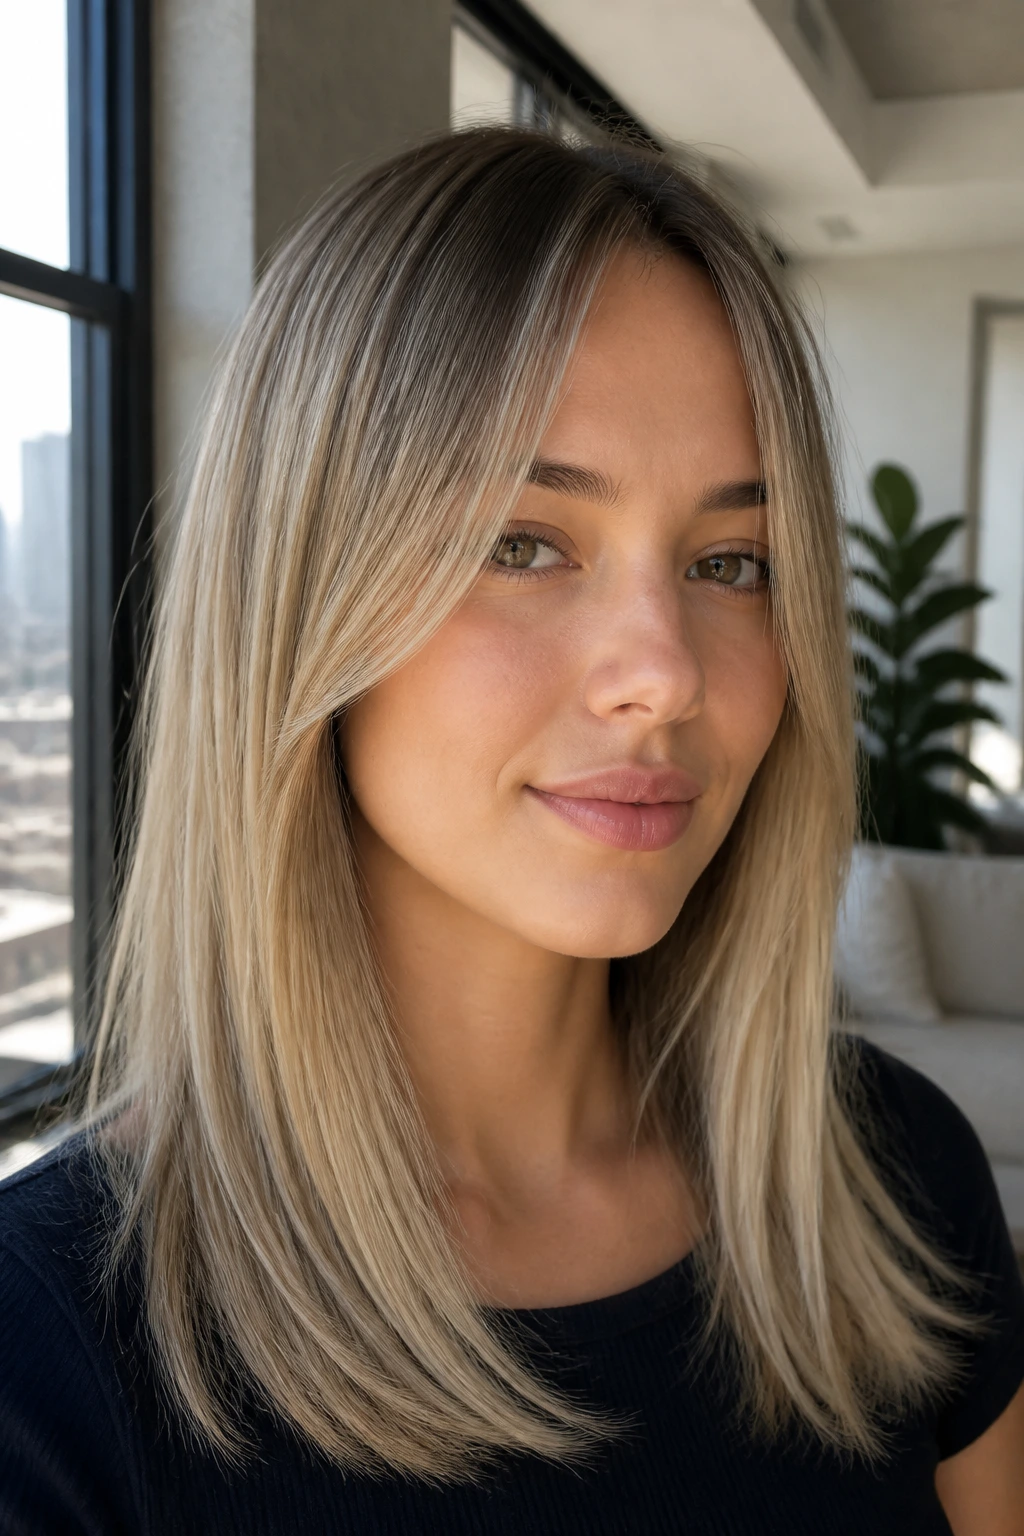
Fine hair does not need more layers. It needs smarter ones. Invisible face framing layers keep the ends looking full while still giving the front a little bend, which is the whole point when you want movement without the see-through look that can happen if the cut is too eager.
What to Ask For
Tell your stylist you want shape at the front, but you want the ends to stay dense. That sentence matters more than asking for “lots of layers,” which is how fine hair ends up looking stringy. The shortest piece should usually stay lower than people think, often near the lip or just below it.
Useful guidelines:
- Keep the layer count low around the face.
- Avoid carving short pieces into the crown.
- Ask for soft connection, not obvious steps.
- Let the front move, but keep the perimeter thick.
This approach is especially good if you wear your hair straight or in a soft bend. The layers show only when the hair moves, which is why they’re called invisible in the first place. They don’t scream for attention.
If your hair breaks easily, this is the safer route. Less thinning, less drama, better shape. Simple.
14. Thick-Hair Frame Layers That Remove Bulk Without Looking Choppy
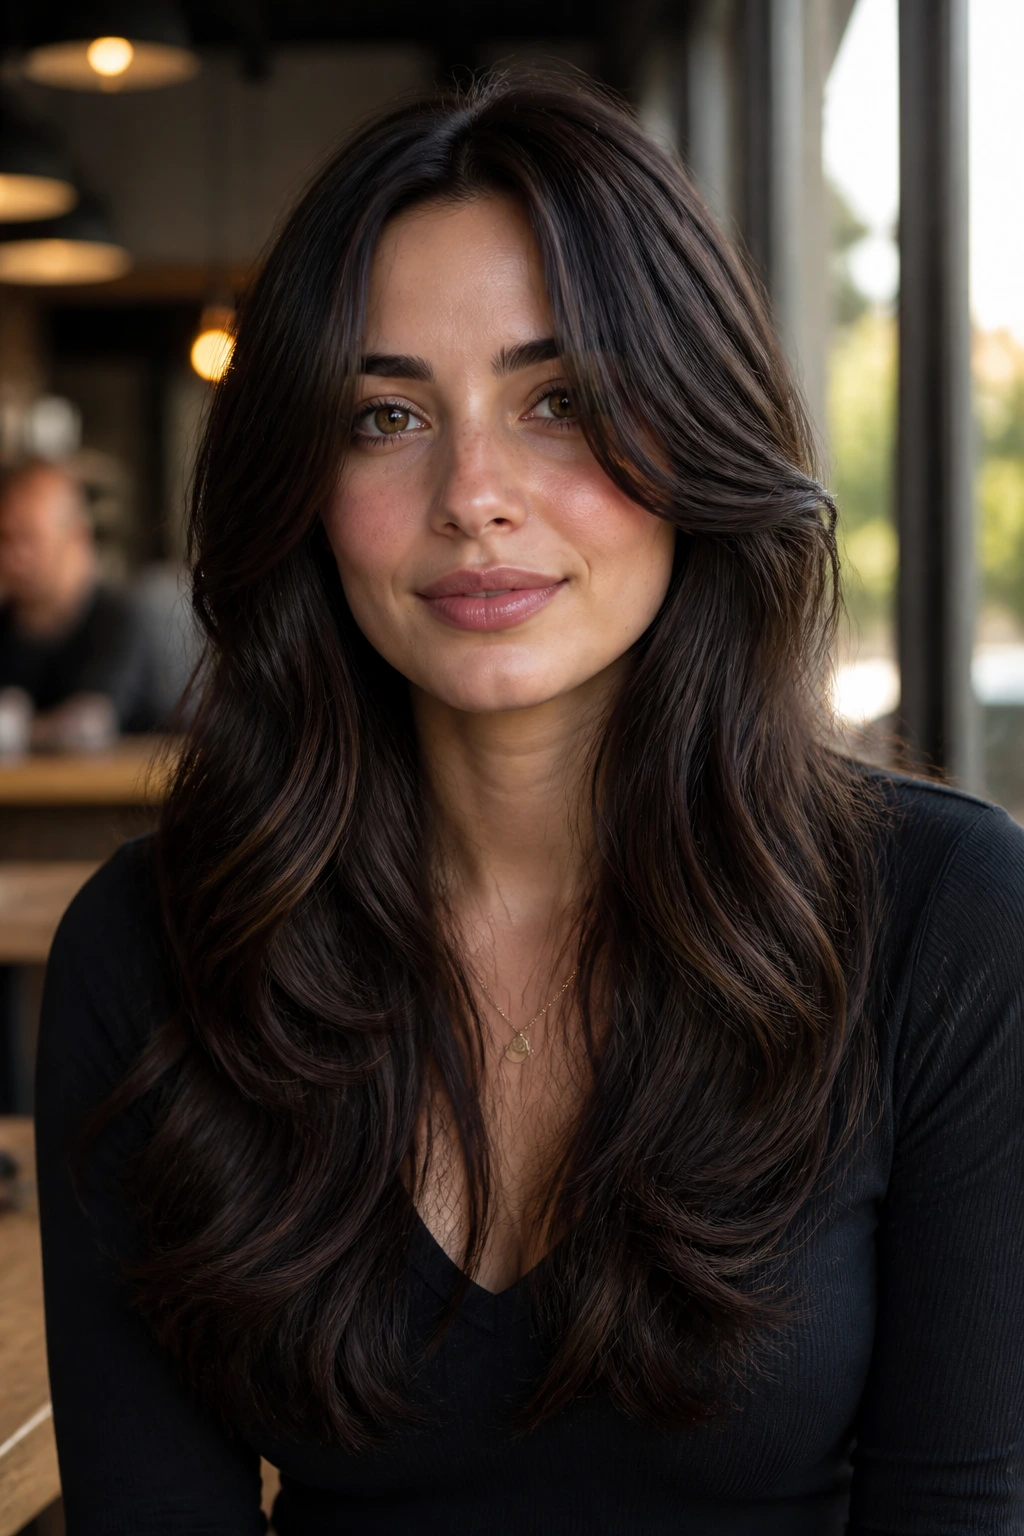
Thick hair can look lighter without losing its shape. The mistake is taking too much out of the front, which leaves the ends thin and the top heavy. The better move is to remove bulk inside the cut, then keep the face frame clean and controlled.
This kind of layering is all about weight distribution. If the front is too dense, the haircut hangs like a curtain and the face gets lost. If the front is thinned too hard, the pieces separate and frizz at the first sign of humidity. Neither version helps.
A good thick-hair frame usually starts with a longer front piece and then softens through the sides. The stylist may use internal layering, point cutting, or a careful slide of the shears to move some of the extra weight without wrecking the outline. That’s the part that takes skill. Not every haircut needs to be dramatic. Some just need better balance.
Watch for these signs in the chair:
- The stylist is checking how the hair falls before taking more off.
- The front still has enough weight to sit in place.
- The ends look full, not shredded.
- You can still wear the cut in a ponytail without short bits sticking out everywhere.
Heavy hair often feels best when the front is just a little looser than the rest. Not more. Just looser.
15. Curly Face Framing Layers That Follow the Curl Pattern
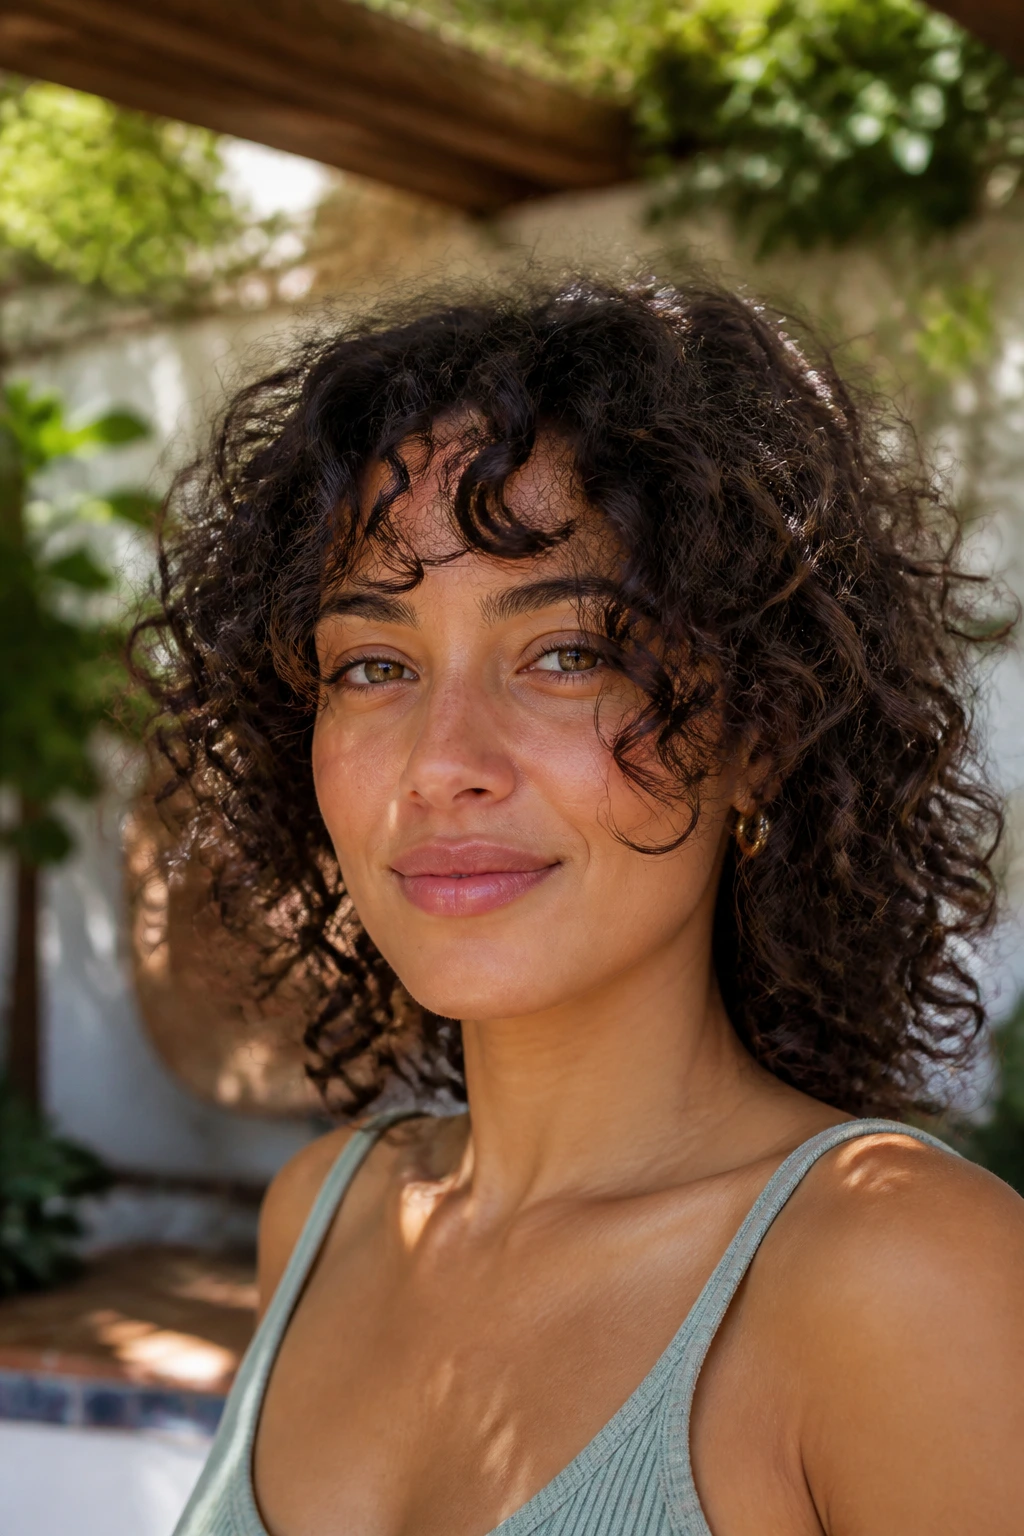
Why do curls need their own rules? Because a curl does not sit where you cut it. It springs up, twists, and shifts with its own logic. Face framing layers for curly hair need to respect that pattern or they end up too short the second the hair dries.
A dry cut, or at least a curl-aware cut, usually gives the best result. The stylist can see where each curl lands and avoid guessing at shrinkage. That matters around the face, where an inch too much can turn a soft layer into a puff at the cheek.
How to Use It
Ask for the front to be shaped curl by curl, not cut in a single straight line. If your curls are loose, the shortest piece may sit around the cheekbone. If they’re tighter, the stylist may need to leave more length so the curl lands near the mouth or jaw once dry.
A few things help:
- Bring your hair to the appointment in its usual state, not stretched out.
- Tell the stylist how much shrinkage you see around the front.
- Avoid a front layer that is shorter than your curl pattern can support.
- Let the shape follow the curl, not force the curl into a straight-hair idea.
Curly face framing layers can look beautiful when they’re a little irregular. That is not a flaw. It’s the point.
16. Angled Face Framing Layers for Wavy Hair
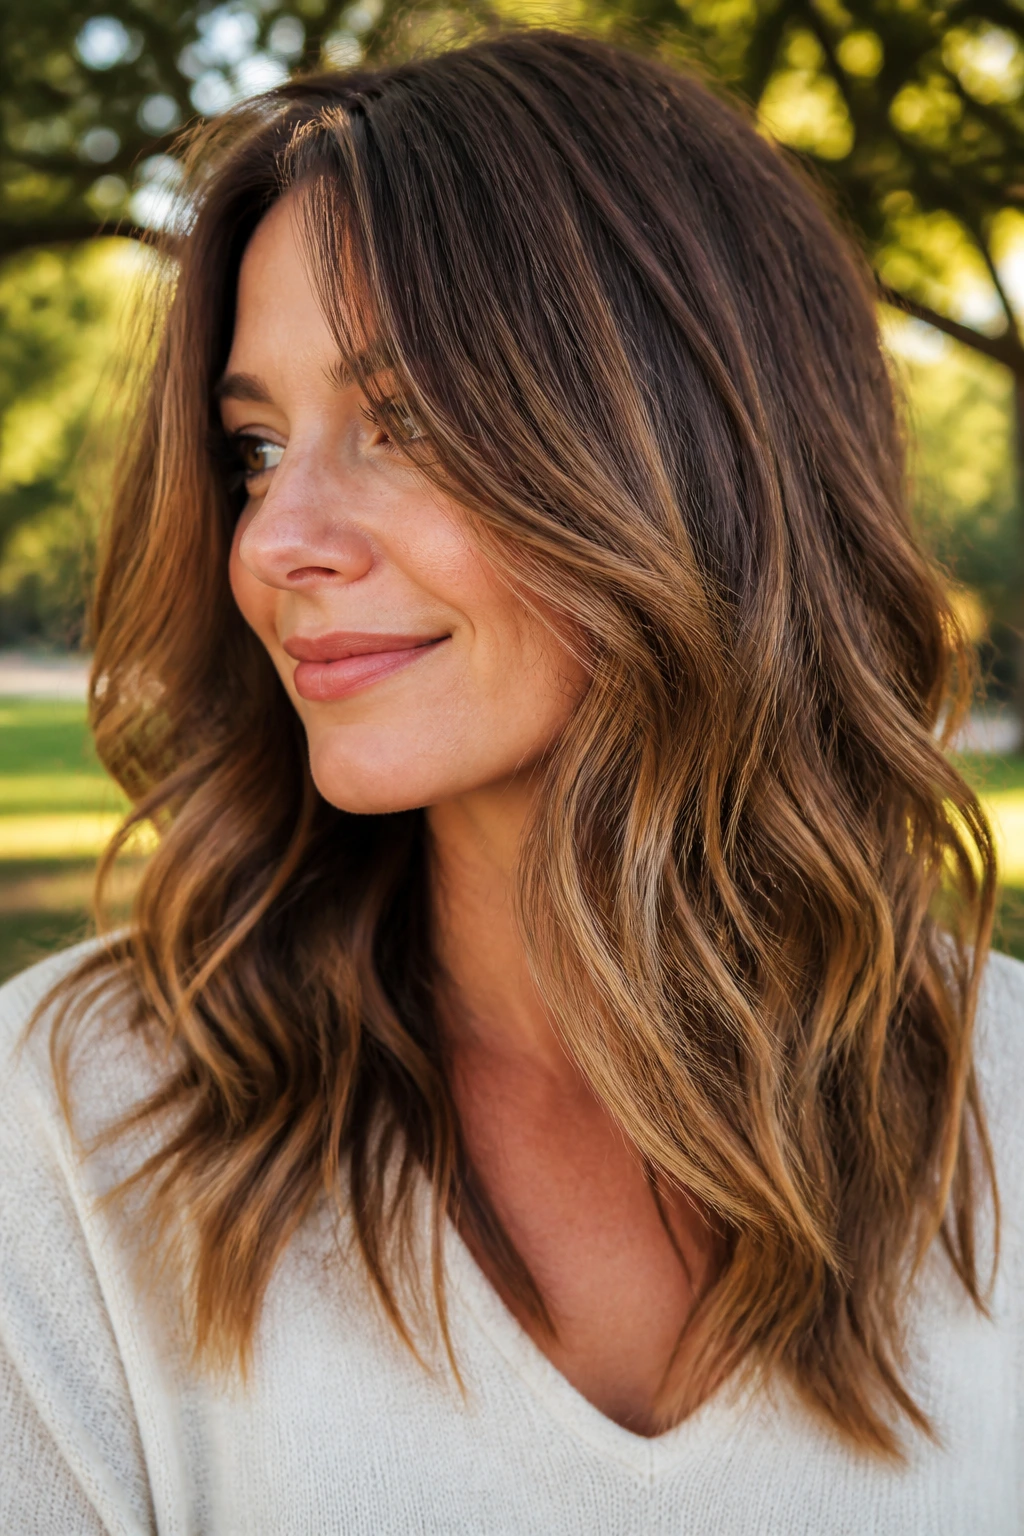
Waves that hit the cheek at the wrong spot can make the whole cut feel bulky. An angled front fixes that by sending the hair down and away instead of straight across the face. The result is smoother movement and less of that “it’s all sitting in one place” feeling.
This shape works well when the front starts a little below the cheekbone and drifts toward the collarbone. On wavy hair, that angle gives the bend room to form without making the ends flip out like a triangle. It also lets the hair dry into shape with less effort, which is a gift on days when you are not interested in a full blowout.
- Start the layer just below the strongest cheek area.
- Let it lengthen as it moves toward the shoulders.
- Keep the transition soft so the wave can travel through it.
- Use this when your hair gets wider at the sides as it dries.
If your waves are loose, the angle can be subtle. If they’re fuller or more active, the angle can be a bit stronger. Either way, the front should feel like it’s sweeping, not collapsing.
That sweep matters. It keeps the haircut from looking square.
17. Mixed-Length Face Frame Layers That Work With a Grow-Out

The best haircut is often the one that still makes sense after it has grown for a while. Mixed-length face frame layers do that well. They don’t rely on one perfect line, so the shape keeps working even when the front gets longer and the cut starts to soften.
This is a good option if you do not want to visit the salon every few weeks just to keep the front from falling apart. The pieces are varied enough to look intentional at different lengths, which makes the grow-out less awkward. You get a little face framing at first, then a softer halo later on.
The key is avoiding one rigid line around the cheeks. Once that line grows out, the haircut can go flat fast. Mixed lengths solve that by giving the front several landing spots: cheekbone, lip, jaw, maybe a longer piece that melts toward the shoulder. It feels less exact, but more useful.
I think this is one of the smartest options for people who are indecisive about length. It gives you room to change your mind. Today the front can feel crisp. A month later it can feel softer, and nobody has to panic.
18. Soft Ends That Blur the Frame

Unlike sharp front chunks, soft ends barely announce themselves. That’s the point. They make the haircut feel friendly, especially when you tuck one side back, throw on a sweater, or let the hair air-dry without much help.
Soft ends work because they do not fight the rest of the cut. They sit near the face, but they don’t carve a hard outline around it. On straight hair, that can look clean and easy. On wavy hair, it keeps the front from getting bulky. On curls, it gives the shape room to breathe.
A stylist can create this effect by leaving the front slightly longer, then softening the edge so it blends instead of stopping. The finish should feel lived-in, not unfinished. Those are different things, and the difference shows up fast once the hair moves.
If you want a low-maintenance result, this is the one I’d circle first. It suits people who hate fussing with styling tools, people who wear their hair up half the week, and people who want their haircut to look good on day three, not only right after the salon. That is the whole game.
