



Soft waves look easy from a distance. Up close, they can be a little stubborn. One side dries flatter, the ends puff out, and the crown does that odd thing where it looks smooth for thirty minutes and then collapses like it changed its mind.
That is where loose curl styling ideas for soft waves earn their keep. The trick is not forcing the hair into a tighter pattern. It’s choosing a shape that lets the bend settle, keeps the movement soft, and avoids that crunchy, overworked finish that makes waves look older than they are.
Tiny choices matter.
A towel that’s too rough, a cream that’s too heavy, or a twist that’s pulled too tight can change the whole result. So can the way you part your hair, the size of each section, and whether you touch it while it dries. Get those pieces right and soft waves stop looking accidental. They start looking planned, but in a way that still feels relaxed.
1. Air-Dry With Curl Cream and a Gentle Scrunch
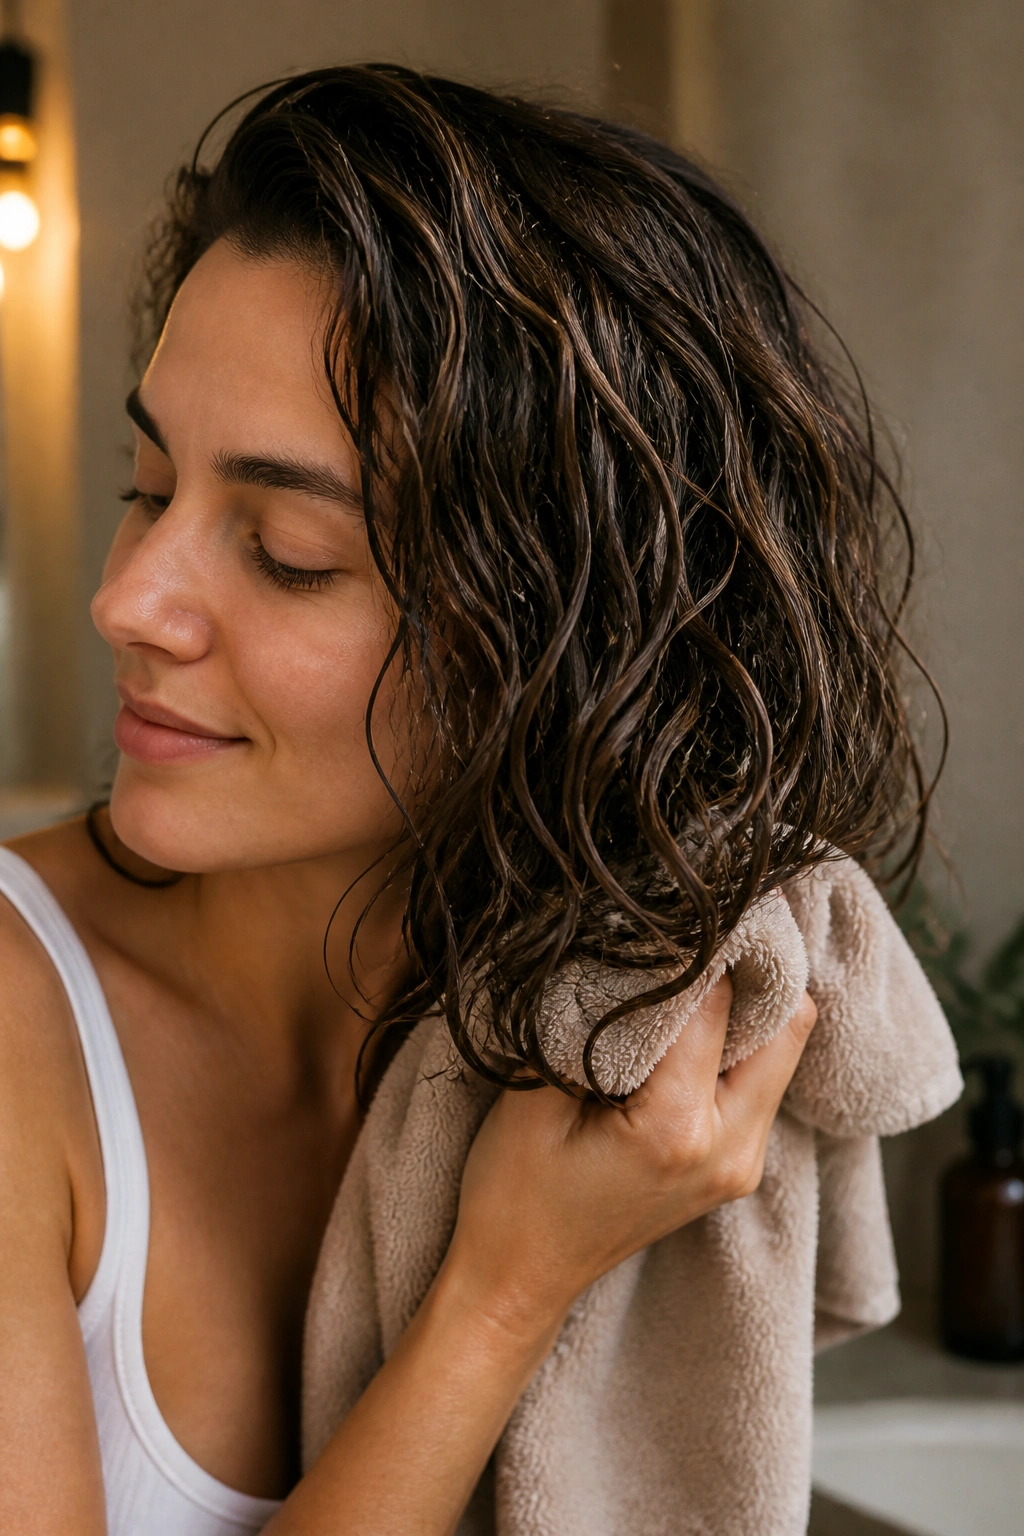
If you want the softest finish with the least drama, air-drying with curl cream is the cleanest place to start. It gives loose curls a chance to form on their own instead of being shoved into a shape by heat.
Use a dime-sized amount for fine hair or up to a quarter-sized amount for thicker waves, then rake it through soaking-wet hair from mid-lengths to ends. After that, scrunch upward with a microfiber towel or an old cotton T-shirt. The goal is a light squeeze, not a rough rub.
A lot of people ruin this step by touching the hair too much once the cream is in. Don’t. Leave it alone while it dries, or you’ll wake up the frizz monster. If your roots fall flat, clip the crown up for 10 to 15 minutes while the hair is still damp. That little lift keeps the wave pattern from sinking before it sets.
Leave it alone. That’s the part people hate, and it works.
2. Diffuse on Low Heat With the Hover Method
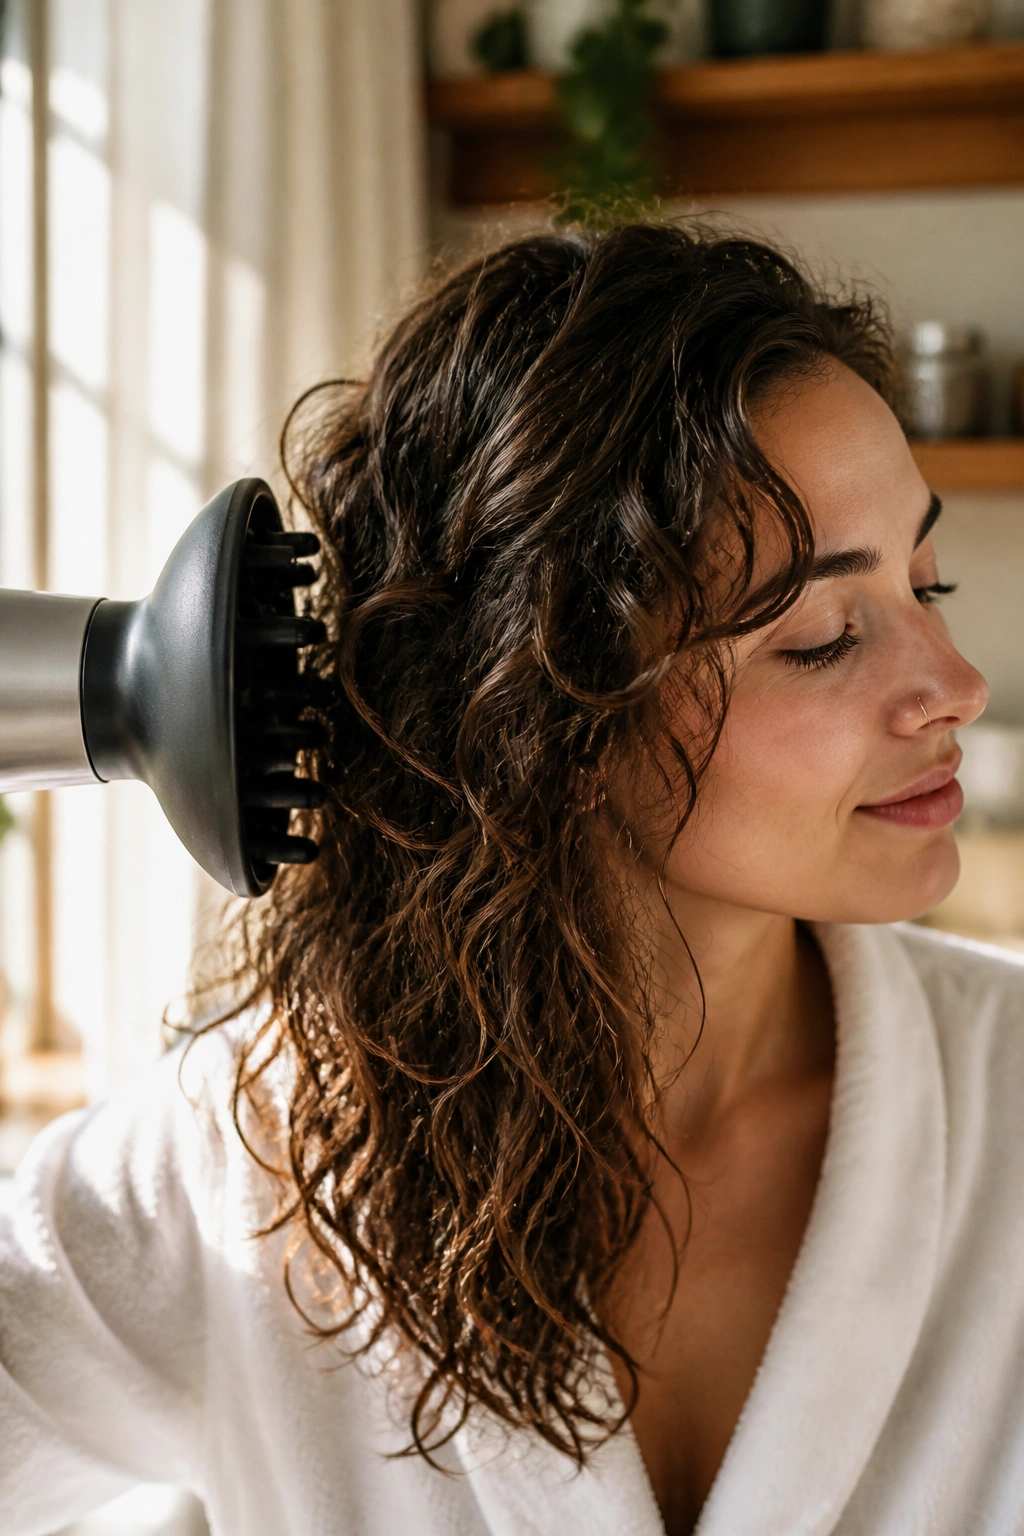
Why does a diffuser sometimes make waves look softer than air-drying? Because it sets the outside of the wave without blasting the whole section apart. The hover method is especially useful when your hair has a little curl but not enough grit to hold shape on its own.
Keep the dryer on low heat and low speed, then hold the diffuser a few inches away from the hair instead of pressing it straight into the scalp. Let the air float over the surface for 20 to 30 seconds at a time. Once the hair feels about halfway dry, cup the ends and lift them gently for a few short passes.
How to use it
- Dry the roots first if they stay wet forever.
- Hover over the mid-lengths before you start scrunching.
- Stop when the hair still feels a touch cool and damp inside.
- Finish with a 5-minute cool shot if your dryer has one.
The best part of this method is control. You get softness, but you also get a bit more root lift than a full air-dry gives you. That matters when the top layer tends to go flat. And if your hair hates heat, keep the session short. Ten minutes can be enough.
3. Set Two Loose Twists for Ribbon-Like Waves
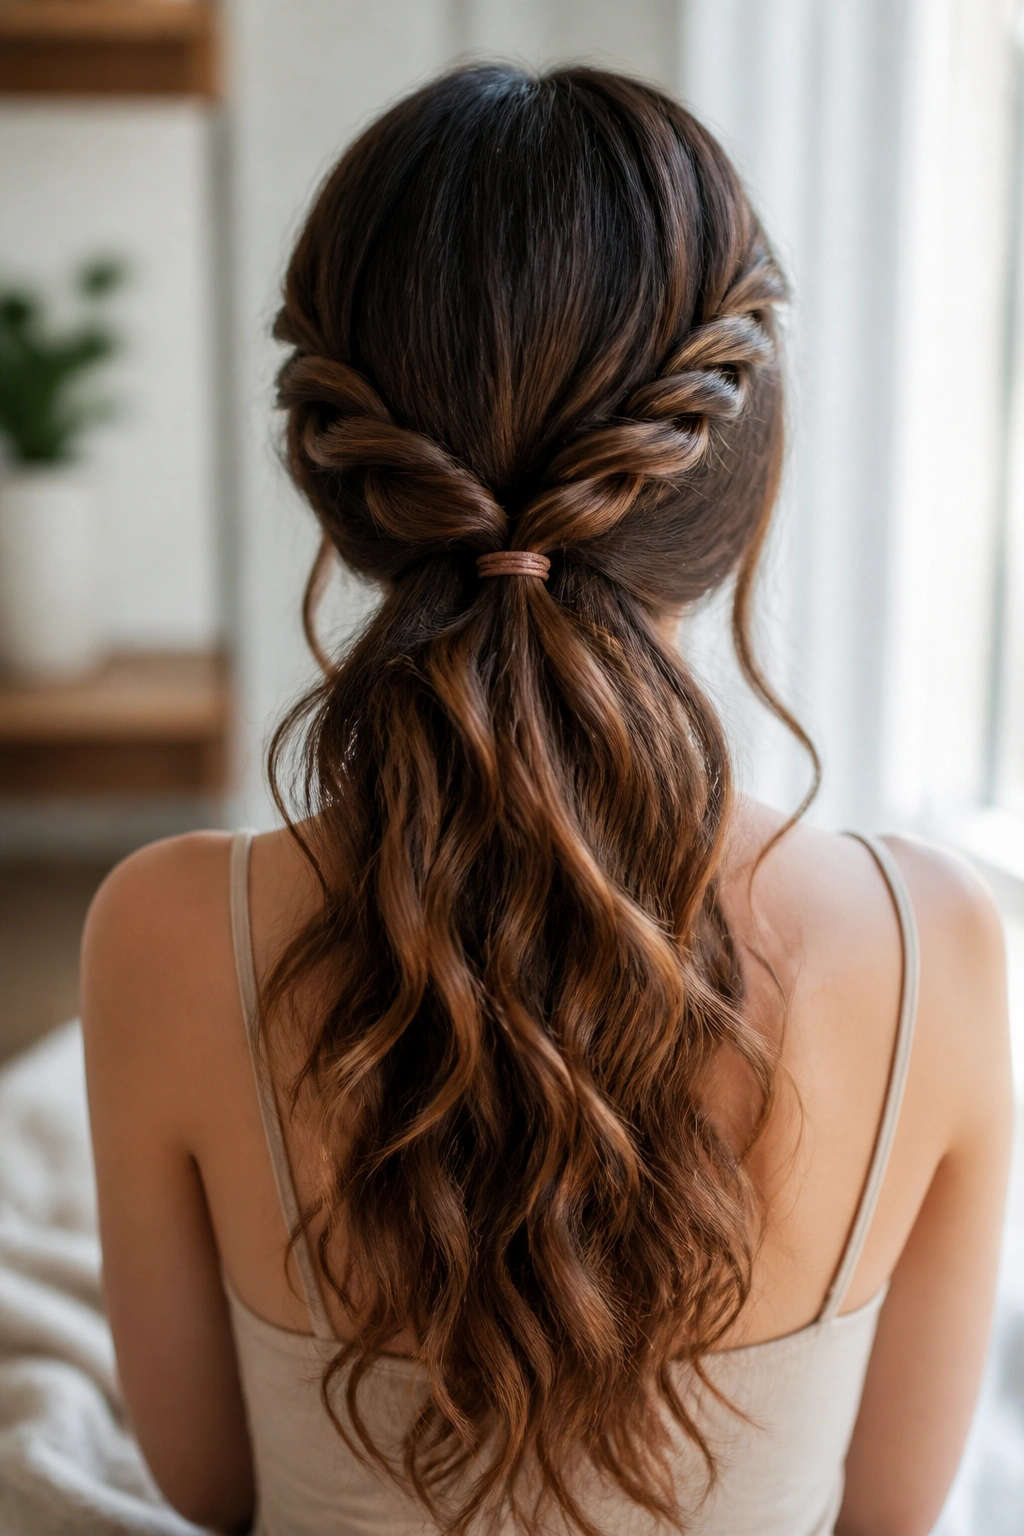
Picture hair that dries into a triangle shape at the bottom and goes limp at the top. Two loose twists fix that fast. They give the wave pattern a direction, then release into a softer, more ribbon-like shape once the hair is dry.
Split damp hair down the middle, or slightly off-center if that suits your face better. Twist each side away from the face using sections about 1 to 2 inches wide, and secure the ends with a soft elastic or satin scrunchie. If the hair is long, you can coil each twist into a loose bun at the nape. If it’s shoulder length, leave the twists hanging.
- Best for medium to long hair.
- Works well with a light mousse or foam.
- Usually sets in 30 minutes to overnight, depending on how damp the hair starts.
- Gives a bend that looks softer than braids and less polished than rollers.
Nope, you do not need twelve twists. Two is often enough. Maybe three if the hair is thick. Anything more starts to feel fussy, and soft waves do not need fuss.
4. Build a Side Part That Lets the Hair Fall Softer

A deep side part changes the whole mood of loose curls before you add a single product. It pulls some weight to one side, gives the crown a little lift, and makes soft waves read as more full without turning them into a big, teased shape.
On damp hair, draw the part where you want the heavier side to land. Then smooth the hair down with your fingers, not a brush, especially near the roots. If one side tends to puff out more than the other, clip the flatter side back at the temple for 10 minutes while it dries. That tiny bit of lift near the face keeps the front from looking stuck to the head.
What to watch for at the part line
- Keep the part clean and straight if you want a sleek finish.
- Keep it slightly messy if you want movement.
- Use two bobby pins crossed near the temple when the hair slips.
- Avoid re-parting the hair ten times. That just frays the surface.
A side part is not a small detail. It changes how the whole curl set sits. And on soft waves, that’s a bigger deal than people expect.
5. Pin Back the Crown for a Half-Up Wave Shape
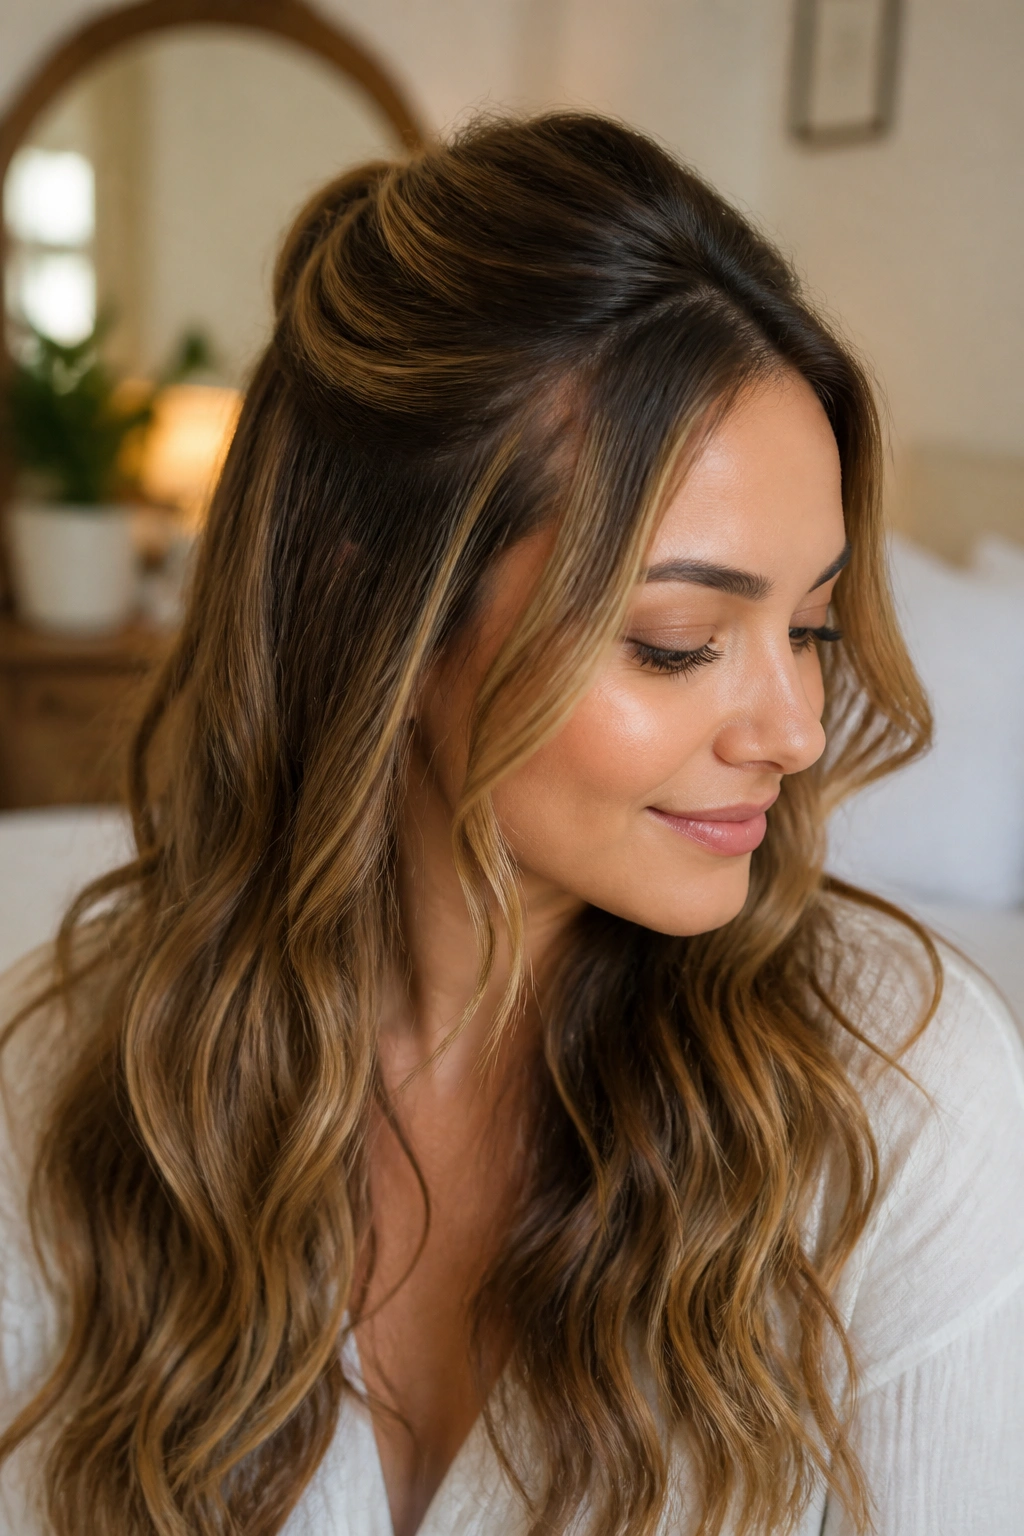
Half-up styles get dismissed as easy hair, and that’s a mistake. A loose half-up twist at the crown can lift the top layers, keep the ends soft, and make waves look fuller through the middle instead of bottom-heavy.
The trick is to keep it loose. Gather only the top third of the hair, twist it once or twice, and pin it with a matte clip or two crossed bobby pins. Leave a few face-framing pieces out. If you pull too much hair into the twist, the whole style turns stiff and the soft wave pattern loses its shape.
This works especially well when the bottom layer already has a bend you like but the crown needs help. It also helps on day two, when the front pieces have gone a little sleepy. A half-up twist gives them a reason to sit up again.
And yes, you can wear it with a center part or a side part. The side part gives it a softer, more relaxed feel. The center part feels cleaner. Both work. The difference is mood.
6. Sleep in Two Loose Braids and Shake Them Out

Braids are the lazy person’s wave set, and I mean that as a compliment. Unlike pin curls, they don’t need perfect sectioning. Unlike heat styling, they do not ask much from your morning routine. They just sit there and do their job.
Braid damp hair into two loose braids, not six tiny ones. Tiny braids make a tighter crimp, and that is not the same thing as soft waves. Start the braid a little below the ear if you want the top to stay smoother. If you start too high, the roots can look puffy in a way that’s hard to fix later.
This is best for hair that’s shoulder length or longer. Shorter layers can pop out and fray, which gives you more texture but less shape. If your ends tend to look dry, smooth a drop of serum over just the last inch before braiding. Don’t soak it. A little is enough.
In the morning, undo the braids with dry hands, then shake the roots once. Twice at most. If you rake your fingers through it five times, you’ll blur the wave and flatten the nice bit you just made.
7. Use Velcro Rollers at the Front Hairline

Roots that collapse by lunch need a different fix than ends that frizz. Velcro rollers at the front hairline give the face-framing pieces a bend that looks clean but still soft, and they’re especially useful when the top layer refuses to hold shape.
Roll 2- to 3-inch sections away from the face, starting right at the hairline. Medium rollers usually work better than tiny ones because they make a gentler bend. Leave them in while you do makeup, get dressed, or answer a few messages — anywhere from 15 to 40 minutes is enough if the hair started damp.
Placement matters
- Put the first roller just behind the part, not an inch away from it.
- Roll straight up if you want lift.
- Roll slightly back if you want the front to open away from the face.
- Use a light mist of setting spray only if the hair is very fine.
A lot of people think rollers are fussy. They can be. But two rollers near the front can change the whole profile of a wave set. That’s the boring little trick that makes the style look finished.
8. Make Smooth Pin Curls for a Polished Wave Set
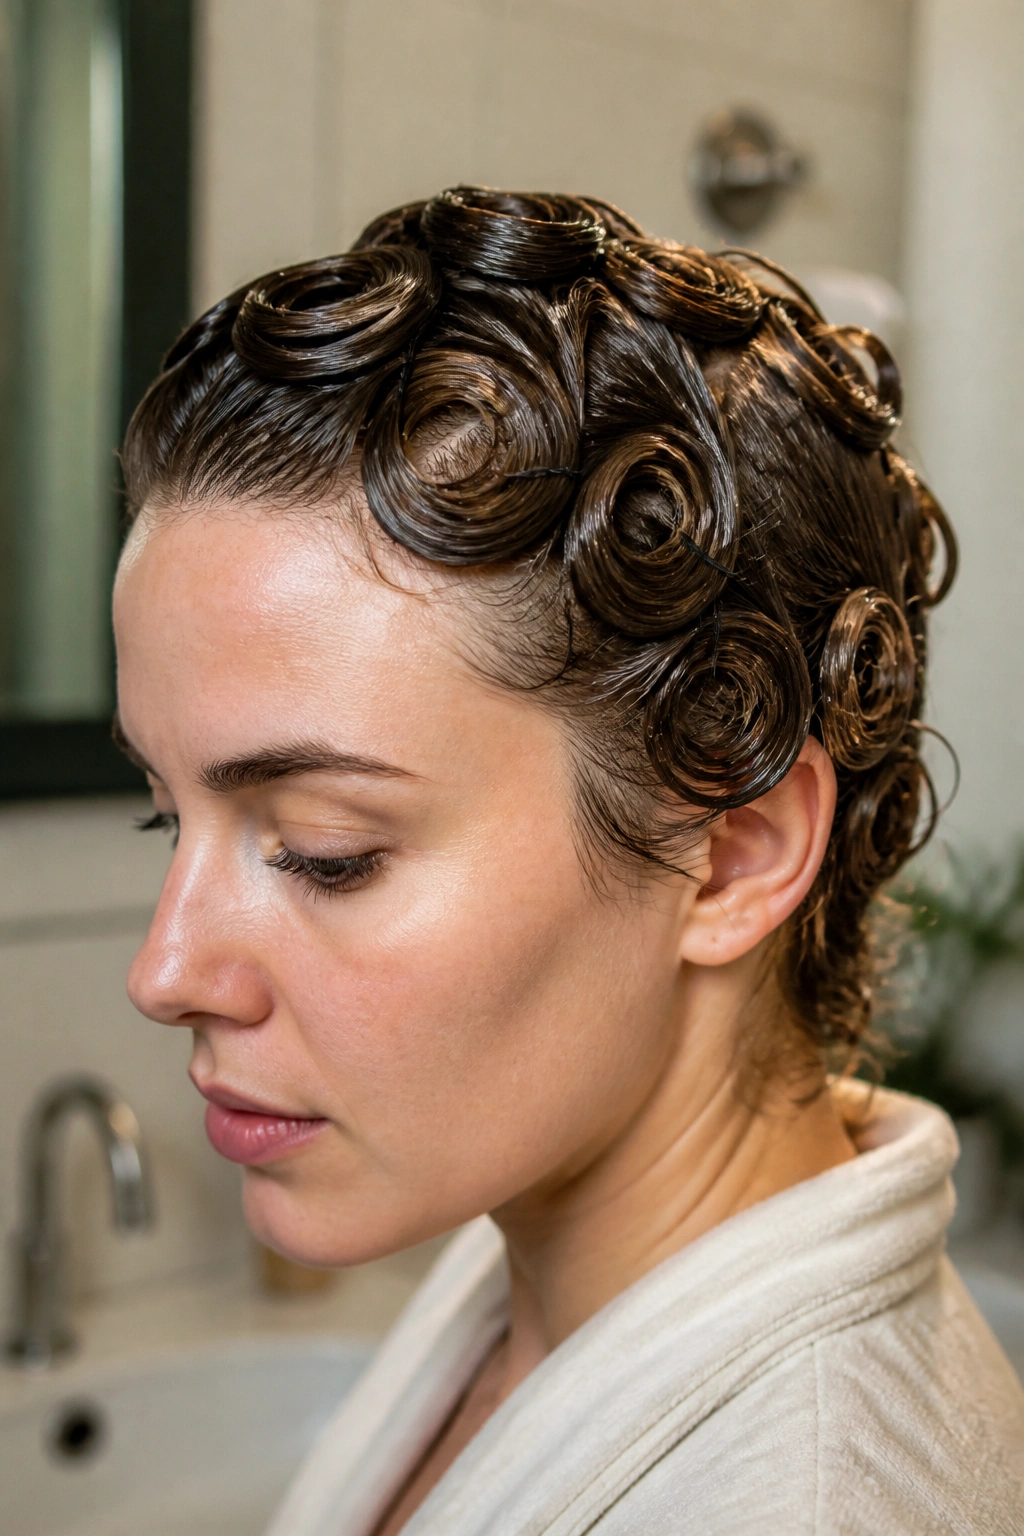
Pin curls are old-school for a reason: they lock in shape without asking for heat. They’re also one of the best ways to get soft waves that look smooth rather than fluffy, which is useful if your hair frizzes the second the air gets a little dry.
Work with 1-inch sections on damp hair. Roll each section around two fingers, lay it flat against the head, and pin it in place with a small clip or bobby pin. The curl should sit close to the scalp, not hang out in space. That flat shape is what gives pin curls their smooth finish.
The part people skip
Let the curls dry fully before taking them down. Not mostly dry. Fully dry. If they feel cool in the center, they’re not ready yet. If you rush this, the wave falls before it has any memory.
Pin curls make sense when you want a cleaner wave pattern for dinner, a work event, or any day when you want your hair to look cared for without looking stiff. They take more setup than braids, sure. But the result is neat in a way that still feels soft.
9. Create a Low Bun, Then Release It Later
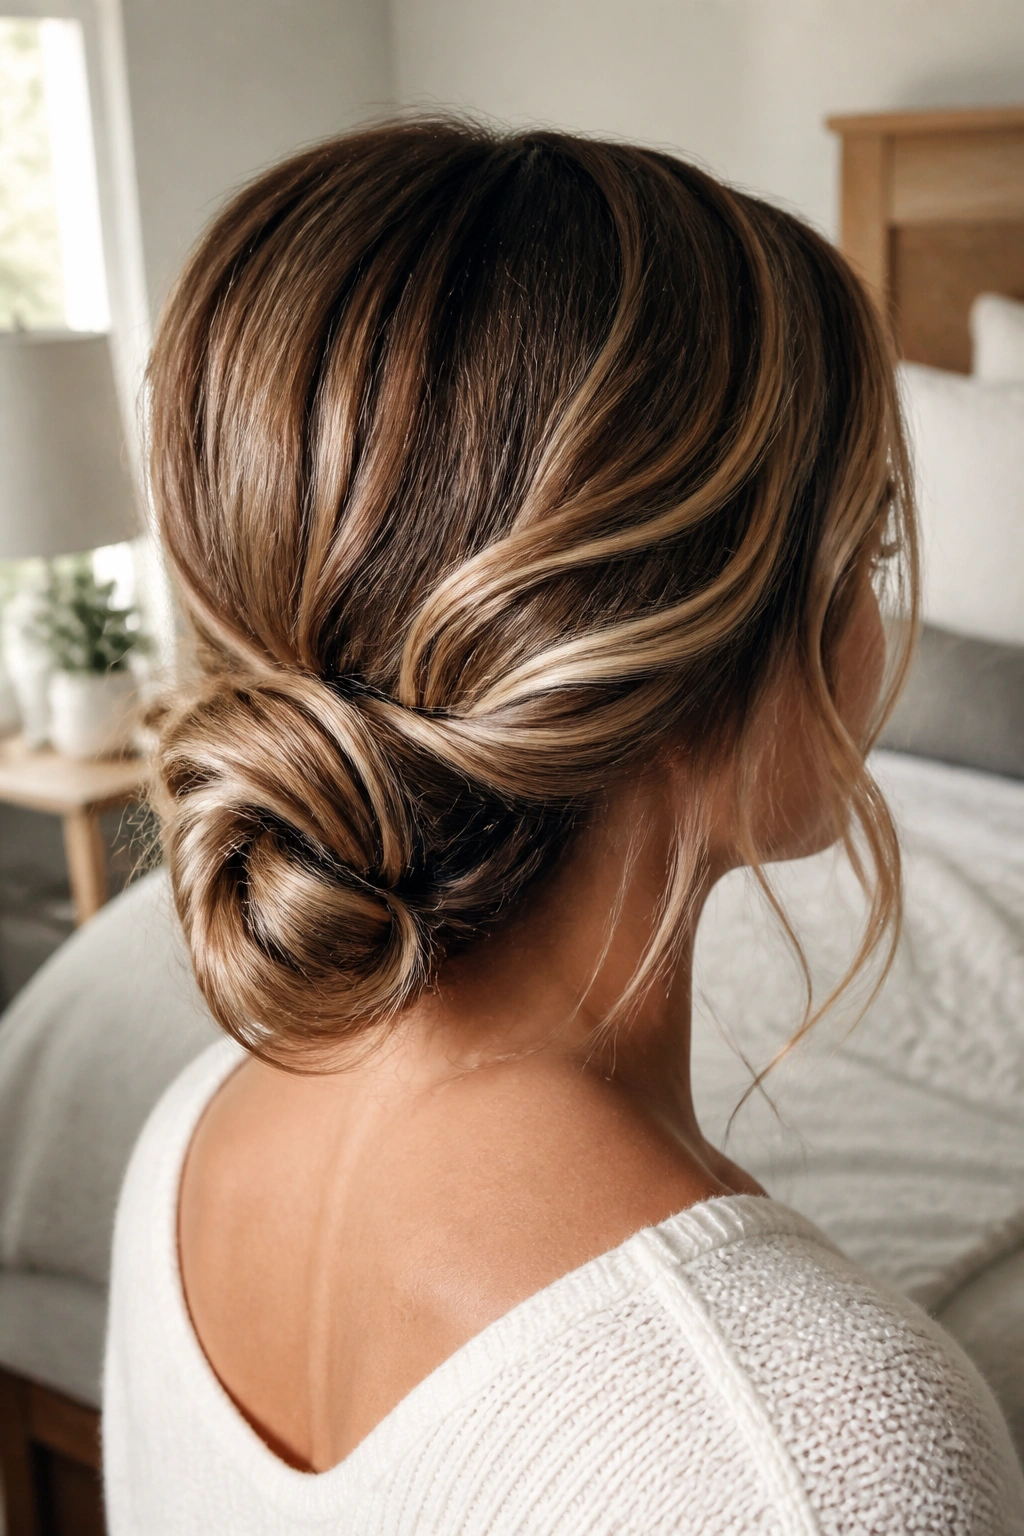
A loose low bun can look unfinished in the mirror and gorgeous an hour later. That’s the whole point. The hair sets in a round shape, then opens into a soft bend when you release it, which is perfect for anyone who wants movement without obvious curl marks.
Gather damp hair at the nape, twist it once, and coil it into a loose bun. Secure it with a satin scrunchie or a soft elastic. Don’t yank it tight. Tight buns leave a hard crease, and hard creases are the enemy here.
This style works best when the hair is about 80 percent dry before you take it down. Too wet, and it won’t hold. Too dry, and the bun may not leave enough shape. There’s a sweet spot, and it’s annoyingly real. That’s why this method is better for people who can check the hair once or twice instead of forgetting it for eight hours.
When you release it, use your fingers first. If you need more separation, add a tiny bit of oil to your palms and smooth the ends only. The base should stay airy. The ends should feel soft, not scraggly.
10. Refresh Day-Two Hair With Water and Mousse
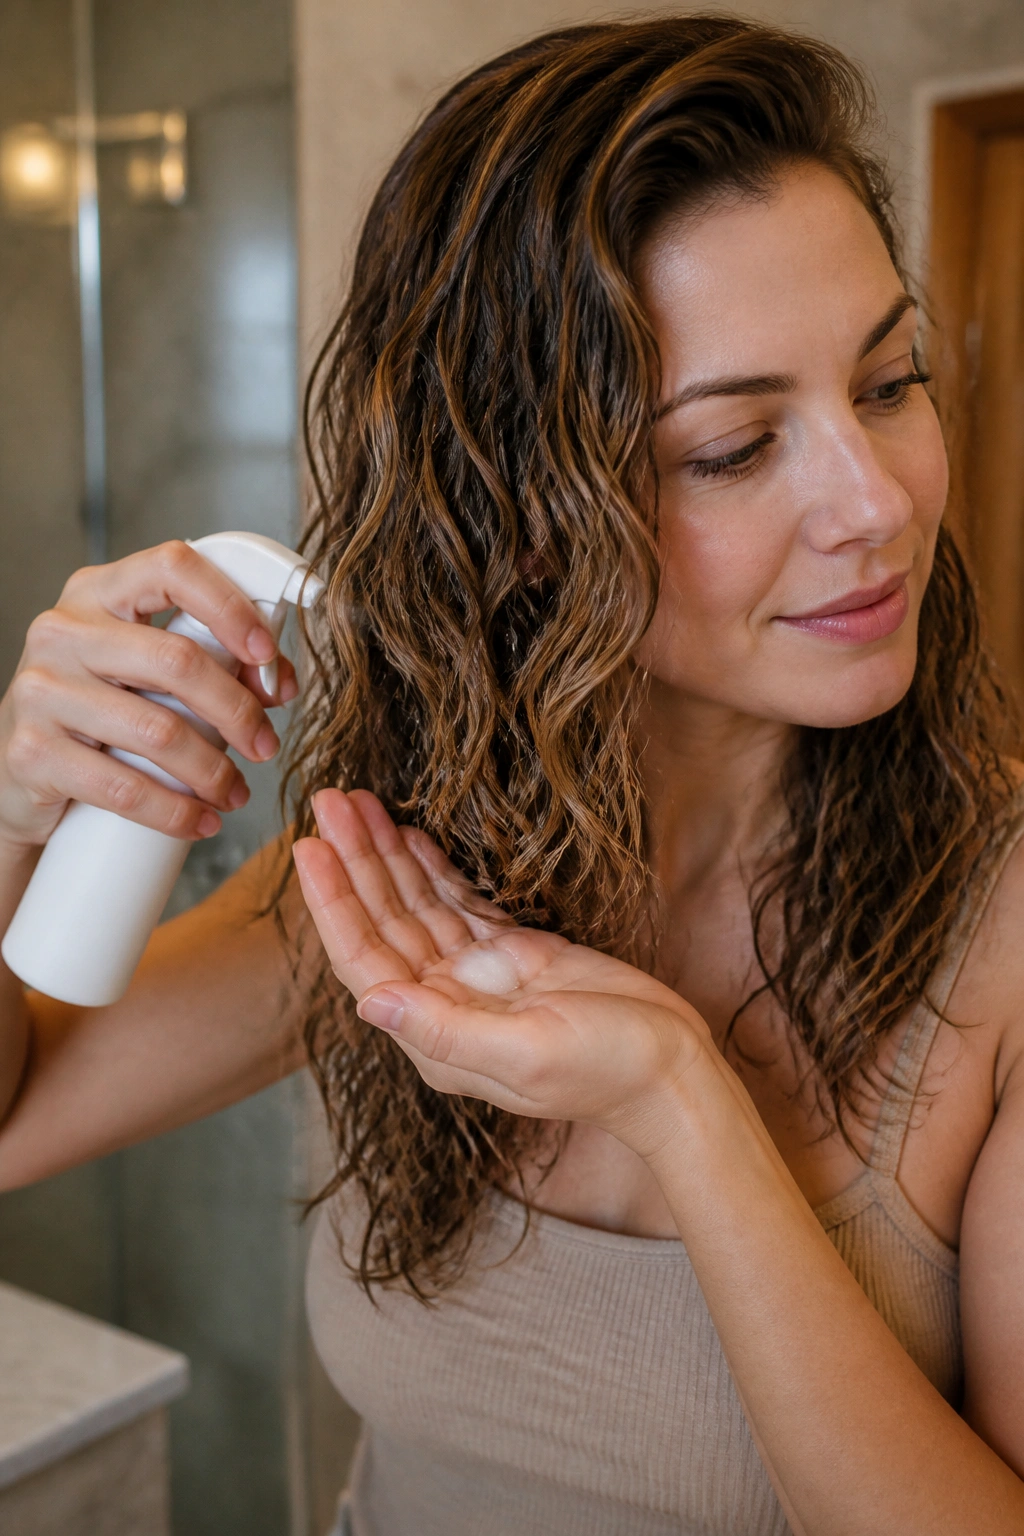
Day-two soft waves need a reset, not a rescue mission. A little water and mousse can wake the shape back up without turning the hair into a wet mess that has to start over from scratch.
Mist the hair lightly with water, focusing on the mid-lengths and any pieces that have gone flat. Then work a pea-sized to walnut-sized amount of mousse through the hair with your hands, depending on density. Scrunch upward from the ends and stop touching once the wave starts to come back.
A lot of people use too much. That’s the mistake. Too much mousse can make the hair feel sticky and dull, which is not the same thing as defined. You want enough hold to coax the wave back, not enough to glue it into place.
A quick diffuser pass can help if the hair feels too damp after refreshing. Three to five minutes is usually plenty. If the hair starts to feel crunchy, shake it out gently and stop. Soft waves should move when you turn your head.
11. Wrap Hair Around a Headband for Heatless Waves

Headband waves give you a specific kind of softness: round at the sides, loose through the ends, and a little romantic without trying too hard. They’re also one of the better heatless options when you want the front pieces to behave.
Put on a stretchy headband over damp hair, then wrap 1- to 1.5-inch sections around it, tucking the ends in as you go. Keep the wrap loose enough that the hair does not feel stretched. If the hair is pulled too tight, the wave turns sharp at the roots and loses that relaxed shape.
- Best for shoulder-length to long hair.
- Works well if the ends usually need help.
- Can set in 2 to 4 hours, or overnight.
- Gives a softer result than tight braids on many hair types.
The nicest thing about this method is that it does the face-framing work for you. The front pieces get a clean bend, which makes the whole style look deliberate even if the rest of the hair is fairly loose.
12. Use Flexi Rods on Mid-Lengths and Ends

Flexi rods are louder than braids and calmer than curling irons. They give you a soft spiral through the mid-lengths and ends, then let the roots stay loose so the hair still reads as waves instead of ringlets.
Choose rods that match the finish you want. 3/4-inch rods give a bit more curl. 1-inch rods create a softer bend. For loose waves, I’d usually stay on the larger side and wrap only the middle of the hair through the end. That keeps the shape airy.
Getting the most from them
- Work in damp, not dripping, hair.
- Wrap each section smoothly so the ends don’t stick out.
- Leave the roots out if you want a softer crown.
- Let the hair dry completely before removing the rods.
Flexi rods suit hair that holds shape poorly with braids but still needs more structure than air-drying gives it. They take more time, yes. They also give one of the cleanest soft-wave finishes when done right. If you’ve ever wished your waves looked a little more even through the ends, this is the one to try.
13. Finger-Coil Only the Face Frame
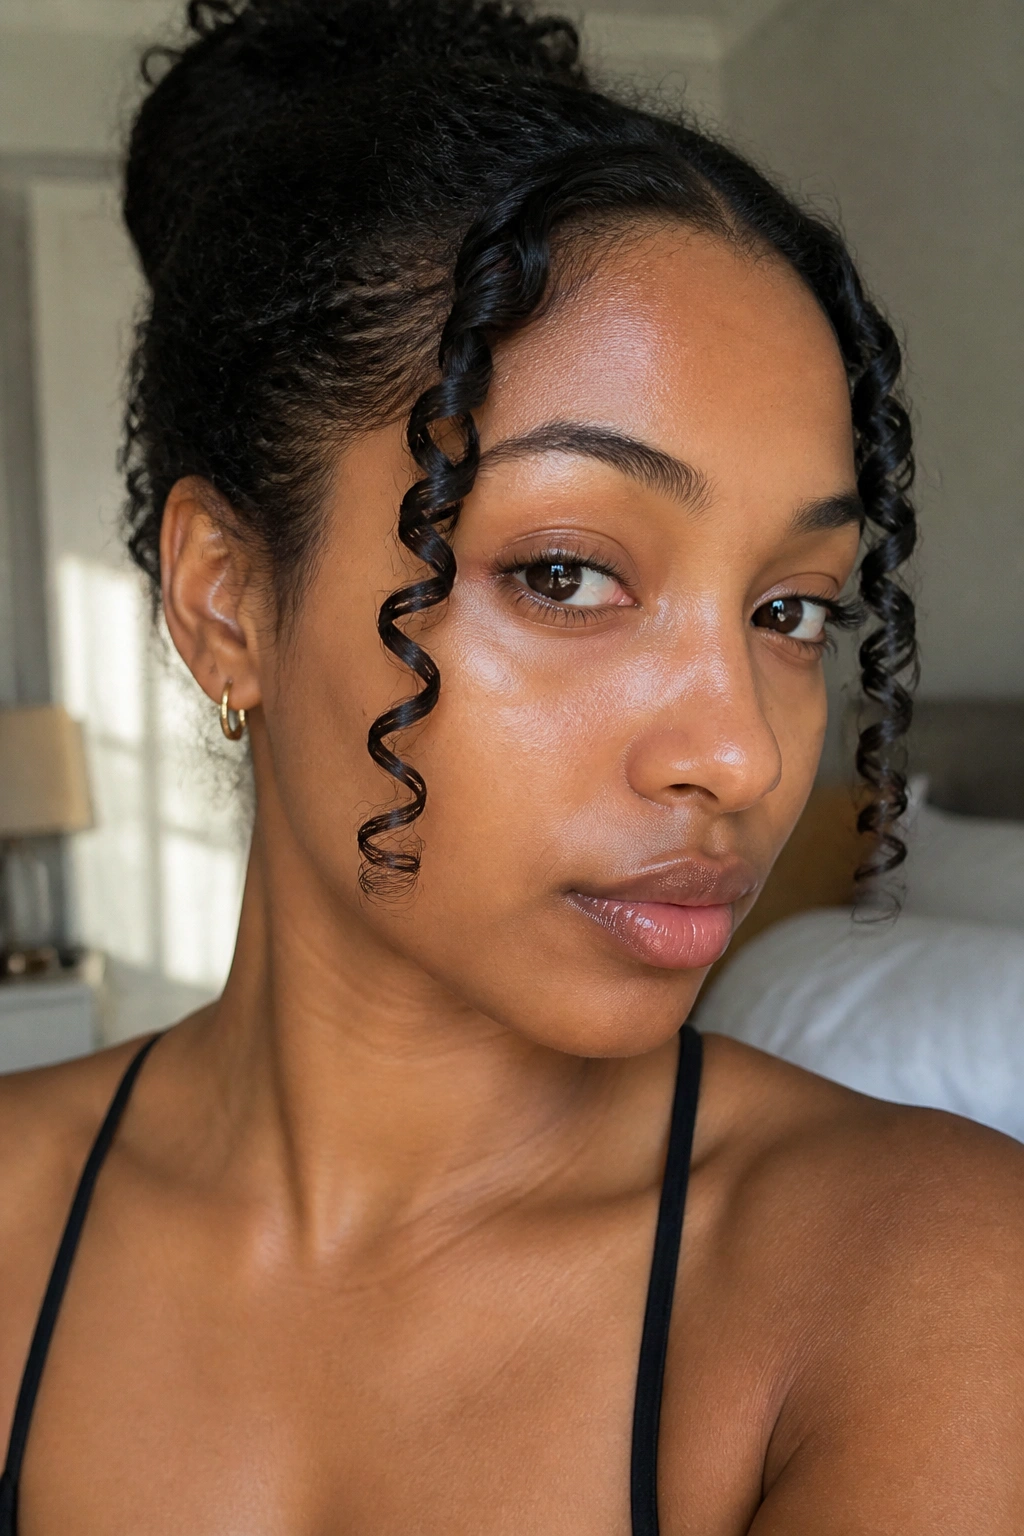
Most people coil too much hair. That’s the mistake. You do not need to finger-coil the whole head to get a soft, pretty wave pattern. Often, two or four face-framing pieces are enough to make the whole style look intentional.
Take a small piece near the temple, smooth a tiny bit of gel or cream through it, and twist it around your finger until it forms a neat spiral. Let it dry that way, then separate it once with your fingertips if you want it a little softer. Do the same on the other side, keeping the size of each coil close to the same so the front feels balanced.
That is enough.
The rest of the hair can air-dry, diffuse, or twist out loosely. This trick works especially well when the front pieces fall into your face but the rest of the hair already has a decent wave. It gives you definition where people notice it first, and it keeps the style from looking overdone.
14. Clip the Roots While the Hair Dries

Flat roots can make good waves look tired. You can have nice ends and still end up with a style that feels dragged down if the top half dries too close to the scalp. Root clipping fixes that with almost no effort.
Use duckbill clips, section clips, or any small clip that can lift the hair at the crown while it dries. Place them at the roots where the hair tends to lie flat, especially near the part and behind the temples. Ten to 20 minutes is often enough to build a little lift before the hair sets fully.
Clip placement
- Clip straight up at the crown for height.
- Clip at a slight angle near the temples for face-framing lift.
- Remove the clips once the roots feel set but not hard.
- Keep the clips out of the wettest sections if you want fewer dents.
This trick is useful on fine hair, but thick hair benefits too. Thick waves can get heavy fast, and a small amount of root support keeps the whole style from sinking. It’s not flashy. It works.
15. Brush Out a Large-Barrel Set for Soft, Loose Movement

Brushed-out waves are the softest of the bunch, and they need a little nerve. You spend time forming the set, then you intentionally loosen it until it looks easier, lighter, and more lived-in. That feels backwards the first time you do it. It’s the right move.
Start with a 1.25- to 1.5-inch curling iron or large hot rollers, and wrap medium sections away from the face. Let every section cool completely before you touch it. Warm hair falls. Cool hair stays. Once it’s set, brush gently with a boar bristle brush or a soft paddle brush until the curls loosen into waves.
This works best when you want movement rather than obvious curl pieces. It’s a good choice for shoulder-length cuts, long layers, and hair that needs a little polish but not a stiff finish. If the ends are dry, smooth a tiny drop of serum over just the last inch before you brush. That keeps the finish soft instead of fuzzy.
When you want waves that move instead of sit there, this is the one I’d reach for first.
