



Curly hair behaves best when it has room to move. Pin it too tight and the bounce disappears; leave it too loose and the shape falls apart by lunch.
That’s why bouncy curl hairstyles for daily wear matter so much. They need to survive a commute, a desk chair, a humid hallway, a wind tunnel of a walk, and maybe a quick change of plans without looking like you wrestled with your own head.
The sweet spot is usually a soft hold at the roots, a little structure around the face, and ends that still have enough freedom to spring back. A satin scrunchie, a couple of bobby pins, and a claw clip can do more useful work than a shelf full of heavy tools.
And no, curls do not need to be “tamed” to look polished. The better styles work with the curl pattern you already have — loose waves, springy spirals, tighter coils — and let the texture stay alive instead of flattening it into a helmet. Start with the simplest shape first. One twist. One clip. That’s usually enough to get the point across.
1. Pineapple Ponytail with Face-Framing Curls
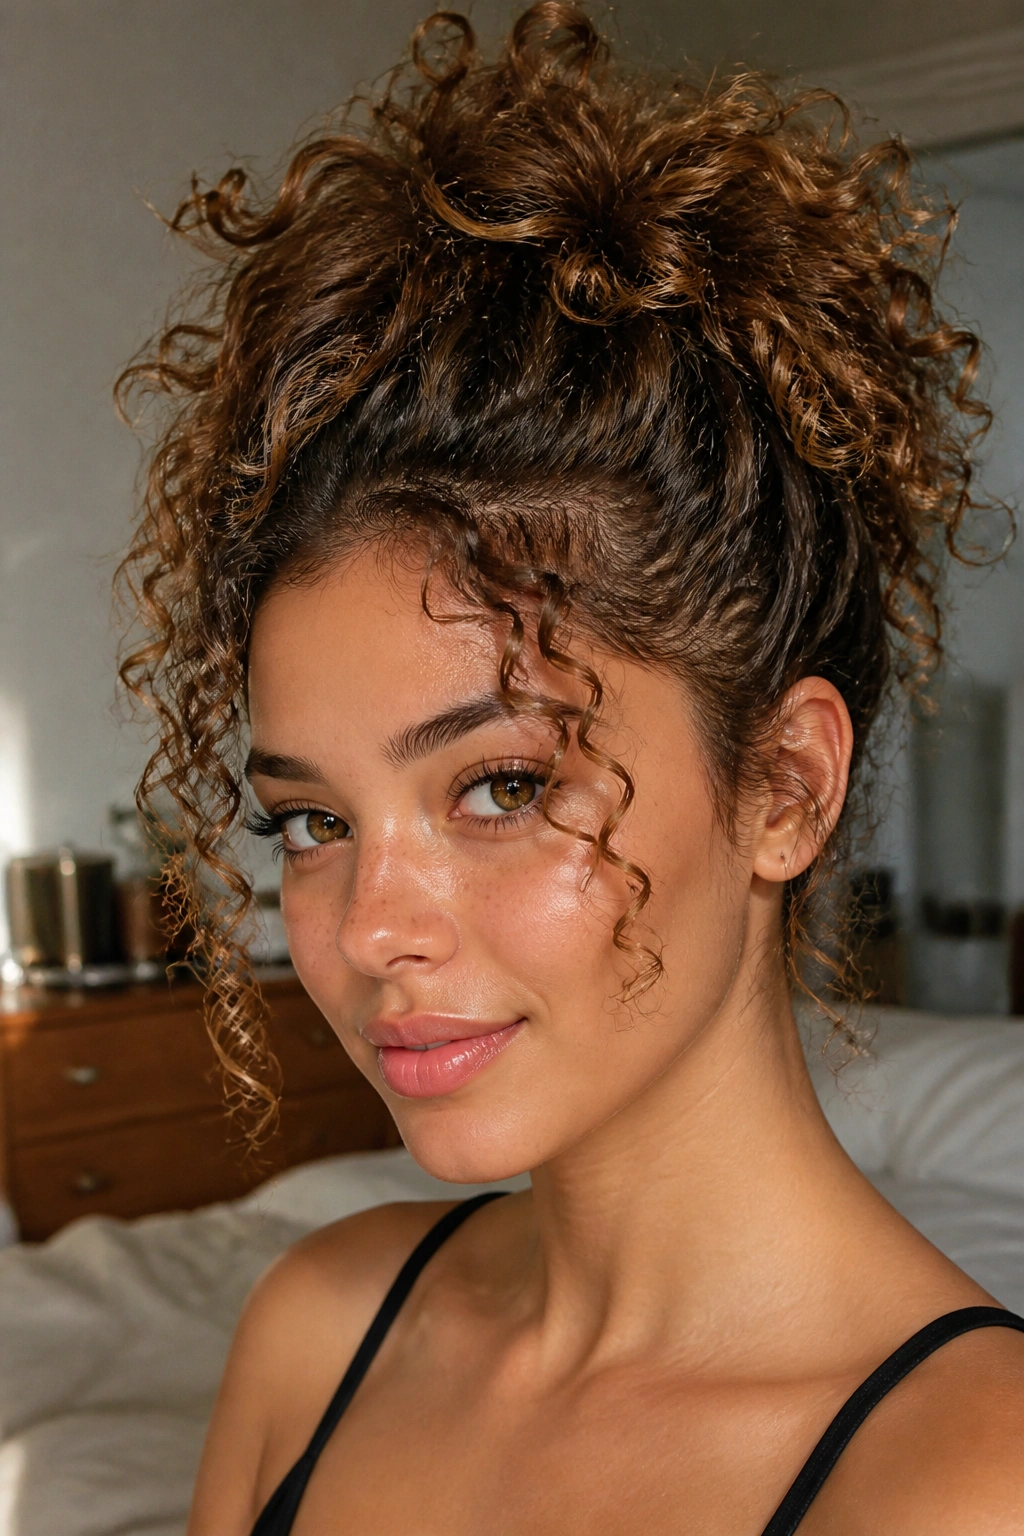
This is the style I reach for when curls need to stay awake. A high, loose pineapple ponytail keeps the crown lifted, protects the curl pattern, and makes second-day hair look intentional instead of sleepy.
The trick is tension. Gather the hair at the highest point you can reach without pulling the front slick, then secure it with a soft elastic or a satin scrunchie. Leave two small pieces loose at the temples. Those little tendrils stop the look from feeling too gym-like and give the whole thing a softer line around the face.
Why It Stays Light
A pineapple works because the curls stack upward instead of being crushed backward. That means less friction against scarves, collars, and coat hoods.
- Use your fingers, not a brush, to gather the hair.
- Keep the elastic loose enough that the roots still lift.
- Pull the ponytail forward a little so the ends sit above the collar.
- Fluff the crown with the tip of one finger after tying it.
Best use: hair that starts looking flat at the roots but still has good shape through the mid-lengths.
2. Half-Up Claw Clip Twist
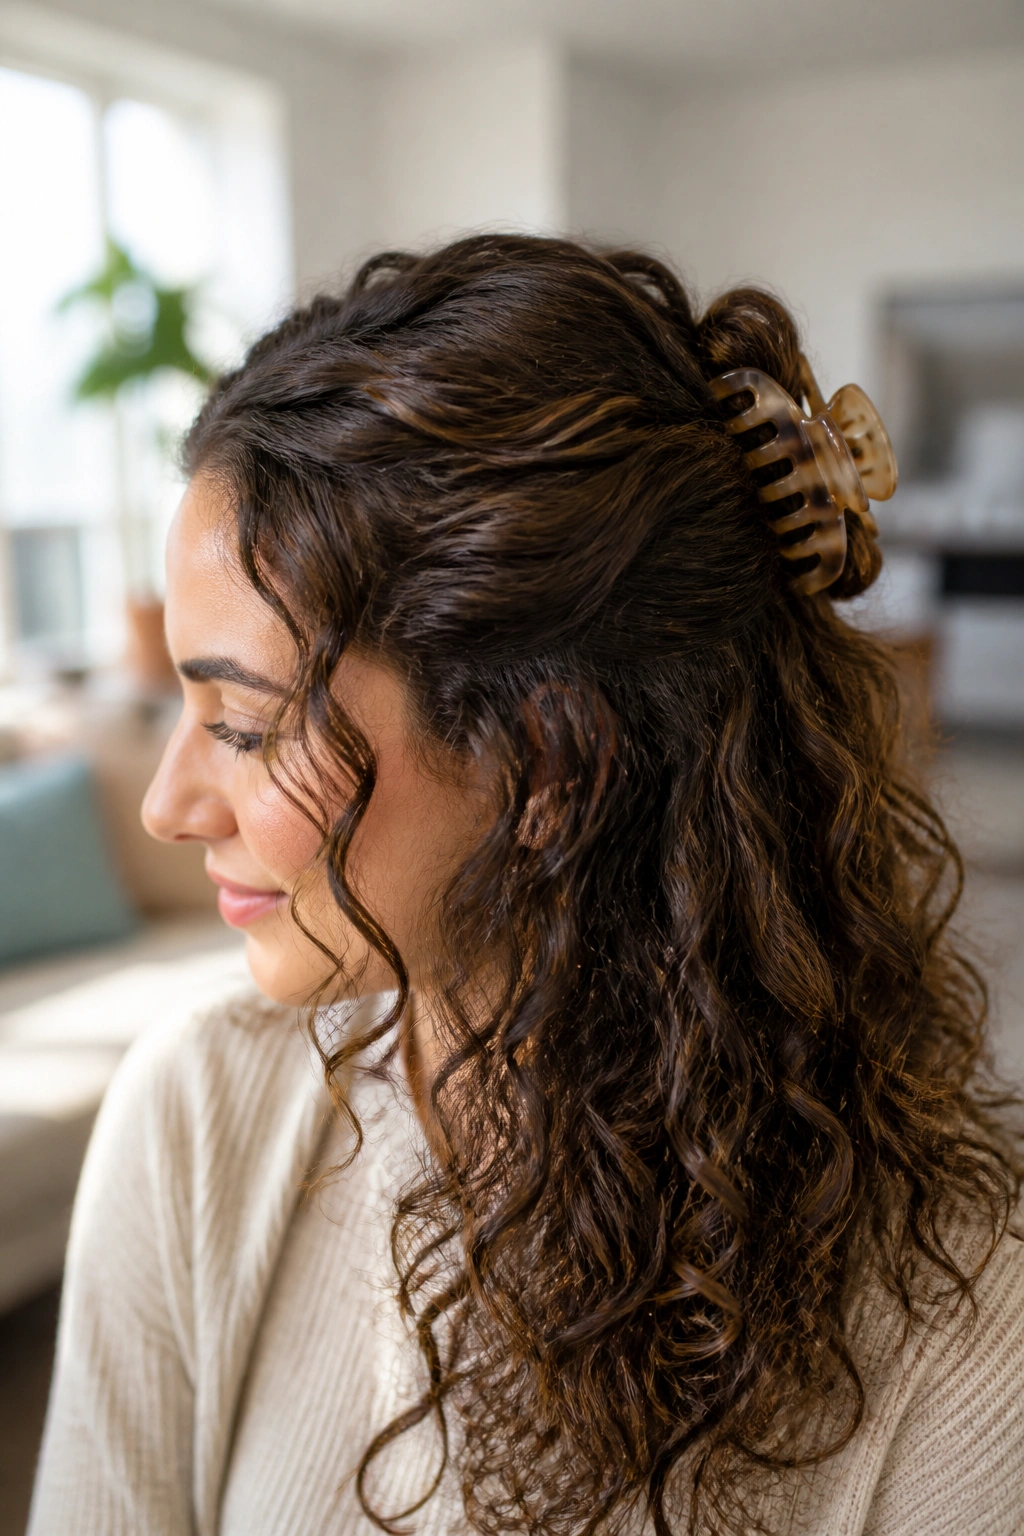
Why do claw clips keep showing up again and again? Because they solve the exact problem curly and wavy hair has every day: you want the front off your face, but you do not want to squash the rest of the texture.
Take the top section from temple to temple, twist it once or twice, then clip it vertically near the back of the head. Leave the ends of the twist a little loose. That bit of slack matters. If you clamp the section too hard, the whole style gets stiff and the curl pattern underneath looks cramped.
A medium-to-large clip usually works better than a tiny one. Tiny clips slip on thick hair, and they tend to pinch the twist instead of holding it. If your hair is fine, a smaller clip can work, but you still want the teeth to catch enough hair to stay put through the day.
3. Low Curly Ponytail with Soft Crown Volume
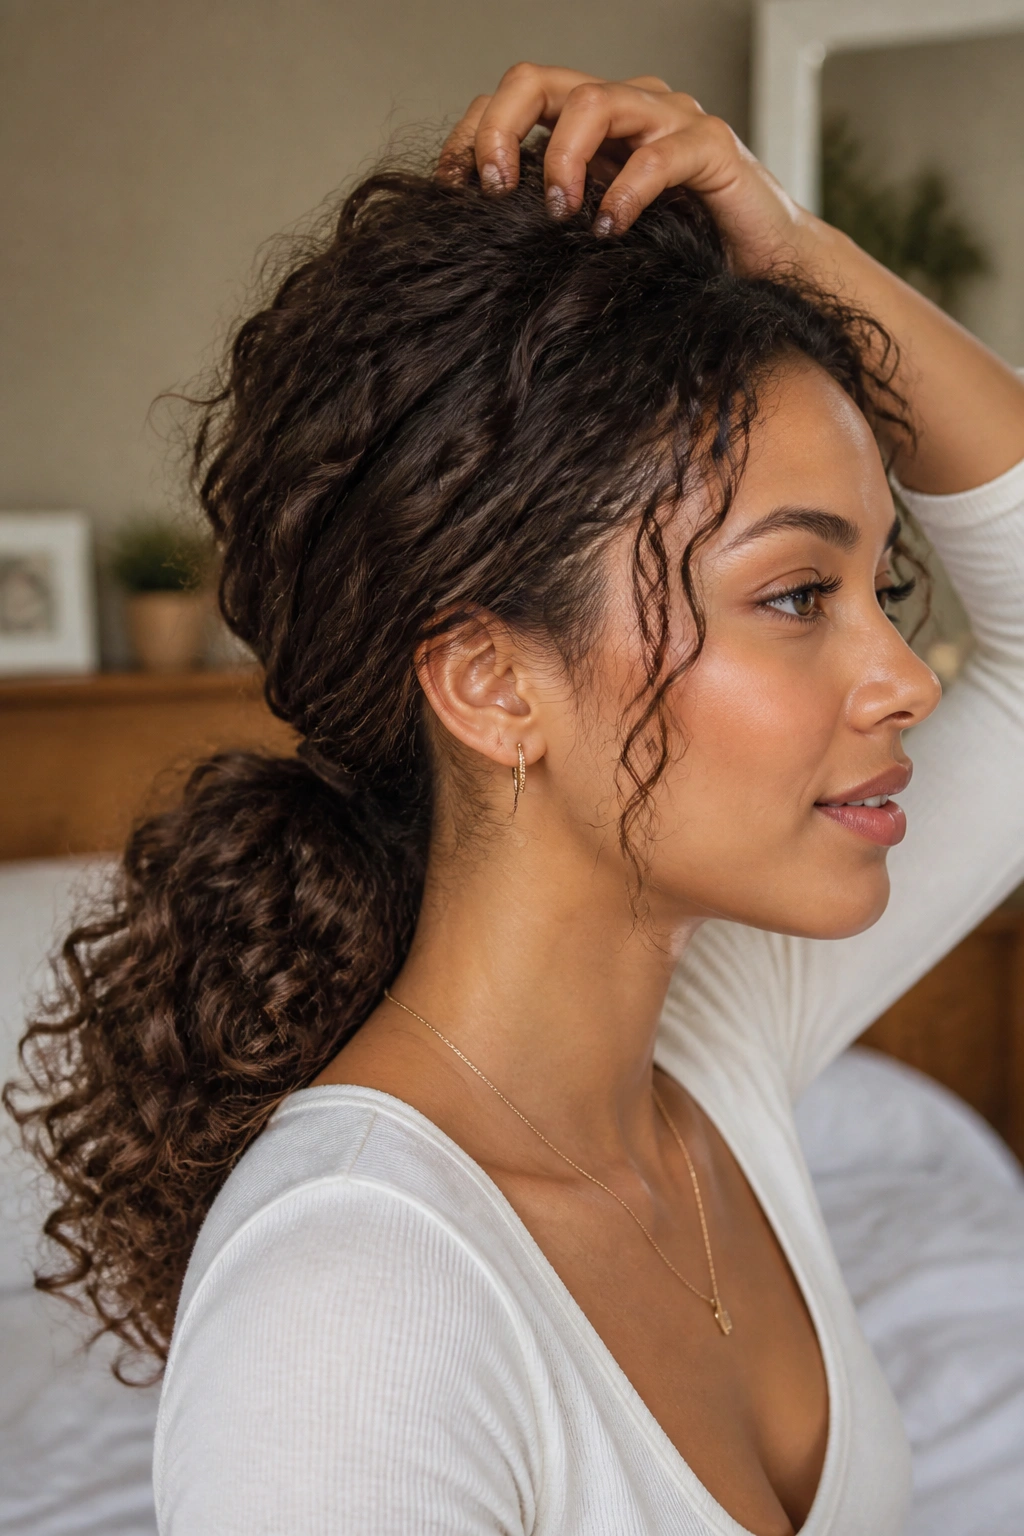
A low ponytail sounds plain until you do it the curly way. Then it becomes one of the cleanest daily styles around.
Brush only the very top layer with your hands, not a brush, and gather the ponytail at the nape. Before you tie it off, slide two fingers under the crown and lift just a little. That soft lift keeps the top from going flat against the scalp. The ends should stay curly and loose, not stretched into a rope.
This style looks best when the pony sits low enough to feel relaxed, not strict. If your hair is thick, wrap a small piece of hair around the elastic and pin it underneath with one bobby pin. It takes ten seconds and looks far better than a bare elastic staring at everyone.
4. Curly Shag with Air-Dried Layers
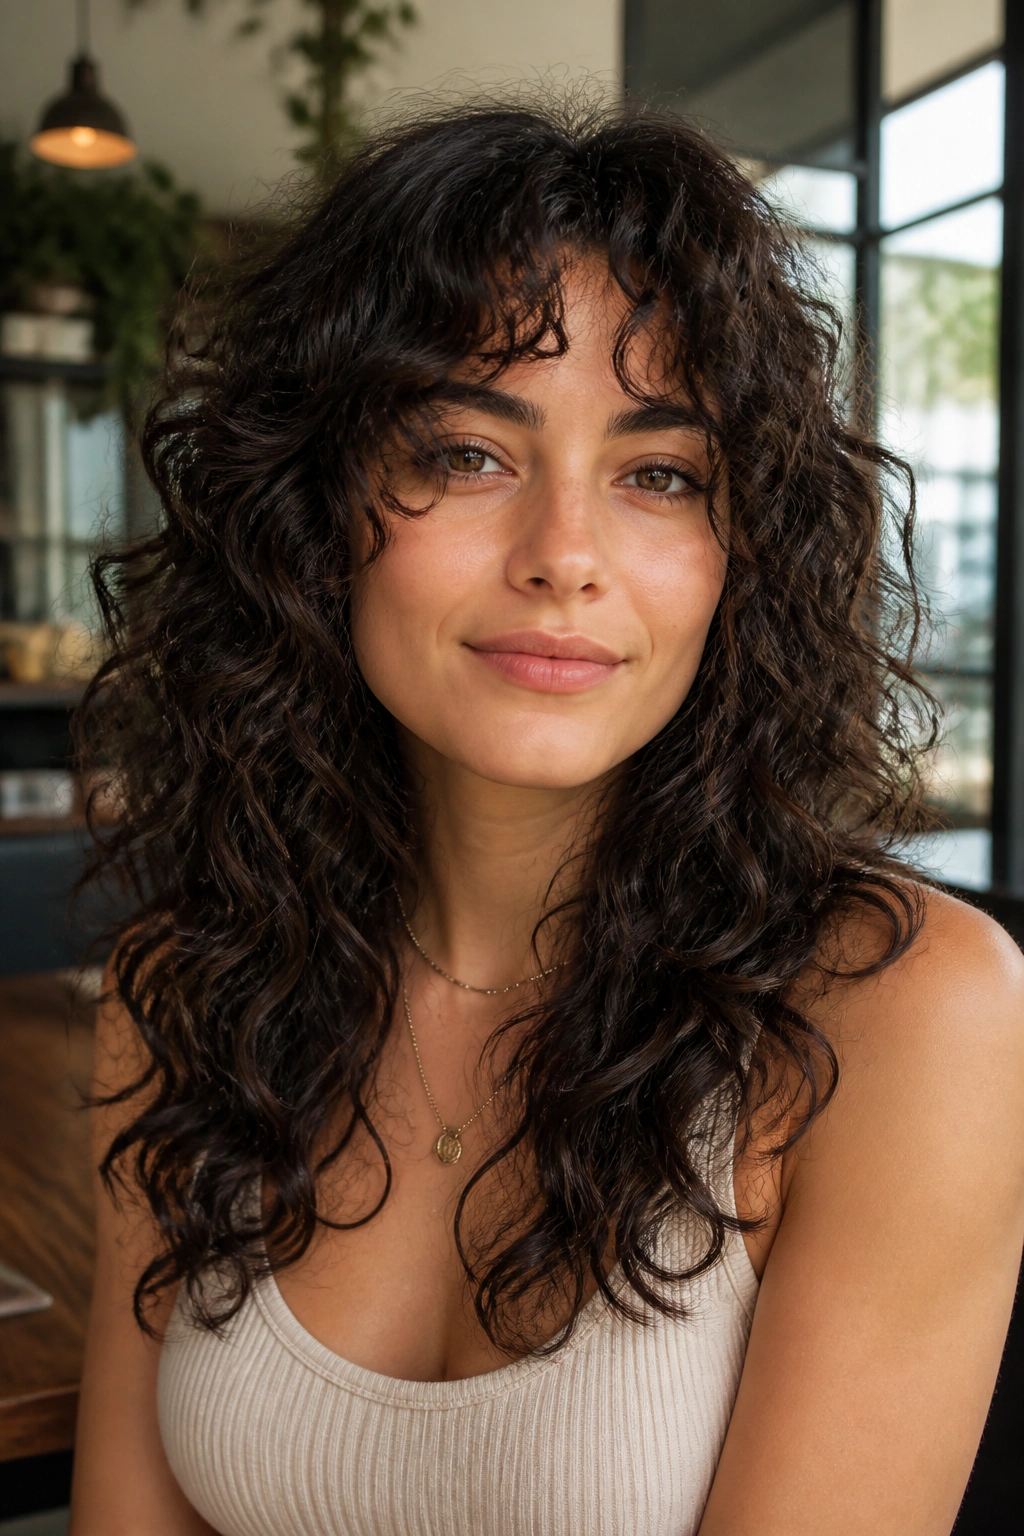
A shag cut is not messy when it is done right. It is shape. It gives curls room to spring instead of hanging like a damp curtain.
What to Ask For
Ask for long, face-framing layers and enough internal shape that the hair can move without building a triangle at the bottom. If your curls are loose, the layers can be a little softer. If they are springier, the cut needs more lift around the crown and cheekbones.
The best part is how little you have to do in the morning. A little leave-in, a touch of curl cream, and air-drying can be enough if the cut is balanced. You do not need to force it into a polished shape every day, which is the whole reason this style earns its keep.
What Makes It Different
- Layers keep the curl clumps from stacking too heavily.
- Shape around the face makes the whole cut feel intentional.
- The cut works with a center part, a side part, or no part at all.
- It tends to look better on day two than on day one.
5. Side-Parted Curls Pinned at the Temple
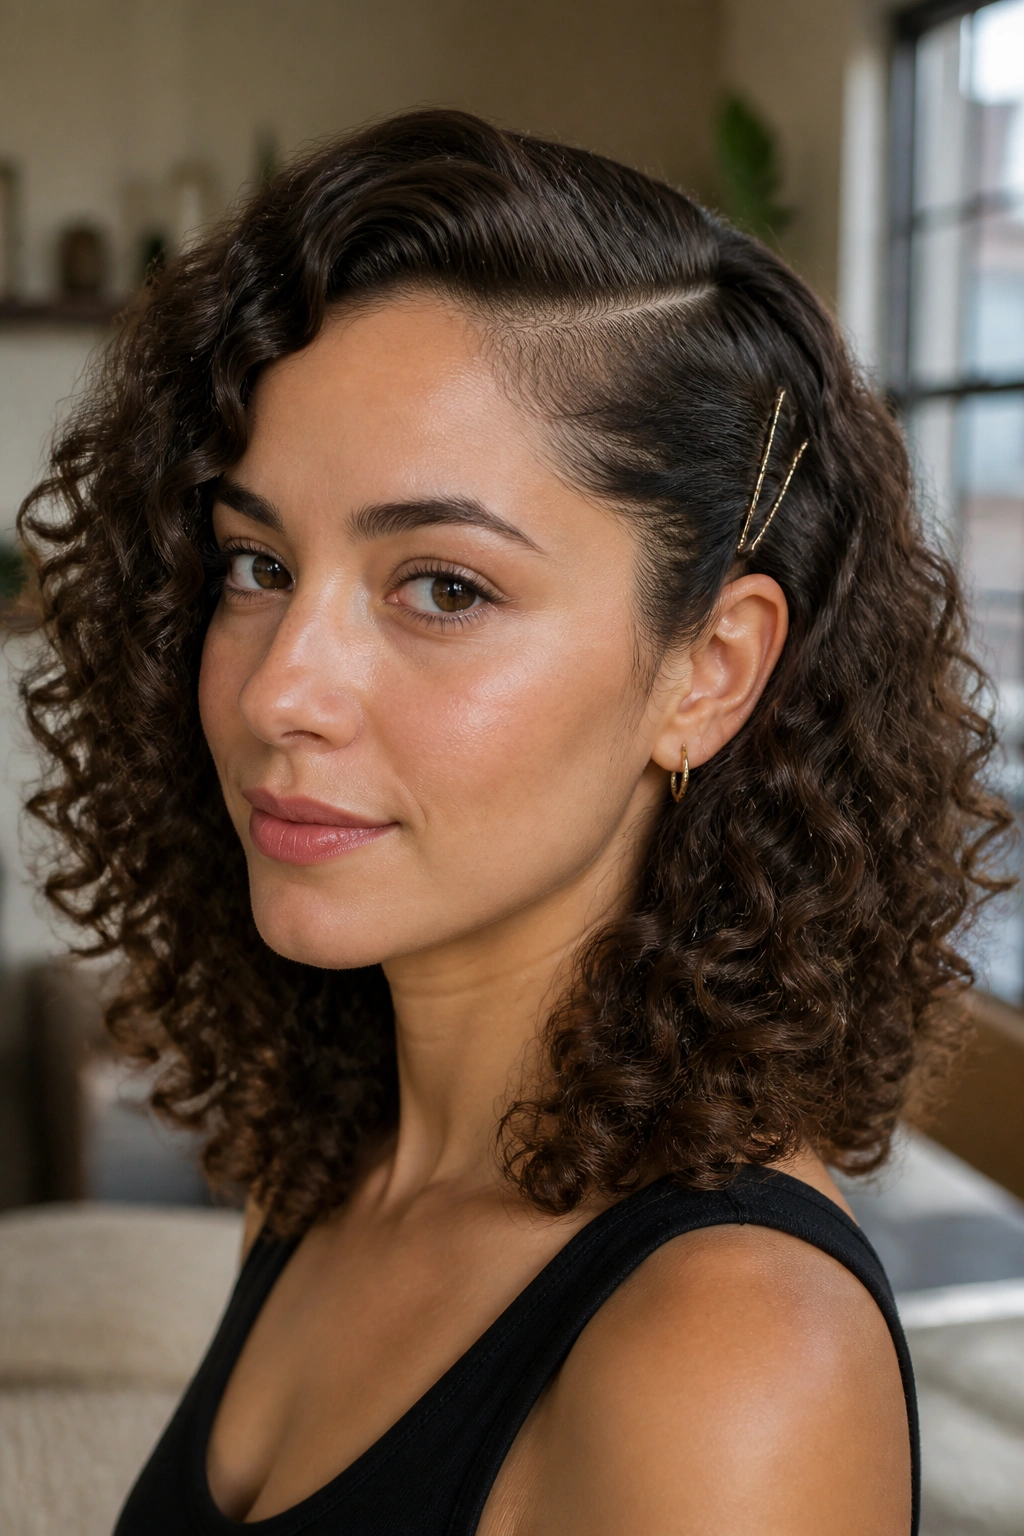
A side part changes everything. Seriously.
Move the part deep enough that one side gets a little more lift at the root, then pin the heavier side back at the temple with two crossed bobby pins. That tiny detail opens the face and lets the curls fall with a little more swing on the free side. It is a simple move, but it reads as deliberate.
This is a good style when the front pieces have gone fuzzy and you do not want to smooth the whole head. Pinning just one temple keeps the texture where it looks nice and tucks away the area that tends to frizz first. If the pin feels too sharp, slide it in under a small curl instead of over the top.
6. Messy Top Knot with Loose Tendrils
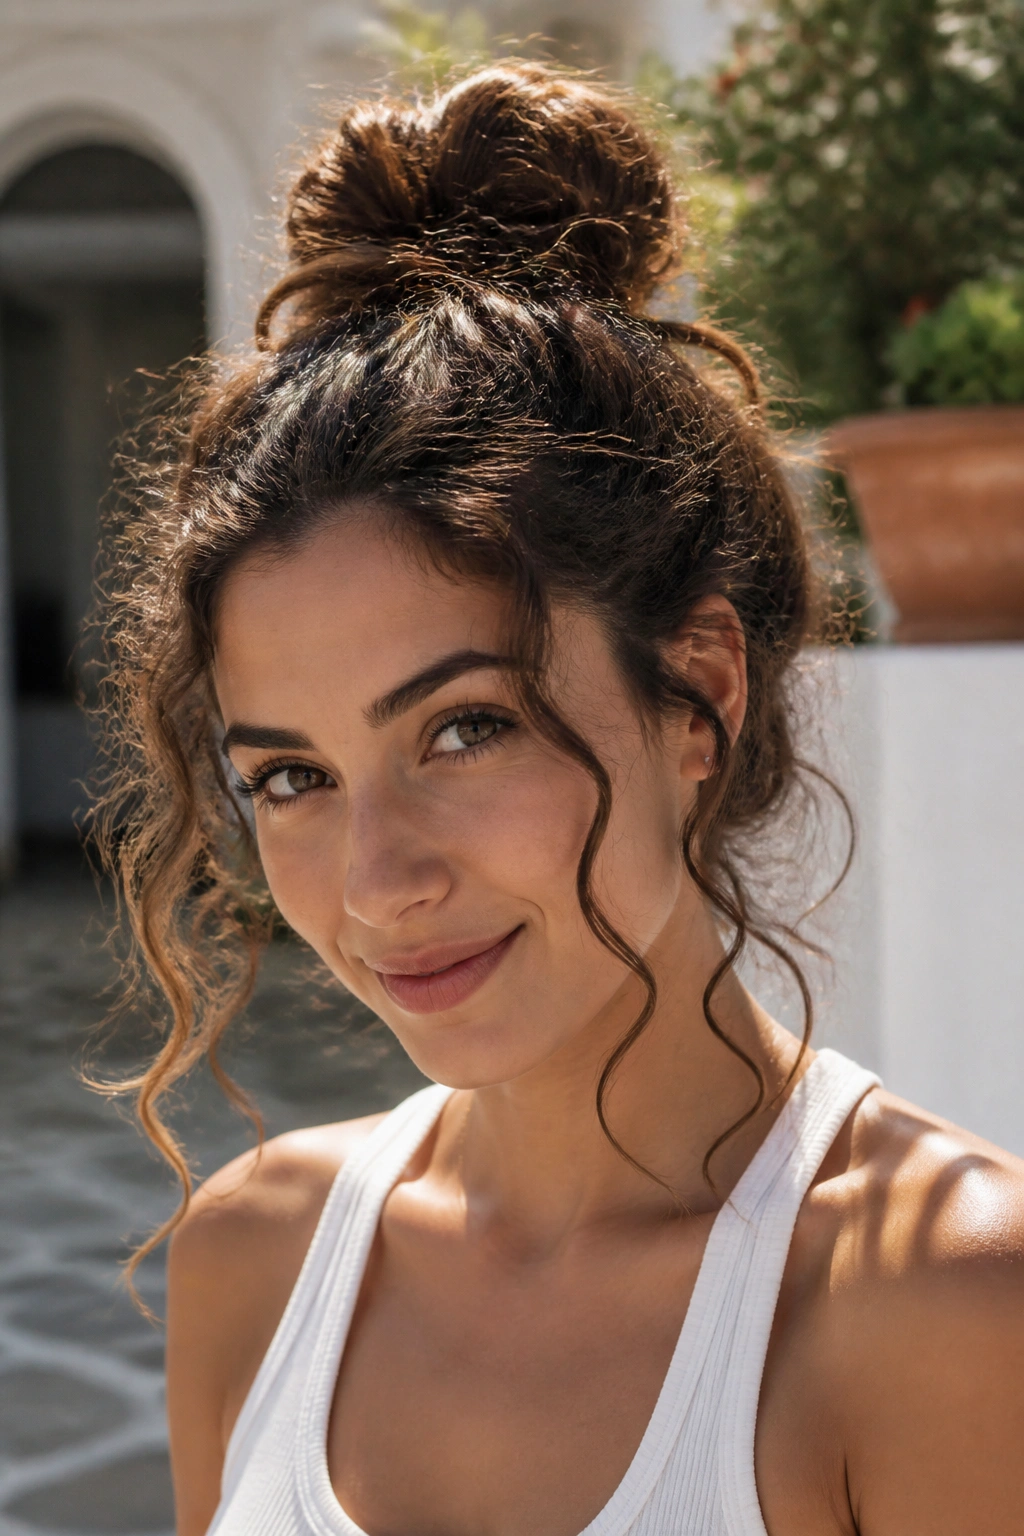
Some mornings need a shortcut. Not a bad one. A smart one.
Gather the hair high, twist it once into a loose knot, and let some of the ends stay out instead of stuffing everything into the wrap. Pull out a few thin curl pieces around the cheekbones and the nape. That keeps the knot from looking severe and helps the style keep a bit of movement.
This works best when the knot is not perfectly centered and not pulled too tight. A slightly off-center knot has more life to it. A tight knot looks like you were in a hurry and ran out of patience halfway through. That is a different vibe entirely.
If your curls are long, you can split the tail in two, wrap both directions, and pin the ends underneath. If they are shorter, let them fan out. The little ends are part of the charm.
7. Bubble Ponytail on Wavy Hair
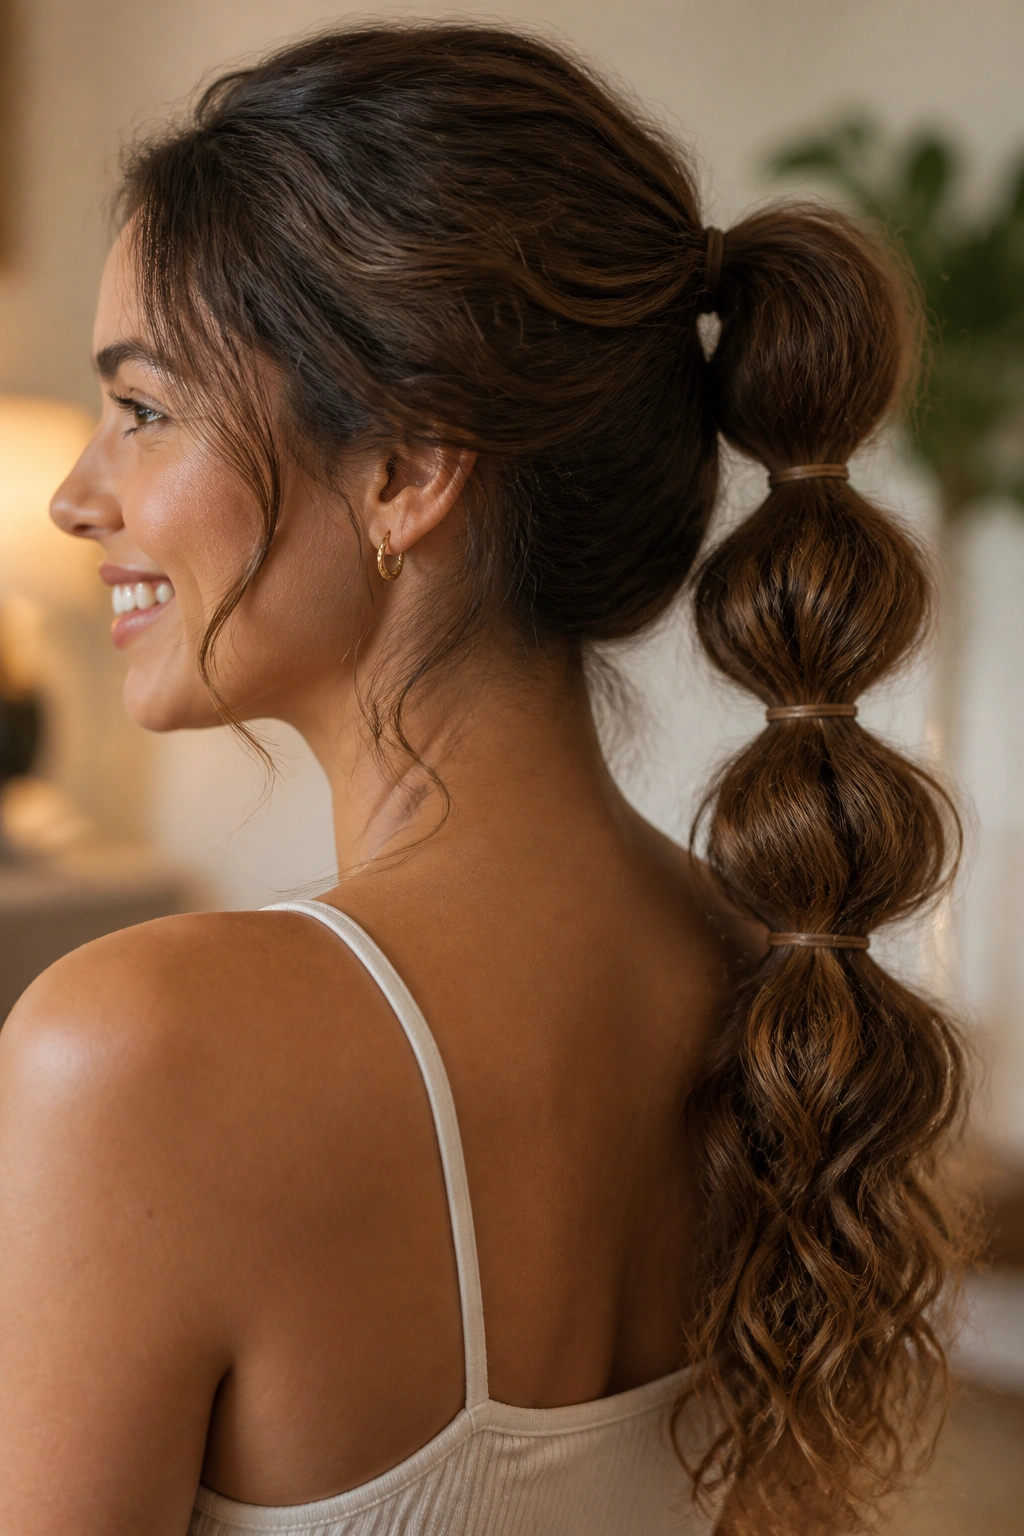
Bubble ponytails sound playful because they are, but they also make wavy hair look fuller than a plain pony does. That matters on days when the roots feel a little too close to the scalp.
Start with a mid or low ponytail, then add small elastics every 2 to 3 inches down the length. Gently puff each section with your fingers until it rounds out. Don’t make the bubbles identical. A few uneven bubbles look more natural and less costume-like.
Bubble Placement Matters
The spacing changes the whole feel of the style.
- Wider spacing gives a softer, looser shape.
- Tighter spacing makes the pony look neater.
- Bigger bubbles work better on thick hair.
- Smaller bubbles are safer on fine or shorter waves.
I like this one for people who want movement but do not want a braid pressed flat against the head. It has structure, but not the kind that steals all the bounce.
8. Deep Side-Swept Curls
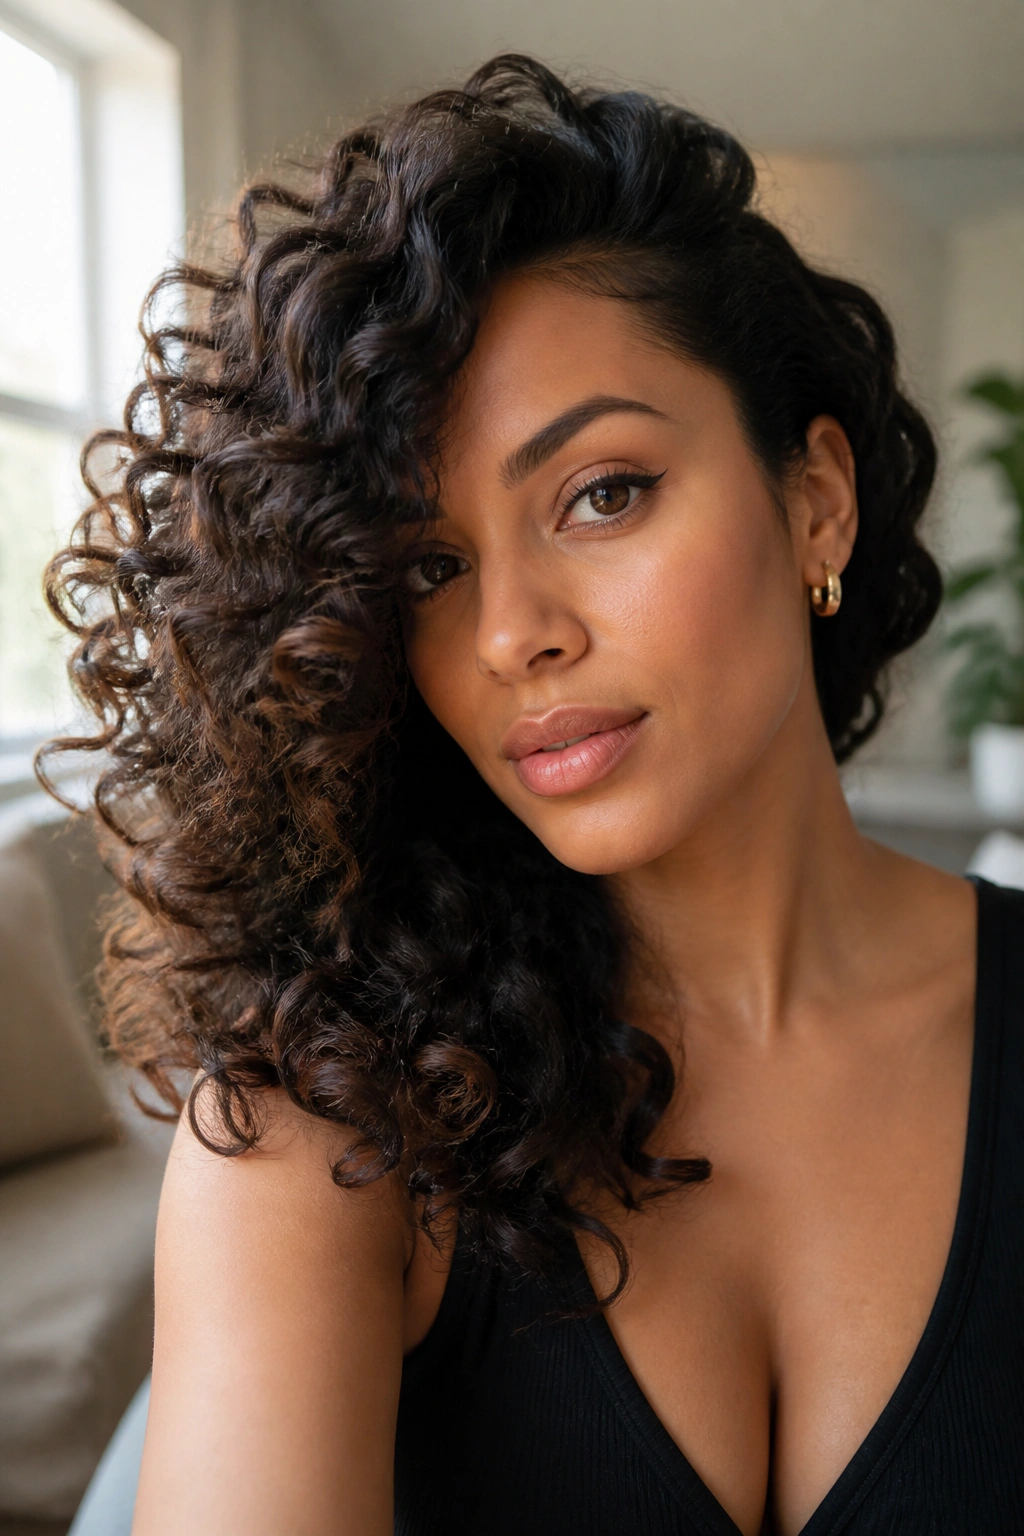
A deep side sweep can save hair that is halfway between “needs a wash” and “still looks fine.” That is real life, by the way.
Part the hair low and heavy on one side, then tuck the smaller side behind the ear or pin it just above the ear line. Let the heavier side fall forward in soft waves or curls. The style creates instant shape without asking you to rebuild the whole head from scratch.
Compared with a center part, the deep side sweep gives the front more height and the cheekbones a cleaner line. It also hides one side of the hairline, which is useful when one temple decides to frizz for no good reason. Keep the product light. Too much cream at the front will drag the hair down and kill the lift you just made.
9. Braided Crown with Loose Ends
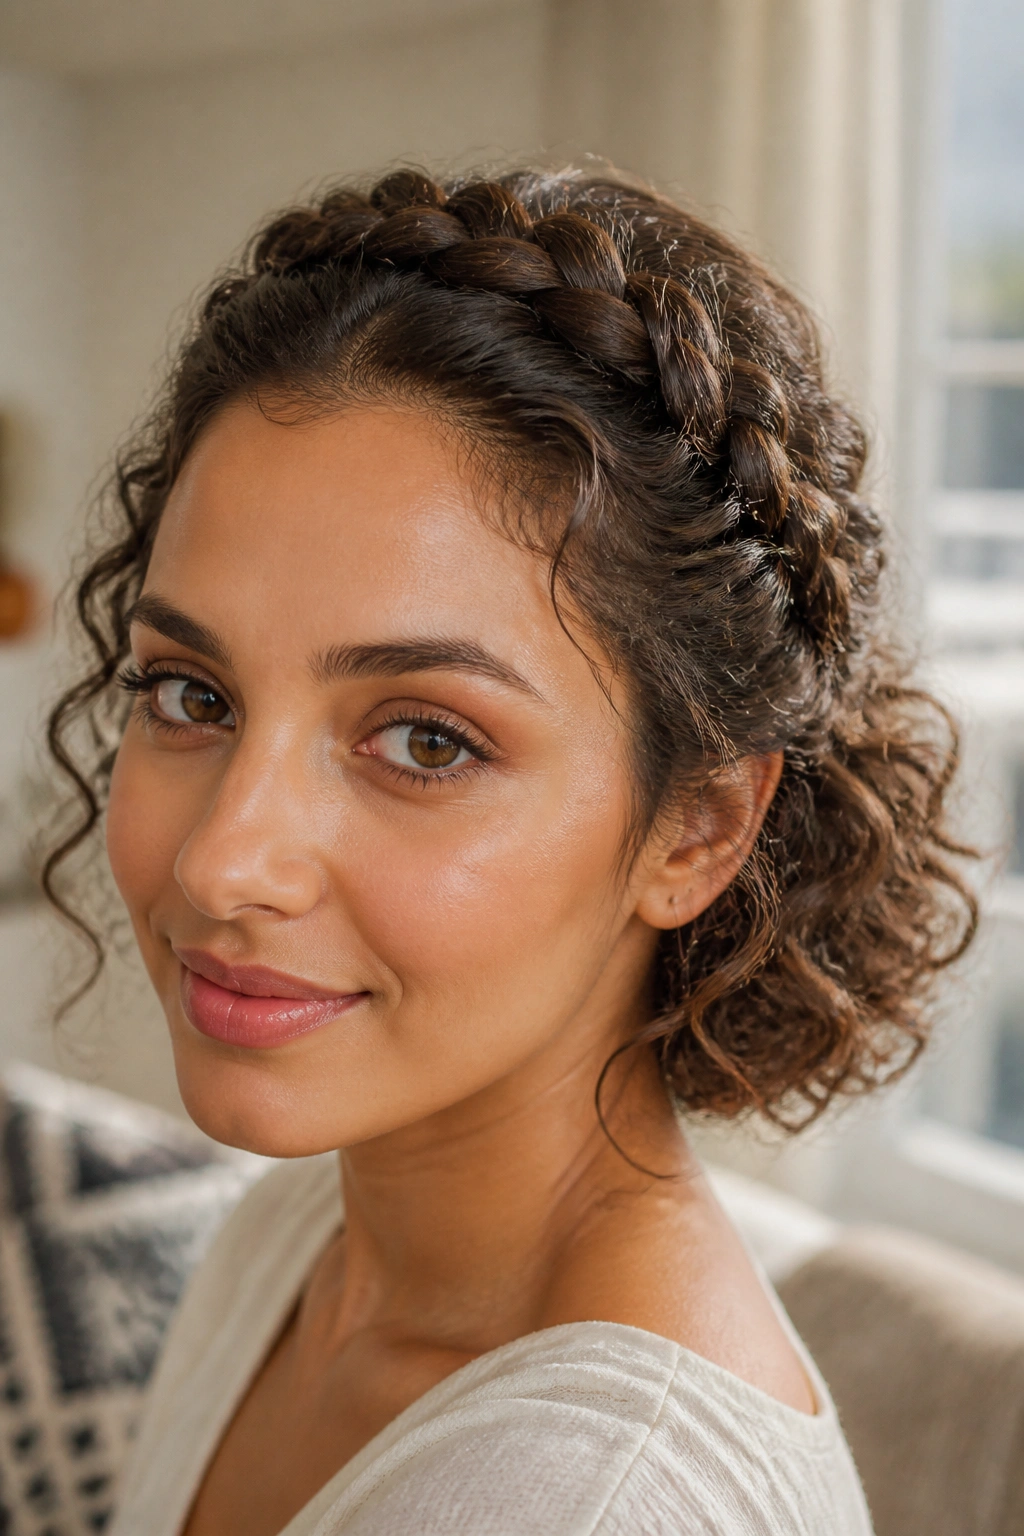
A braided crown is one of those styles that looks like more work than it is. Start with a small braid along one hairline, bring it across the top or around the side, and pin it under the upper layer of curls.
The important part is stopping before the braid takes over the whole head. You want the braid to frame the face, not turn the whole style into a formal updo. Leave the rest of the curls loose at the back and let them do what they do best.
This works especially well when the front pieces keep falling into your eyes. A crown braid clears the face, keeps the shape secure, and still lets the back keep its bounce. If your hair is layered, use a couple of pins under the braid so the shorter pieces do not pop loose in an hour.
10. Mini Twists at the Front, Curls Down the Back
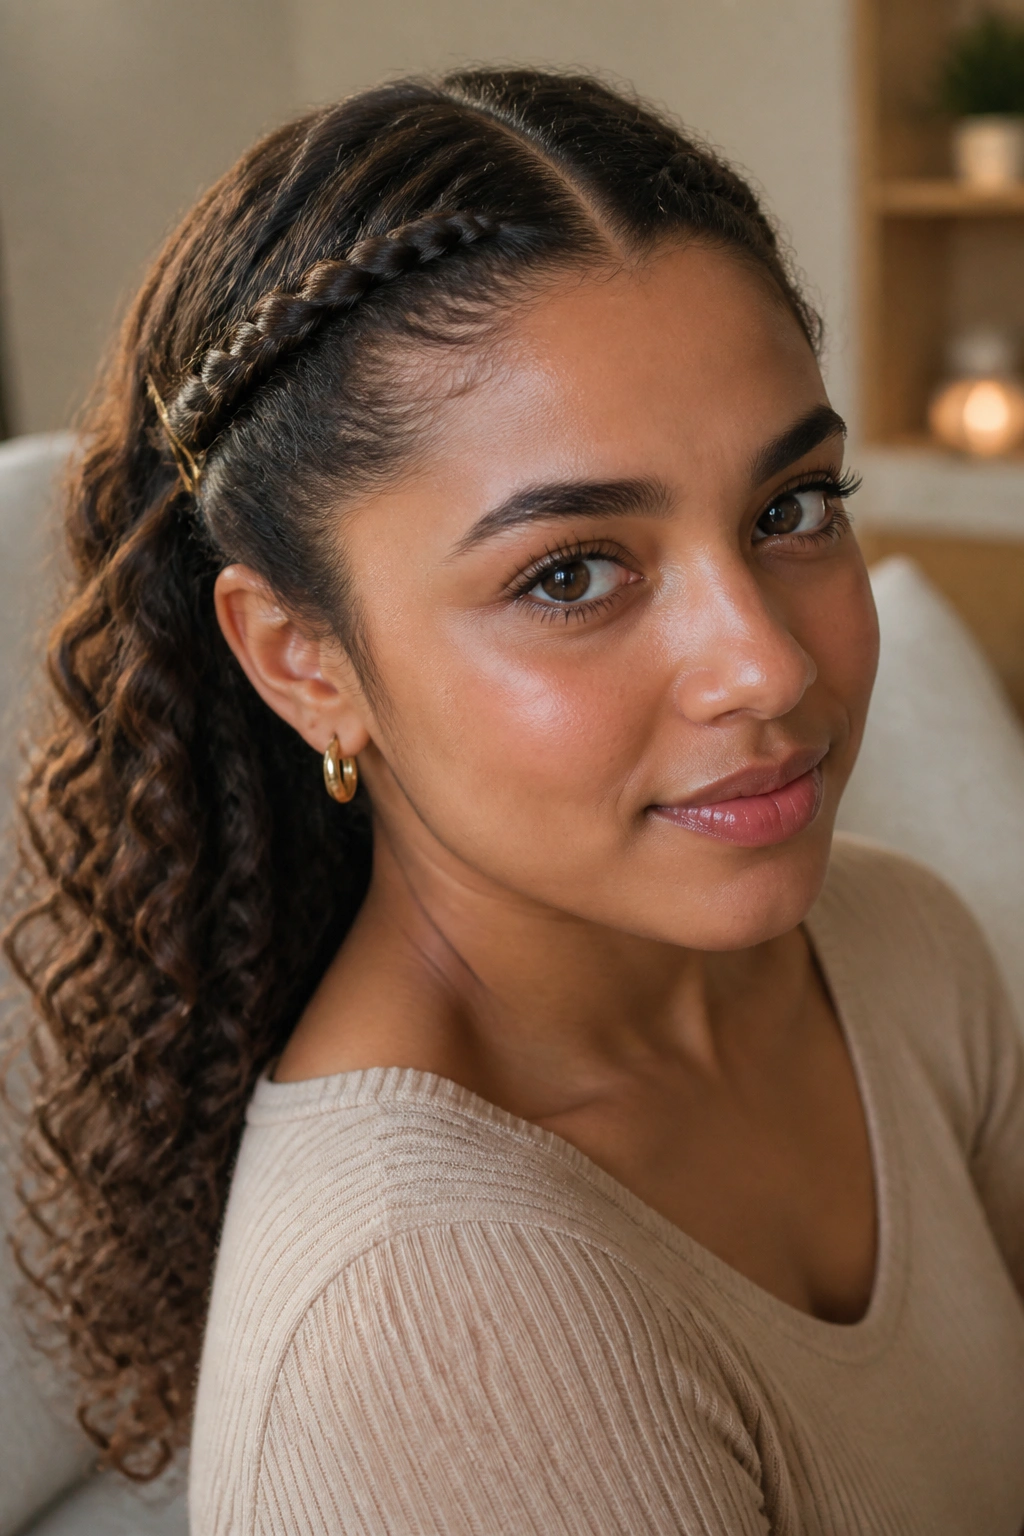
This style is tiny in the front and relaxed everywhere else. That contrast is what makes it useful.
Take two small front sections, twist each one back toward the ear, and pin them where they meet the rest of the hair. The twists only need to be about the width of a finger. Bigger twists can look heavy and start to read as a different hairstyle altogether.
Keep the Twists Small
- Use damp or dry hair.
- Twist away from the face.
- Pin with one or two crossed bobby pins.
- Leave the back completely loose.
The goal is to keep the front controlled while the rest of the curls keep their shape. If the front pieces are shorter, let the twists sit a little higher so they do not snag at the cheekbones. That detail matters more than people think.
11. Curtain Bang Curls
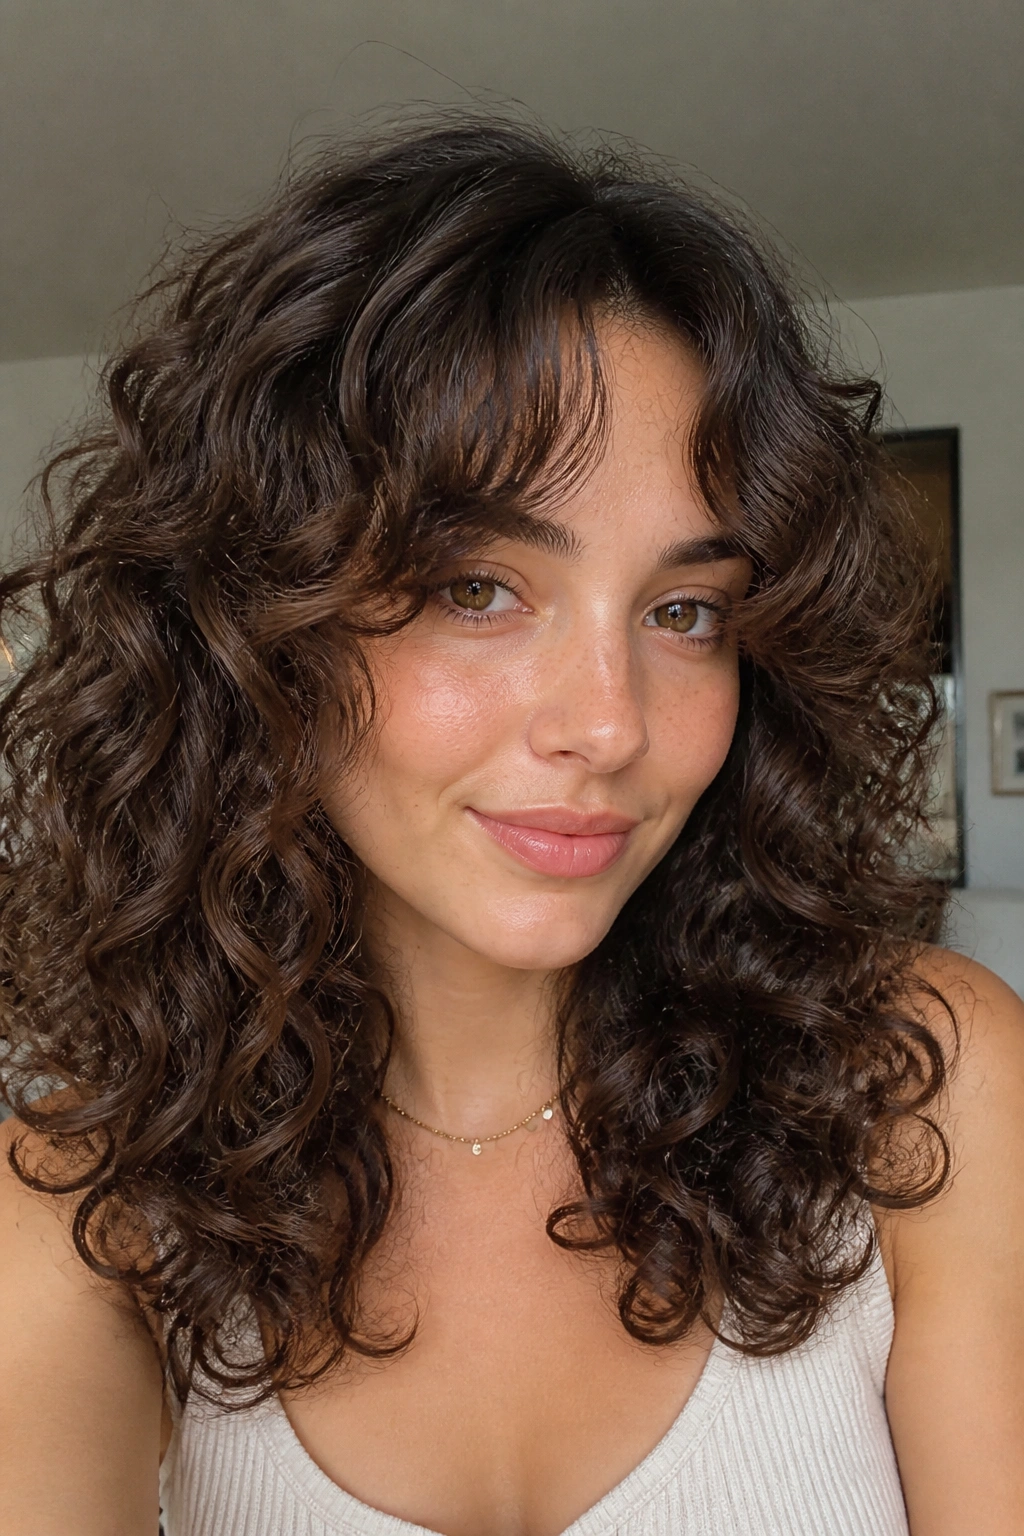
Curtain bangs and curls are a tricky pair, but when they work, they really work.
The bangs should sit somewhere around the cheekbone or nose bridge, not cut so short that they spring up into the forehead. Let them curve away from the center and shape them with your fingers after drying. A little bending at the root is enough. You do not want them pinned flat against the face.
This style is good if you like movement around the eyes and cheekbones. It frames the face without hiding it. It also makes the rest of the hair feel lighter, because the front has its own shape instead of being pulled back into the body of the style. If the bangs separate too much, mist them lightly and twist them once while they dry. That usually pulls them back into line.
12. Low Bun with Textured Ends
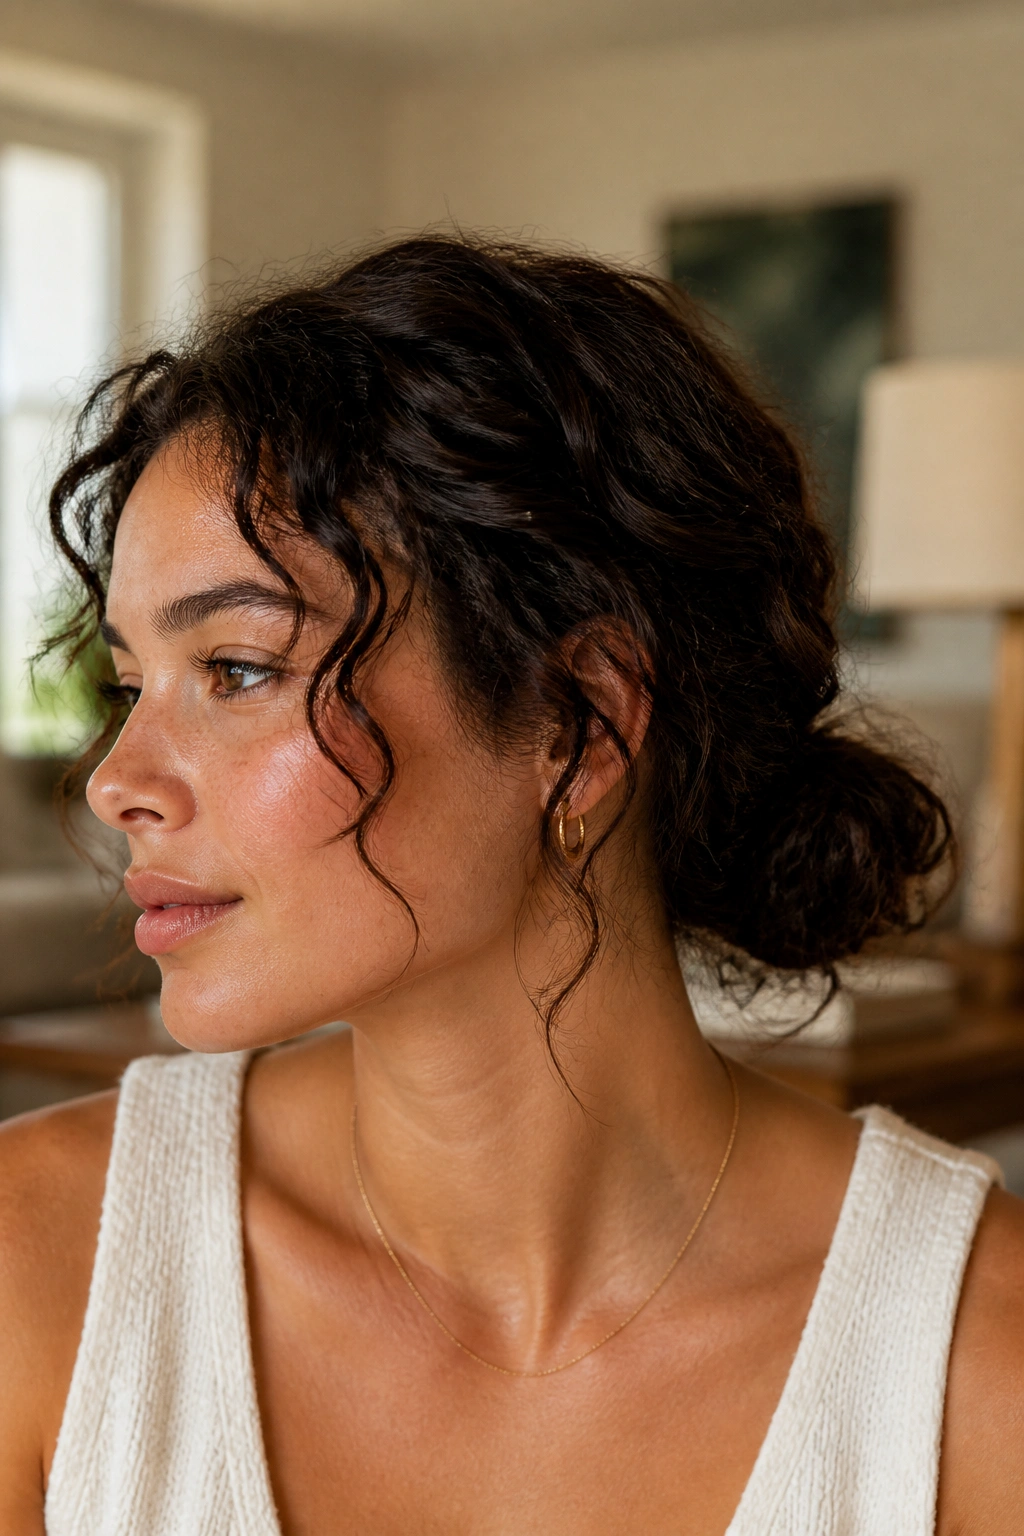
A low bun can be soft. It does not need to be severe or slicked down to the scalp.
Gather the curls at the nape, twist them into a loose bun, and leave a few ends peeking out instead of forcing every strand to disappear. Those ends keep the bun from looking too finished. Oddly enough, that unfinished look is what makes it wearable.
The nape is the part to watch. If you pull too hard there, the bun feels tight and the whole head starts to look stretched. Leave a bit of give at the crown and behind the ears. That keeps the bun comfortable enough for a full day and stops the top from flattening into a smooth cap.
If your hair is very thick, split the bun into two stacked loops instead of trying to cram everything into one knot. Your scalp will thank you.
13. Wash-and-Go with a Defined Middle Part
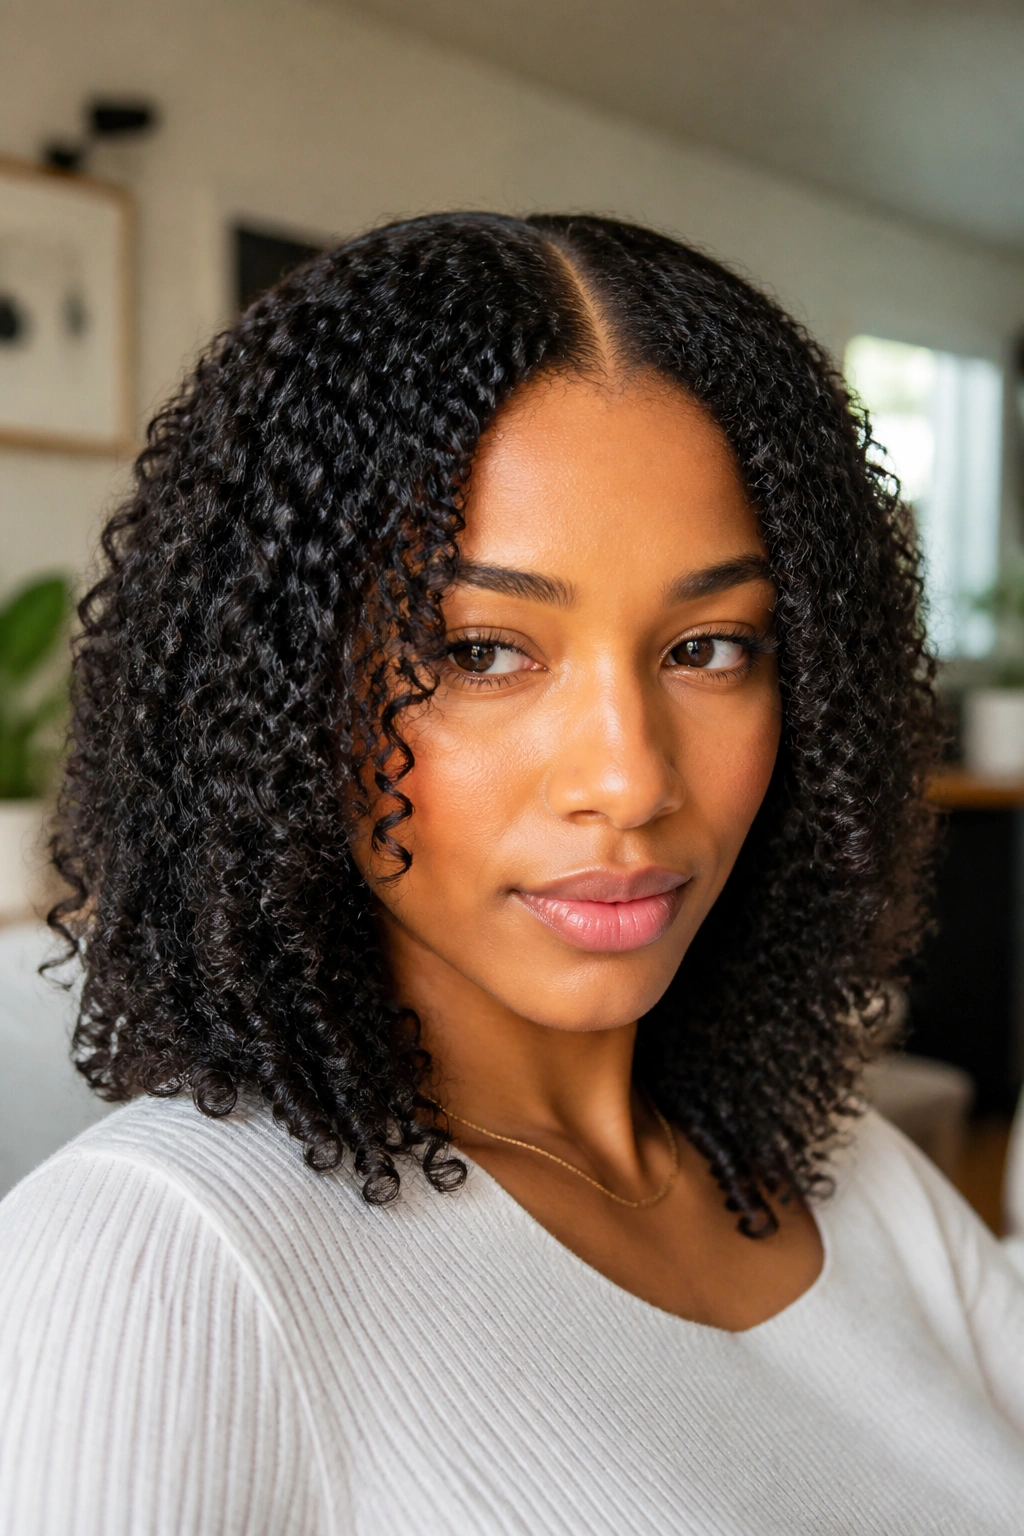
A clean middle part can make curls look calm without taking away their spring. That’s the beauty of it.
Work your leave-in and styling gel through soaking-wet hair, define the curls with your fingers, then keep your hands off it until it is dry. Once the cast forms, break it gently with a small amount of oil or a light serum. The result is soft, separated curls that still have a crisp outline at the top.
How to Refresh It
- Mist the part line first.
- Smooth only the outer layer if it looks fuzzy.
- Scrunch the ends once, not five times.
- Lift the roots with your fingertips after drying.
This is one of the cleaner daily styles if you like structure. It can look polished with almost no extra effort, which is rare enough to be worth mentioning.
14. Rope-Twist Half-Up
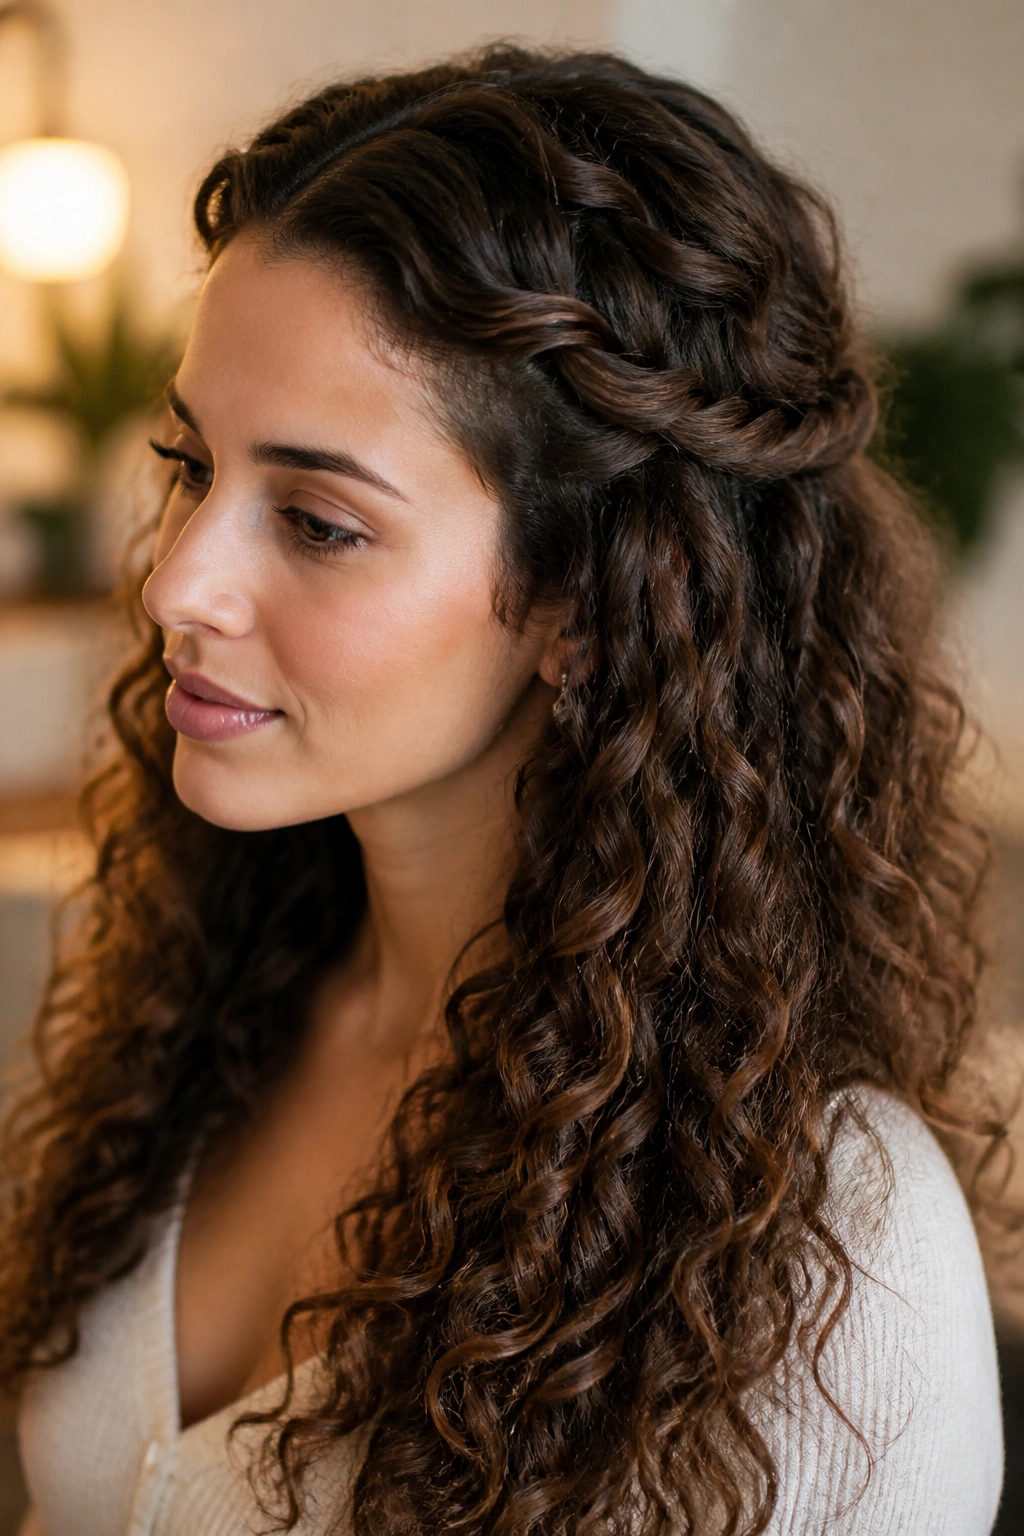
Rope twists sit somewhere between a braid and a simple twist, and that middle ground is where they shine.
Split a small section on each side of the head, twist each piece inward, then wrap the two twists around each other toward the back. Pin the joined section where it lands, usually a few inches above the occipital bone. Leave the rest of the hair down and full.
The twist gives the front detail without flattening the hairline. It also keeps the style light, which is useful if your hair already has a lot of volume. Loosen the twists a little after pinning so they do not look too tight or too neat. If the ends are fraying, hide them under the pin instead of trying to force them straight.
15. French Braid Into Curls
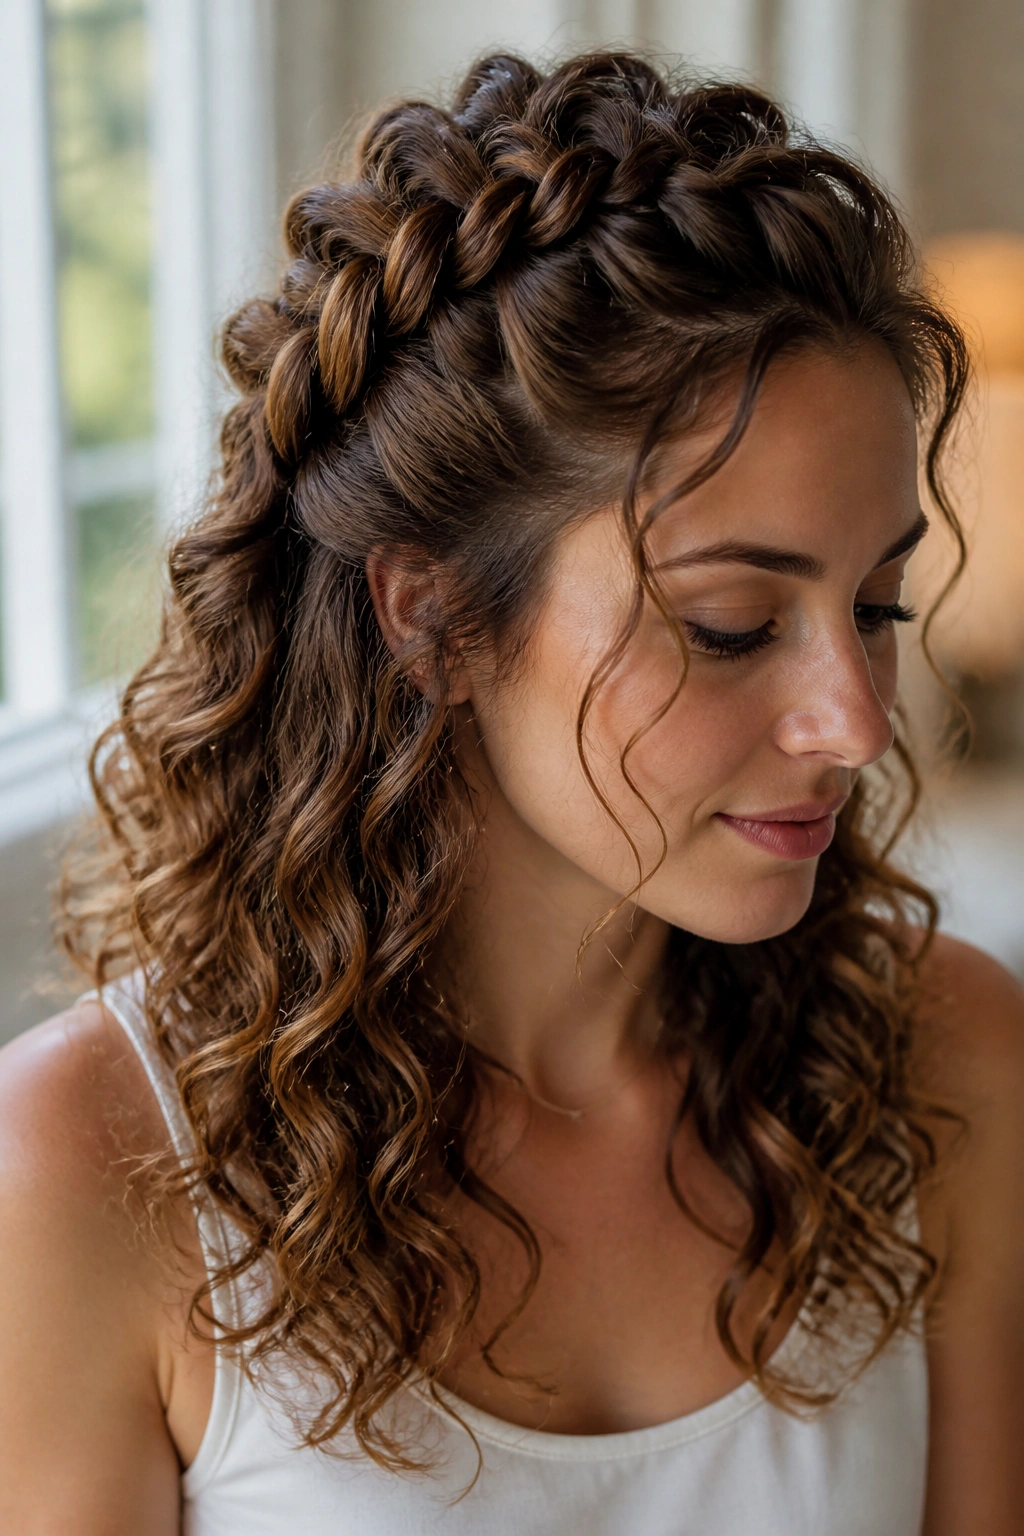
A French braid that stops partway down the head can be a lifesaver on day three hair. It controls the top and lets the rest stay bouncy.
Start at the crown, pick up small sections as you braid, and stop once you reach the upper back of the head. Tie off the braid there and leave the rest loose. The braid should feel like a frame, not the main event.
This style works because the braid handles the frizz-prone top section while the lower curls keep their shape. If your hair is layered, use smaller additions at the braid edge so the short pieces stay tucked in. A braid that loosens a little through the day still looks fine on textured hair. In fact, a tiny bit of puff makes it look better.
16. Shoulder-Length Flipped-Out Waves
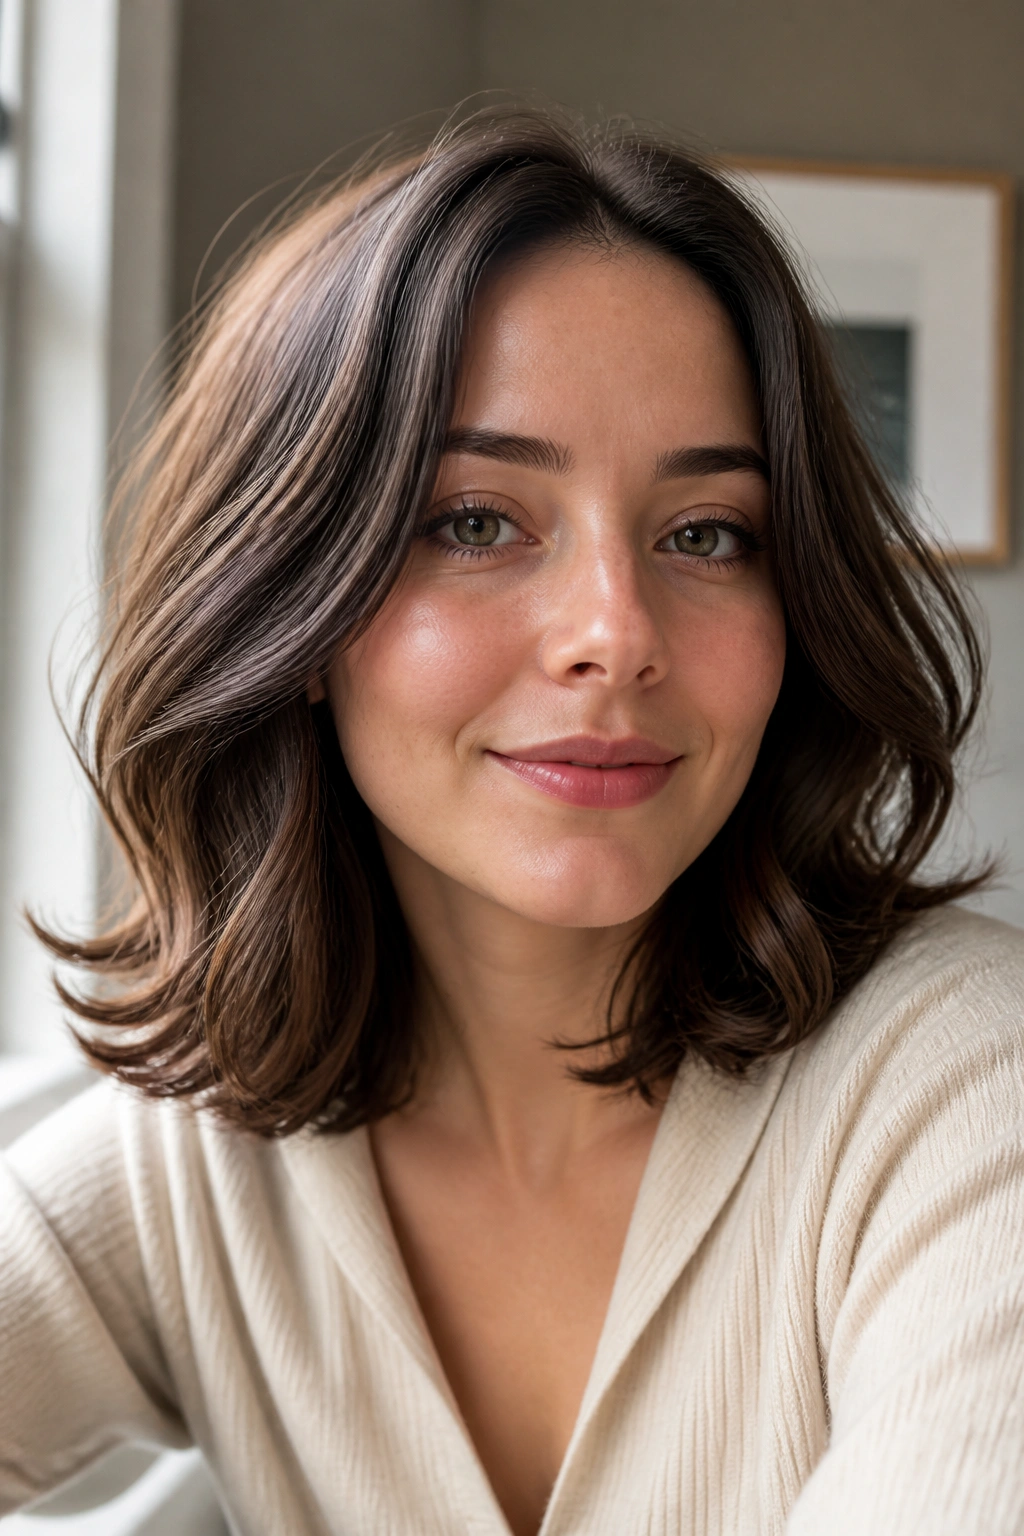
Not every daily style needs a clip or a pin. Sometimes the cut does the work.
Shoulder-length waves with the ends flipped out have a lively, easy shape that feels fresh even when the hair has been worn loose for hours. Use a light mousse or wave cream, scrunch the hair upward, and let the ends dry with a little bend away from the neck. A diffuser helps, but air-drying can work if the hair holds shape on its own.
This is a good choice if your hair tends to collapse at the shoulders. Flipping the ends out keeps the line from turning heavy. It also stops the style from clinging to the neck, which is one of those small things that changes how comfortable a haircut feels all day.
17. Scarf-Tied Low Ponytail
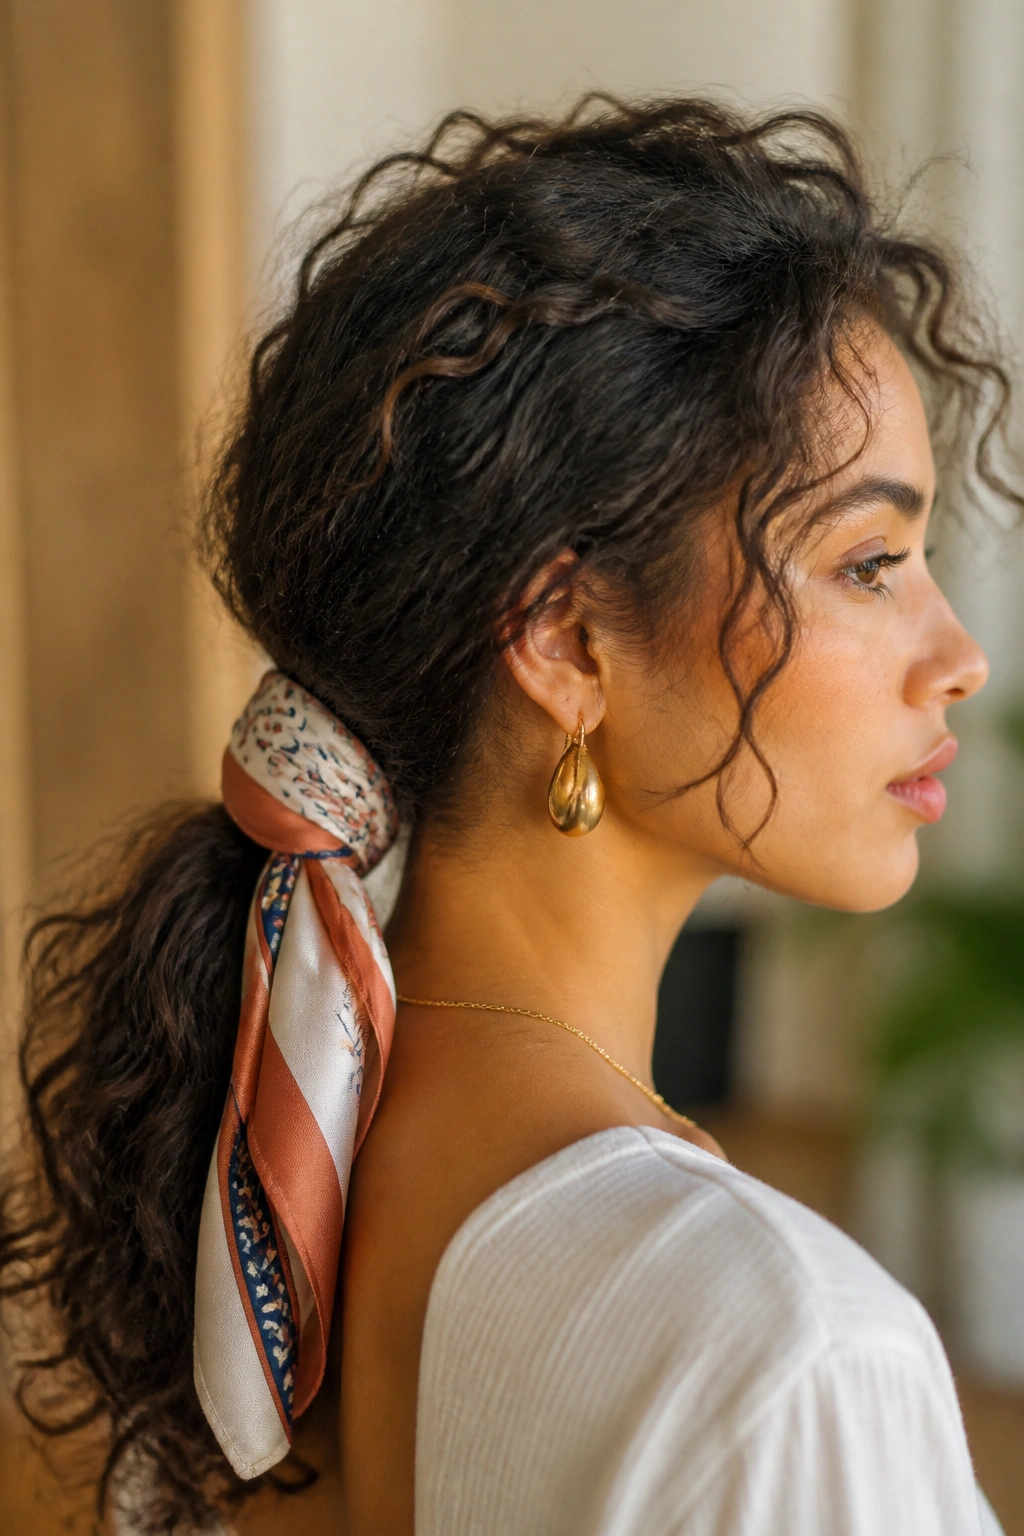
A scarf can do a lot of heavy lifting. It hides the elastic, adds some color, and keeps the whole ponytail from feeling too plain.
Tie the ponytail low, then wrap a silk or cotton scarf around the base once or twice and knot it off to one side. Keep the tails short if you are heading out and want the style to stay tidy. Long scarf ends can be cute, but they catch on coats and backpacks.
The pony itself should stay loose and textured. Don’t smooth the whole thing down to the scalp. A little lift at the crown and a soft curve through the lengths keep the style from getting fussy. If your hair is prone to dryness, a scarf also helps protect the outer layer from friction. That part is boring, maybe, but useful.
18. Face-Framing Mini Braids
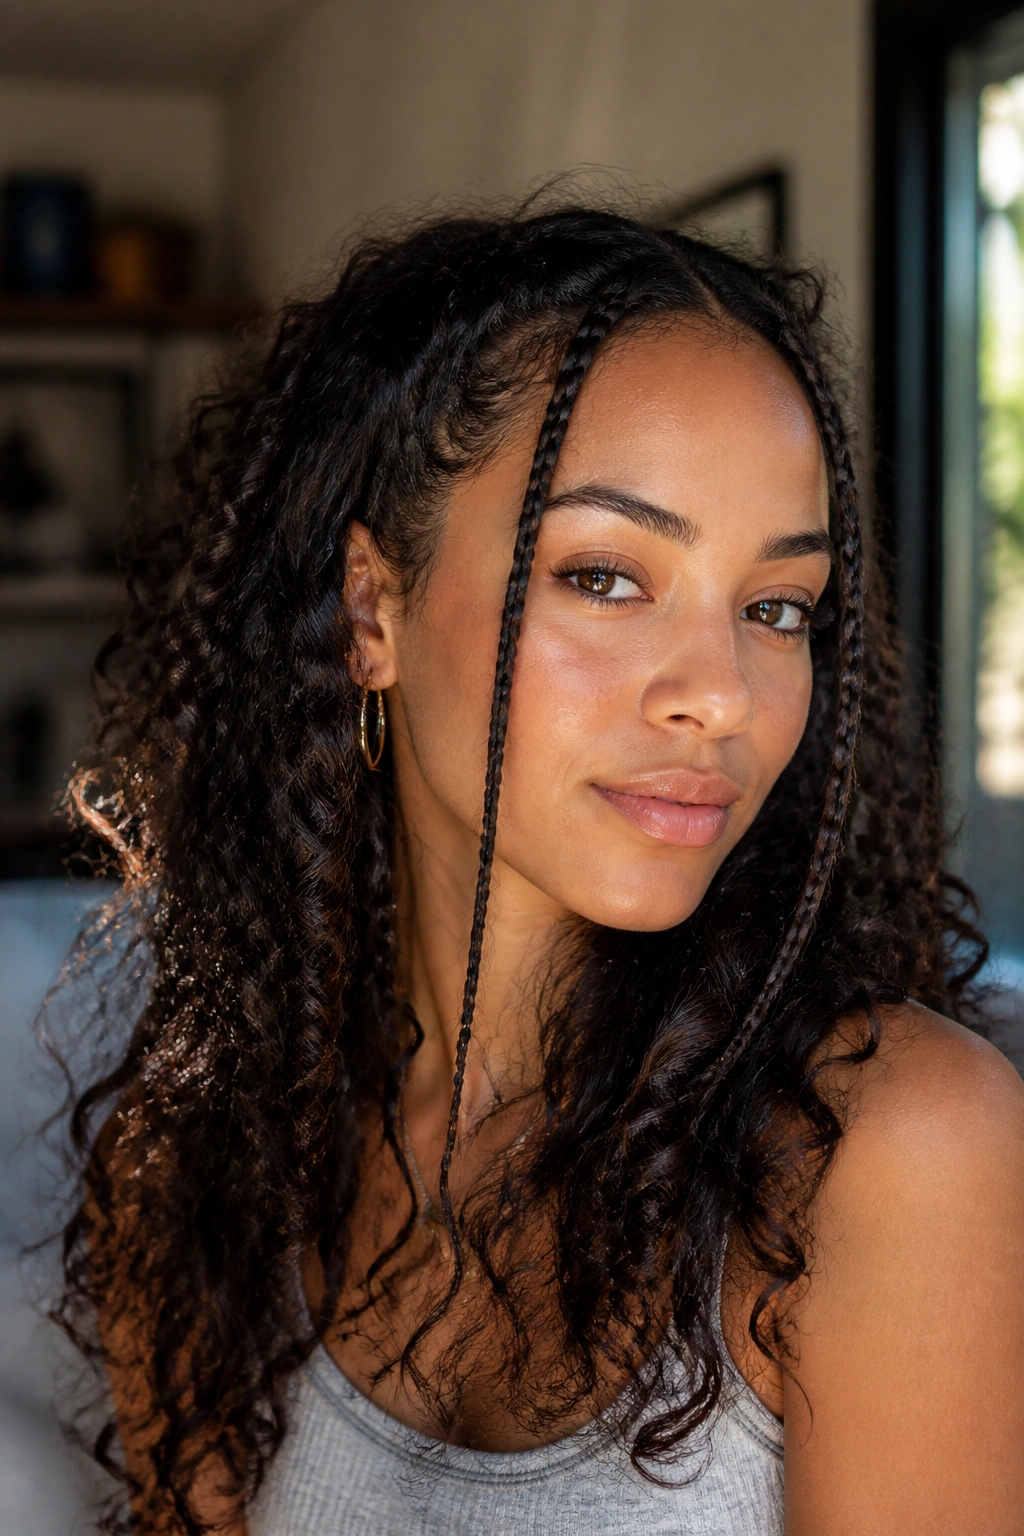
Mini braids in the front can make curly hair feel styled even when the rest is left alone.
Take one small section on each side of the face, braid it loosely, and pin or tie the ends somewhere just behind the ear or into the side of the hair. Keep the braids thin enough that they do not weigh down the front. If they get too thick, they start stealing volume from the face-framing curls.
Keep the Braids Tiny
- Aim for sections about 1/4 to 1/2 inch wide.
- Braid loosely so the texture still shows.
- Stop before the braid gets stiff.
- Let the ends blend into the rest of the hair.
This style is especially nice on wash day or the day after, when the front needs a little control but you do not want to lose the airy shape around the cheeks.
19. Halo Puff for Curly Hair
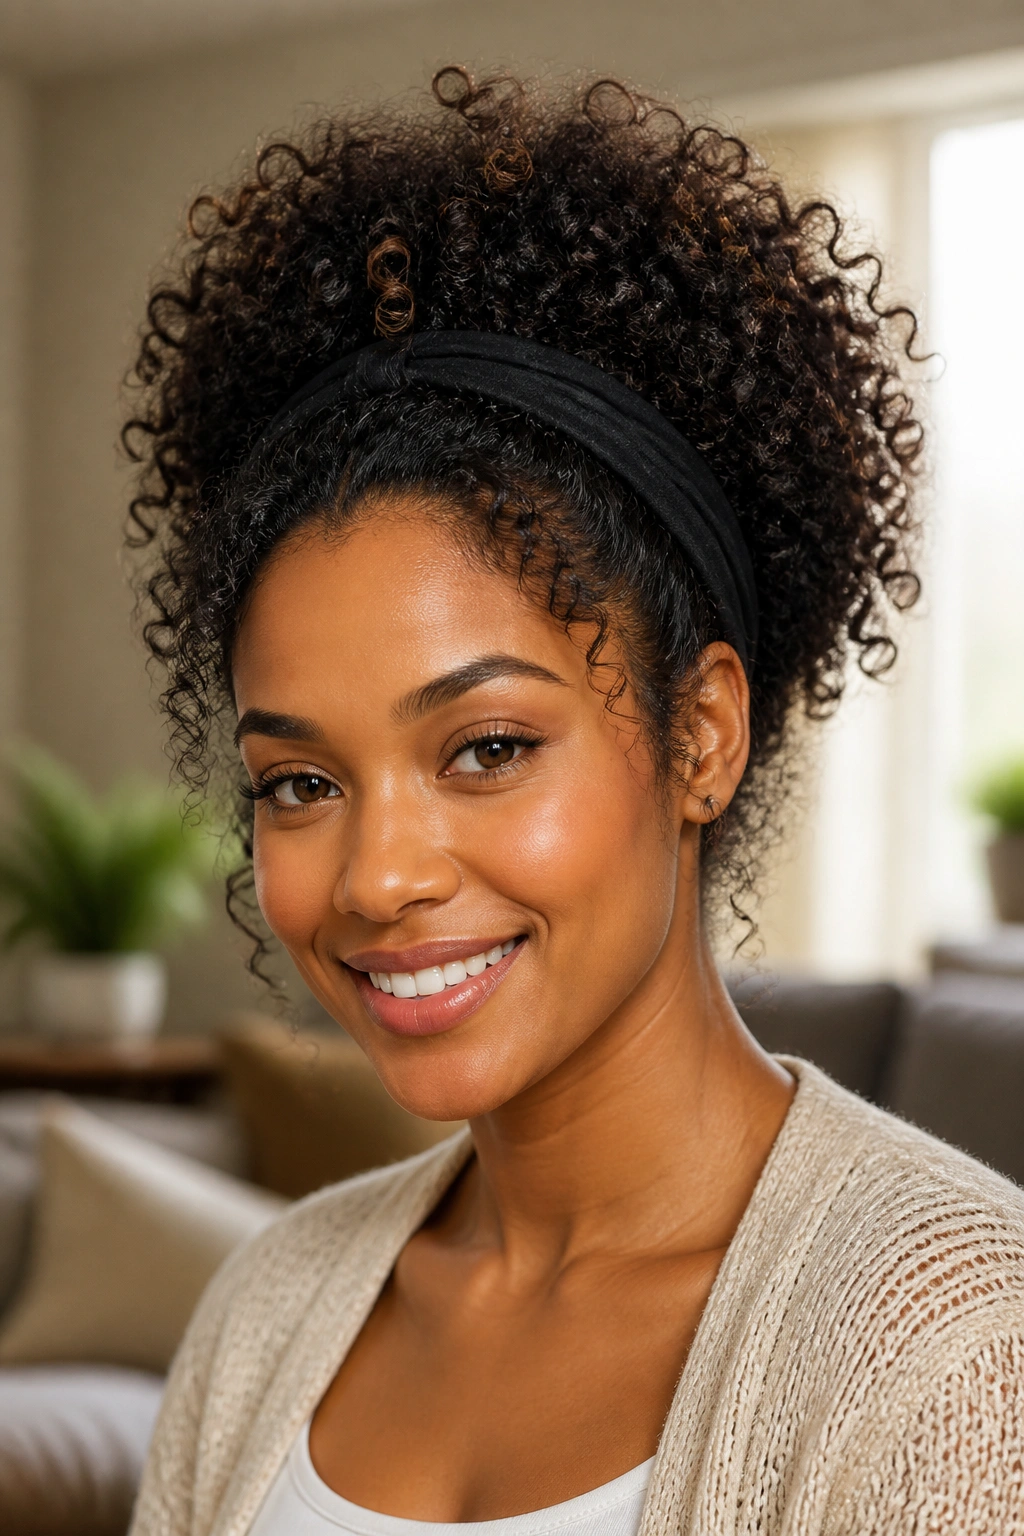
A halo puff gives curly hair height without forcing it into a tight ponytail. It is one of the better options when you want the crown lifted and the length kept neat.
Use a soft headband or a loose band to gather the hair upward, then shape the front so it forms a rounded halo of texture. The sides should still have some softness. If the hair is pulled too cleanly upward, the style loses its bounce and starts to look stiff.
The nice thing about this shape is the balance. You get volume at the top, but the ends stay out of the way. That makes it useful on workdays, errands, and long stretches indoors when you want your hair to feel controlled but not flattened. A little edge frizz is fine here. It softens the outline.
20. Wet-Look Defined Curls
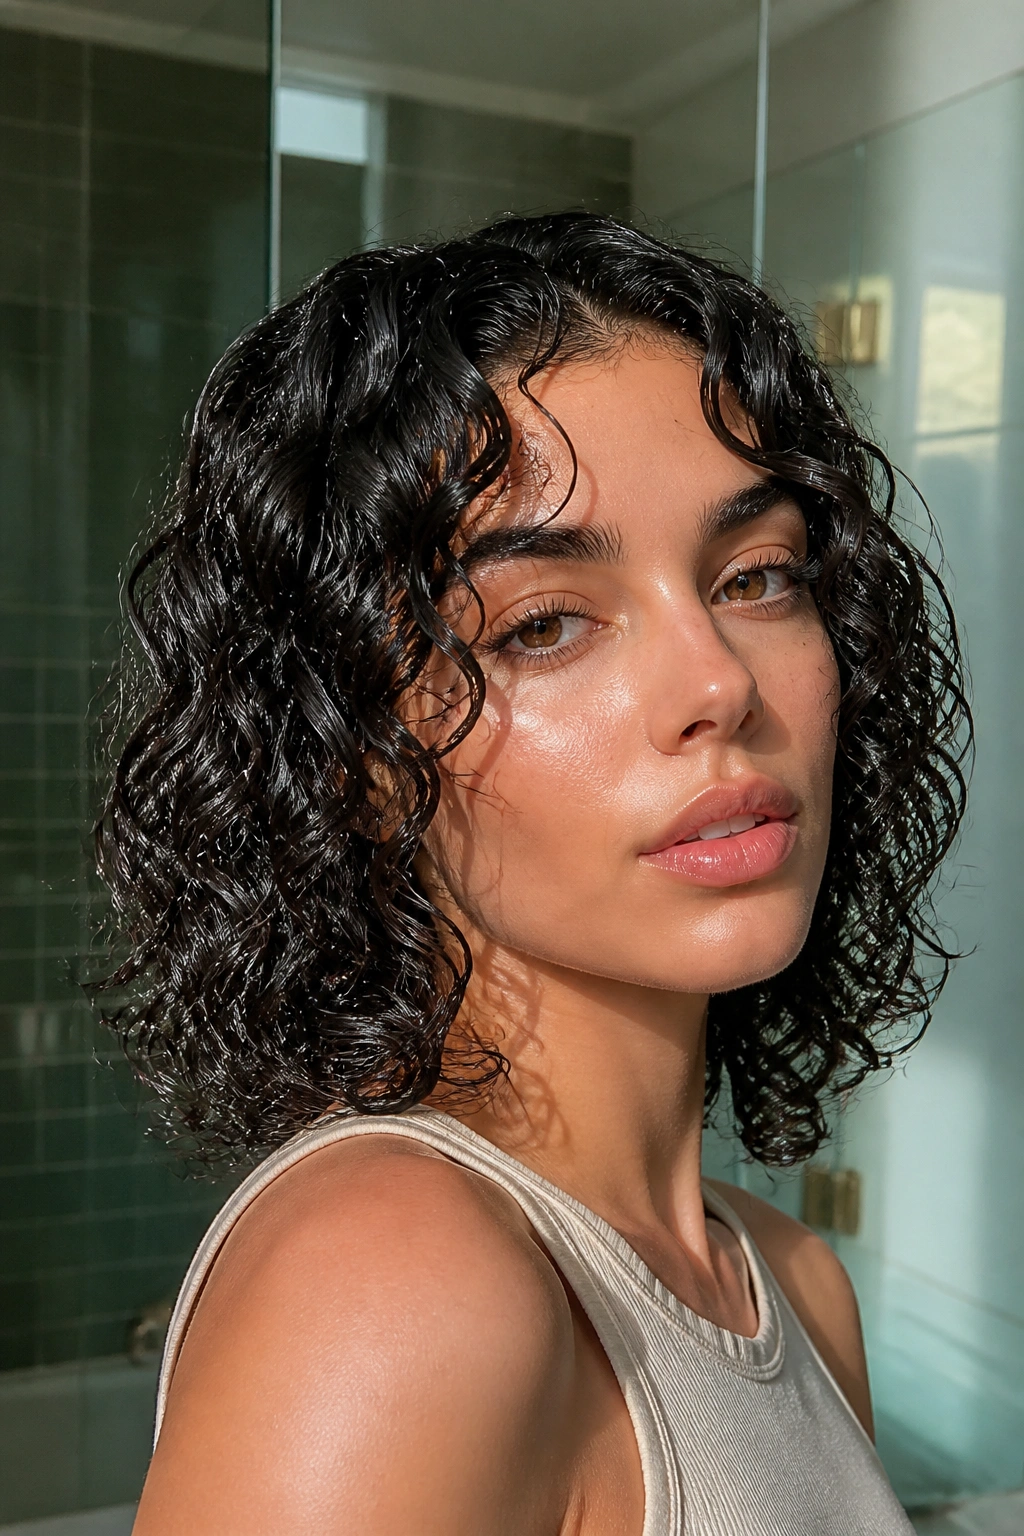
Wet-look curls are not actually wet, obviously. They just have that sleek, glossy finish that comes from gel and very little disturbance.
Apply styling product to soaking-wet hair, rake it through in small sections, then scrunch once and leave it alone until it dries. A diffuser on low heat can speed things up, but the crucial part is resisting the urge to touch it. Touching too soon breaks the definition and leaves you with fuzzy, half-set curls.
This style suits people who like a sharper finish. It gives the curl pattern a clean outline, and the shine makes the whole head look more polished. If you want it softer, break the cast only at the very end. If you want it sleeker, leave a little more of the cast in place around the face and top.
21. Loose Low Side Bun
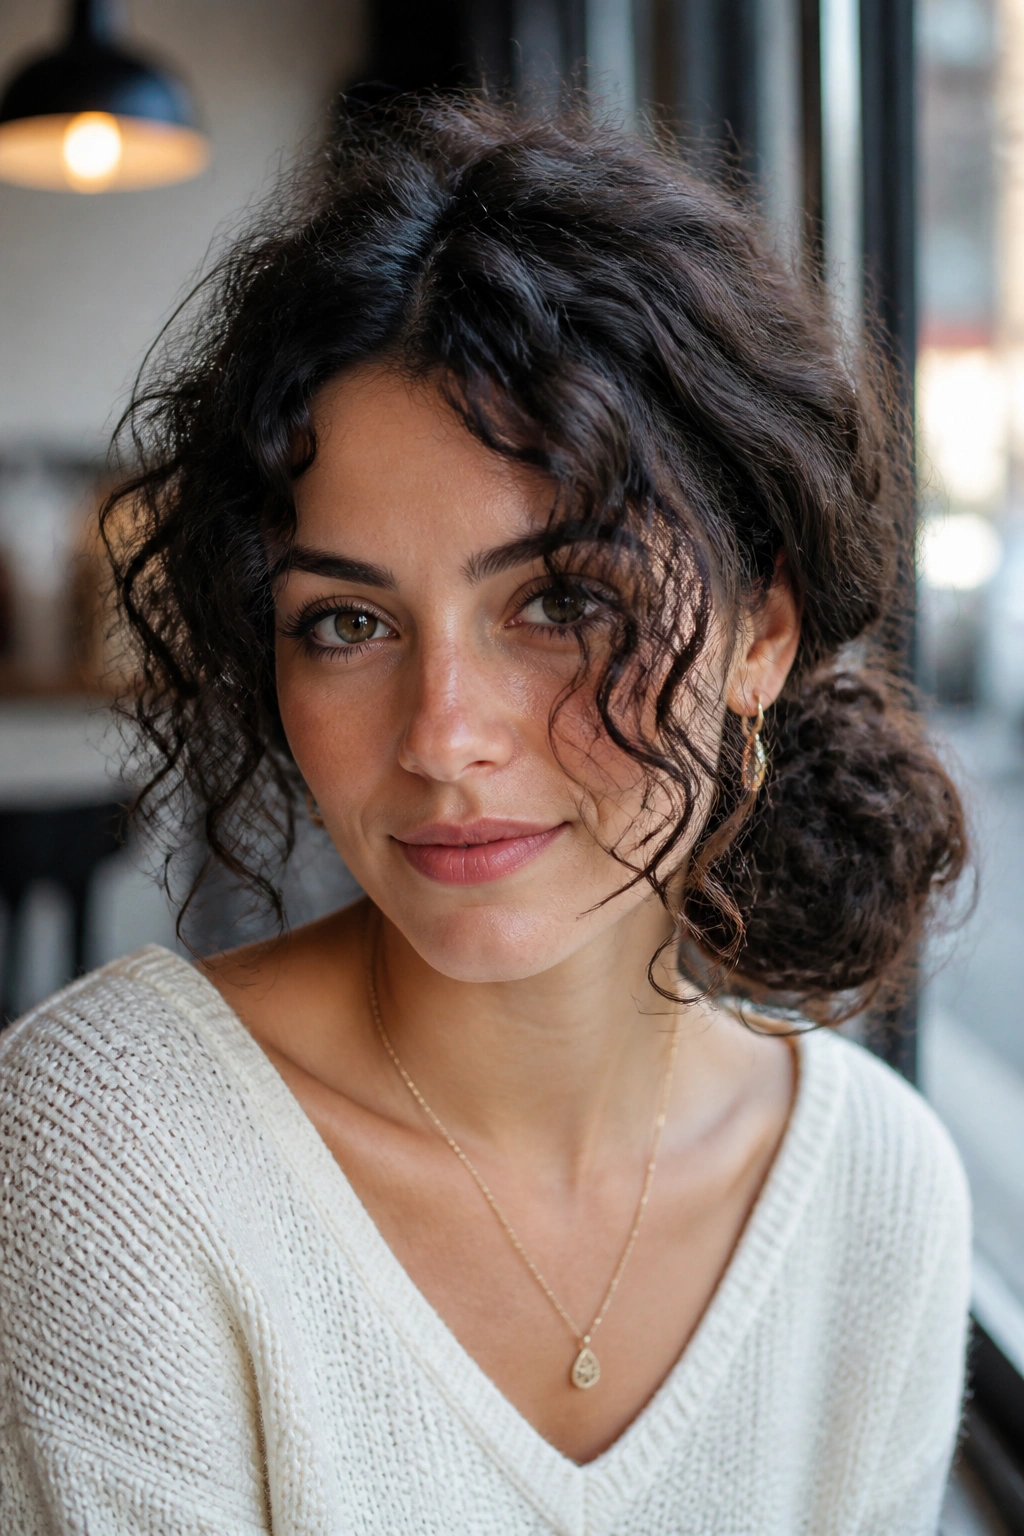
A side bun feels a little more relaxed than a center bun, which is exactly why it works on daily wear.
Sweep the hair to one side, twist it into a loose bun near the jawline or just under the ear, and pin it lightly so it still has movement. The side placement lets the curls pool in a way that looks softer than a bun right at the back of the neck.
Why Side Placement Helps
The off-center shape shifts the weight away from the exact middle of the head, so the bun feels less formal. It also shows off more texture at the front, especially if you leave one curl or wave falling toward the cheek. If your hair is thick, use pins instead of one tight elastic. Pins hold better without flattening the bun into a hard knot.
22. Curly Lob with Tucked Ends
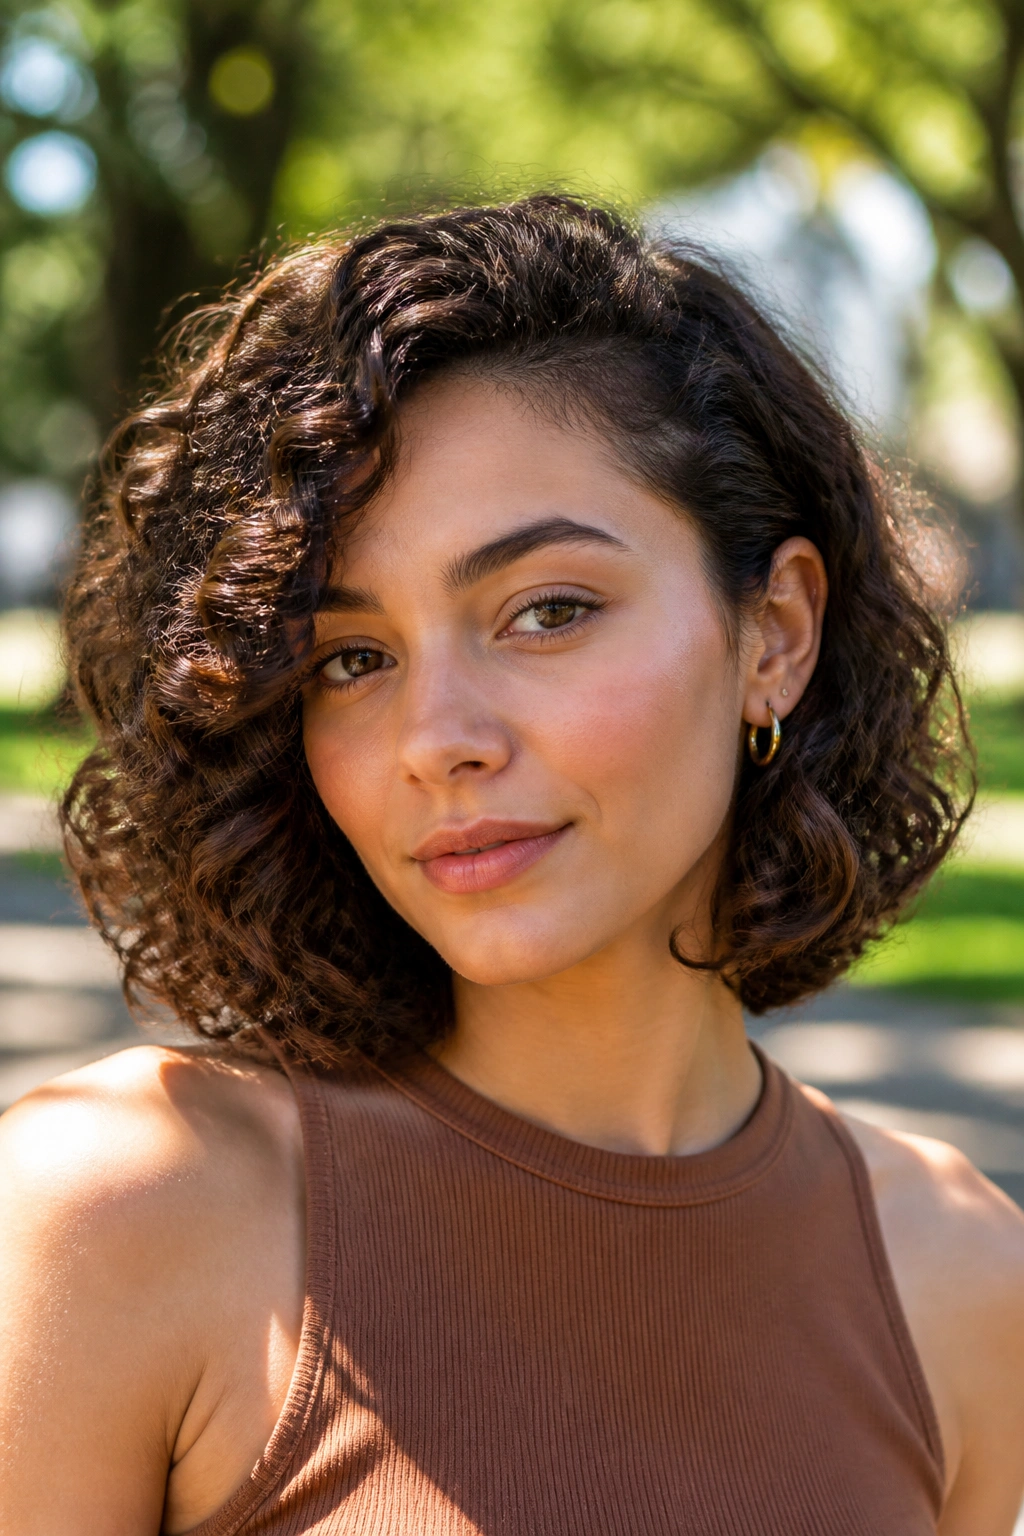
A curly lob can do more than sit there looking nice in photos. It can be practical too.
Keep the cut around collarbone length, then tuck one side behind the ear and let the other side stay free. That asymmetry keeps the style from ballooning out at the sides, which can happen with a blunt lob on textured hair. Layers help the ends bend inward a little instead of flaring wide.
This is a strong daily choice because it gives you enough length for movement but not so much length that the hair feels heavy by noon. If the front pieces get in the way, tuck them behind one ear and clip them with a small barrette. It sounds minor, but a small barrette can keep a whole day’s shape from collapsing.
23. Side Clip With Volume
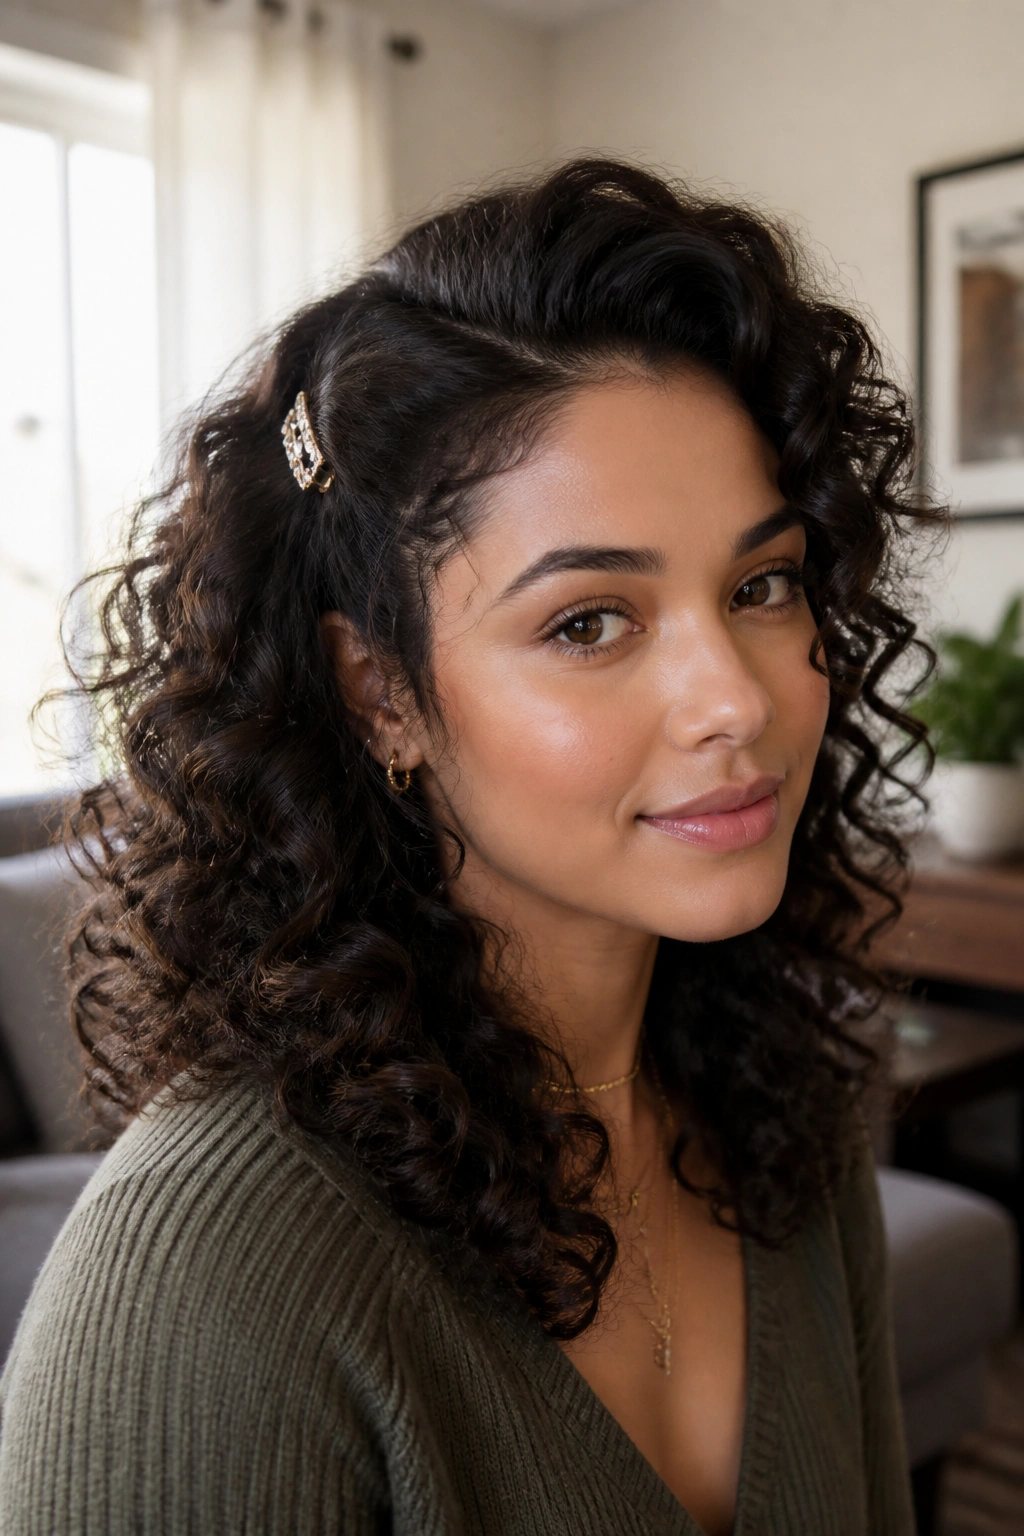
Some days call for one clip and a decision.
Sweep a front section back from one side, twist it once, and secure it with a barrette or snap clip above the ear. Leave the rest of the hair loose and full. That one small hold clears the face while the volume stays exactly where you want it.
It works because it controls the section that causes the most fuss without changing the rest of the head. No ponytail. No bun. No fussing with the lengths. If your hair has a lot of lift at the roots, place the clip a little higher so the shape stays open. If the top is flatter, put the clip lower and let the crown keep its own volume.
24. Soft Mermaid Waves
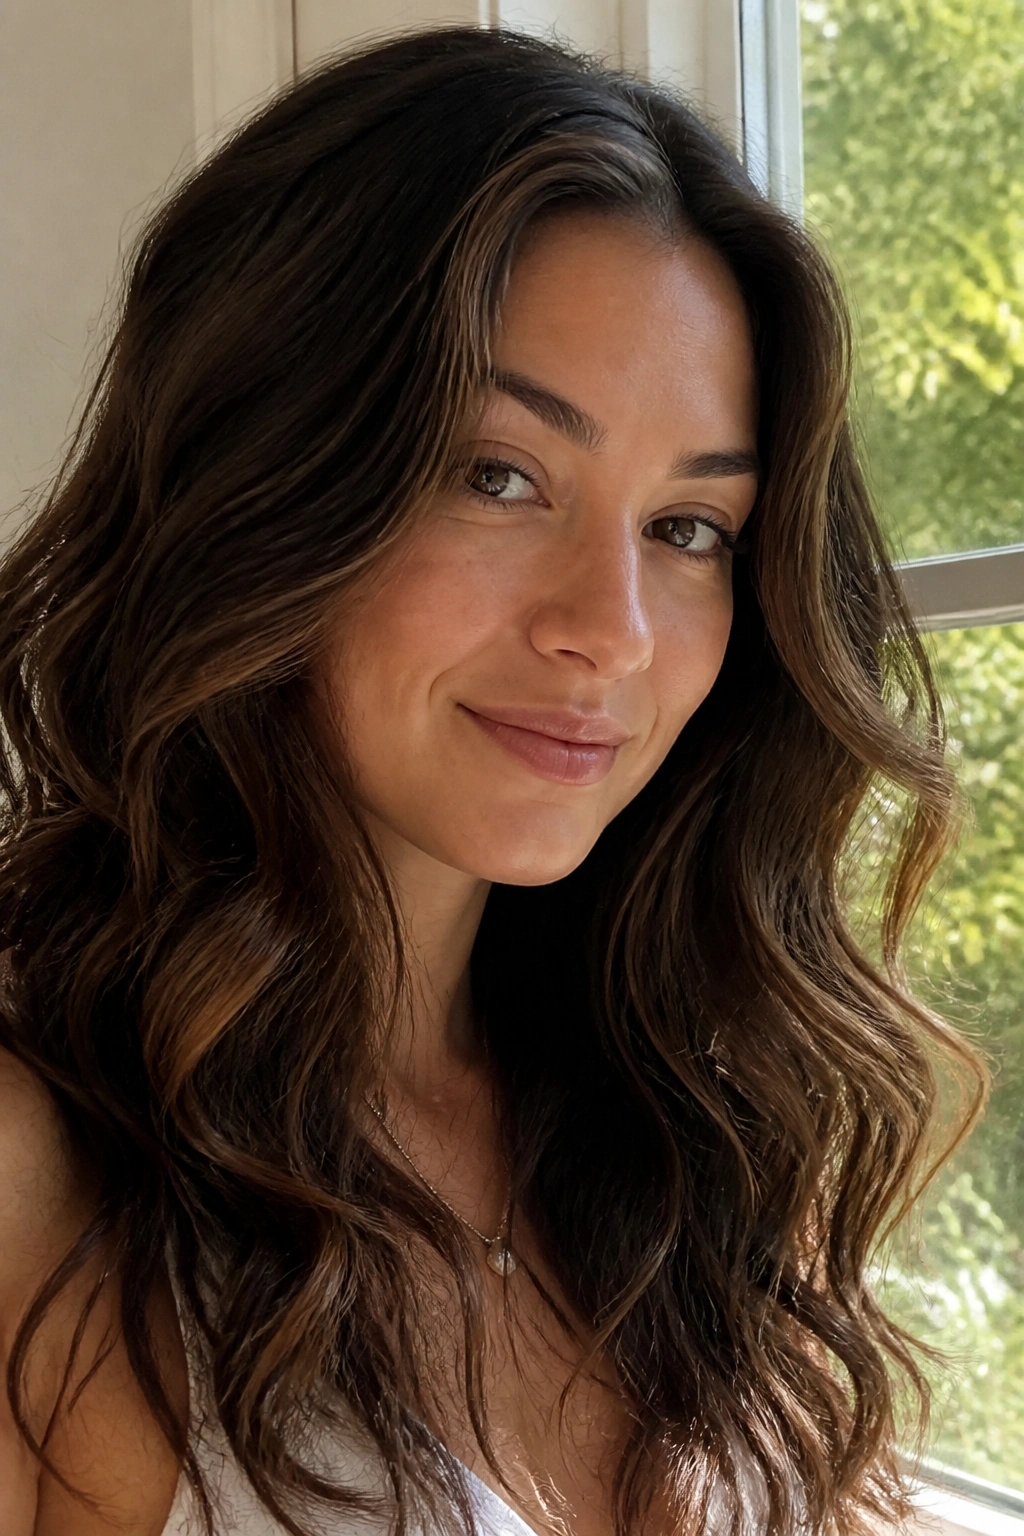
Mermaid waves are not only for long hair and special plans. Worn lightly, they can be one of the easiest daily shapes.
Use large sections, not tiny ones, when setting the wave pattern. Bigger sections create a softer bend, the kind that looks calm instead of crimped. Once the waves are formed, brush just the outer surface with your fingers or a wide-tooth comb to loosen the line without erasing the shape.
What Makes Them Wearable
- Keep the wave pattern loose at the ends.
- Leave the roots fuller instead of pressing them flat.
- Use a light spray, not a heavy cream.
- Break up only the pieces near the face if you want more softness.
This style is good when you want hair that moves but does not explode into volume. It has that easy, gentle swing that makes long textured hair feel lighter.
25. Air-Dried Layers and a Headband
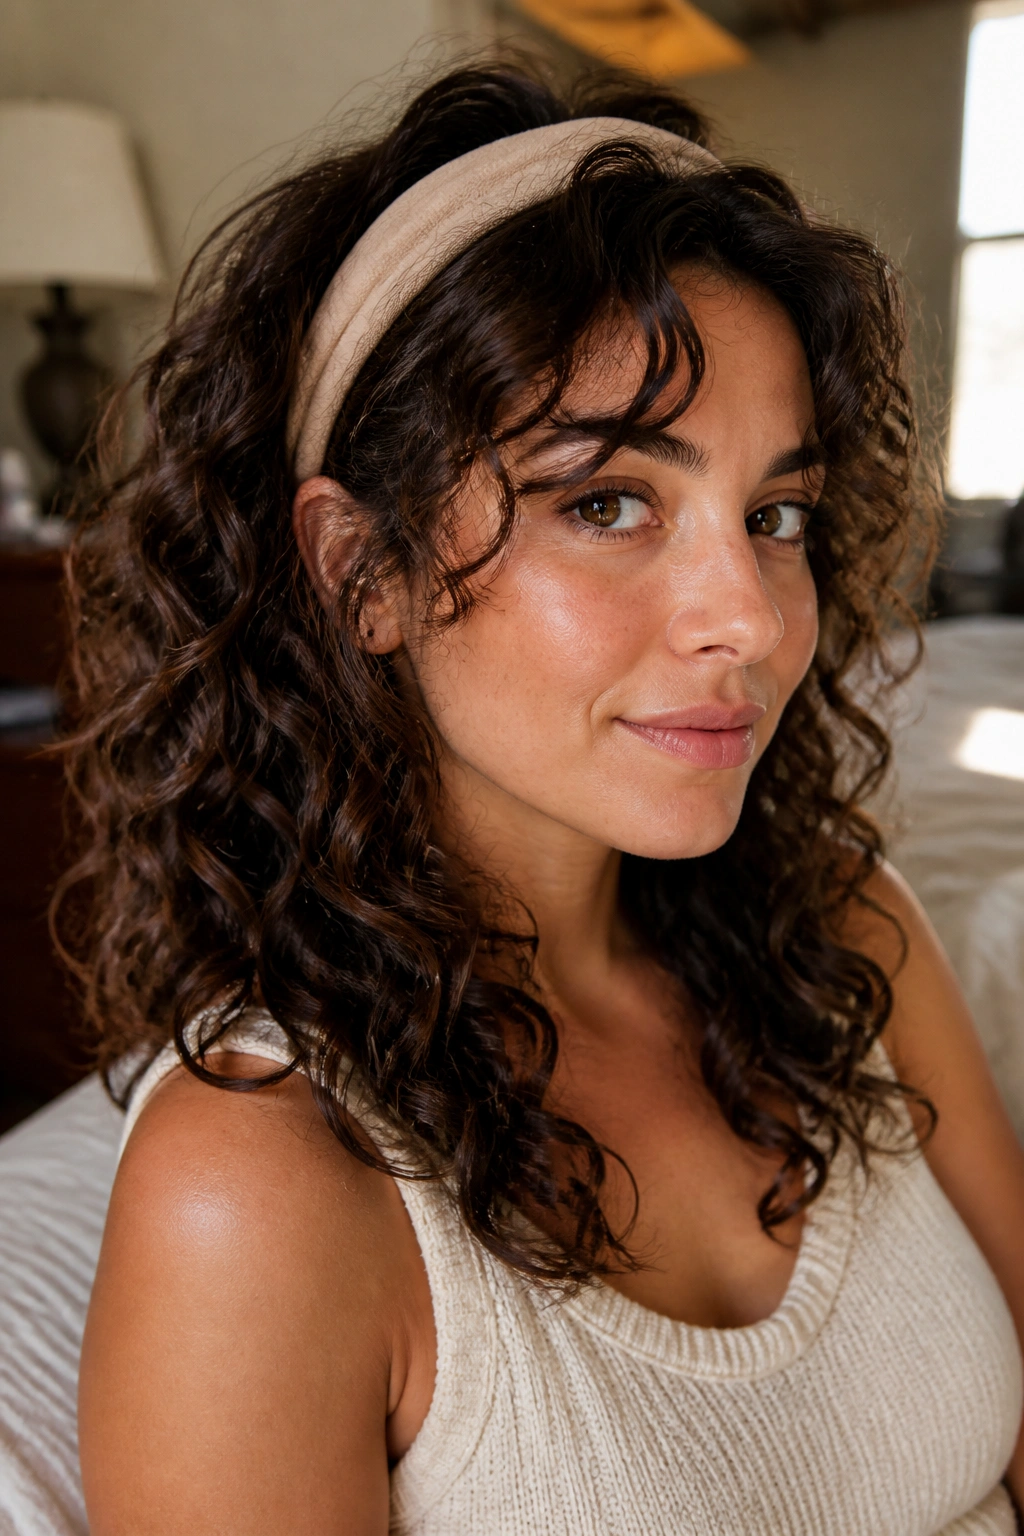
If you want one daily style that asks for almost nothing, this is the one.
Let layered curls or waves air-dry in their own shape, then slide on a soft headband to control the front and tuck the hairline back from the face. The rest stays loose and bouncy. Nothing about it feels forced. That is the point.
A headband is useful because it solves the front pieces without disturbing the rest of the texture. Choose one that does not pinch behind the ears. If it leaves a dent, it is too tight. If it slides, the band is too smooth or too narrow. A little trial and error is normal here, and once you find the right band, it becomes a lazy-day fix that still looks like you meant to wear it.
For everyday wear, that is the whole game: enough shape to look finished, enough softness to still feel like hair.
