



A low bun hairstyle can do a lot of heavy lifting with very little fuss. Sit it at the nape, smooth the top, and the whole look shifts into something cleaner, sharper, and more put-together than people expect from such a simple shape.
What makes low bun hairstyles so useful is the range. A low bun can feel severe and glossy, soft and romantic, quiet and expensive-looking, or almost architectural if the parting and pinning are done well. The difference usually comes down to small things: where the bun sits against the neck, how much shine you leave in the hair, and whether the ends are tucked flat or allowed to show a little texture.
And yes, those small things matter. A bun placed two inches too low can sag into the collar. Too much product and the hair turns stiff. Too little support and the whole style loosens before the night is over. The good versions look controlled without looking stiff, which is a trick worth learning.
The styles below cover polished staples, softer event looks, and a few smarter options for different hair lengths and textures. Some are classic. Some are a little more dressed up. All of them earn their place when you want a low bun that looks elegant rather than accidental.
1. Sleek Center-Part Chignon
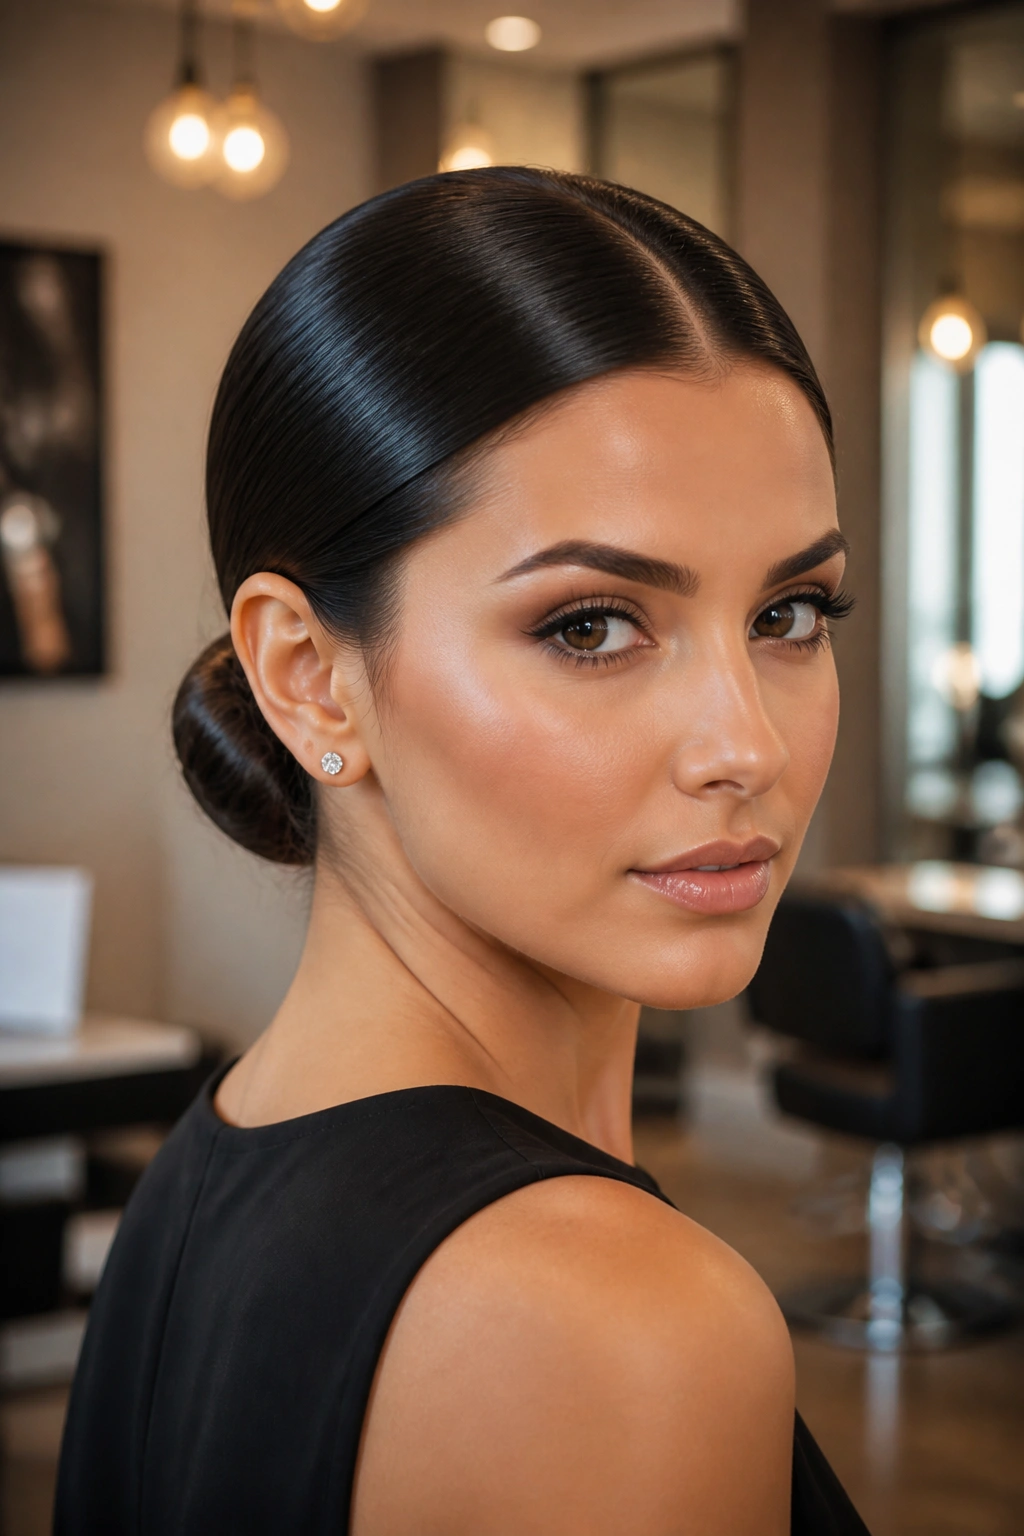
A clean center part is the fastest way to make a low bun look deliberate. It pulls the eye straight down the face, keeps the top neat, and gives the bun a formal edge even if the rest of your outfit is simple.
Why It Works So Well
The symmetry does most of the work for you. When the hair on both sides lies flat and the bun sits right at the nape, the whole style feels calm and controlled. That makes it a strong choice for straight hair, fine hair, or anyone who wants a polished finish without a lot of decoration.
A pea-sized amount of smoothing cream or light gel on damp hair helps. Blow-dry with a flat brush, keep the part sharp, and wrap the bun tight enough that it holds its shape but not so tight that the scalp starts to look stretched.
Best move: keep the bun compact and low, almost tucked under the occipital bone, so it looks intentional instead of droopy.
2. Deep Side-Part Low Bun
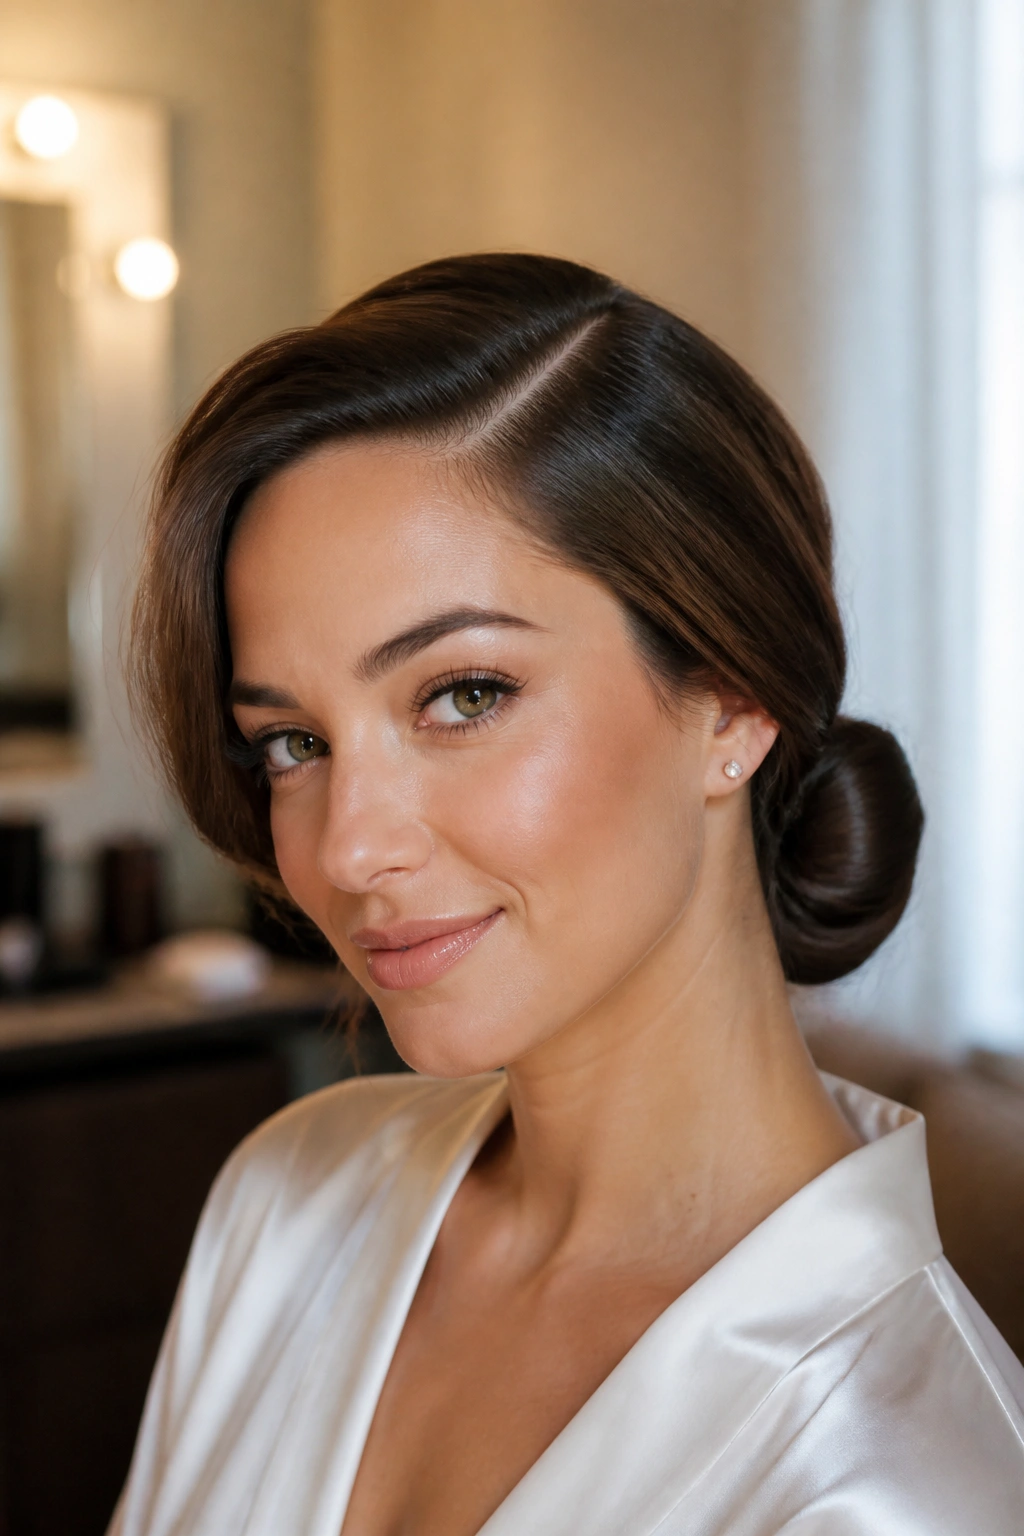
What happens when you move the part all the way over? The whole mood softens. A deep side part gives a low bun a little sweep and makes the face look less rigid, which is why this version works so well for evening dressing and tailored clothes.
The shape lands somewhere between polished and relaxed. One side frames the face more than the other, and that imbalance is what makes it interesting. If your hair is naturally wavy, leave a little movement in the front section instead of flattening everything into submission.
How to Wear It
- Keep the heavier side of the part clean and combed, then let the front curve naturally toward the cheekbone.
- Use a small elastic first, then pin the bun over it so the base stays hidden.
- A side part like this looks best when the bun stays close to the head, not puffed out.
Small detail, big payoff: tuck the hair behind one ear before pinning the bun. It sharpens the line of the jaw.
3. Twisted Low Knot

This is the style for the evening when you have ten minutes, a mirror, and no patience for anything fussy. Two twisted sections, crossed at the nape, can look more refined than a bun that took three times as long.
The trick is tension. Twist each side away from the face, bring them together low, and wrap the ends into a knot that sits flat. If the twists are too loose, the style loses its shape. If they’re too tight, you get that ropey, overworked look that never quite settles.
What to Watch For
- Twist in the same direction on both sides.
- Secure the base with one elastic before you tuck the ends.
- Pin through the twist, not just around it, so the knot doesn’t slide.
I like this one on medium-length hair. It shows the twist pattern without asking for a huge amount of length.
4. Braided Low Bun
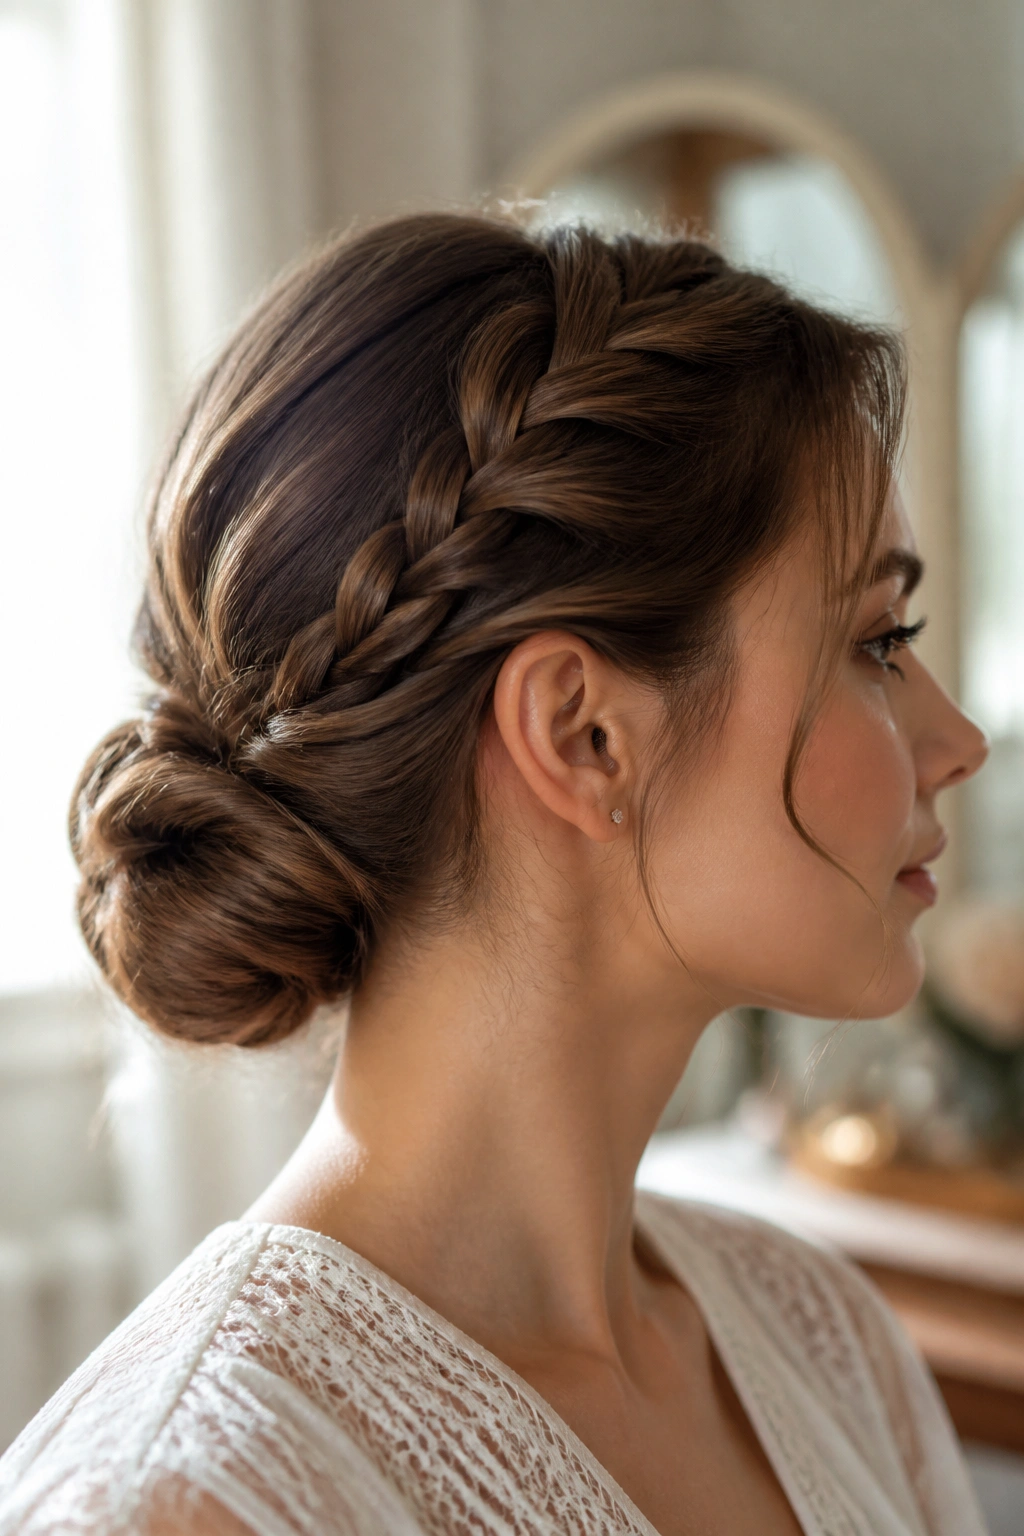
Braids and low buns get along for a reason. The braid adds texture and structure at the same time, so the bun can stay neat without looking flat.
A classic three-strand braid folded into a bun is the easiest route, but a Dutch braid or French braid feeding into the bun gives more shape around the head. That matters if your hair is long and wants to collapse into one heavy loop. The braid keeps the style from looking like a last-minute knot.
A little advice I keep coming back to: don’t over-pancake the braid if you want elegance. Softening it by a few millimeters is enough. Pulling it apart too aggressively turns the look bulky, and bulky is not the same thing as full.
5. Face-Framing Low Bun

Soft pieces around the face change everything. A low bun with face-framing strands looks less formal than a fully slick version, but it still reads as dressed up if the bun itself is tidy.
The front pieces should be placed on purpose, not left there by accident. Bend them slightly with a 1-inch iron or a round brush, and stop the curl before it gets too round. You want a gentle curve that sits near the cheekbone, not a prom curl from memory lane.
What Makes It Different
The bun stays the neat part. The loose pieces carry the softness. That contrast is what makes the style work for weddings, dinners, and anything where you want to look finished without looking severe.
- Keep the face-framing pieces narrow, about the width of a pencil.
- Leave them a little longer than you think; short pieces bounce in weird ways.
- Smooth the top with a brush so the softness stays at the front, not all over.
6. Pearl-Pin Low Bun
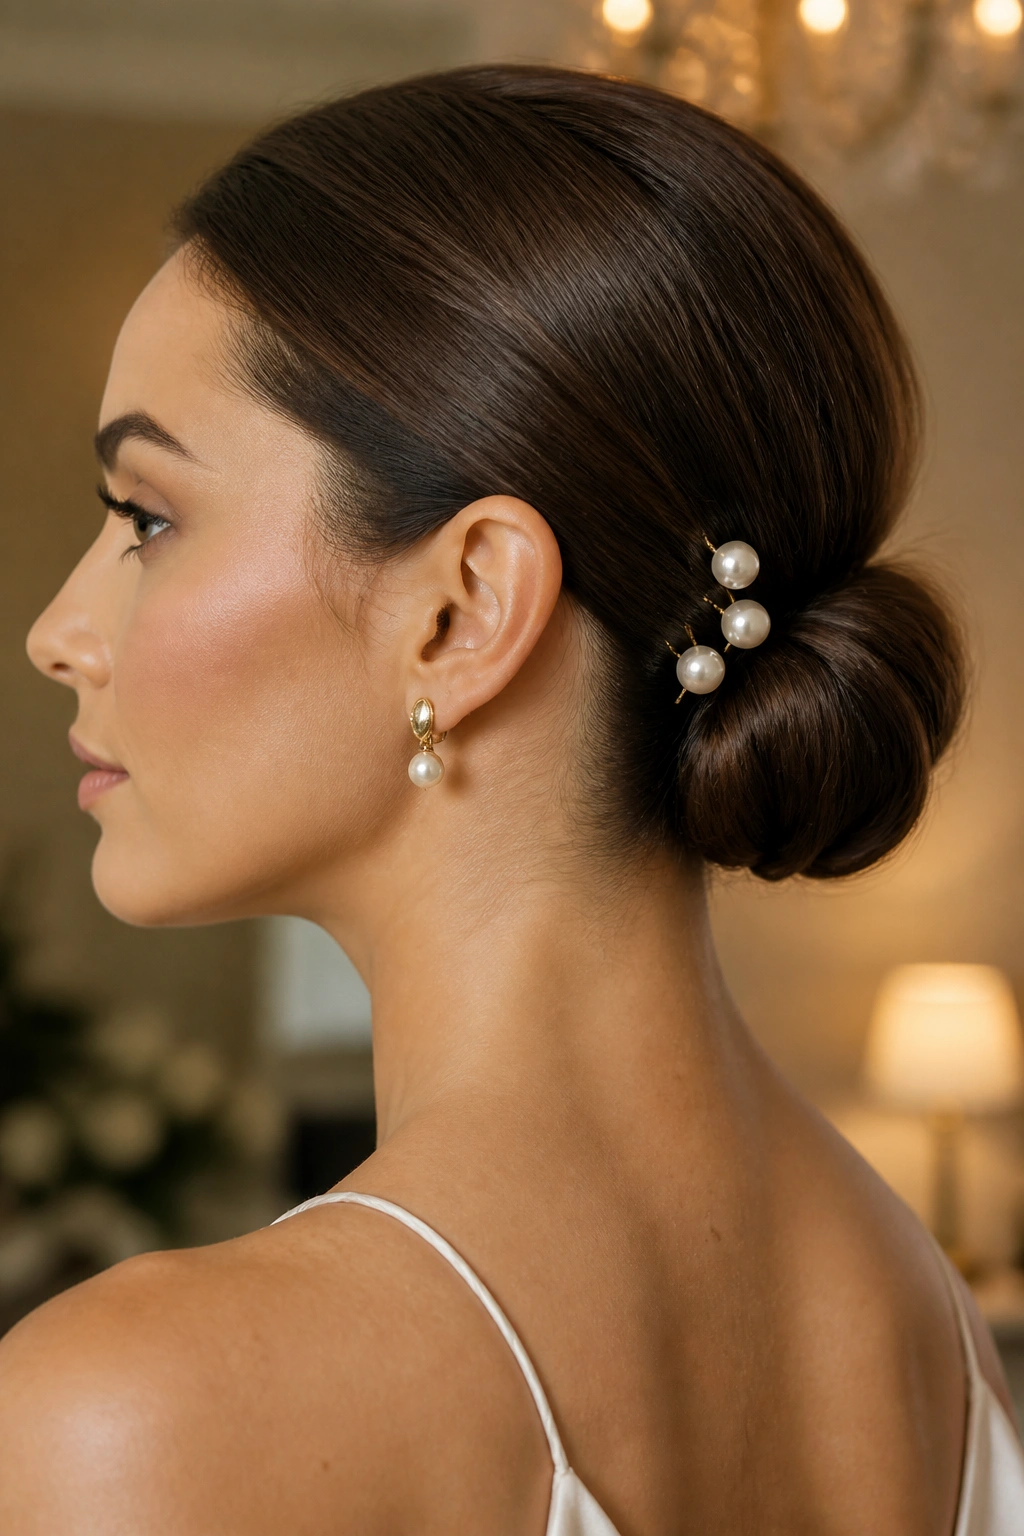
A few pearl pins can do more than a whole box of extra styling products. They add light, shape, and a little dressiness without turning the hair into a costume.
Place them where the bun needs the most visual weight. One cluster on the right side of the knot, or a short line that follows the curve of the bun, usually looks better than scattering them everywhere. Random pin placement feels casual. A small cluster feels chosen.
Use this one when the outfit is simple and the hair needs a focal point. The bun itself should stay plain and smooth. Let the pearls do the talking.
My rule: three pins look elegant; ten pins start to look busy.
7. Soft-Wave Low Bun
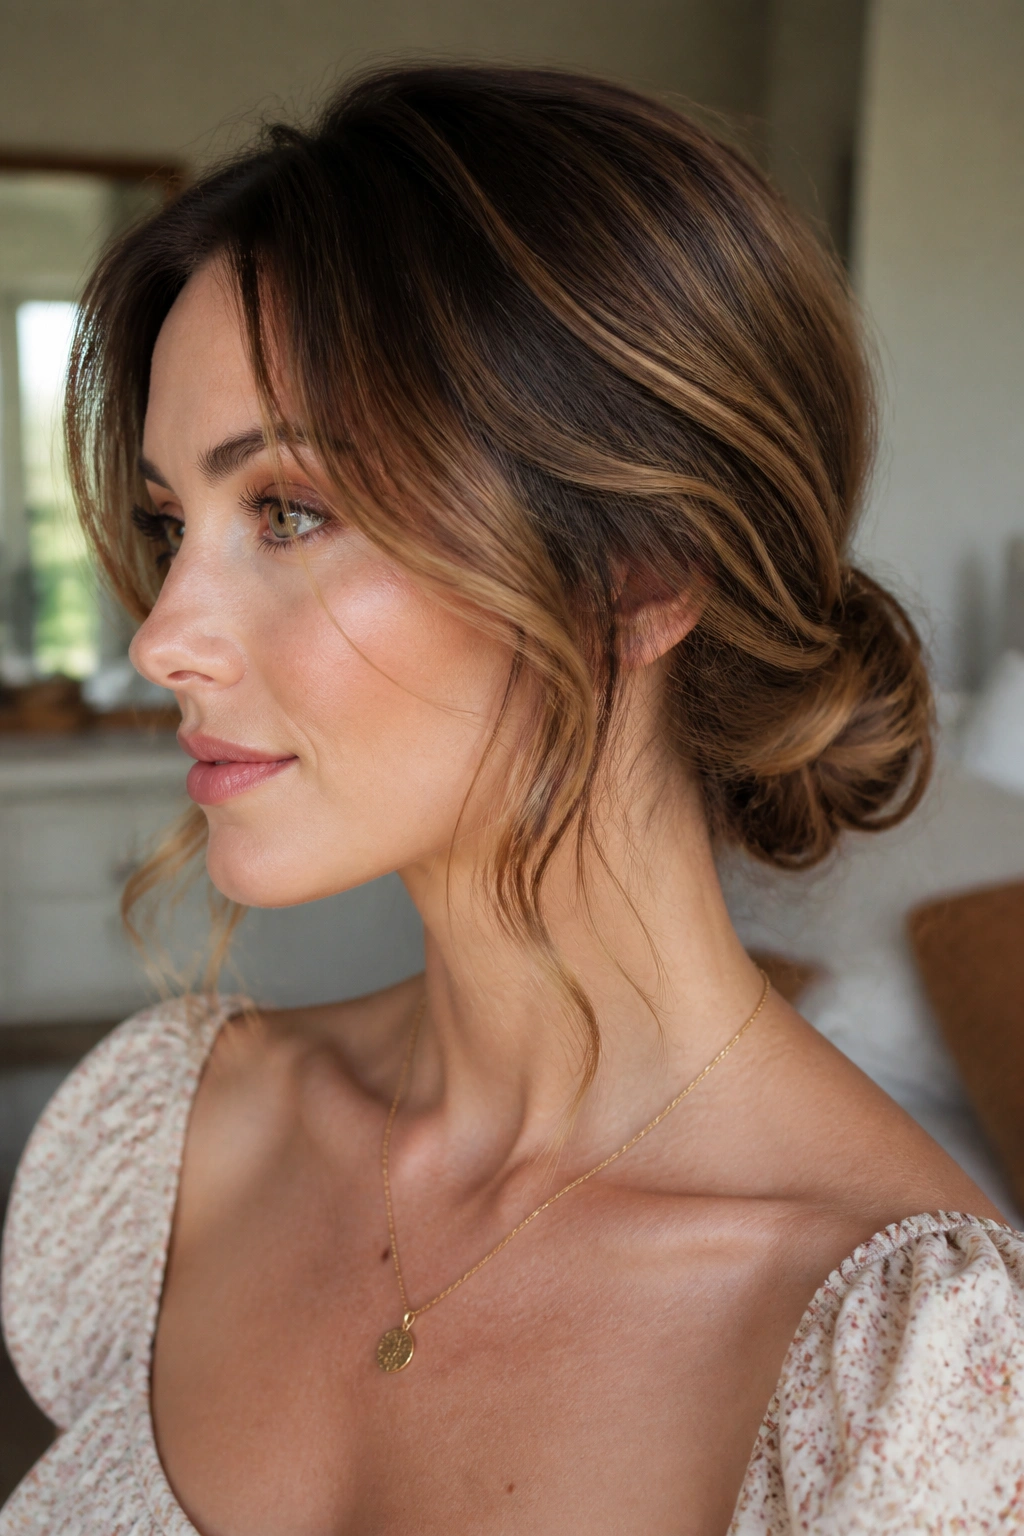
Can a low bun still feel relaxed? Absolutely. Soft waves through the lengths make the bun move a little instead of sitting like a helmet.
The easiest way to get there is to curl the hair loosely with a 1.25-inch iron, then brush the waves apart before gathering them. The point is not to create ringlets. It’s to leave enough bend that the bun has texture and shape when it’s pinned. If the waves are too crisp, the bun reads dated fast.
This version is especially good on hair that normally looks flat when pulled back. The wave pattern gives the bun depth, and the soft ends around the nape keep it from looking too strict.
8. Satin-Ribbon Low Bun

A ribbon changes the whole tone of a low bun. Satin, in particular, gives the style a cleaner finish than a bulky accessory ever could.
Tie it at the base of the bun after the hair is already pinned. A ribbon that’s about 1 inch wide works best; anything wider can overtake the shape of the bun. Black, ivory, deep navy, and muted jewel tones tend to look the most refined because they sit quietly against the hair instead of shouting from it.
Best Use
This is the one I reach for when the outfit needs one soft detail and nothing more. The bun stays simple. The ribbon gives it a point of view.
Don’t wrap the ribbon so tightly that it dents the bun. Let it rest against the hair, and keep the bow small.
9. Ballet-Inspired Low Bun
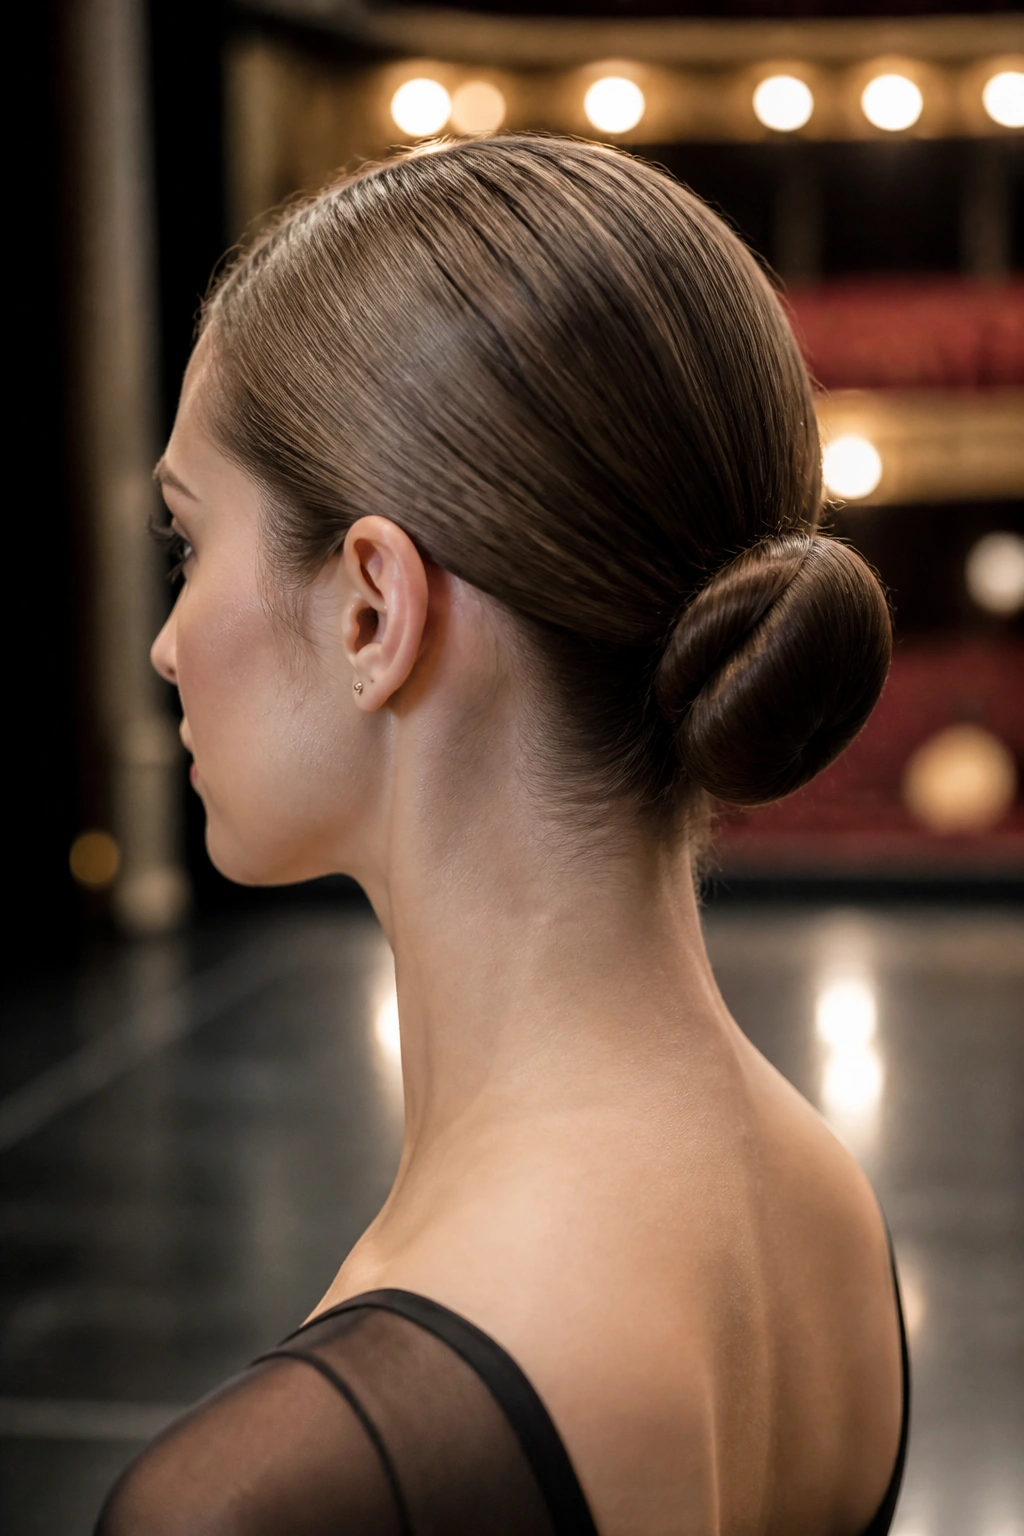
A ballet bun sitting low at the nape has a very specific kind of neatness. It is centered, smooth, and compact, with almost no loose ends showing.
The difference between this and a plain bun is control. The surface should be brushed clean, the knot should be small, and the outline should stay round without puffing out at the sides. A little styling cream helps, but the bigger factor is sectioning: gather the hair evenly before it ever gets twisted.
This style looks especially good with straight hair and strong necklines. It also works when you want the hair to stay out of the way and still look considered. Simple. Unfussy. Sharp.
10. Rope-Braid Low Bun
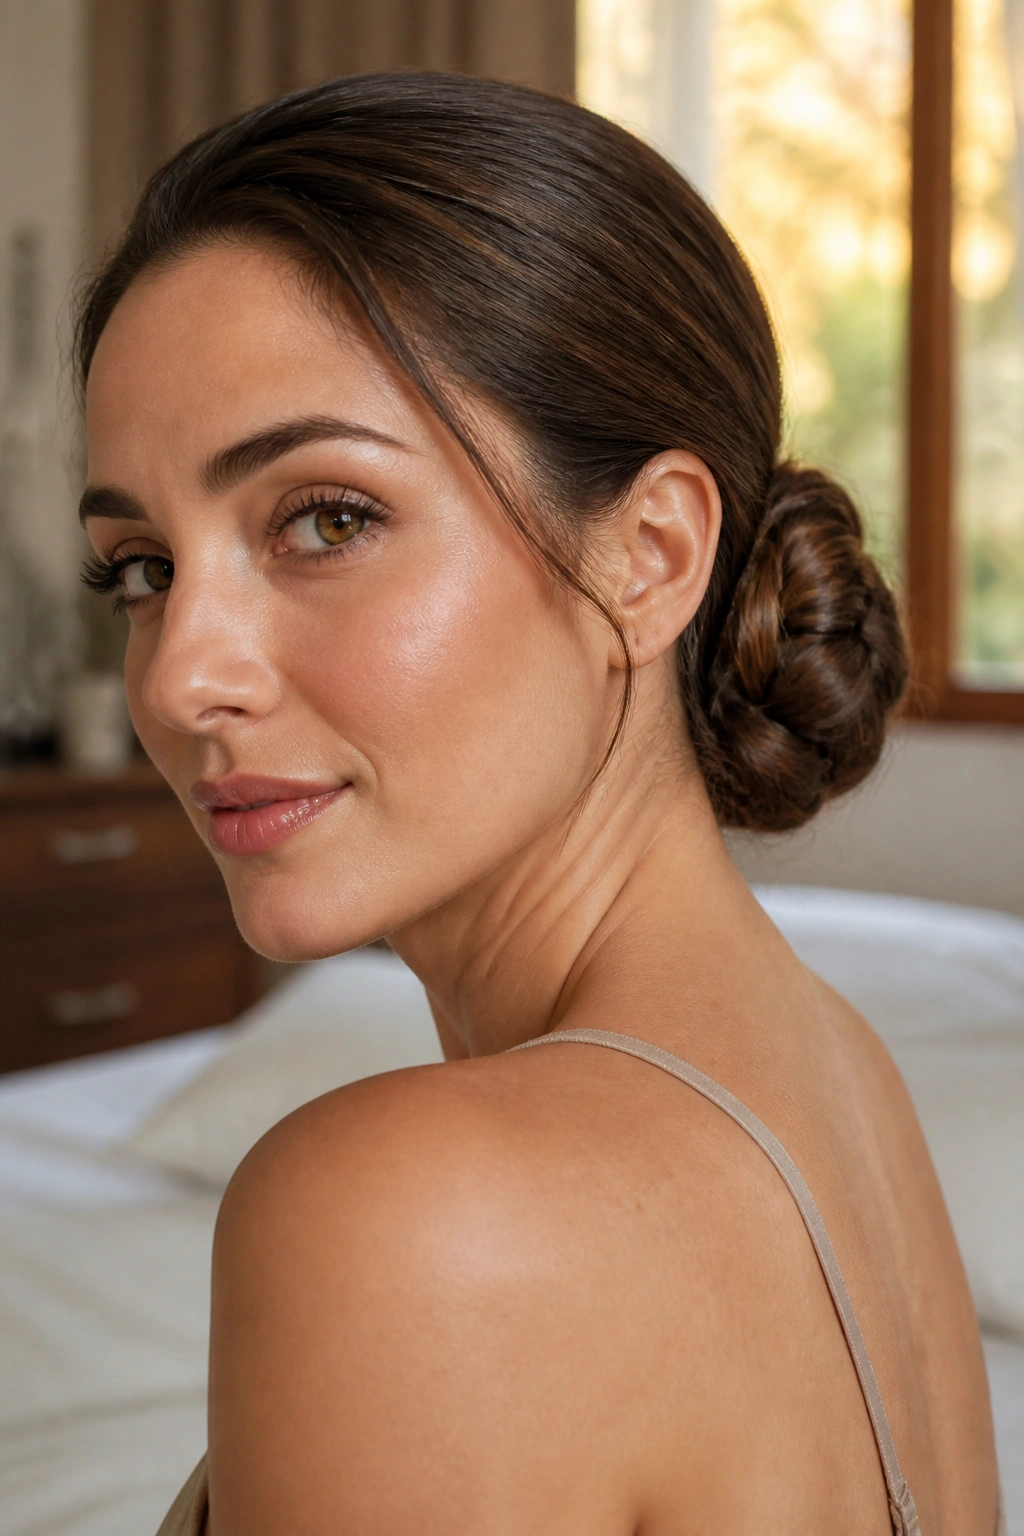
A rope braid changes the texture of the bun in a way that feels tidy and modern. Two sections twisted in the same direction create a smoother line than a standard braid, and that line shows up nicely once the hair is coiled.
The key is keeping both strands under the same tension. If one side twists tighter than the other, the rope starts to look lopsided, and the bun sits unevenly. When it’s done right, the finish is glossy and neat, with a little more interest than a plain twist.
How to Use It
- Twist both sections clockwise, then wrap them counterclockwise around each other.
- Secure the base first, then pin the rope into a bun shape.
- Finish with a light mist of hairspray, not a heavy shell.
That little bit of shine helps the pattern show.
11. Side-Swept Chignon

A side-swept chignon has a graceful tilt that straight-on buns don’t always get. The bun sits slightly off-center, usually near one ear, which gives the style a little movement before anyone notices the details.
It works best when one side of the hair is brushed more tightly across the head and the other side folds into the bun with a softer curve. The result feels formal without being stiff. If you wear earrings, this is one of the better low buns to choose because it leaves space for the jewelry to show.
The style benefits from a neck-hugging shape. Keep the bun close to the head and let the side sweep handle the drama.
12. Crown-Volume Low Bun

A little lift at the crown can change a low bun from flat to elegant in one step. Not a lot of lift. Just enough to give the top some shape so the bun doesn’t look pressed down by gravity.
Backcomb the roots lightly at the crown, then smooth only the outer layer over it. That keeps the volume soft instead of puffy. If you brush everything down too hard, the shape disappears and you’re back to square one.
What Makes It Work
This is the best option when the hair is long enough to feel heavy at the back. The crown lift balances the bun and gives the face a little opening at the top.
A mist of flexible spray before pinning helps the height stay in place. Heavy spray too early turns the roots tacky in a bad way.
13. Wrapped Low Knot

There’s something almost architectural about a wrapped knot. The ends disappear around the base instead of sticking out, and the whole style looks calm and finished.
You can create this by gathering the hair into a low ponytail, then wrapping small sections around the elastic and pinning them under the knot. The goal is a smooth outer line with no obvious ends showing. That hidden finish is what gives the style its clean feel.
It’s a good choice for medium to thick hair, though fine hair can handle it if you tease the ponytail base a little first. Keep the wrap snug. Loose wrapping makes the bun drift apart after an hour or two.
14. Curled Tendril Low Bun

A low bun with curled tendrils has a softer, evening-ready mood. The bun stays neat, but the little curled pieces at the temples and nape break up the outline and keep it from looking severe.
The tendrils should be thin. Thick face pieces take over the style fast, and then the bun feels younger than elegant. A small curling iron or wand gives better control than a big barrel, especially near the hairline where shape matters more than volume.
This is one of those styles that looks better when it’s slightly imperfect. Not messy. Just human. A few narrow curls near the ears can do more than a pile of accessories ever will.
15. Curly-Hair Low Bun

Curly hair does not need to be flattened to make a low bun look elegant. In fact, trying to smooth every curl into submission usually makes the style look harder than it should.
A better move is to preserve the curl pattern, stretch the roots only where needed, and pin the bun so the curls keep some bounce. Use a curl cream or light leave-in first, then gather the hair without brushing it into a puff. The texture itself becomes the detail.
A Better Way to Handle It
- Work in sections so the curl pattern stays defined.
- Leave a few curls free around the nape if the bun needs softness.
- Use pins that grip, not tiny decorative pins that slide out.
The finished shape feels polished because the curls are still there, not despite them.
16. Thick-Hair Low Bun
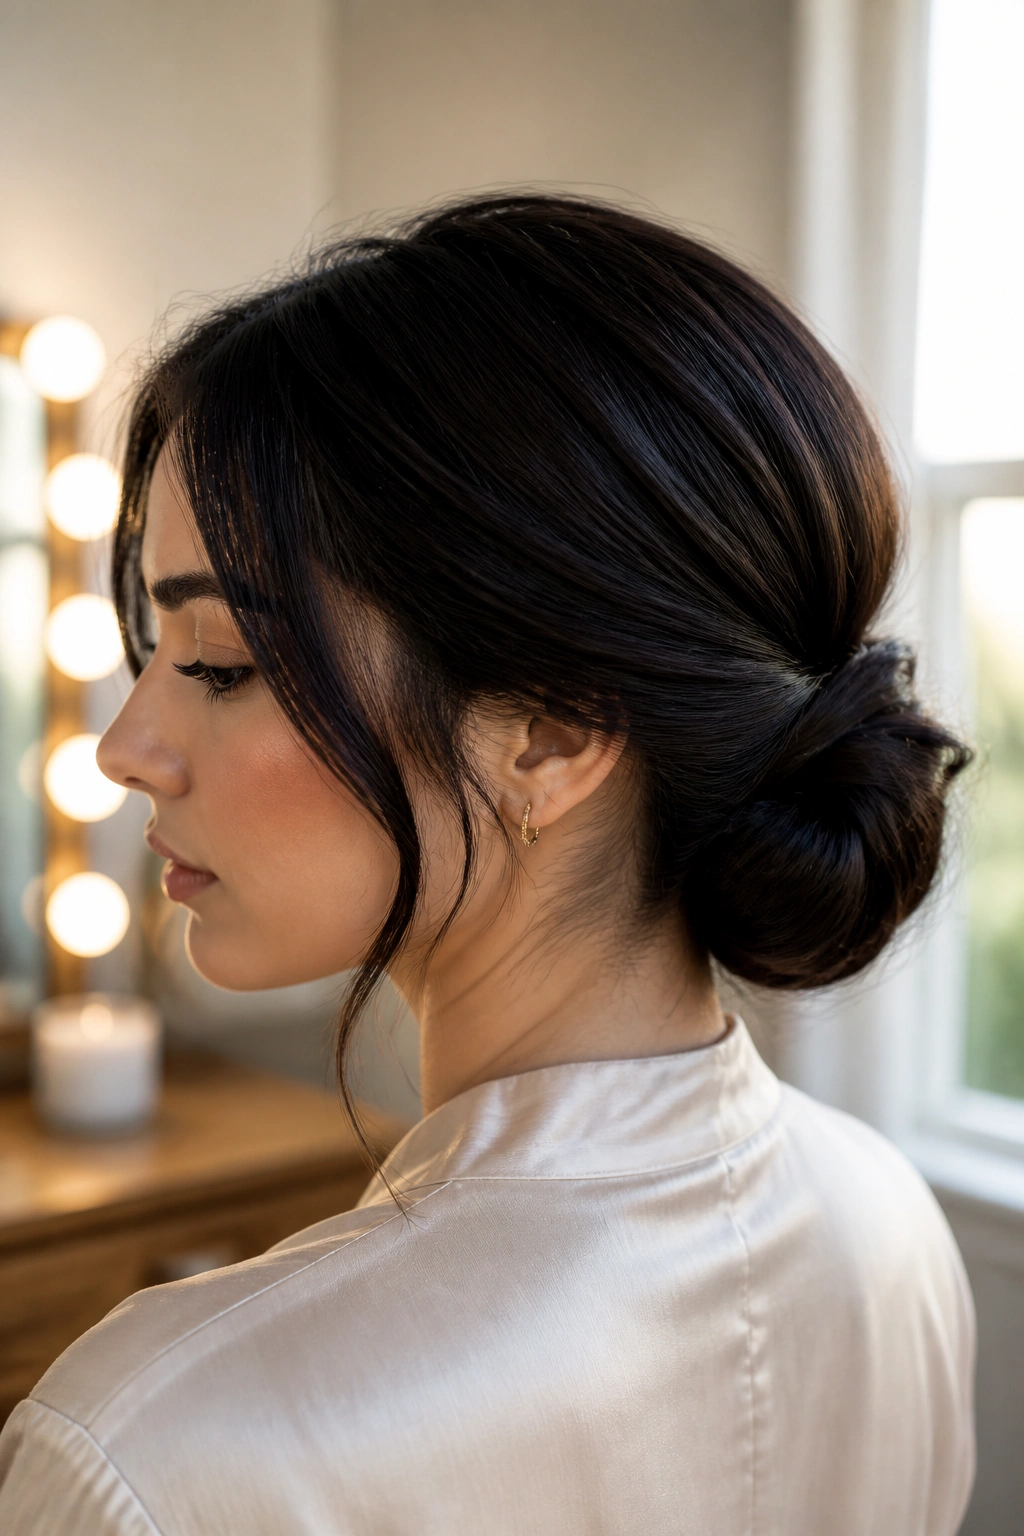
Thick hair makes a low bun look rich, but it can also make the style heavy if you skip the right steps. A single elastic often isn’t enough on its own.
Split the hair into two sections before pinning, then wrap each section around the base so the weight gets distributed. That keeps the bun from bulging in one place. Strong U-pins or long bobby pins help here; short pins tend to slip when the hair is dense.
This version works best when the bun stays compact. Thick hair already brings volume. You do not need to add more. Tame the bulk, shape the outline, and let the density do its job.
17. Fine-Hair Low Bun
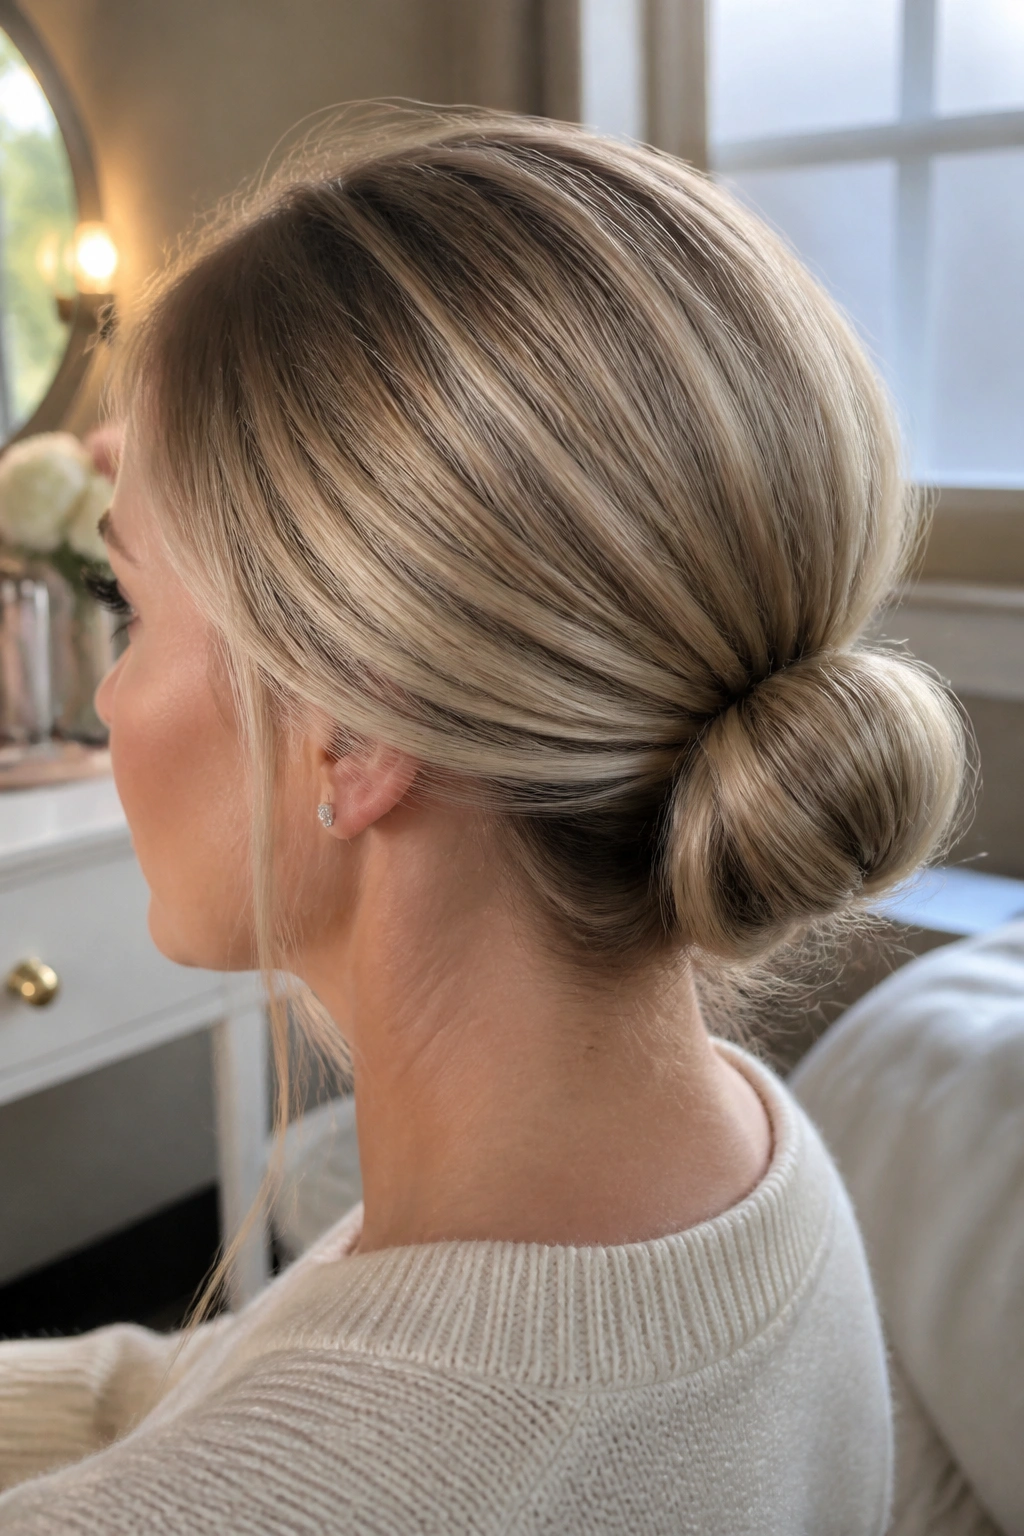
Fine hair can look elegant in a low bun, but only if the style is built a little differently. A tiny bun tucked too neatly against the head often disappears, so the shape needs some support.
A bit of dry shampoo at the roots gives grip, and a light tease at the crown adds enough body to stop the bun from collapsing. You can also use a small foam donut if the hair is very silky. It’s not cheating. It’s structure.
The main thing is not to overload it with oil or cream. Fine hair goes limp fast. Keep the product light, the pins hidden, and the bun slightly fuller than you think you need.
18. Short-Hair Low Bun
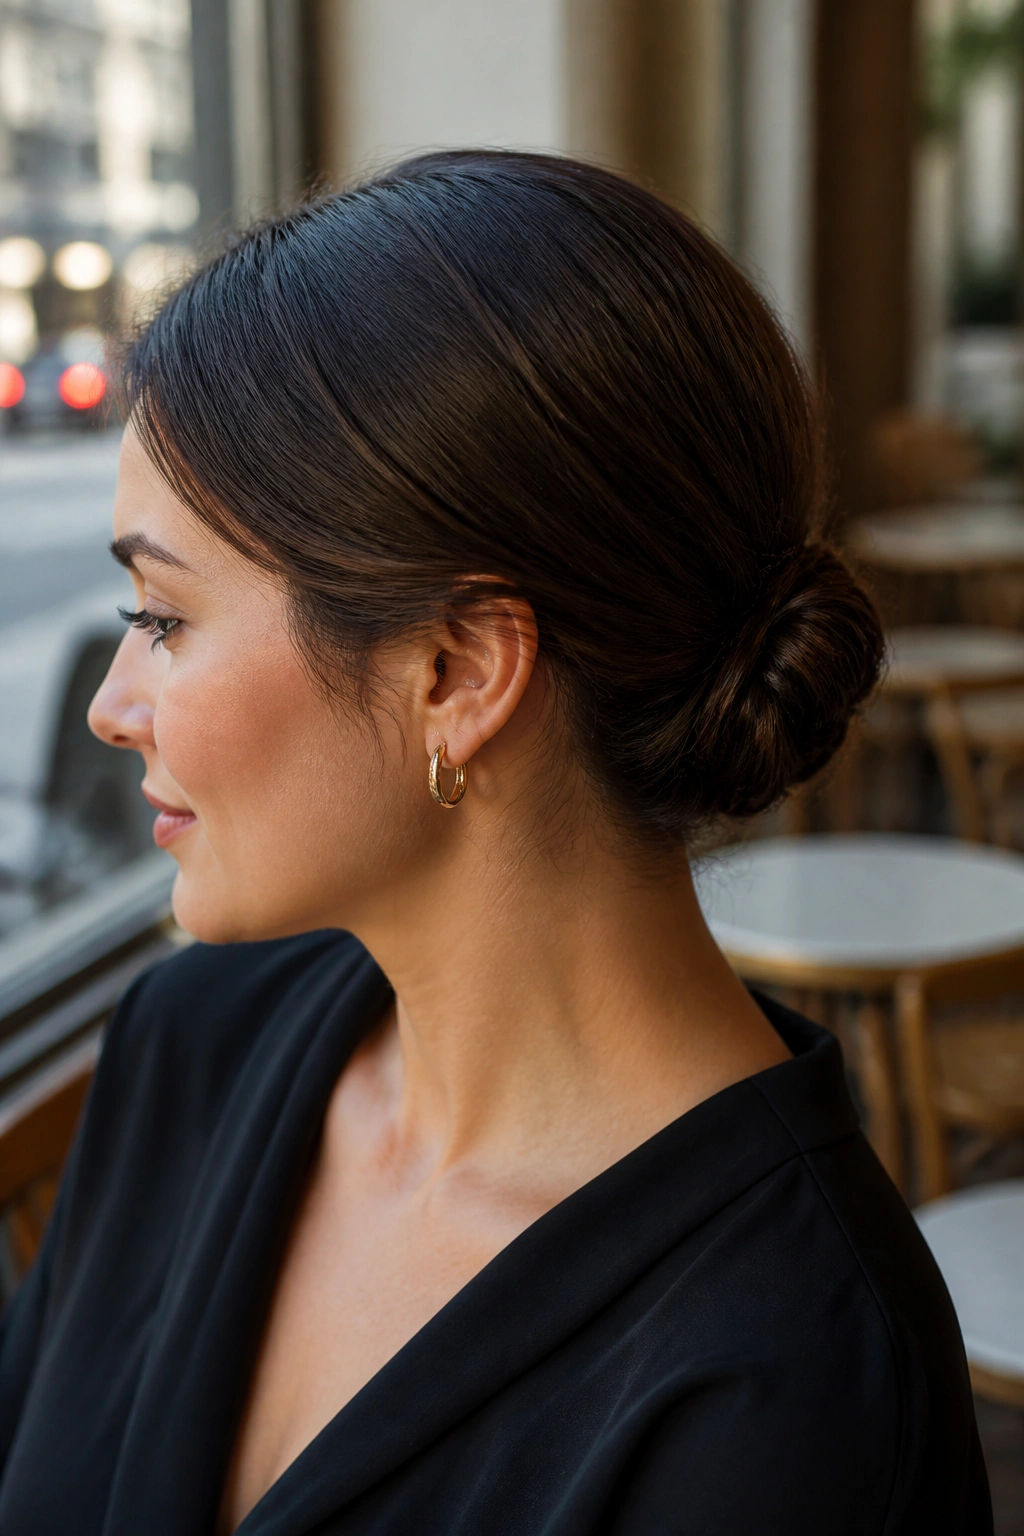
Short hair can absolutely make a low bun happen, though the construction is a little different. Smaller sections, more pins, less ego.
The trick is to gather the hair low, twist the shorter layers inward, and anchor them in place one cluster at a time. Clear mini elastics can help with stubborn layers, especially around the nape. If the hair barely reaches the base, fold the ends under and pin them close.
A short low bun often looks more modern than a long one. There’s less weight to the shape, so the outline stays compact and neat. That can be a gift if you like a cleaner, sharper finish.
19. French-Twist Low Bun Hybrid
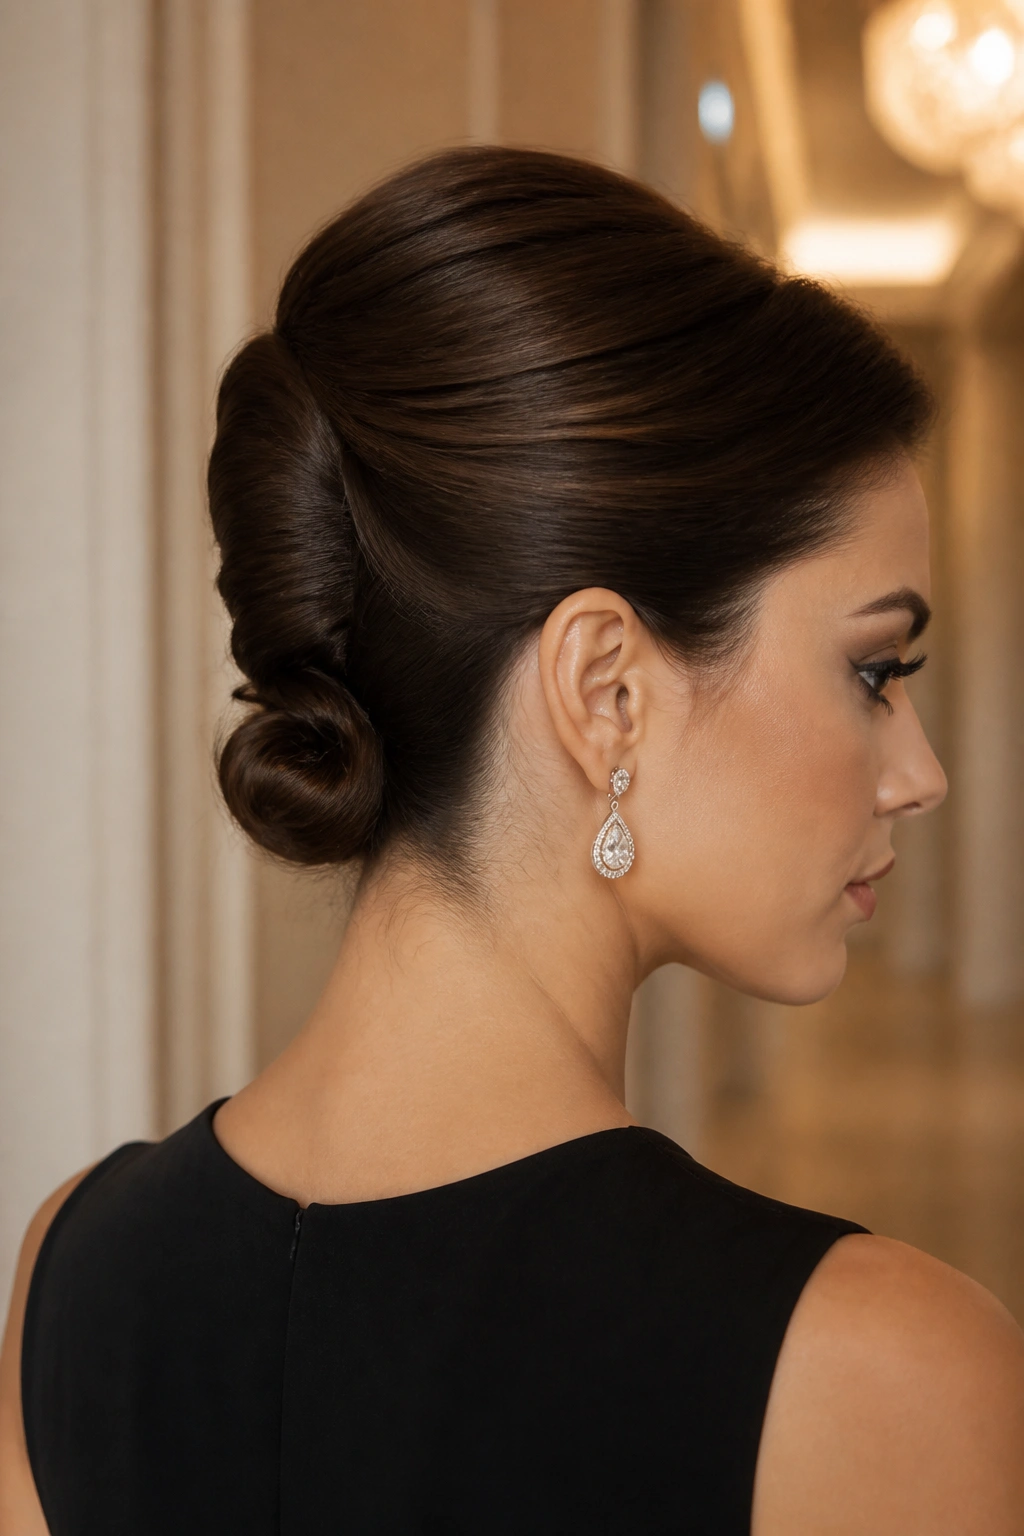
A French twist has a vertical line that a plain bun doesn’t. Bring that idea down low, and you get a hybrid style with more structure and a little old-school polish.
Instead of rolling the hair straight up, twist one side inward toward the center of the nape, then wrap the remaining length horizontally into a small bun. The shape ends up sleeker than a full twist and more interesting than a standard knot.
This is a strong choice for formal dressing. It looks composed from every angle, especially if the hair is tucked tight along the sides. If you like hair that feels tailored, this one does the job without being flashy.
20. Barrette Low Bun

A single barrette can carry a low bun if the barrette itself has enough shape. Metal, brushed gold, tortoiseshell, or a slim crystal clip all work, as long as the clip sits at the base or just above the bun.
The placement matters more than the style of clip. Too high and the barrette looks decorative in a random way. Too low and it gets lost. The sweet spot is where the bun curves into the neck, because that’s where the eye naturally lands.
Keep the bun plain if the barrette is strong. A simple wrapped knot or sleek chignon gives the clip room to stand out. Pile too much detail into the hair and the accessory stops feeling elegant.
21. Braided-Accent Low Bun

A braided accent is the right move when you want detail without committing to a full braided bun. One small braid feeding into the side of the knot is enough to change the texture and make the style feel considered.
The braid can start near the temple, just above the ear, or from a side section tucked back behind the head. Once it reaches the bun, pin it flat and let it disappear into the base. That hidden entrance is what keeps the look clean.
I like this version because it gives you texture where it counts and calm everywhere else. There’s no need to braid the whole head unless you want that look. One braid is enough.
22. Satin-Bow Low Bun

A bow looks softer than a ribbon tail and dressier than a plain knot. With a low bun, that matters. It turns the style into something a little more polished without making it childish.
Choose a narrow satin bow and place it low, either directly beneath the bun or just off to one side. Big bows can overpower the head shape and make the bun disappear. Small bows, on the other hand, feel neat and intentional.
Where It Shines
This version suits dressy lunches, ceremonies, and evening events where you want a soft finish. The bow gives the bun a focal point, so the rest of the hair can stay simple.
The bun itself should stay smooth. Too much texture competes with the bow, and the whole style gets noisy.
23. Rolled Low Bun

A rolled low bun has a softer silhouette than a tight knot. The hair folds inward in a smooth curve, which gives the style a slightly vintage edge.
The best way to think about it is as a horizontal roll rather than a ball. Pull the hair back low, curl the ends under, and secure the roll flat against the nape. A few pins hidden through the middle keep the shape from opening up.
It works well on medium-length hair and on layers that don’t want to sit inside a classic bun. The roll gives those ends a place to go without making the style look overbuilt.
24. Glass-Hair Low Bun

A glass-hair low bun is for the days when shine matters more than texture. The hair should look smooth, reflective, and nearly seamless from the part to the bun.
A little serum on the mid-lengths and a smoothing brush at the top are the whole story here. Don’t drown the hair in product. That gives you separation in the wrong places. The finish should be clean, not greasy. A precise center part or a sharp side part works best because the shine shows the line even more clearly.
This is the most editorial style in the group. It looks especially good with a sharp blazer, a square neckline, or simple jewelry. Nothing else needs to compete with it.
25. Floral-Pin Low Bun

Tiny flowers can be lovely on a low bun when they stay restrained. The look turns romantic fast, so the scale matters.
Use one cluster near the side of the bun or a short line that follows the curve of the knot. Pick flowers in one palette rather than mixing too many colors. White, blush, cream, and muted green tend to keep the style elegant. Bright mixed blooms can start to feel busy, and that is not the same thing as pretty.
A floral-pin bun works best when the base is simple and smooth. Let the flowers soften the outline. They do not need competition from curls, braids, and extra shine all at once.
26. Matte-Texture Low Bun
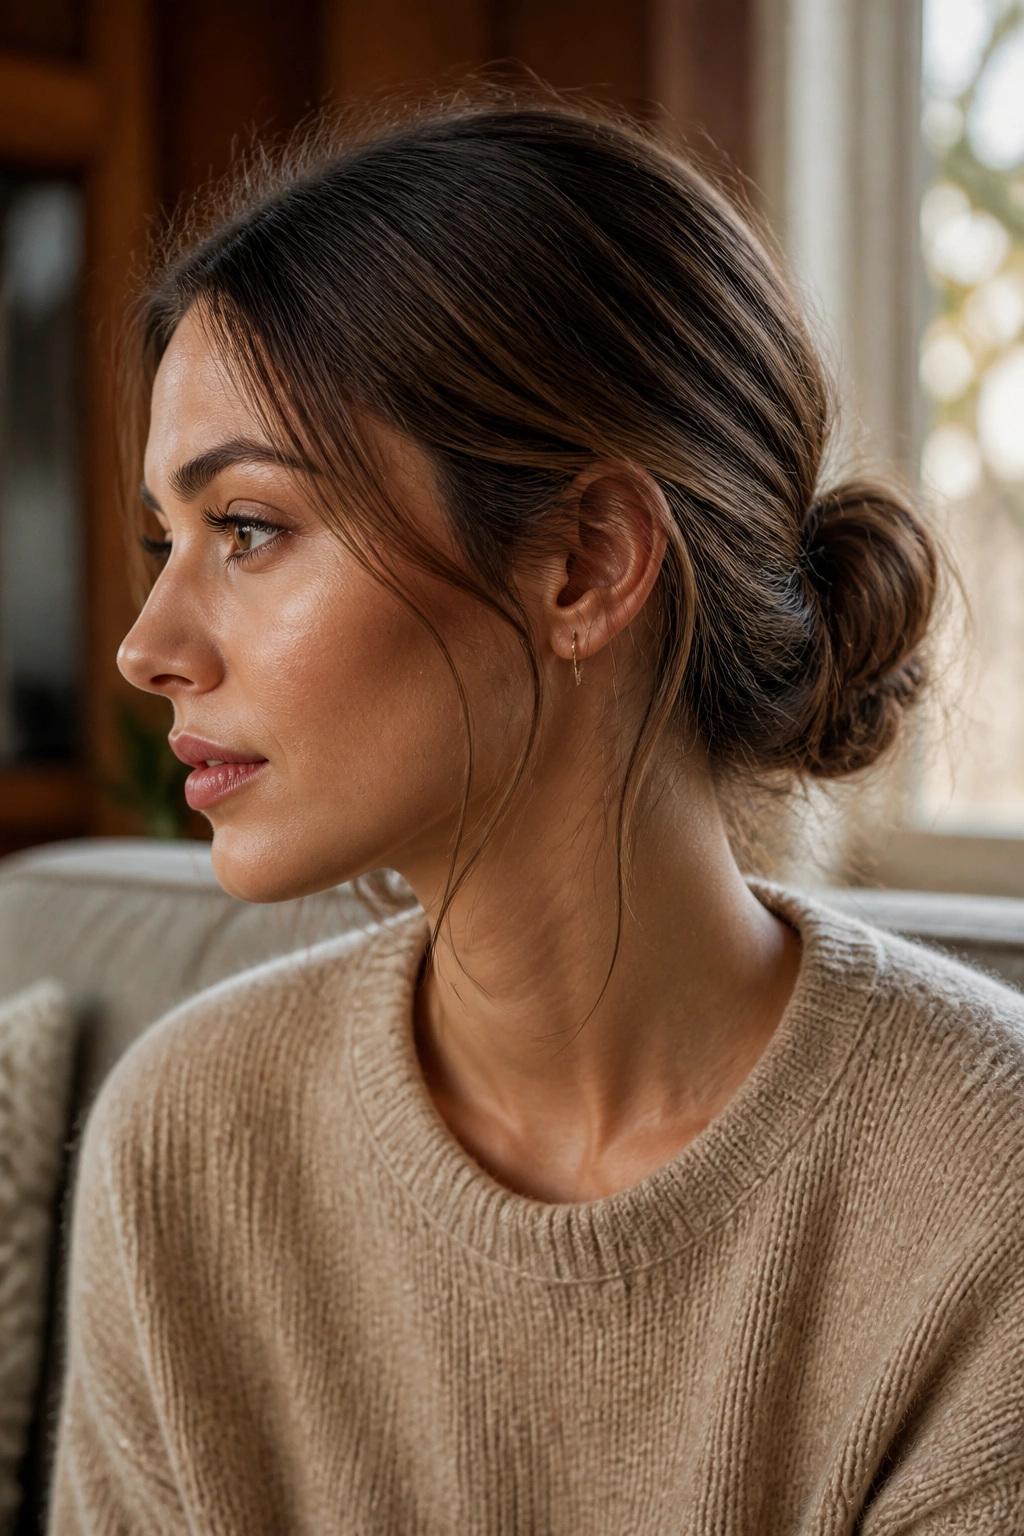
Glossy is not the only path to elegant. A matte-texture low bun can look richer in certain outfits because it feels relaxed but still controlled.
Dry texture spray, a soft twist, and a few separated pieces around the bun give the style a more lived-in finish. The hair should still be shaped, though. Matte does not mean messy. It means the light sits on the hair in a softer way, which works especially well with linen, wool, and tailored evening fabric.
Why I Reach for It
- It hides small imperfections better than a super sleek bun.
- It gives layered hair something to hold onto.
- It looks balanced with clothes that already have a lot of shine or structure.
If you want elegance with a quieter edge, this is a smart one.
27. Asymmetrical Low Bun

A slightly off-center bun changes the whole profile of the hairstyle. The asymmetry makes it feel modern, and the low placement keeps it from drifting into anything too dramatic.
The bun can sit a touch left or right of the neck’s center line, with the front section brushed in a matching direction. One side can stay smooth while the other is given a bit of bend or fold. That contrast gives the style shape without extra decoration.
This version suits people who like a cleaner silhouette but don’t want the symmetry of a strict chignon. It also flatters outfits with an angled neckline or a one-shoulder cut. Tiny shift, big effect.
28. Crystal-Detail Low Bun
A crystal pin or a narrow jeweled comb can turn a simple low bun into an evening style in seconds. The key is to keep the bun itself calm so the sparkle has a place to live.
Place the crystal detail where the bun curves most clearly, usually at one side of the base or just above it. One piece is enough. More than that can start to look heavy, and a low bun works best when it stays close to the neck and the accessory stays small.
This is the version I’d pick for black-tie dressing, formal dinners, or any event where the hair should look polished from across the room and still hold up close. The bun carries the shape. The crystal adds the last note.
