



The morning alarm goes off, and before you can even register the time, the rush begins. You are negotiating breakfast, finding lost shoes, and hunting for homework folders, all while staring at a head of hair that looks like it lost a wrestling match with a pillow. It is a familiar scene in households everywhere. The goal isn’t to create runway-ready, complex updos that require an hour of thermal styling and a degree in cosmetology. You just need a style that holds, looks put-together, and—most importantly—can be achieved before the school bus arrives.
Simplicity is your best friend when time is short. The following hairstyles rely on basic tools like clear elastics, bobby pins, and a decent hairbrush. Most of these techniques take fewer than five minutes once the muscle memory sets in. Focus on working with your hair’s natural texture rather than fighting against it. If it’s wavy, lean into the messy look. If it’s stick-straight, use the slickness to your advantage. Let’s look at twenty-five ways to simplify your morning routine without sacrificing style.
1. High Messy Bun
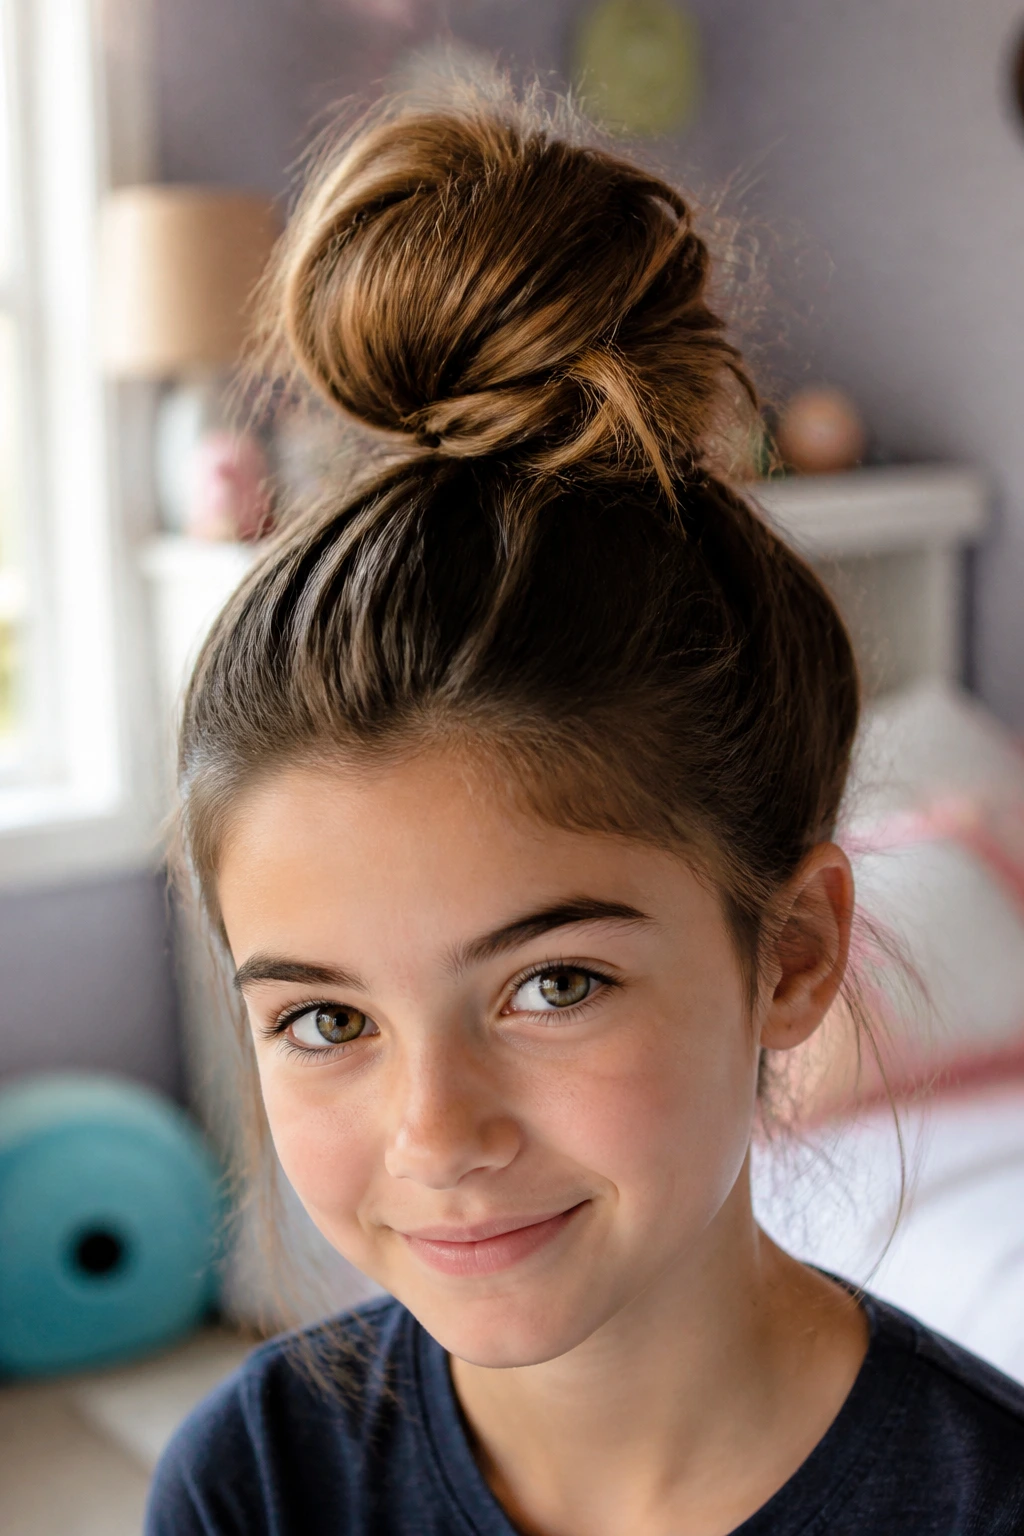
The high messy bun is the ultimate solution for those mornings when washing hair just isn’t on the schedule. It is effortless, chic, and keeps hair off the face, which is vital for active kids.
How to Get the Look
Start by gathering all hair at the crown of the head. Secure it with a hair tie as if you are making a standard ponytail. On the last loop, do not pull the hair all the way through; leave it as a loop. Take the remaining tail and wrap it around the base of the elastic. Secure it with bobby pins, leaving some strands loose for that undone vibe.
Pro tip: Use a textured hairspray before gathering the hair to give it some grit. Clean, slippery hair often refuses to stay in a bun, so adding a bit of volume at the roots helps the style last until the final bell rings.
2. Classic Side Braid
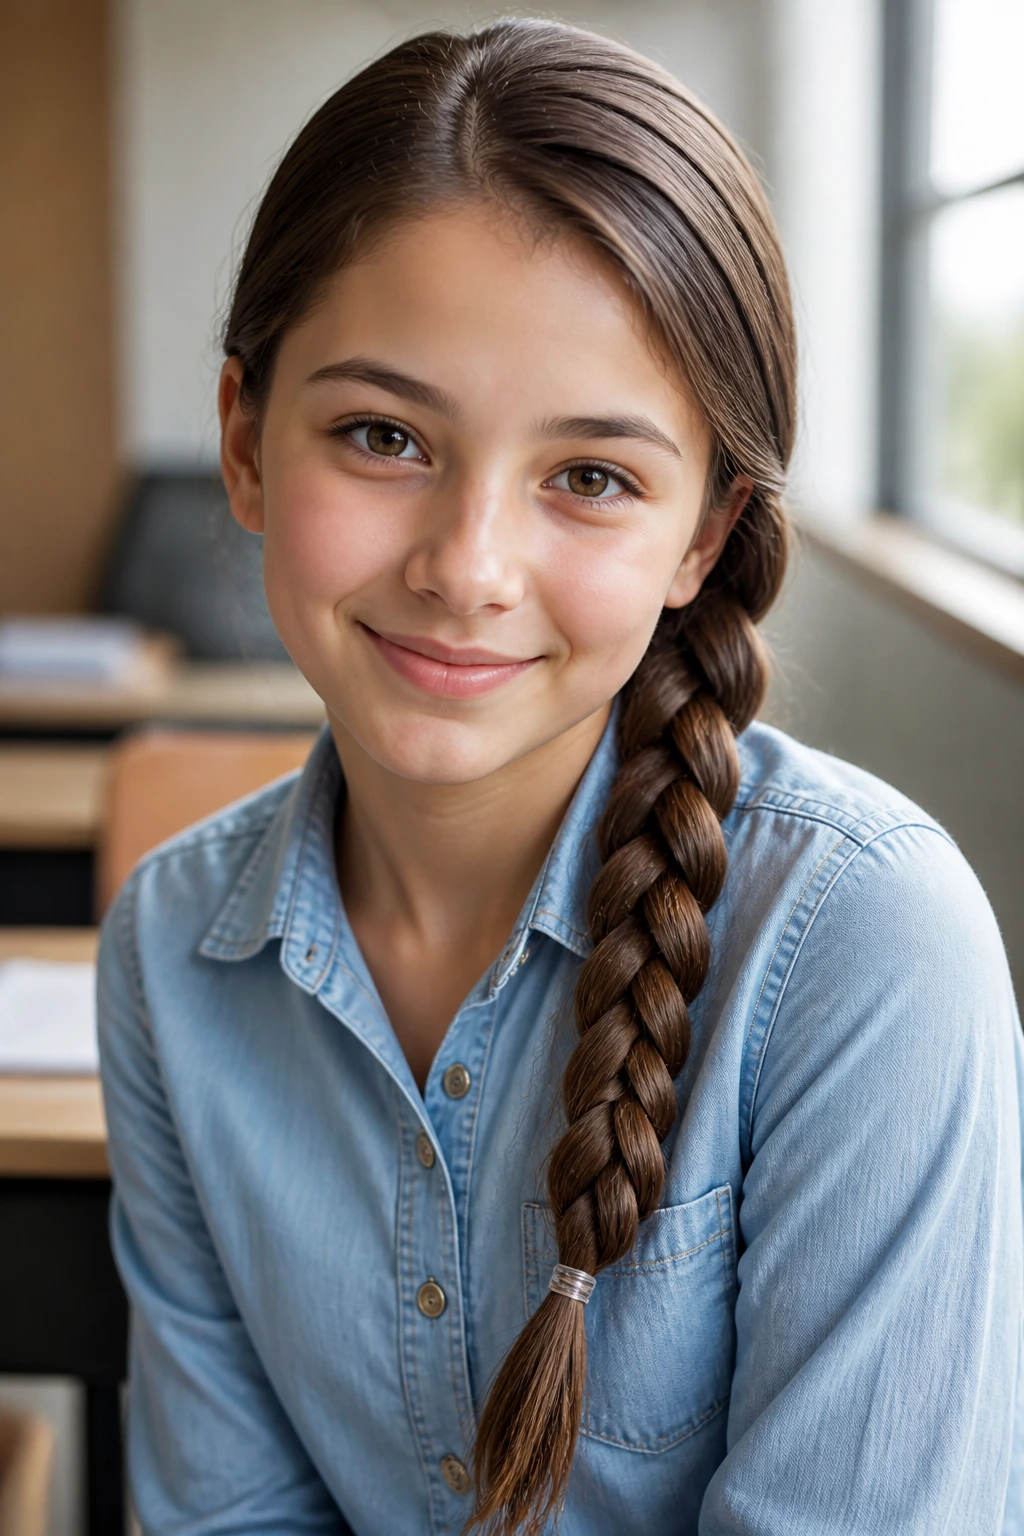
A side braid is the reliable workhorse of school hairstyles. It pulls everything together neatly and keeps loose strands away from the eyes while reading or writing.
Why It Works
It provides a polished appearance while being incredibly forgiving. If a few strands escape during the day, it just adds to the charm. You can do a basic three-strand braid, or if you have a few extra seconds, opt for a fishtail version for more detail.
Keeping It Secure
If the hair is layered, you might find pieces poking out of the braid. Simply dampen your hands with a bit of water or a tiny drop of smoothing cream and run them over the braid to tame flyaways. A small, clear elastic at the bottom is usually enough to keep it from unraveling.
3. Half-Up Top Knot
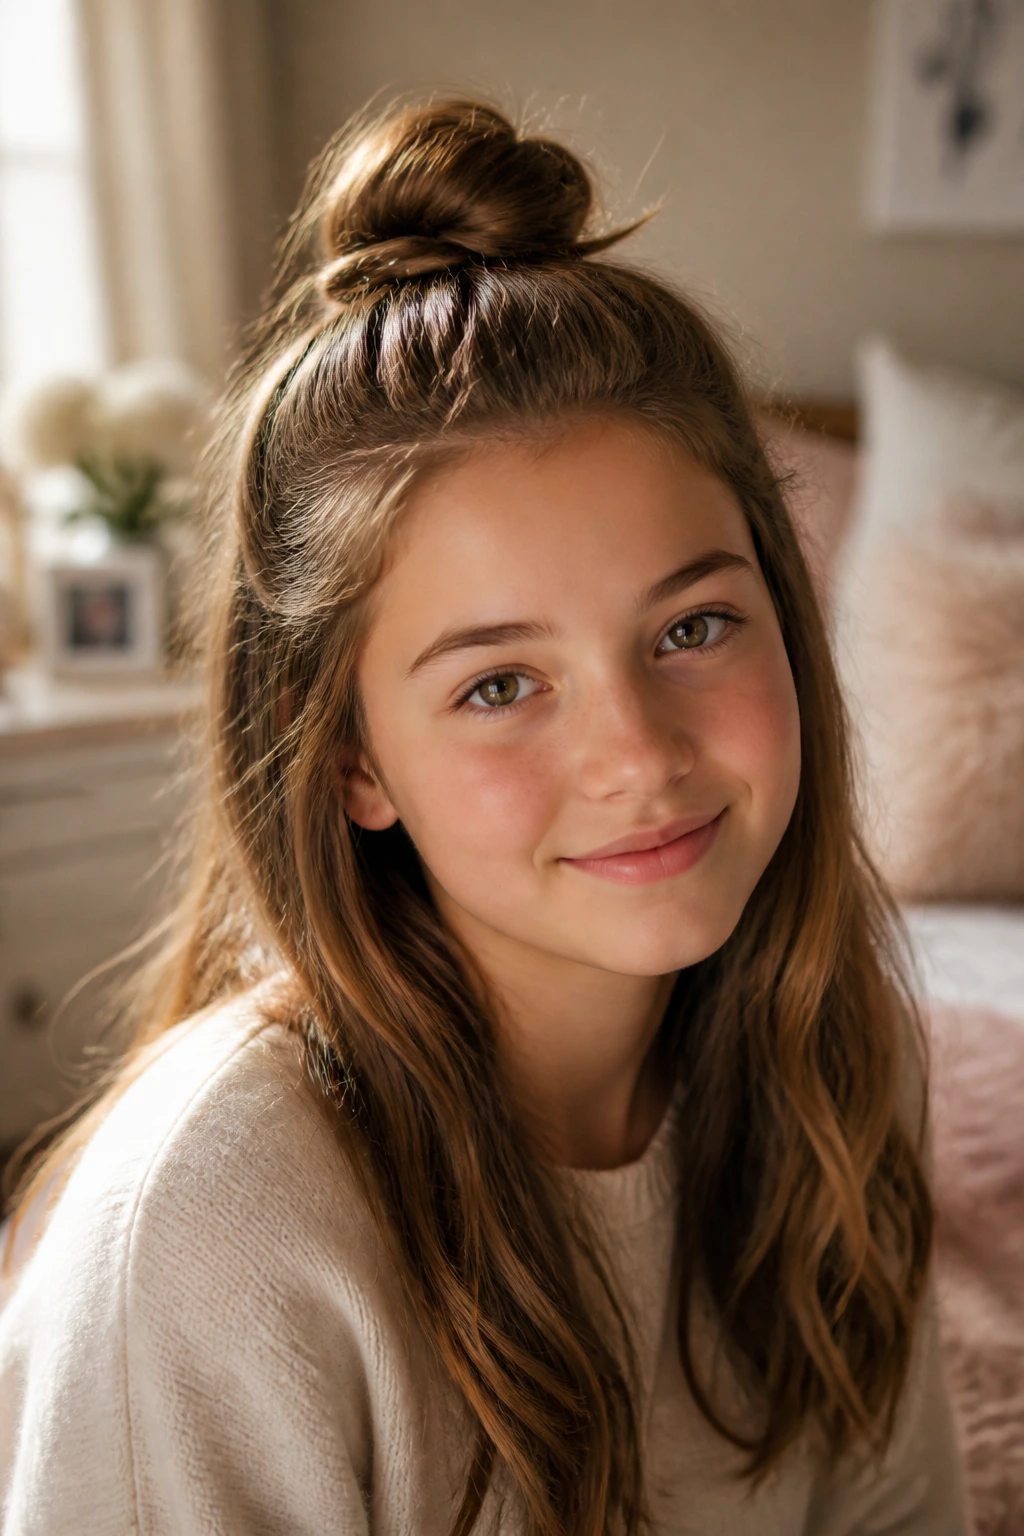
This style is perfect for transitioning between seasons or just when you want hair down but need it out of your face. It combines the ease of a ponytail with the polished look of a bun.
The Technique
Part the top section of the hair horizontally, starting from above the ears. Gather this section into a ponytail near the top of the head. Twist the ponytail into a small bun and secure it with a hair tie. Leave the bottom half of the hair loose.
What to avoid: Don’t pull the top section too tight. You want a bit of softness around the hairline so it doesn’t look like a severe facelift. A little volume at the roots makes all the difference.
4. Space Buns

Space buns are fun, youthful, and surprisingly practical. By splitting the weight of the hair into two, you create a style that stays put even during recess or gym class.
Simple Steps
Part the hair directly down the middle, creating two even sections. Pull each section into a high pigtail. Twist each pigtail around its base to form a bun and secure it with an elastic.
- For a Sleek Look: Use a rat-tail comb for a perfectly straight center part.
- For a Messy Look: Skip the comb and use your fingers for a zig-zag, organic part.
5. Double Dutch Braids

Dutch braids are like French braids, but the outer strands go under the middle strand instead of over. This creates a raised, 3D effect that looks intricate but is actually quite sturdy.
They are ideal for busy days because once they are braided in, they rarely need adjustments. Start at the hairline and work your way down to the nape of the neck. You can stop there and tie them off into two pigtails, or continue braiding all the way to the ends. If you want them to look fuller, gently pull at the edges of each loop to pancake them.
6. Sleek Low Ponytail

Sometimes, the simplest approach is the most effective. A low, sleek ponytail radiates confidence and takes almost no time to create. It is a fantastic option for school picture days or presentations.
Brush the hair thoroughly to remove all tangles. Use a smoothing brush to pull the hair back to the nape of the neck. Secure it with a sturdy hair tie. To elevate the look, take a small strand of hair from the underside of the ponytail and wrap it around the base to hide the elastic. Pin it underneath with a bobby pin.
7. Bubble Braid
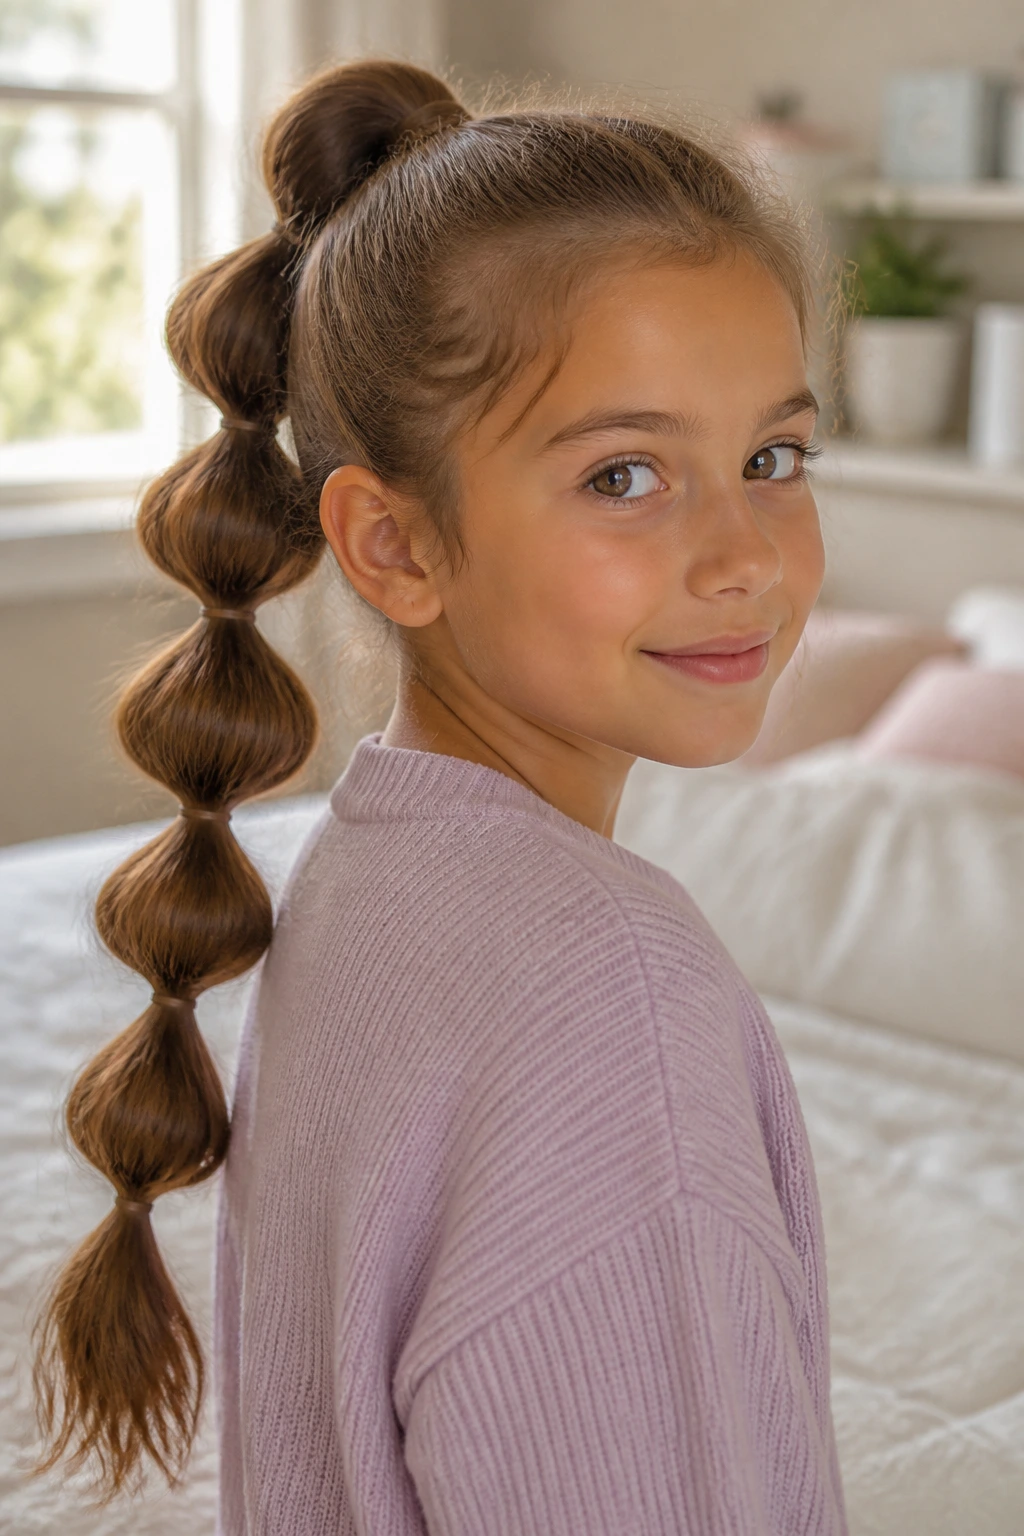
The bubble braid is a visual illusion. It looks like you spent twenty minutes carefully braiding, but it actually takes about three minutes. It is essentially a series of ponytails stacked on top of one another.
Secure a high ponytail first. Then, place another elastic about two inches down the ponytail. Gently tug at the hair between the two elastics to puff it out, creating a “bubble.” Repeat this process down the length of the hair. It is a fantastic way to add character to long hair without needing any actual braiding skills.
8. Headband Braid
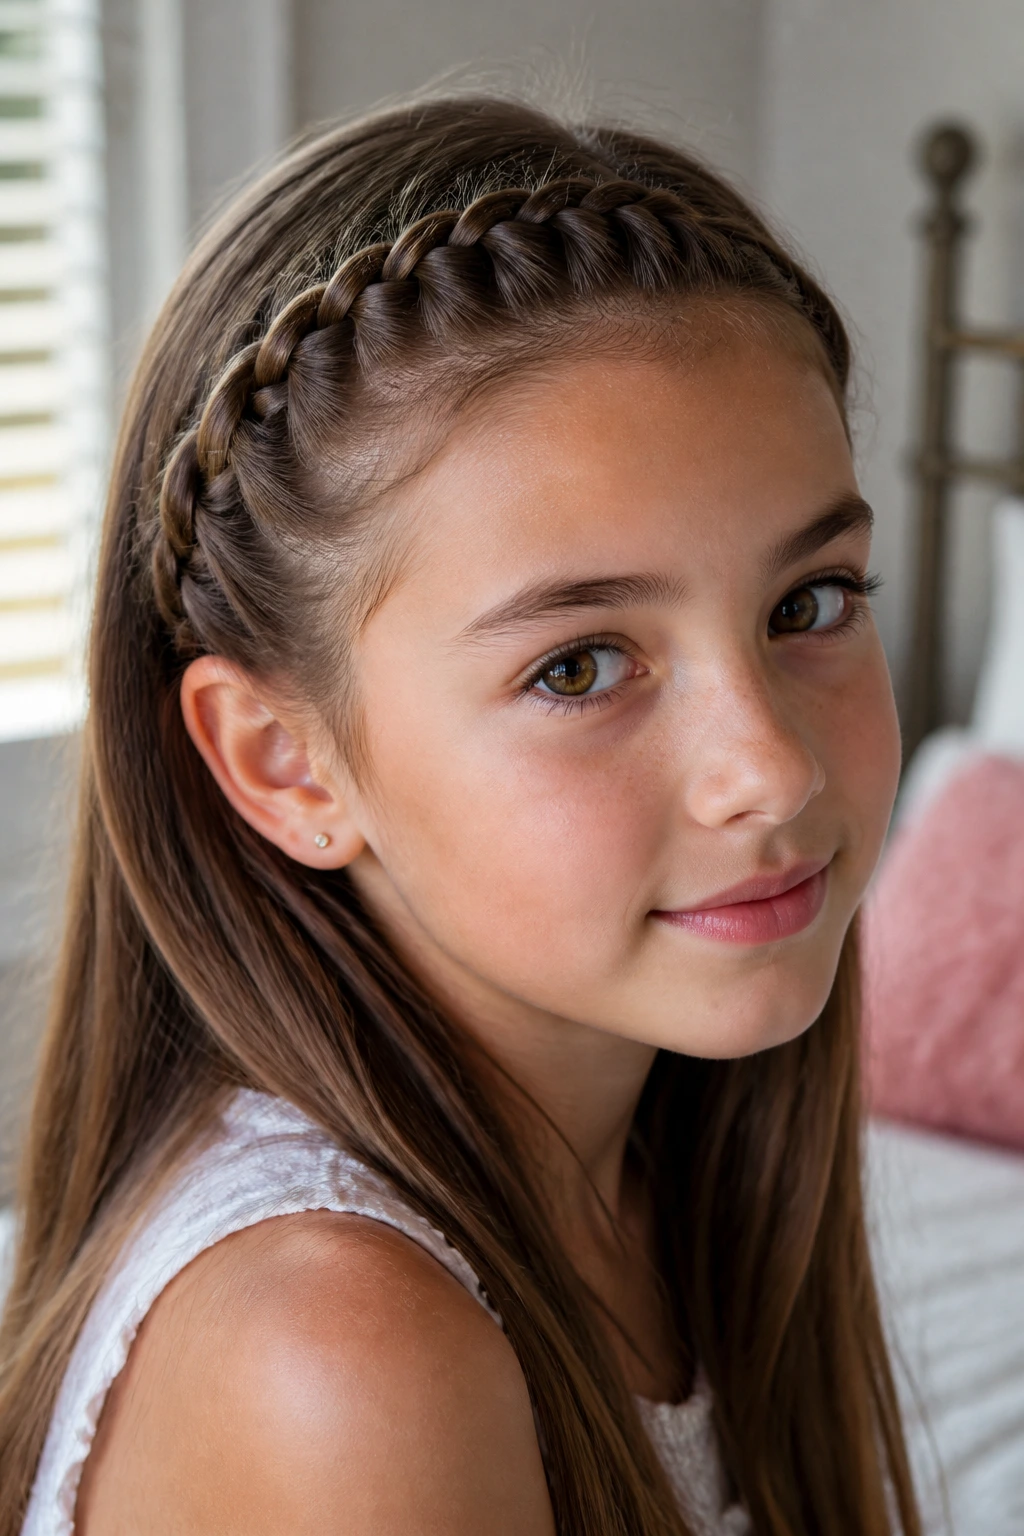
This style uses a braid as an accessory, keeping hair tucked away neatly. It creates a “halo” effect around the front of the head.
Creating the Shape
Part the hair deep to one side. Begin a Dutch braid along the hairline, picking up small sections of hair as you move toward the opposite ear. Once you reach the ear, braid the remaining length normally and pin it behind the ear, hiding the end under the loose hair. It’s a bit like wearing a permanent, beautiful headband.
9. Fishtail Side Braid
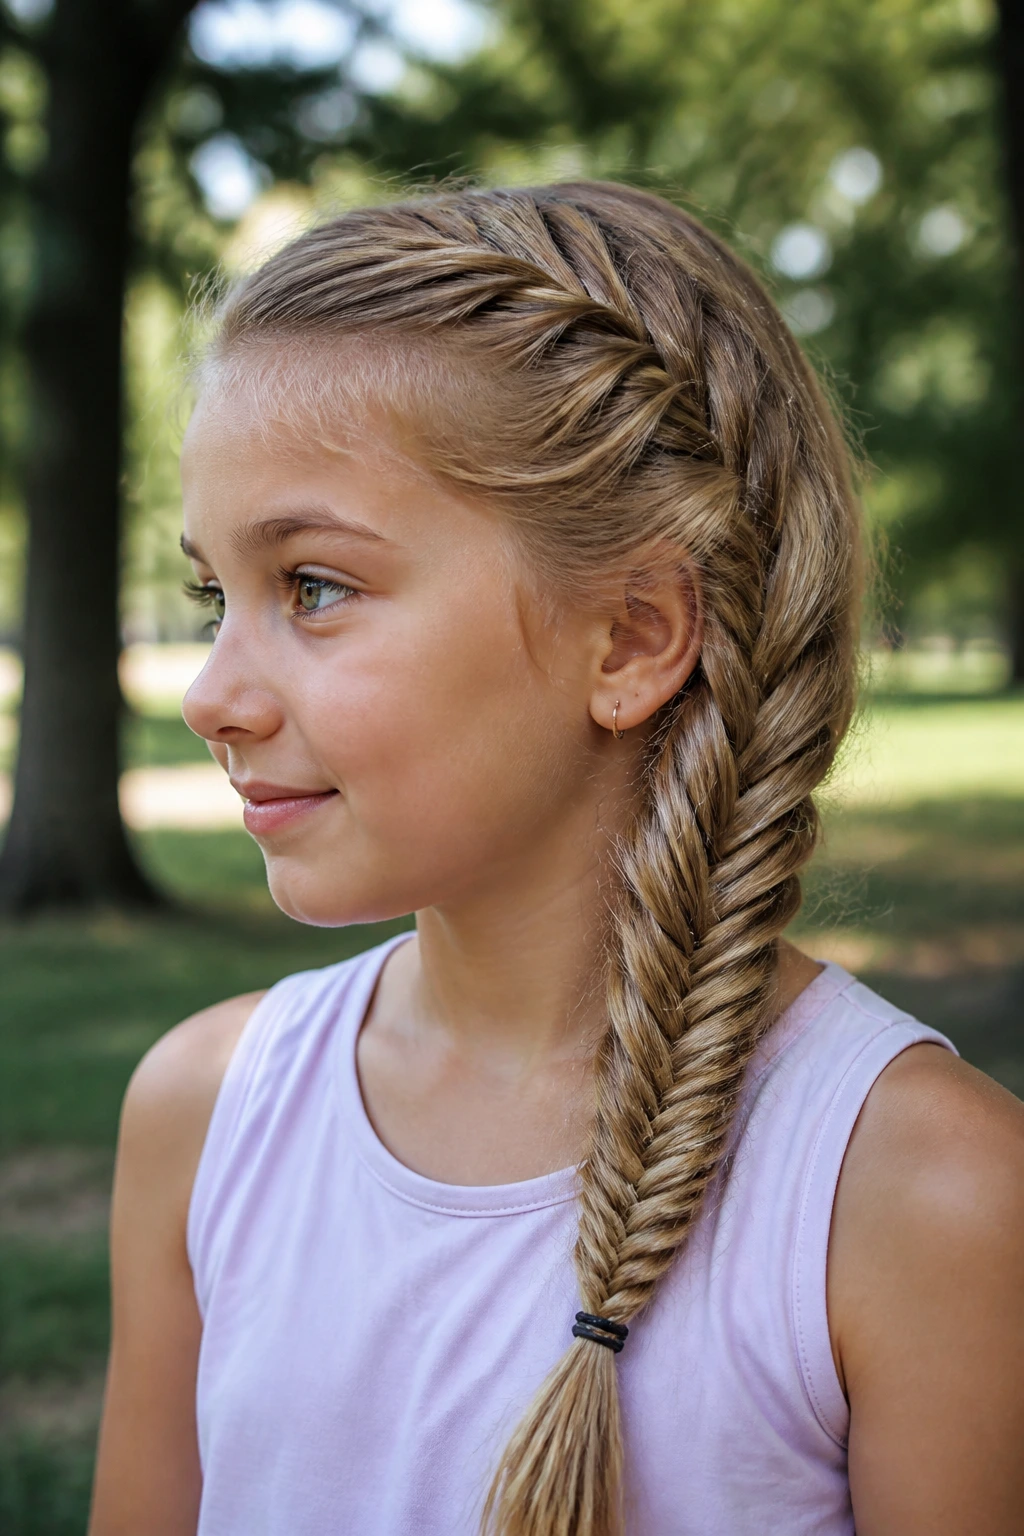
A fishtail braid looks sophisticated, but it only requires two sections of hair, unlike the standard three-strand braid. The pattern is created by crossing small outer strands over to the opposite side.
While it takes a little more patience than a standard braid, it is incredibly rewarding. The result is a tight, intricate-looking weave that holds up well. If you have fine hair, fishtail braids can be a bit difficult to keep thick, so ensure you have a decent texture spray on hand to help grip the strands.
10. Twisted Side Ponytail

If you are tired of standard ponytails but aren’t feeling up to a braid, twists are your best alternative. They provide texture and interest with minimal effort.
Start by parting the hair as desired. On one side, take a section of hair near the temple and twist it back toward the nape of the neck. Add more hair into the twist as you go—much like you would for a French braid—but twisting instead of weaving. Once you reach the nape, combine it with the rest of the hair and secure it in a low side ponytail.
11. Low Chignon

A low chignon is the grown-up sister of the messy bun. It is elegant enough for formal school events but simple enough for a Tuesday morning.
Gather the hair into a low ponytail. Just above the hair tie, split the hair to create a small gap. Loop the ponytail through this gap—this is often called a “topsy tail.” Tuck the remaining ends up into the gap and secure with a few bobby pins. It creates a structured, knotted appearance that looks much more difficult than it actually is.
12. Pull-Through Braid

This is a fake braid. If you struggle with coordination or have layers that keep falling out of normal braids, this is the solution. It uses elastics to create the appearance of a thick, woven braid.
Secure a ponytail, then divide it into two sections. Place elastics down the length of the hair at one-inch intervals. Then, pull the hair from the lower section through the middle of the upper section. It creates a voluminous, sturdy chain of “bubbles” that looks like a high-end styled braid.
13. Braided Crown

This style is romantic and soft. It involves creating two side braids and pinning them across the top of the head. It feels very bohemian and keeps the hair completely out of the face.
Divide the hair into two sections, one on each side. Braid each section down to the ends. Take the left braid and drape it over the top of the head, pinning it securely near the right ear. Do the same with the right braid, pinning it near the left ear. Tuck the ends securely so they are hidden.
14. Scarf Ponytail

Accessories can turn a boring hairstyle into a deliberate fashion choice. A scarf ponytail adds color, texture, and volume to a simple look.
Pull the hair into a high or low ponytail. Take a long, thin scarf or ribbon and tie it around the elastic. You can let the ends hang down with the hair, or braid the scarf directly into the ponytail. It’s an instant way to add a bit of personality to a school outfit without spending extra time on the hair itself.
15. High Pigtails
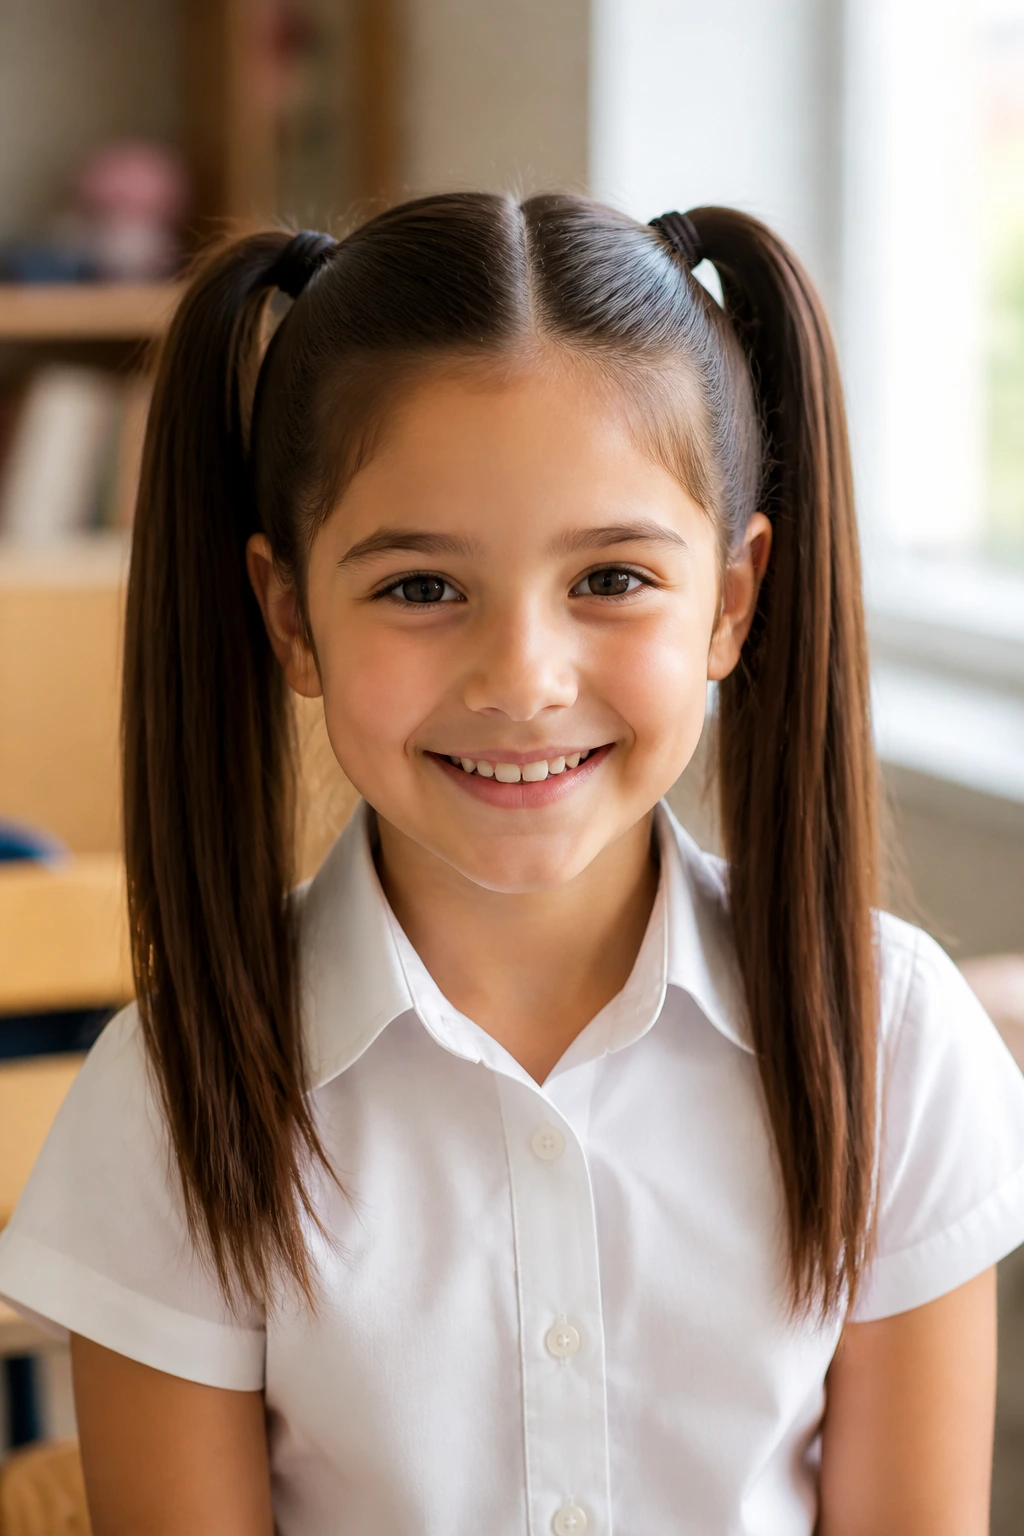
Pigtails are classic for a reason. They are practical, cute, and easy to adjust. For a more mature look, keep them sleek and straight rather than curly or messy.
Part the hair down the center or to the side. Use clear elastics for a minimalist look or colorful scrunchies if you want a pop of color. The key to high pigtails is getting them perfectly symmetrical; take your time with the part, as a clean line makes the entire style look intentional rather than haphazard.
16. Side Swept Twist
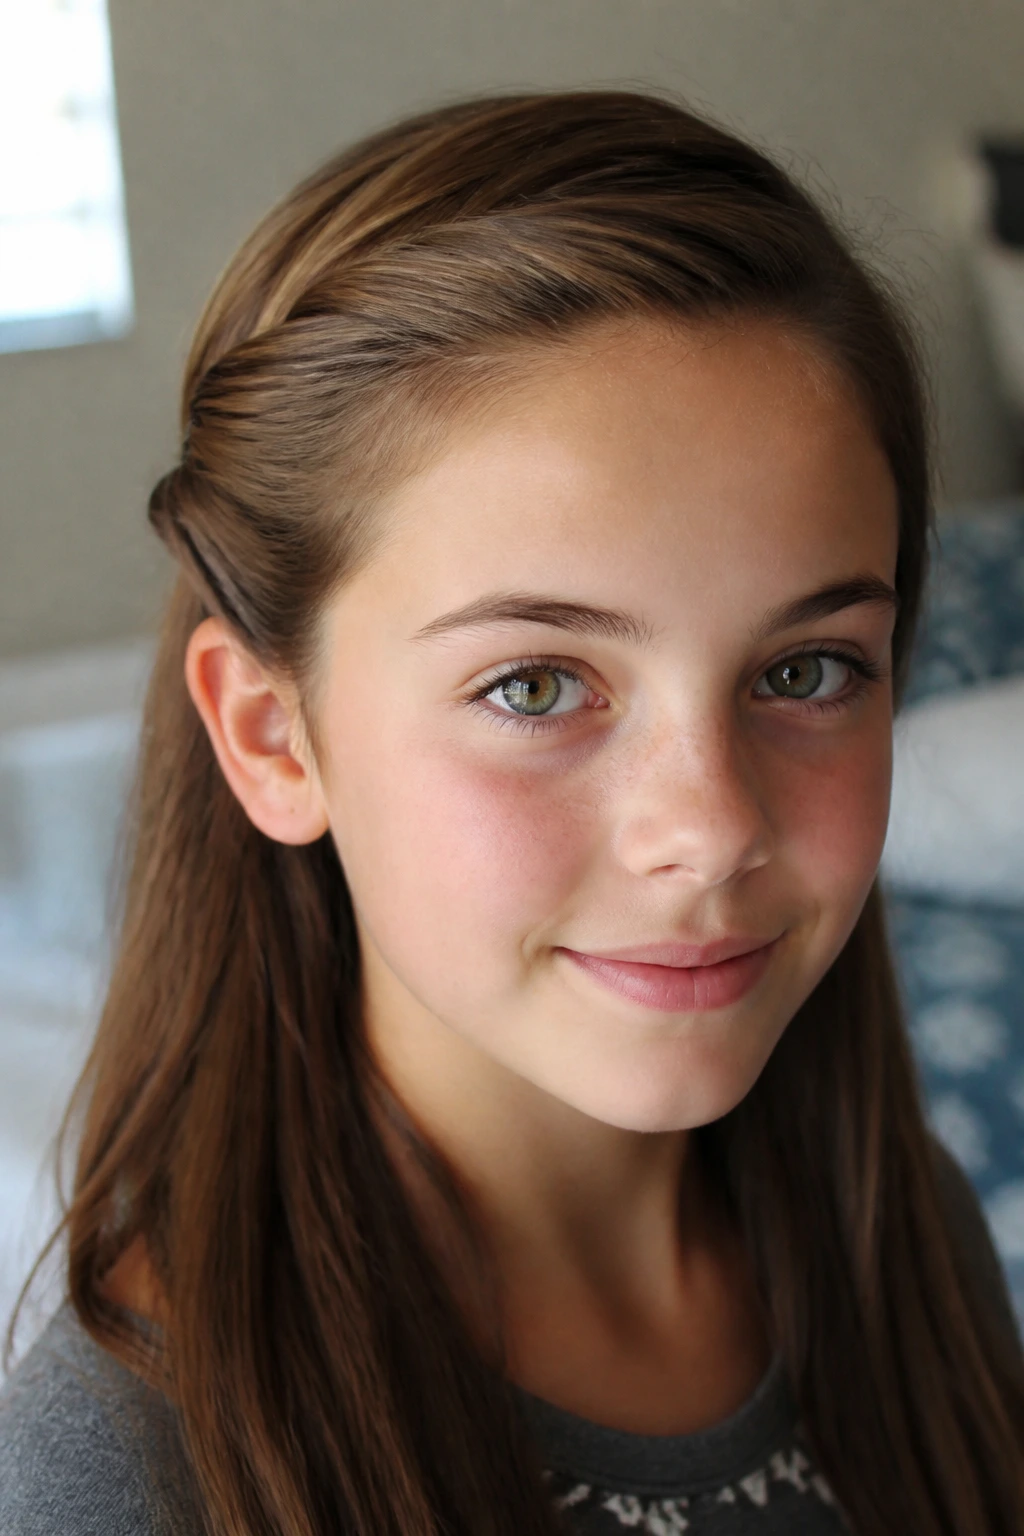
This style works wonders for bangs or layers that keep falling into the eyes. It is a quick way to pin back the front section of the hair.
Take a section of hair at the part and twist it backward, moving along the hairline. Add small pieces of hair as you go, similar to a French twist. Once you reach just above the ear, secure the twist with a decorative clip or a few bobby pins hidden under the top layer of hair. It opens up the face while keeping everything secure.
17. Ribbon Braid
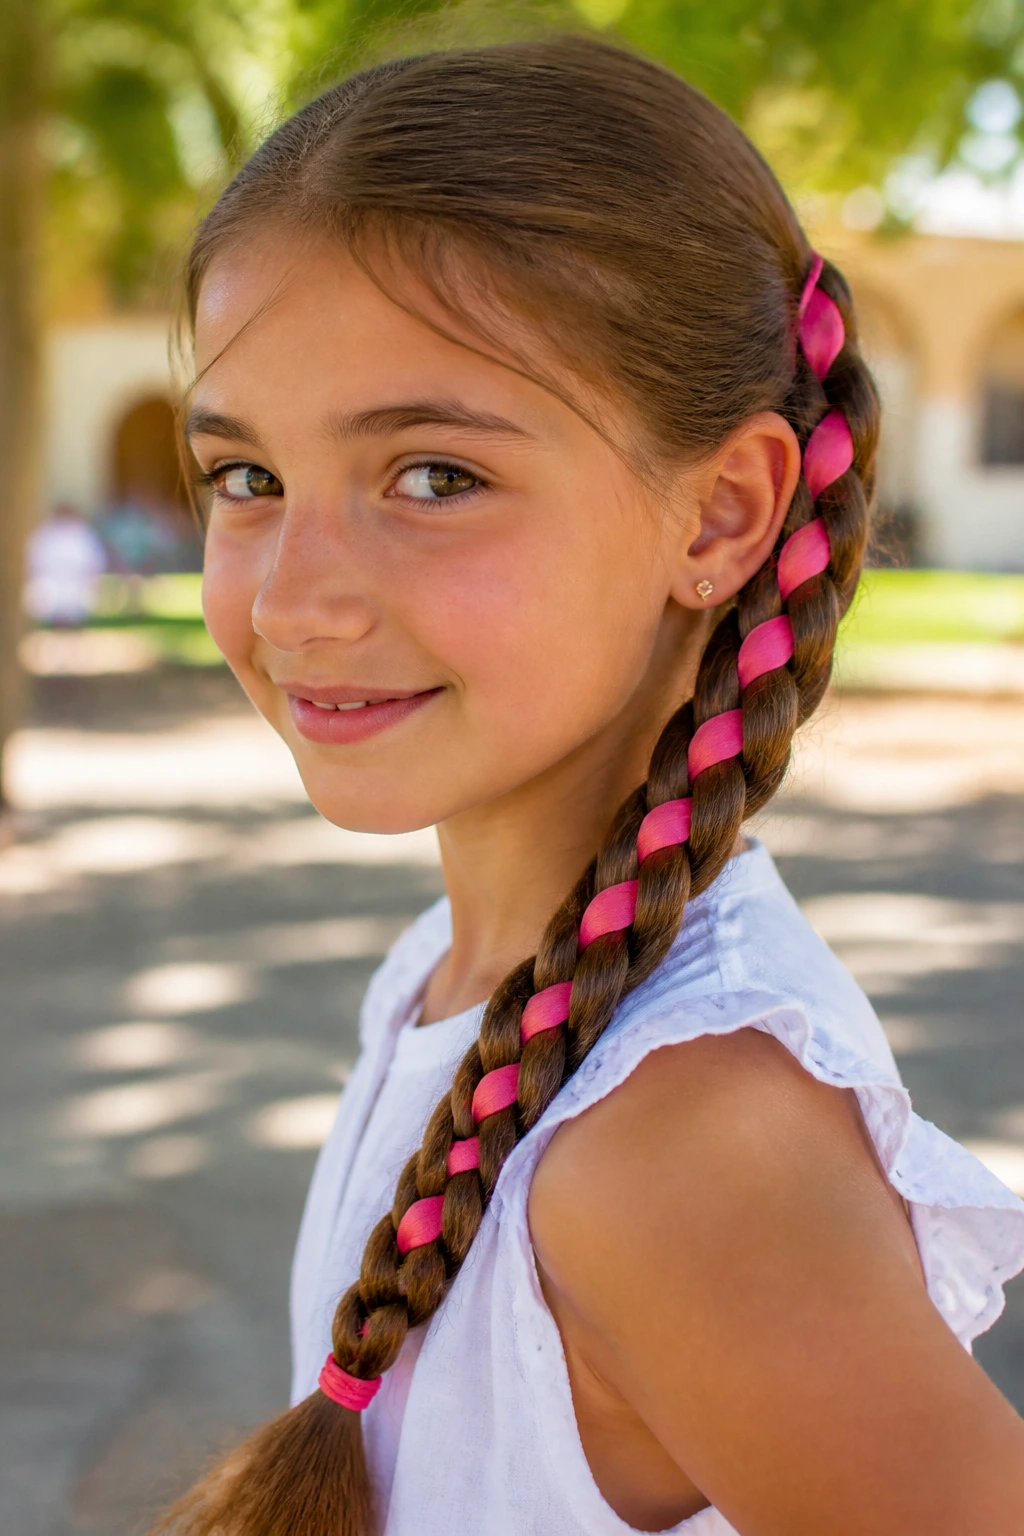
If you have a special day at school, weaving a ribbon into a braid is a lovely way to add flair. It takes a standard style and makes it feel like an occasion.
Tie a ribbon to the base of the hair you are about to braid. Incorporate the ribbon into one of the three strands as you braid. As you move down the hair, the ribbon will twist and weave through, creating a striking contrast. It’s surprising how a simple piece of fabric can completely transform the look of a braid.
18. Messy Low Bun

While the high bun is energetic, the low bun is relaxed. It sits at the nape of the neck and works beautifully for longer, heavier hair that might be uncomfortable to wear in a high bun all day.
Gather the hair low at the neck. Twist the hair into a coil and wrap it around itself. Secure it with a durable hair tie. Use your fingers to pull at a few pieces around the face to frame it softly. This style is incredibly forgiving and actually looks better the more “imperfect” it is.
19. Mini Claw Clip Style

Small claw clips have made a huge comeback, and they are incredibly helpful for quick styling. They act as “instant bobby pins” that don’t slip out as easily.
For a quick half-up look, take two small sections from the front, twist them toward the back, and secure them together in the center with a single mini claw clip. It’s faster than an elastic and puts less stress on the hair. You can also use a series of these clips down the back of the head to create a segmented effect.
20. Half-Up Braids

This is a variation on the half-up, half-down style. Instead of pulling the hair back into a bun or ponytail, you braid the two front sections and meet them at the back.
Take a section from each temple and braid them back until they meet at the center of the head. Tie them together with a small elastic. This keeps the hair back while letting the rest of the hair flow freely. It is a very sweet, classic look that works well for all hair lengths and textures.
21. Topsy Tail Ponytail

The “topsy tail” is a classic hair hack that uses the simple physics of flipping hair to create a refined look. It is the perfect way to upgrade a standard ponytail when you are in a rush.
The Process
Tie a low ponytail. Loosen the elastic slightly. With your fingers, create a hole in the hair just above the elastic. Grab the ponytail, loop it up, and pull it through the hole from top to bottom. Tighten the elastic, and you will see a beautiful twist on either side of the ponytail base.
Why it saves time: It requires zero braiding skills and makes a basic ponytail look like it took ten minutes to style.
22. Wrapped Ponytail
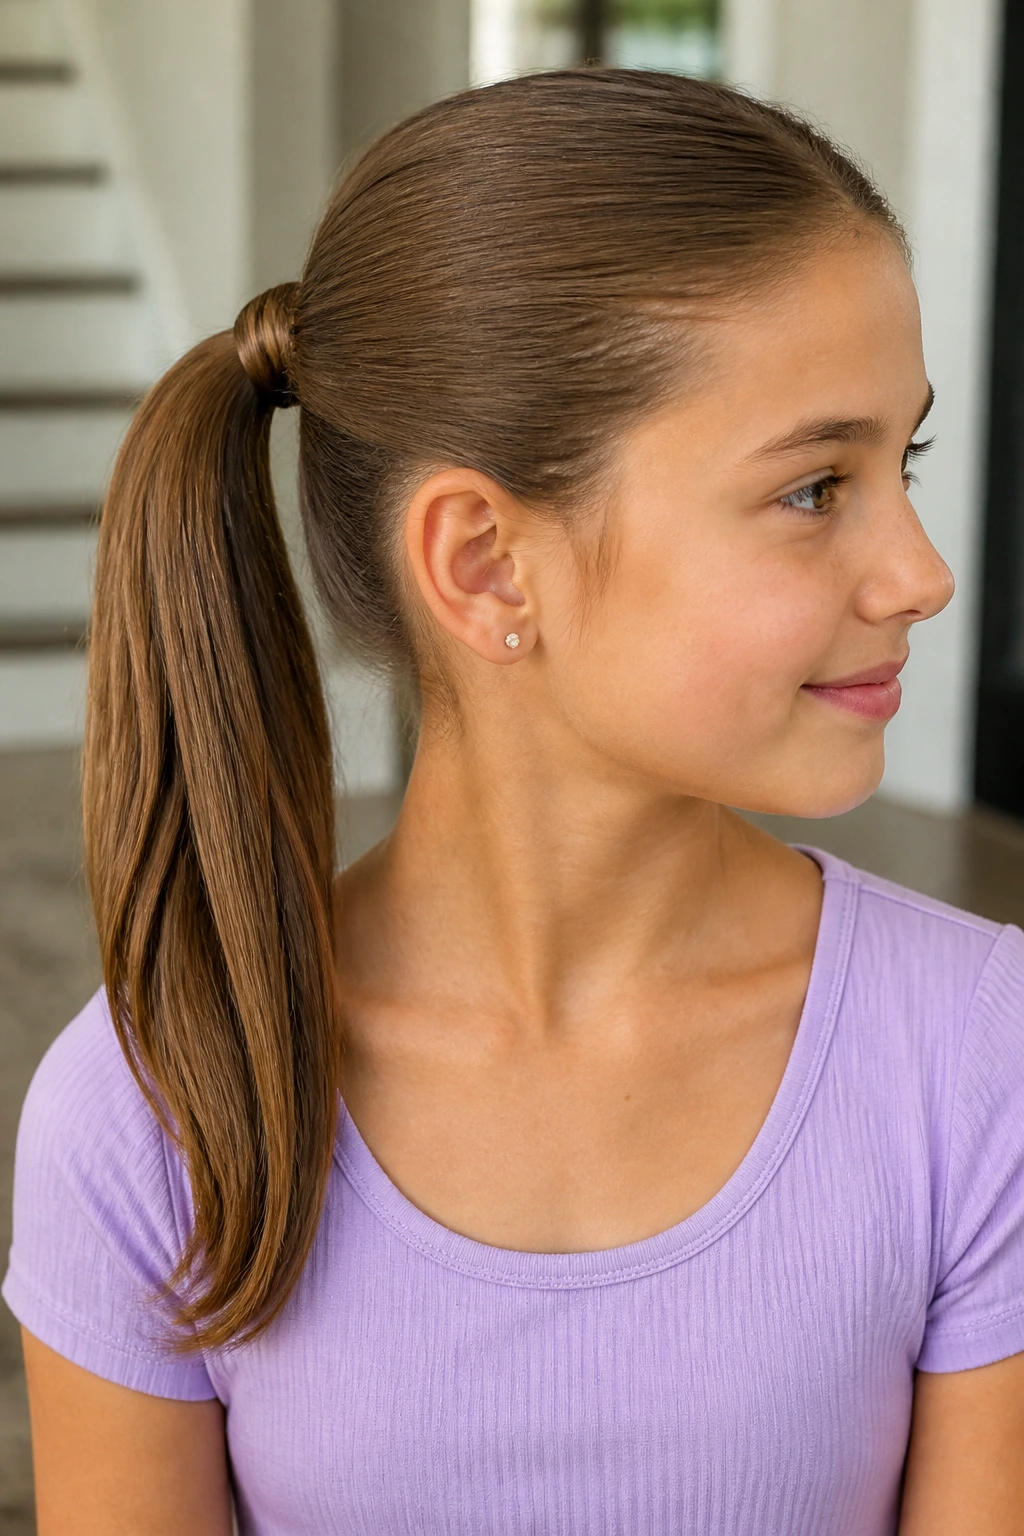
If you want to hide the hair tie, this is the most polished way to do it. It looks professional and clean.
Start with a simple ponytail. Take a small, thin section of hair from underneath the ponytail. Wrap this section around the base multiple times, completely covering the elastic. Tuck the end of the strand into the elastic (or use a small bobby pin underneath) to secure it. This simple extra step makes a high school ponytail look much more finished.
23. Double Knot Buns

These are similar to space buns but offer a slightly more “styled” look. They look great on hair that has a bit of natural wave or texture.
Divide the hair into two sections. Instead of twisting the hair into a bun, tie each ponytail into a simple knot before pinning it. It creates a flatter, more structured bun that stays closer to the head. It is less bulky than a traditional twisted bun, making it easier to lean back in a chair without it getting in the way.
24. Crossed Section Ponytail

This is a fun way to do a low ponytail. It involves crossing hair over the top of the ponytail to add depth.
Start with a low ponytail. Take a thin section of hair from the left side of the head, cross it over the top of the ponytail, and pin it on the right side. Take a section from the right side, cross it over the top, and pin it on the left side. It creates a woven, basket-like effect at the base of the neck.
25. Sleek Bun with Middle Part
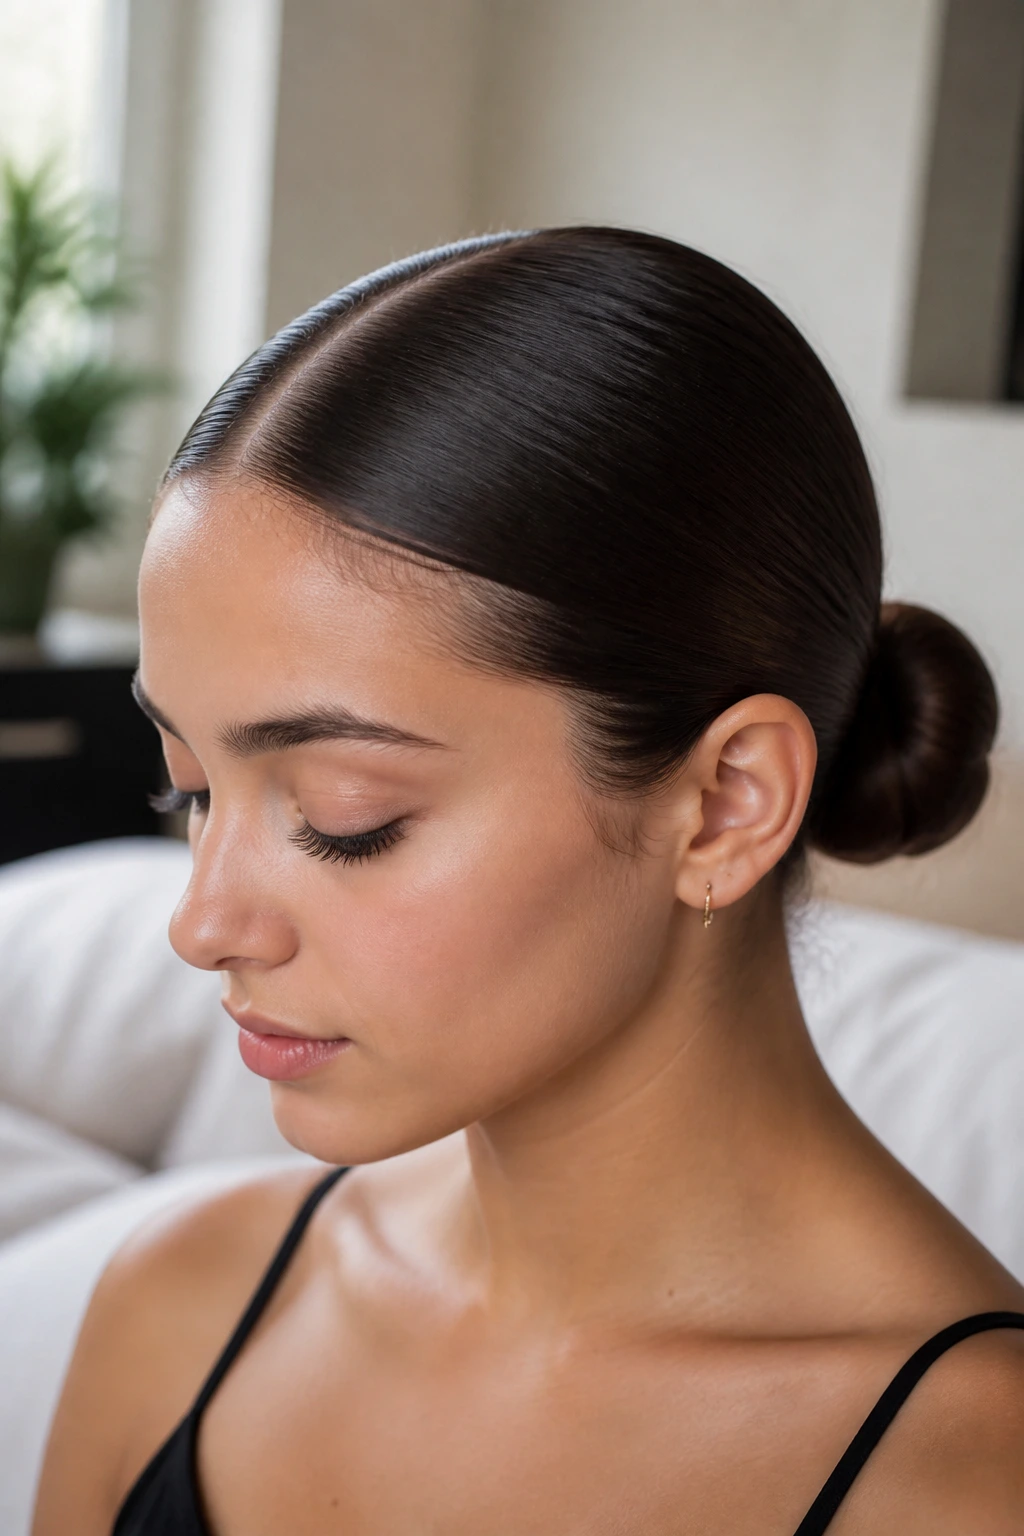
For days when the hair is clean and you want a minimalist, trendy look, go for the center-parted sleek bun. It is a style often seen on runways because it focuses attention on the face.
Use a comb to create a razor-sharp center part. Use a bit of hair oil or a smoothing pomade to slick the hair back into a tight bun at the nape of the neck. It is refined, clean, and requires very little maintenance once it is set. Just ensure you use enough product to keep those pesky flyaways under control.
The Morning Routine

Mastering these styles isn’t about being perfect; it is about having options. Some days, you will have the time for a Dutch braid. Other days, a high messy bun will have to do. The secret to consistent success is not in the complexity of the style, but in the reliability of your tools. Keep a supply of clear elastics, bobby pins, and a good smoothing brush in an accessible spot.
Teach the child to do a few of these themselves, and you might find the morning rush becomes a bit quieter. Confidence often comes from knowing how to handle your own hair, and starting with simple styles allows for that independence to grow. Whatever you choose, remember that the best hairstyle is the one that gets everyone out the door with a smile. Take the pressure off—most of these styles look even better when they are a little bit lived-in by the time the school day ends.
