



Elegant hairstyles are rarely about doing more. They’re about cleaner lines, better balance, and hair that looks finished without screaming for attention.
A style reads polished when the shape makes sense from every angle. A low bun that sits at the nape, a side part that falls neatly, a wave pattern that stays controlled—those details matter far more than extra curl or a mountain of product.
That’s why some hairstyles look expensive even when they take ten minutes, while others look busy after an hour in front of the mirror. Shine helps. So does tension at the roots, tidy ends, and knowing when to stop touching the shape.
The styles below live in that sweet spot: neat, wearable, and elegant enough for dinner, work, weddings, interviews, and all the places where hair needs to behave. The first one is the one I reach for when I want polish fast.
1. Sleek Low Chignon
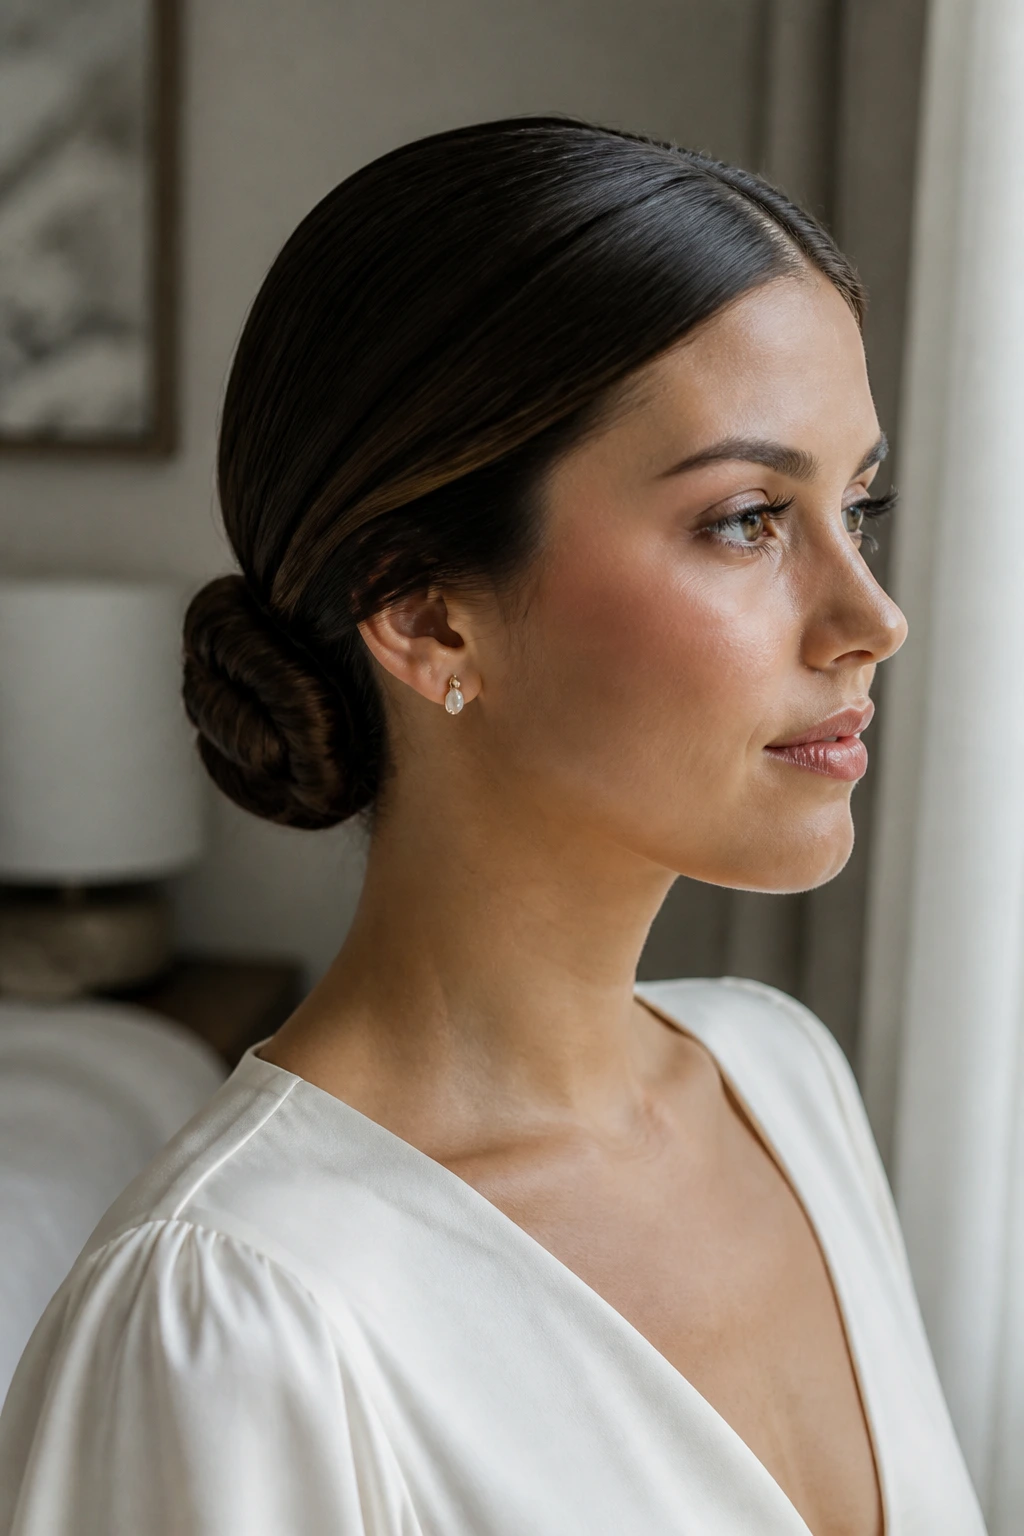
The most polished buns are rarely the fanciest. A sleek low chignon works because it keeps the shape low, quiet, and controlled, which is exactly what makes it look expensive.
Start with a clean center part or a soft side part, then pull the hair back at the nape with a paddle brush. Twist the length into a compact coil and pin it flat against the head. Tiny details matter here. A little smoothing cream on the crown and a mist of flexible hairspray over a toothbrush can calm the flyaways without making the hair stiff.
I like this style most on medium to long hair, especially when the ends are a little dry and need to be hidden. It gives you a polished finish in minutes, and it doesn’t rely on perfect texture.
Simple. Calm. Sharp.
2. French Twist

Picture a day when you need your hair off your neck by noon and still want to look dressed up at six. That is where the French twist comes in.
Why It Holds So Well
A good French twist feels secure because the shape supports itself. The hair folds upward along the back of the head, so the pins are doing less work than they do in a loose bun. This is one of those styles that likes second-day hair; a bit of grip helps everything stay put.
- Use a fine-tooth comb to smooth the top before rolling.
- Keep 3 to 5 bobby pins lined up vertically where the roll meets the head.
- Tuck the ends inside tightly so no strands poke out.
- Finish with a firm-hold spray from about 10 inches away.
The trick is not making it too fluffy. A French twist looks best when the surface is smooth and the line is clean, almost architectural.
3. Classic Blowout with a Side Part

A classic blowout still earns its place because it walks the line between soft and controlled. The hair has movement, but the finish stays tidy enough for almost anything.
A side part shifts the whole mood. It gives lift at the roots, softens the face, and keeps the style from feeling too neat. I’d use a 2-inch round brush for shoulder-length hair and a slightly larger brush for longer lengths. Pull each section taut, follow with the dryer nozzle, then hit the roots with the cool shot so the bend stays in place.
Flat roots kill the mood.
The ends should curve, not curl hard. That little bend is what makes a blowout look polished instead of overdone. If the hair gets frizzy, rub a drop of shine serum between your palms and smooth only the surface and ends. Don’t flood the whole head. That’s how a blowout goes limp by lunch.
4. Smooth High Ponytail
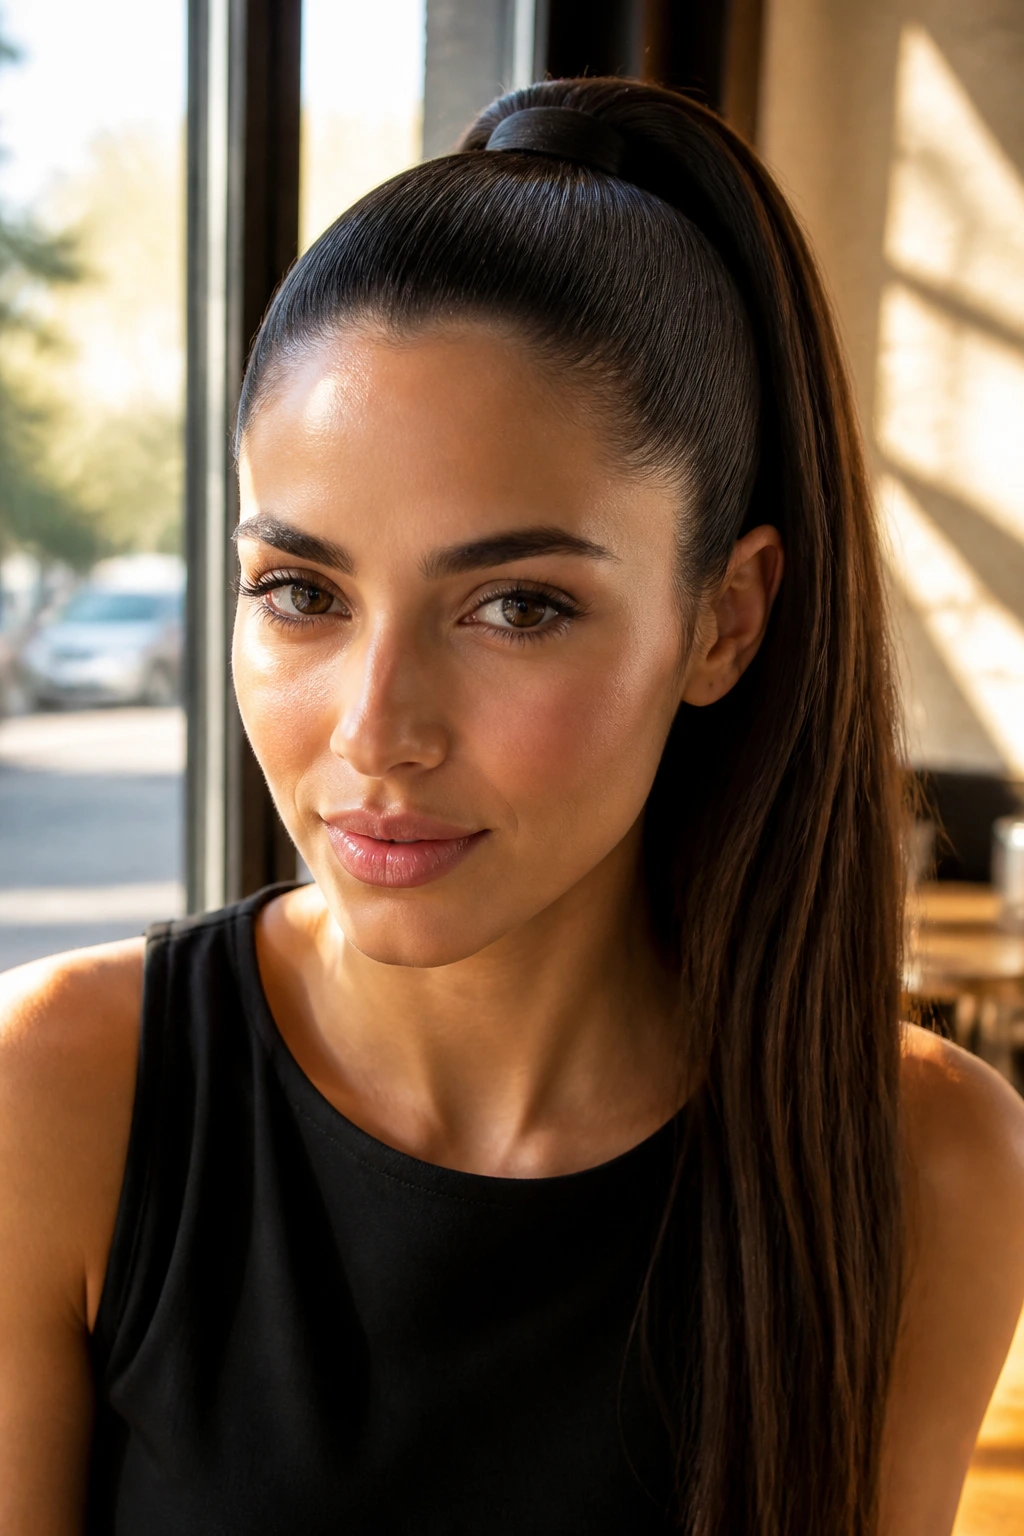
A high ponytail looks simple until the line at the crown is wrong. Then it reads messy instead of sleek, which is a shame because the right version can sharpen your whole face in seconds.
Building the Clean Line
Brush the hair straight up and back from the temples before you tie it. Use a tight elastic, then take a 1-inch section from underneath the ponytail and wrap it around the base to hide the band. If the hair at the hairline refuses to sit flat, tap on a little gel with an edge brush or even a clean mascara wand.
- Aim for a base that sits about 1 to 2 inches above the crown.
- Keep the ponytail smooth, but not plastered.
- Use two crossed bobby pins under the wrap if the elastic slips.
- Finish the tail with a flat iron for a straight, glossy swing.
Best tip: this style looks sharper when the crown is brushed smooth before the elastic goes in. Fixing it after the ponytail is tied is harder.
5. Old-Hollywood Waves

Why do Old-Hollywood waves read polished even when they look soft? Because every curve follows the same direction, and that sense of order is doing half the work.
Set the hair with a 1¼-inch curling iron, curling all sections away from the face on one side and toward the face on the other so the waves fold together neatly. Clip each curl while it cools if you want a stronger shape. Once the hair is fully cool, brush it out with a soft bristle brush until the bends melt into that smooth, S-shaped wave.
How to Keep the Bend Soft
The mistake people make is brushing too early or too hard. Then the wave collapses into frizz. I like a light mist of shine spray at the end, sprayed into the hands first and then smoothed over the outer layer. That keeps the look glossy without making the roots greasy.
A deep side part makes these waves feel more dressed up. It gives the hair a little drama, but the polished finish keeps it from getting loud.
6. Low Knot with Face-Framing Pieces

A low knot with a few face-framing pieces behaves differently from a strict ballerina bun. It softens the whole look right away, which is why I reach for it when I want elegance without severity.
The knot itself sits at the nape and stays compact, but the two front pieces change the mood. Keep them about ½ inch to 1 inch wide, then bend them with a small curling iron so they fall in a gentle curve instead of a sharp loop. If the pieces are too thick, the style starts to look heavy. Too thin, and they disappear.
This one flatters almost everyone, but it’s especially useful if you want to soften a strong jawline or balance a long face. It works for weddings, dinners, and those odd days when you want your hair up but not stern.
A neat bun plus a little movement around the cheeks. That’s the whole magic trick.
7. Tucked-Under Bob

A tucked-under bob is one of those styles that looks more expensive than it is. Shorter hair often gets ignored in hairstyle lists, which is a mistake, because a bob can look incredibly refined when the ends are controlled.
Blow-dry with a paddle brush first, then tuck the ends slightly inward with a flat iron or a round brush. The goal is not a curl. It’s a clean bend under the jawline that makes the hair sit like it was planned that way. A tiny amount of smoothing cream on the mid-lengths helps, but keep it away from the roots.
No fuss. That’s the point.
This style is especially good if your bob hits just below the chin or at the collarbone. It keeps the shape tidy and gives the whole cut a sharper outline, which is why it reads so polished even on a plain day.
8. Braided Crown Bun
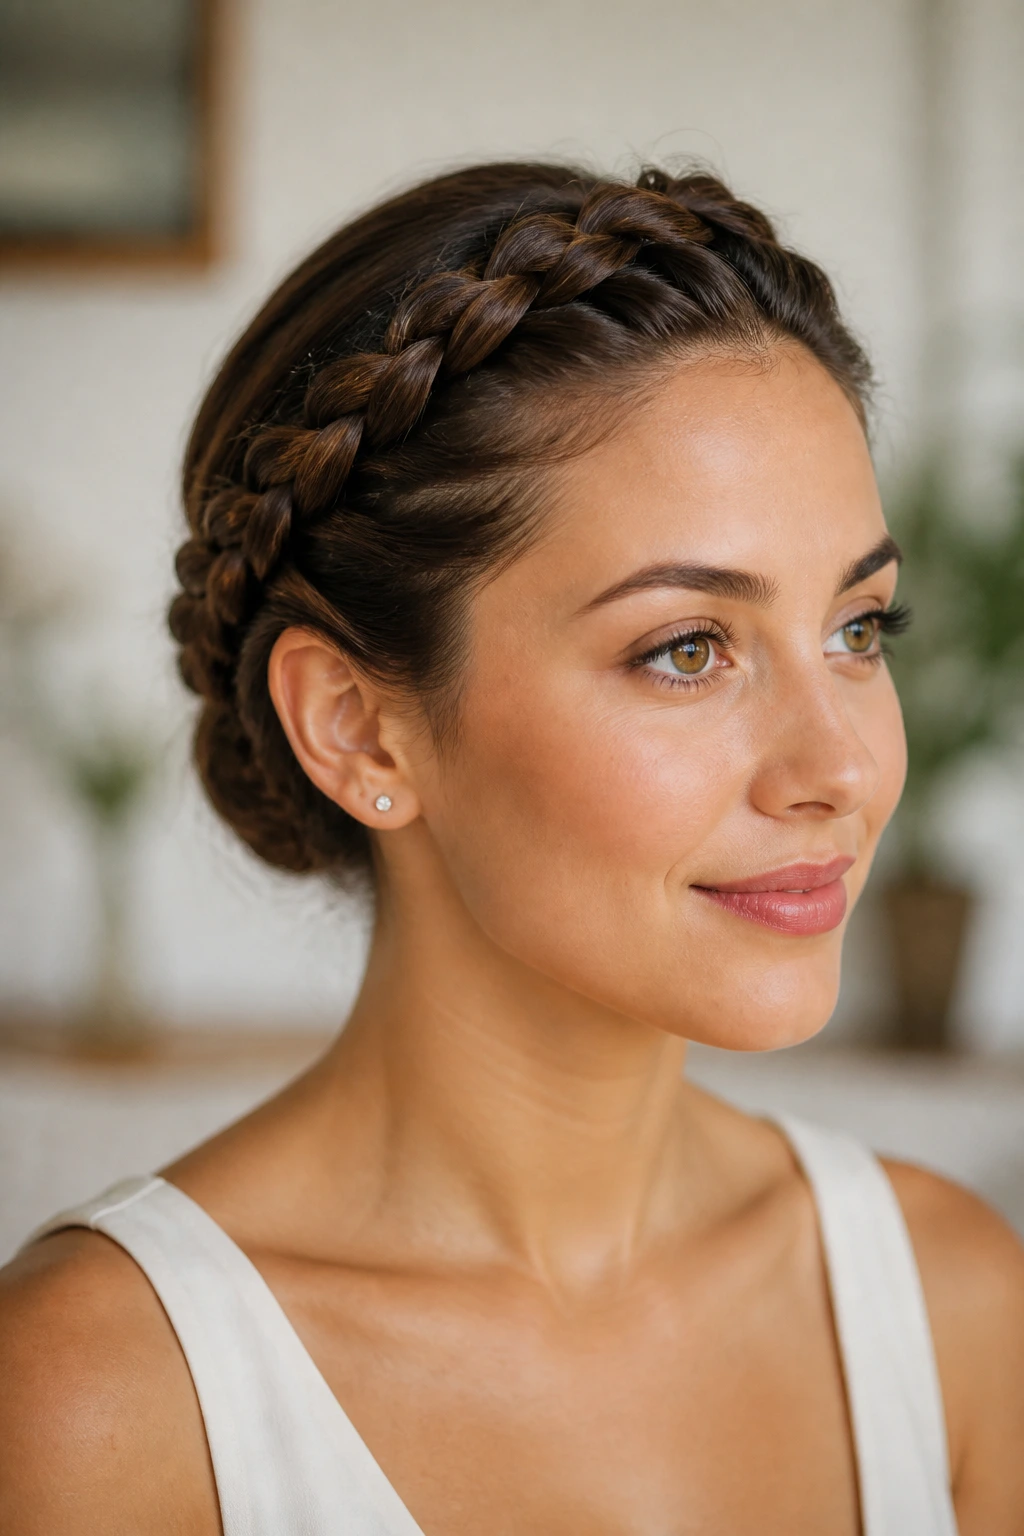
I keep coming back to braided crown buns for days when I need hair to behave from morning to night. They hold up well, they hide grow-out, and they look more intentional than a standard bun.
Start by braiding a section along one or both sides of the head, then wrap the remaining length into a bun at the back or slightly low on the head. The braid gives the style structure, almost like a built-in frame. If your hair is slippery, rough it up first with dry shampoo or a light texturizing spray.
Small Details That Matter
- Keep the braid flat against the head so it does not puff out.
- Use 4 to 6 pins in the bun, not two.
- Match the braid tension on both sides so the crown stays even.
- Finish with flexible spray, not shellac-hard spray.
This style works especially well for medium-to-long hair and on days when you want polish that lasts through wind, humidity, or a long commute.
9. Polished Silk Press
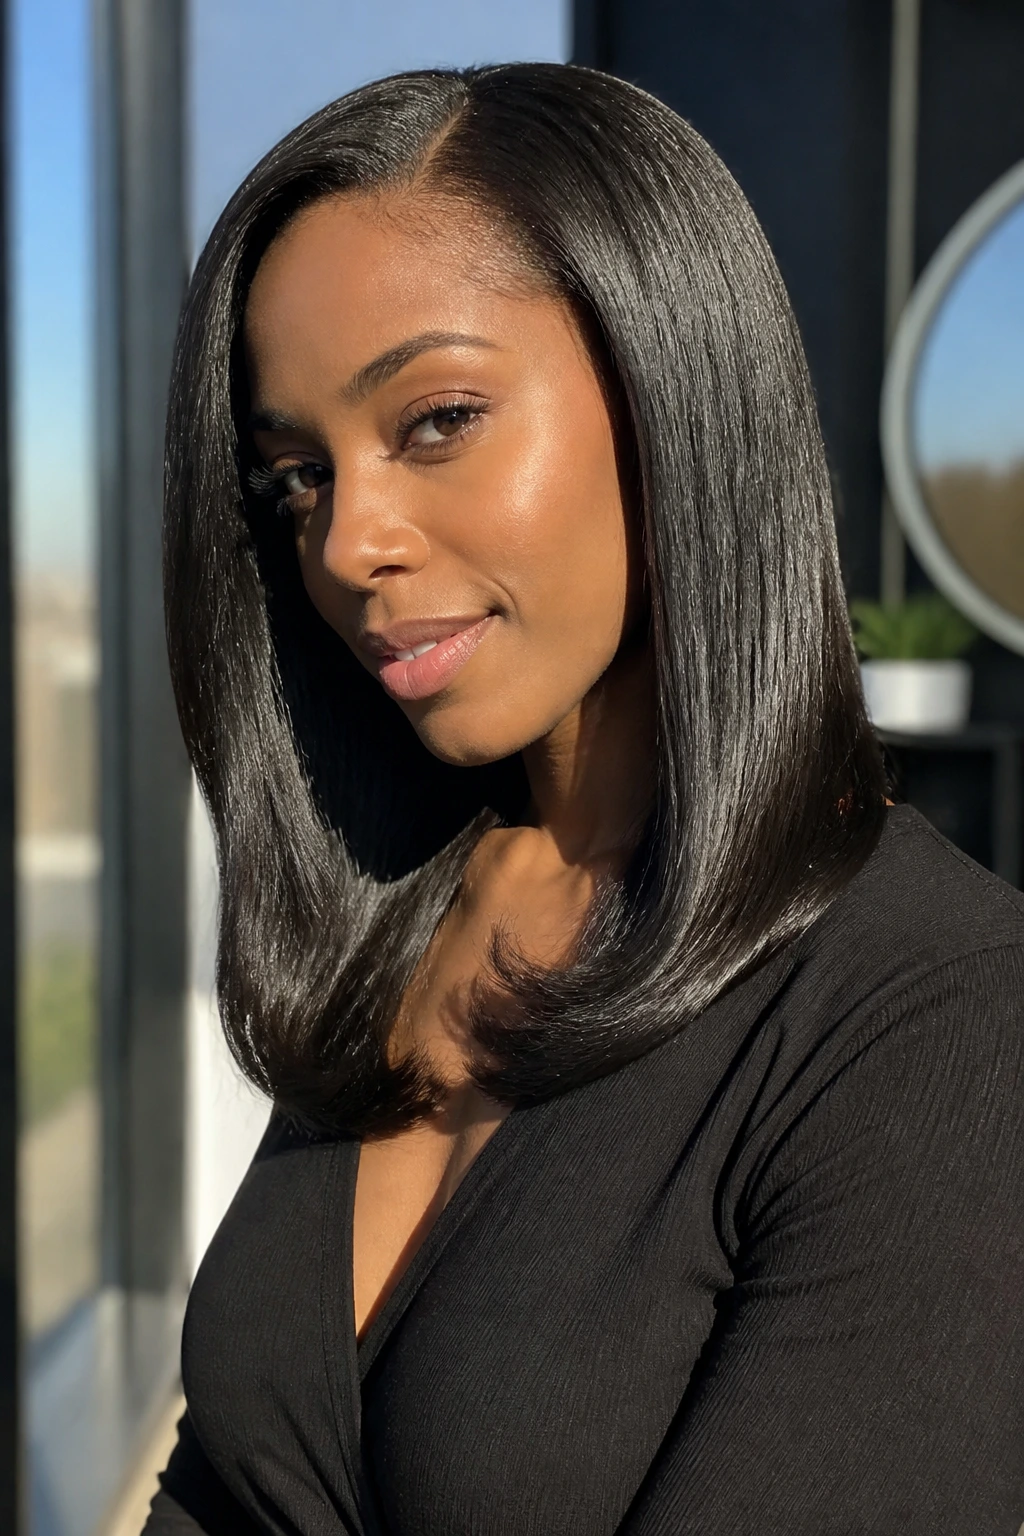
Silk press hair has a clean shine that other straight styles try to fake. The finish is sleek, but the movement stays soft if it is done right.
Where the Shine Comes From
It starts with a thorough wash and a careful blow-dry. Hair should be stretched smooth before the flat iron touches it. Use a heat protectant on every section, not just at the top, and keep the iron moving in small, even passes. One pass is better than three. That’s not a theory; it’s the difference between flowy hair and ends that start to look tired.
- Work in 1-inch sections for even heat.
- Use a comb attachment or tension with a paddle brush.
- Keep the flat iron at a steady temperature, not scorching hot.
- Stop at the ends before they get pin-straight and stiff.
The best silk press is not bone-flat. It has swing. That little bit of movement is what keeps the style elegant instead of severe.
10. Half-Up Twist
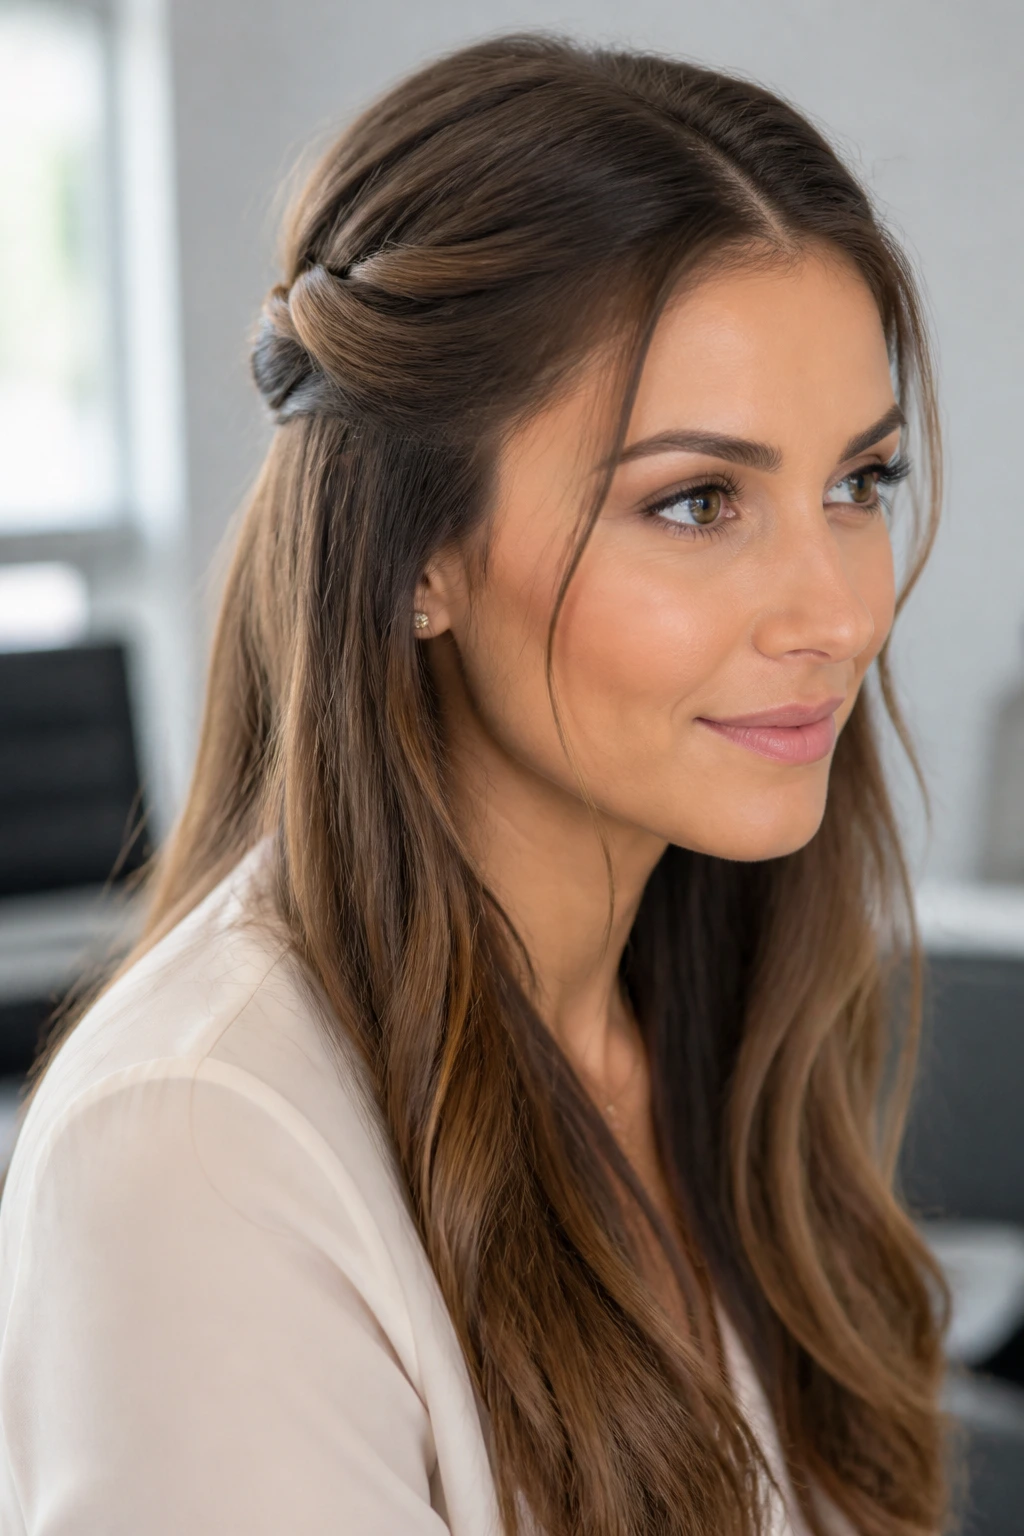
Some styles work because they stay out of the way. The half-up twist works because it does that and still leaves enough hair down to feel soft.
Take two sections from the temples, twist them back, and pin them where they meet at the back of the head. Leave the rest loose, straightened, waved, or left in its natural texture. That tiny lift at the sides opens the face without asking for a full updo, which makes it a strong option for office days and dinner plans alike.
It’s a good style for hair that sits between shoulder length and long. On shorter hair, the twist can look too small; on very long hair, it can get swallowed unless the sections are thick enough.
That little lift changes everything.
If the top feels flat, tease the root of each side section once before twisting. Not much. Just enough to keep the style from sliding down before lunch.
11. Deep Side-Swept Waves
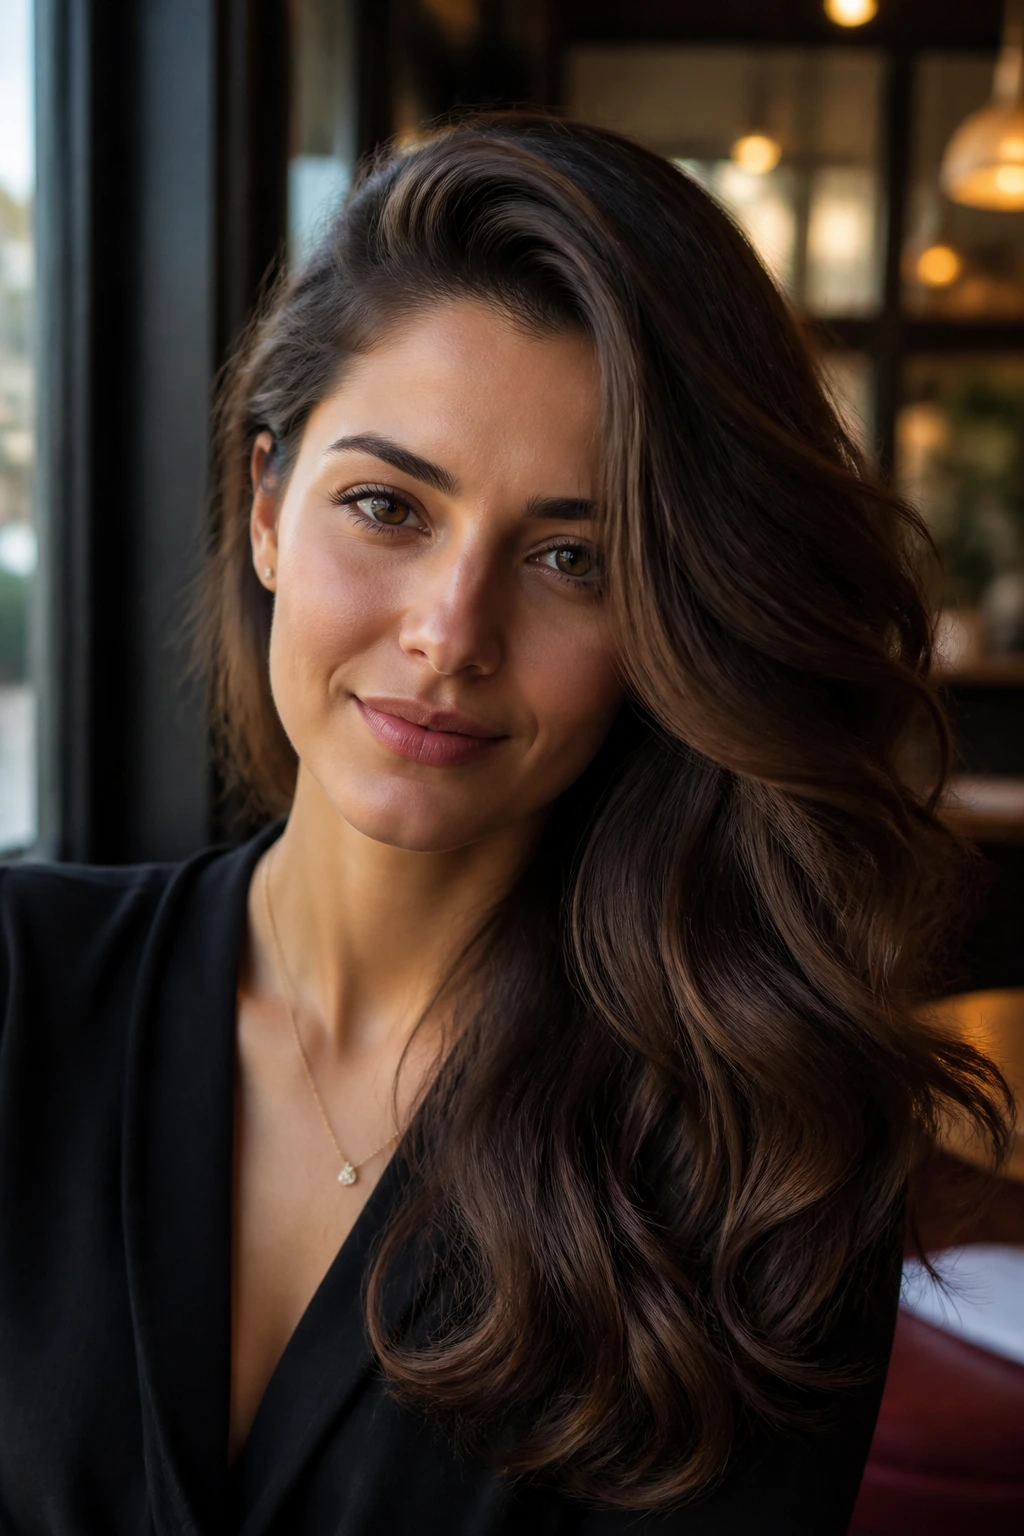
Why does a deep side part change the whole mood of a style? Because it builds asymmetry right into the shape, and asymmetry has a way of making hair feel more dressed up.
A deep side-swept wave works best when the front section is controlled and the rest of the hair falls in a smooth curve over one shoulder. Use a curling iron or hot rollers to create uniform bends, then sweep the front section across the forehead and pin it just behind the ear with a hidden bobby pin. Let one side carry the volume; keep the other side flatter so the contrast is obvious.
This style loves statement earrings and off-shoulder necklines. It also gives fine hair a little more visual weight, especially if you set the roots with a bit of lift at the part.
Best way to secure the sweep
Use one pin under the wave and one pin behind it, crossed slightly. That keeps the front from drifting all night. A light mist of flexible hairspray over the top layer is enough. Too much and the wave loses its soft shape.
12. Rolled French Roll

A French roll and a French twist are cousins, not twins. The roll is smoother, broader, and a little more polished in the old-school sense.
This style wraps the hair upward into a vertical fold rather than a narrow twist. It gives a clean back view and a neat side profile, which is why it works so well for formal events. I’d choose it for medium-density hair, because very fine hair can slip and very thick hair can make the roll bulky unless it’s sectioned carefully.
A good French roll should feel secure at the crown and snug through the middle. If the surface is bumpy, smooth it first with a brush and a touch of styling cream. Then pin in a row from top to bottom, working the pins into the fold so they disappear.
It’s elegant in a slightly serious way. The kind of style that likes tailored jackets and sharp collars.
13. Sculpted Top Knot
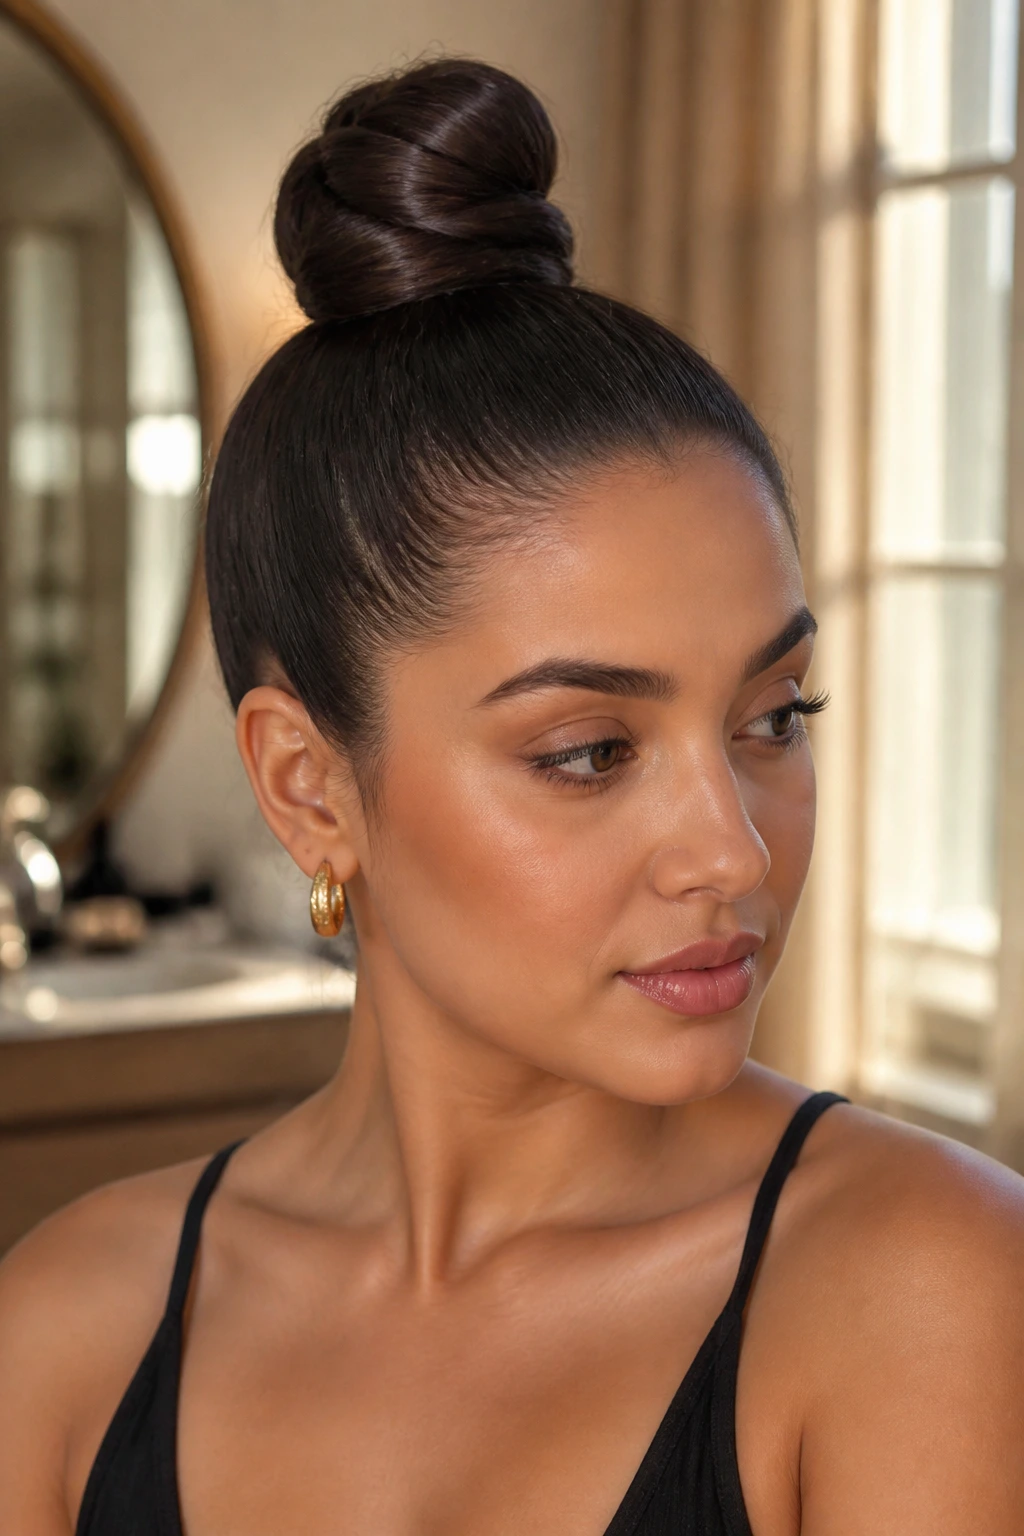
A sculpted top knot is not the same thing as a messy bun with better lighting. It has shape. It has intent. And when the crown is clean, it can look very sharp.
Pull the hair into a high ponytail, then twist the length tightly before wrapping it into a compact knot. Press the sides flatter with your hands so the bun reads round and controlled, not puffed out. A small amount of matte pomade on the hairline keeps the flyaways in check without turning the whole head greasy.
This style is a good answer for second-day hair, especially if the roots need a little grip. It also works for thick hair that tends to swell up when left loose.
My favorite detail: keep the knot slightly smaller than you think it should be. Oversized top knots can look casual fast. A tighter shape looks cleaner and holds up better through the day.
14. Soft Bridal Bun

Picture a soft bun pinned low at the nape, with just enough movement around the cheeks to keep it from feeling severe. That’s the version I trust for formal events.
What Keeps It Soft Instead of Fussy
The crown should stay smooth, but not tight to the scalp. Leave a little air at the top so the style doesn’t look pulled. The bun itself can be twisted rather than packed, which keeps the shape rounded and gentle. If you want a few loose pieces near the face, keep them very deliberate—thin, curved, and controlled.
- Place the bun just above the nape, not in the middle of the head.
- Use U-pins inside the bun for a softer hold.
- If adding a veil or accessory, pin it under the top layer so it hides well.
- Spray the finished style from the sides, not straight down.
This bun works especially well with satin, lace, and necklines that need a clean frame. It looks calm, not empty, which is a hard balance to get right.
15. Straight Long Layers with a Glass Finish

Straight long layers can look flat fast; the glass-finish version fixes that. The difference is in the shine, the fall, and the way the ends move together instead of hanging like strips.
The small details that matter
Use a nozzle on the dryer and keep the brush tension even from roots to ends. A 1-pass flat iron is enough if the blow-dry is done well. After that, smooth a tiny amount of serum only on the mid-lengths and ends—too much at the roots kills the crisp shape.
- Keep the part clean, center or side.
- Use clips to divide the hair into 4 sections.
- Finish with a lightweight shine mist, not a heavy oil.
- Leave the ends blunt enough to catch light, but not so blunt they look boxy.
This style is elegant because it relies on restraint. Every strand does not need to be identical. It just needs to fall in the same direction and stay glossy.
16. Low Bubble Ponytail
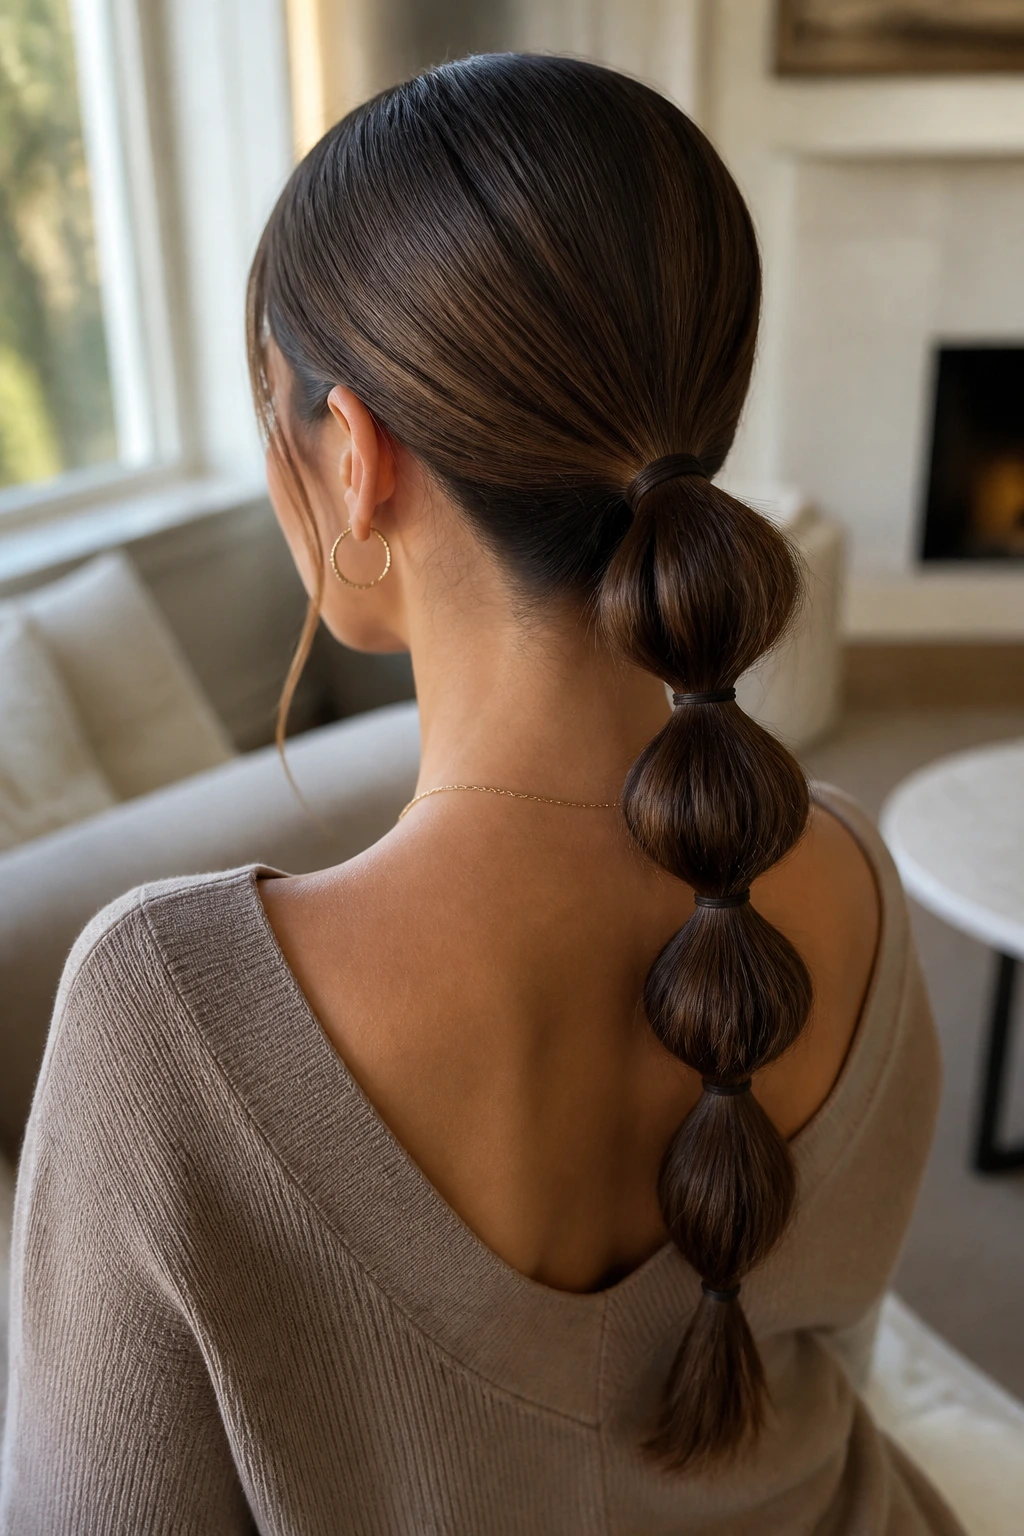
A bubble ponytail looks playful until you tighten the elastics and smooth the base. Then it shifts into something neat and polished, especially on longer hair.
Pull the hair into a low ponytail, then place small elastics down the length every 2 to 3 inches. Gently tug each section outward to make the “bubble” shape. The gaps need to be even, or the style starts to look accidental. That symmetry matters more than people think.
This version works best when the hair is smooth at the crown and the bubbles are moderate, not huge. If the sections puff too much, the style gets youthful fast. Keep the root area sleek and the bubbles tidy, and it reads much more refined.
I like it for thick hair because it controls bulk without flattening the whole tail. It also holds surprisingly well on long layered hair, as long as you anchor the first elastic tightly.
17. Elegant Pixie with a Side Swoop

Can a pixie look elegant? Absolutely, if the shape is doing its job.
The side swoop is what turns a pixie from practical into polished. Keep the top a little longer, sweep it across the forehead or toward one temple, and let the edges stay neat. A pea-size amount of pomade or wax is enough for most short cuts; more than that and the hair starts to separate in clumps.
How to keep it from going flat
Blow-dry the roots with a small round brush or your fingers, then direct the front section where you want it to fall. A side part gives the cut softness, while a slightly lifted crown keeps it from lying too close to the head. If the hair is fine, a dusting of volumizing powder at the roots can help the swoop hold longer.
This is a strong choice for people who want sharp lines without extra length. It looks especially good with earrings, bold brows, and clean necklines.
18. Side Bun with Crown Volume

A side bun with crown volume is the answer when flat hair needs a lift. Compared with a low knot, it has more shape at the top and a little more personality around the face.
Start by teasing a 1-inch section at the crown, then smooth the top layer over it so the height stays hidden. Gather the hair to one side at the nape or just below the ear, twist it into a bun, and pin it so the bun sits slightly off-center. That tiny shift gives the style its charm.
This version works well for round and square faces because the crown height adds length and the side placement softens the jawline. It also pairs nicely with one-shoulder tops or dresses with a strong neckline.
A little volume goes a long way here. Too much tease and the style turns retro in a hurry. Keep the lift controlled, and the whole look stays elegant.
19. Curved Shoulder-Length Flip
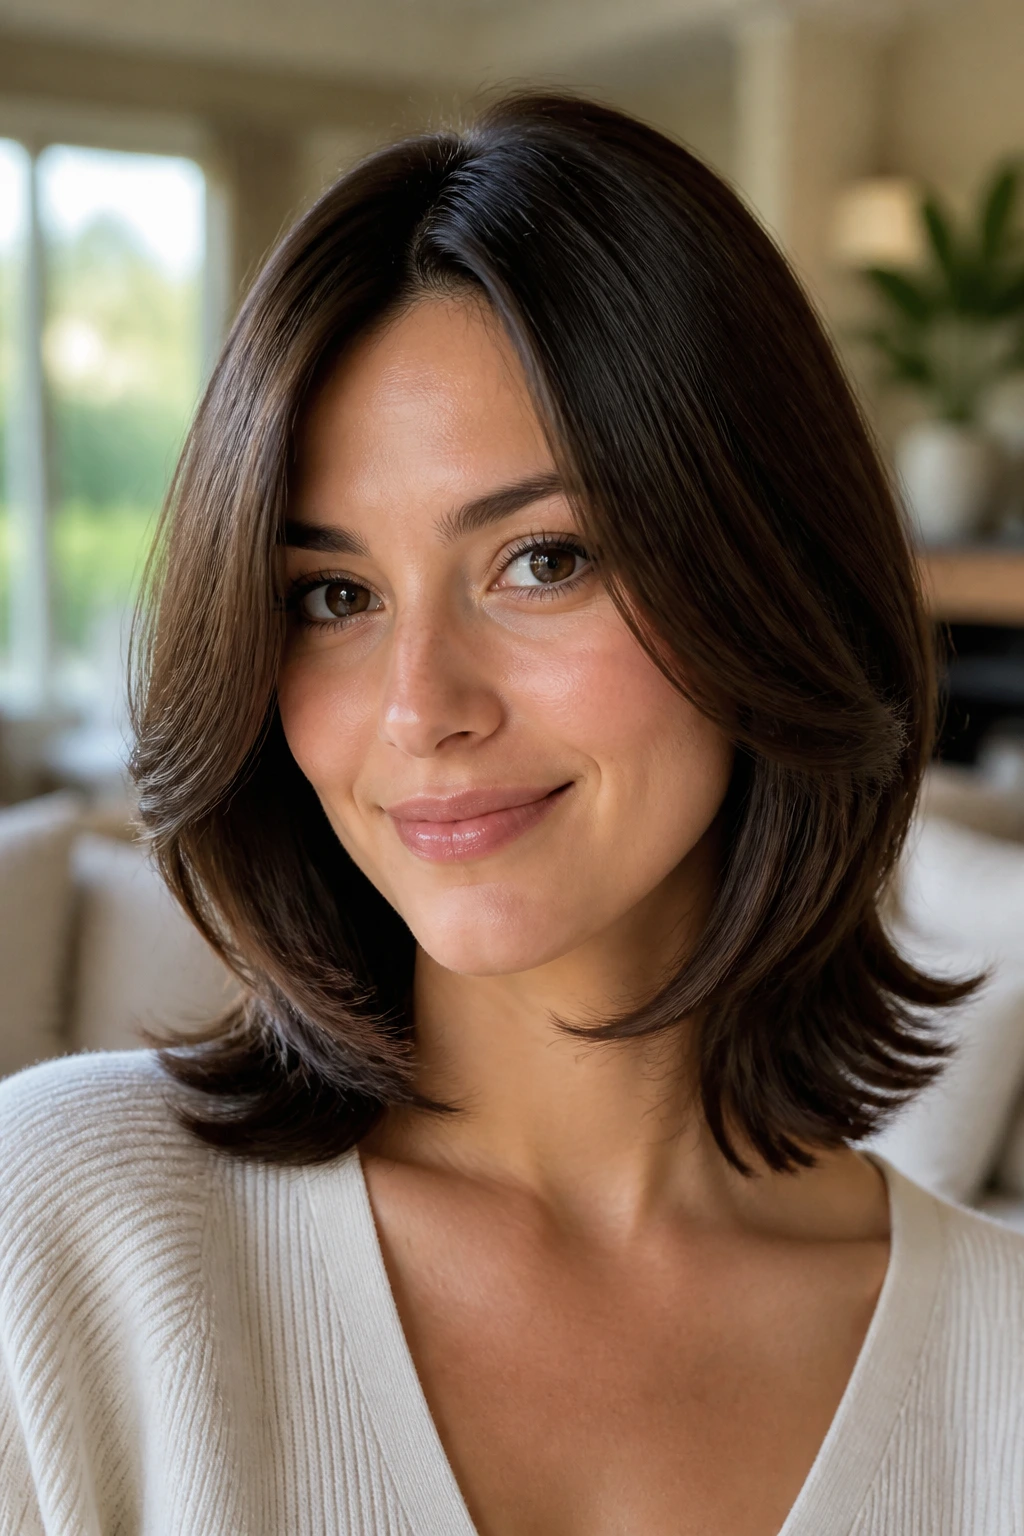
The shoulder-length flip keeps showing up because it makes ordinary hair look deliberate. There is nothing accidental about that outward curve at the ends.
Use a 1½-inch round brush or a medium curling iron to bend the ends away from the face. You can flip them under for a quieter version, but the outward curve has more lift and feels fresh without getting loud. The roots should stay smooth, and the ends should move with a little bounce.
It’s a good style for hair that lands between the chin and the shoulders because that length gives the flip a clear shape. On longer hair, the effect can get lost. On shorter hair, it can feel abrupt.
It has posture.
A tiny bit of root spray at the crown helps keep the silhouette clean all day, especially if your hair tends to collapse once it cools.
20. Twisted Half-Crown Updo

I like a twisted half-crown when I want hair off my face but not fully up. It gives you the structure of an updo with the looseness of wearing your hair down.
Take a 1-inch section from each temple, twist them back toward the crown, and secure where they meet. If your hair is wavy, leave the rest loose. If it’s straight, add a soft bend through the lower lengths so the contrast feels intentional. The twists should sit close to the head; loose twists puff out and lose the clean line.
A few things that help
- Pin the twists where they overlap, not just at the ends.
- Hide the pins under a small top layer of hair.
- Keep the lower half smooth or softly waved.
- Use a light finishing spray only on the twisted section.
This style is useful for brunch, work events, and long days when you want your face clear but still want movement through the back.
21. Wrapped Low Ponytail
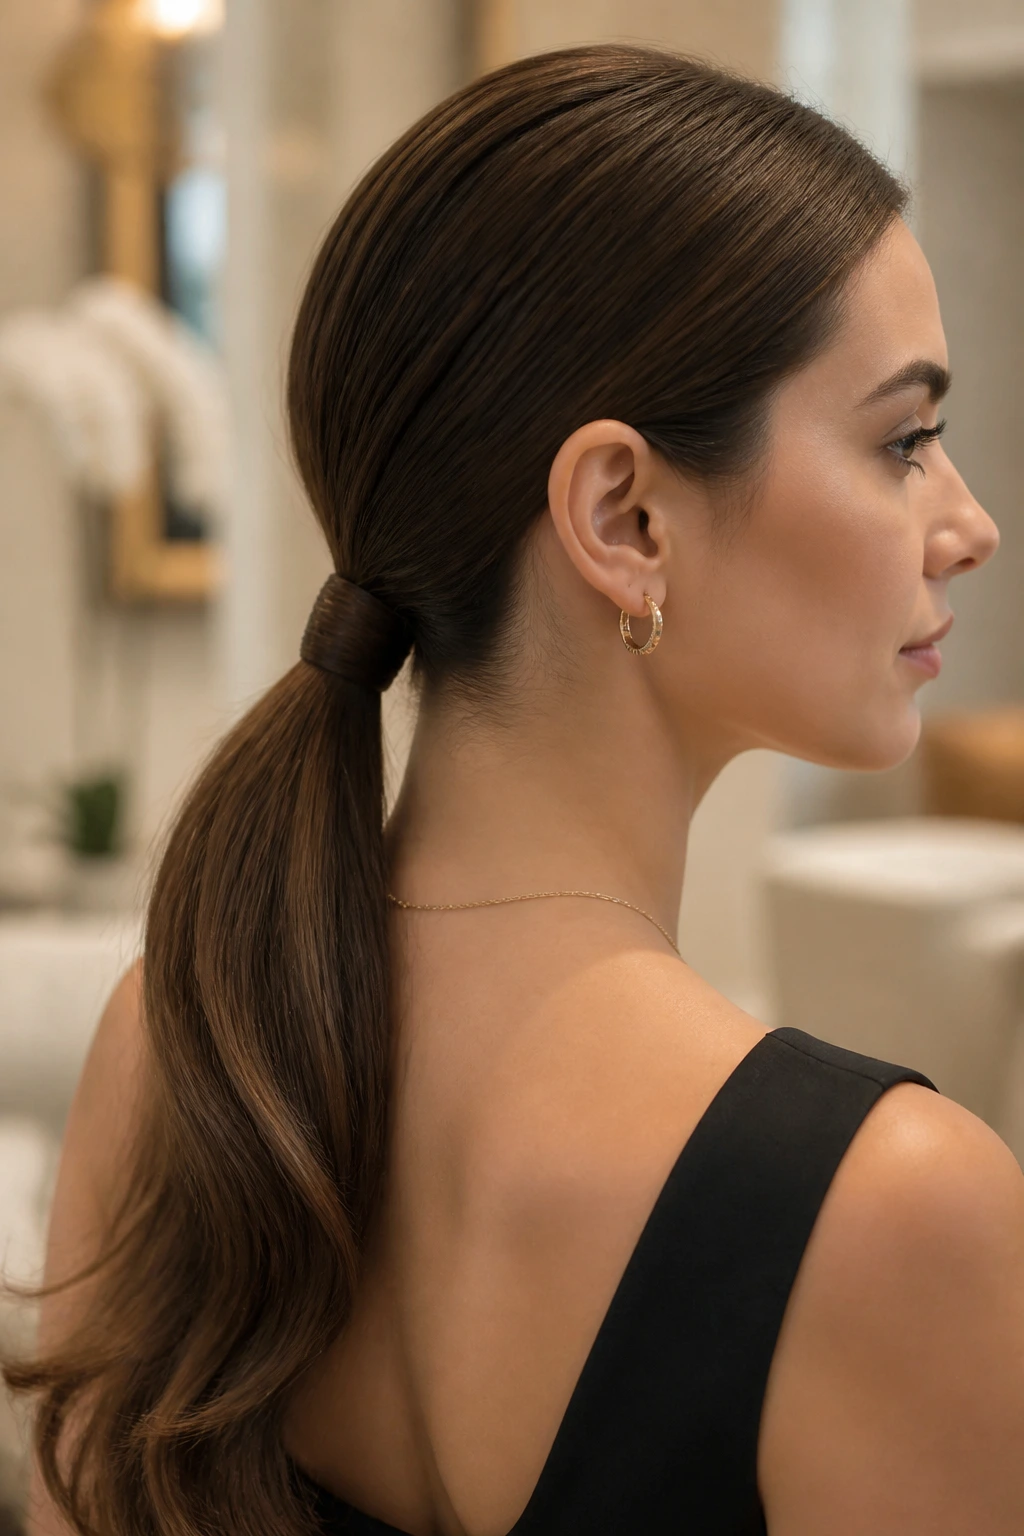
A wrapped low ponytail is probably the safest polished style in the group. It is simple, yes, but the finish can be sharp enough for a black-tie dress or a plain button-down shirt.
Pull the hair into a low ponytail at the nape, smooth the crown with a brush, then take a 1-inch strand from the tail and wrap it around the elastic. Pin the end underneath. That wrap is the detail that changes everything. Without it, the style can look ordinary. With it, the whole thing feels deliberate.
Why the wrap matters
- It hides the elastic.
- It gives the base a cleaner shape.
- It makes even a basic ponytail look dressed up.
- It works on straight, wavy, and stretched natural textures.
Keep the tail itself either straightened or softly curled at the ends, depending on the mood you want. A straight tail reads crisp; a gentle bend reads softer. Both work, as long as the crown stays smooth.
22. Minimal Low Bun with a Center Part

The quietest bun often looks the most expensive. A minimal low bun with a center part doesn’t need decoration, big volume, or a dozen pins fighting for attention.
Part the hair cleanly down the middle, brush it back to the nape, and twist it into a small, tight bun that sits almost flat against the head. The whole style depends on clean lines. If the part drifts, the look loses its shape. If the bun sits too high, it starts to feel casual. Keep it low, keep it neat, and let the symmetry do the work.
This is the style I’d trust when you need something that survives a long day. It holds up under coats, scarves, and weather that likes to mess with flyaways. A dab of serum on the palms and a little pressure along the part is usually enough to keep the finish smooth.
One spare pin in your bag never hurts.
