



Pigtail braid hairstyles for school have one job: keep hair out of your face without turning the morning into a full production. If you have ever tried to part your hair, smooth flyaways, braid both sides, and still catch the bus on time, you already know why the simple versions matter.
The best school braids are clean, secure, and forgiving. They do not need salon-perfect symmetry, and they do not need a shelf full of styling products. A rat-tail comb, two elastics, and a little patience usually beat a pile of fancy extras.
Tightness matters. The American Academy of Dermatology has long warned that styles that pull hard at the hairline can cause breakage over time, so a braid that sits comfortably is smarter than one that looks frozen in place.
Some of the styles below take five minutes. Others need a few extra minutes and a steadier hand. All of them can get you through a school day without hair in your eyes, and that is the real win.
1. Classic Pigtail Braid Hairstyles for School

The classic center-part version earns its keep because it works on a rushed morning. Brush the hair smooth, draw a straight part down the middle, and braid each side from just behind the ear to the ends. Nothing fancy. That is the point.
Why This One Works on Busy Mornings
- It takes about 5 to 7 minutes on shoulder-length hair once your hands know the pattern.
- It works on straight, wavy, or lightly curly hair without a lot of product.
- It needs only two elastics and a comb, which makes it easy to repeat.
- It still looks neat at lunch, even if the braids are not perfectly identical.
A center part gives the style balance, and the low braid keeps the hair from puffing out around the crown. If you have layered hair, mist the front pieces with a little water before you braid. Dry flyaways are the first thing to slip loose.
Tip: Leave the last inch or two unbraided if your ends fray fast. A tiny clear elastic or a ribbon can keep the finish tidy without making the braid feel stiff.
2. Dutch Braid Pigtails With a Little Lift

If regular pigtails slide flat by noon, Dutch braid pigtails usually hold their shape better. The underhand crossing makes the braid sit on top of the hair instead of sinking into it, which gives the style a little lift right at the scalp. That detail matters more than people think.
Start with a center part, then take a small section at the front of one side and split it into three strands. Cross the side pieces under the middle piece as you add hair, keeping the braid close to the head for the first few inches. After that, braid normally and secure it with a small elastic.
The look is a bit bolder than a plain braid, but it still feels school-friendly. It is a strong pick for fine hair that goes limp fast, because the braid has built-in structure from the first stitch.
But keep the tension moderate. A braid that tugs at the temples will give you a headache before first period.
3. French Braid Pigtails That Stay Neat

Why do French braid pigtails look so tidy even when the rest of the day is messy? Because the braid keeps collecting hair as it travels down the side of the head, which helps it hug the scalp instead of floating away from it. That makes a difference when you have layers, short face pieces, or a little cowlick near the part.
How to Work Them From Temple to Neck
Begin with a clean middle part and a small front section on one side, about 1 inch wide. Cross the outer strands over the center strand, then add a little hair from each side each time you braid. Keep the added sections even. Uneven chunks are what make one braid bulge while the other side goes thin.
Once you reach the nape, finish with a regular three-strand braid. The change in pattern should feel smooth, not abrupt.
French braids are a solid choice when you want the style to stay close to the head for gym class, music practice, or a long bus ride. They also look polished without being stiff, which is rare and useful.
4. Fishtail Pigtails for a More Detailed Look

Picture a student who wants something a little sharper than a regular braid but does not want to sit in front of the mirror forever. That is where fishtail pigtails land. They look intricate, but the technique is simple once your fingers stop arguing with each other.
A fishtail braid uses two big sections instead of three. You take a small piece from the outside of one section and bring it across to the other side, then repeat on the opposite side. Keep the pieces small and even, or the braid starts looking lumpy fast. A piece about the width of a pencil works well.
Quick Facts That Matter
- Best for medium to long hair that can hold the smaller weaving pattern.
- Takes about 8 to 12 minutes after a little practice.
- Looks fuller when the pieces are kept small, not large.
- Holds best on hair with a little grip, like hair that was washed the day before.
A fishtail works well for school picture day, assemblies, or any morning when you want a bit more detail without stepping into formal-updo territory. It is tidy, but not fussy.
5. Rope-Twist Pigtails for Fine Hair
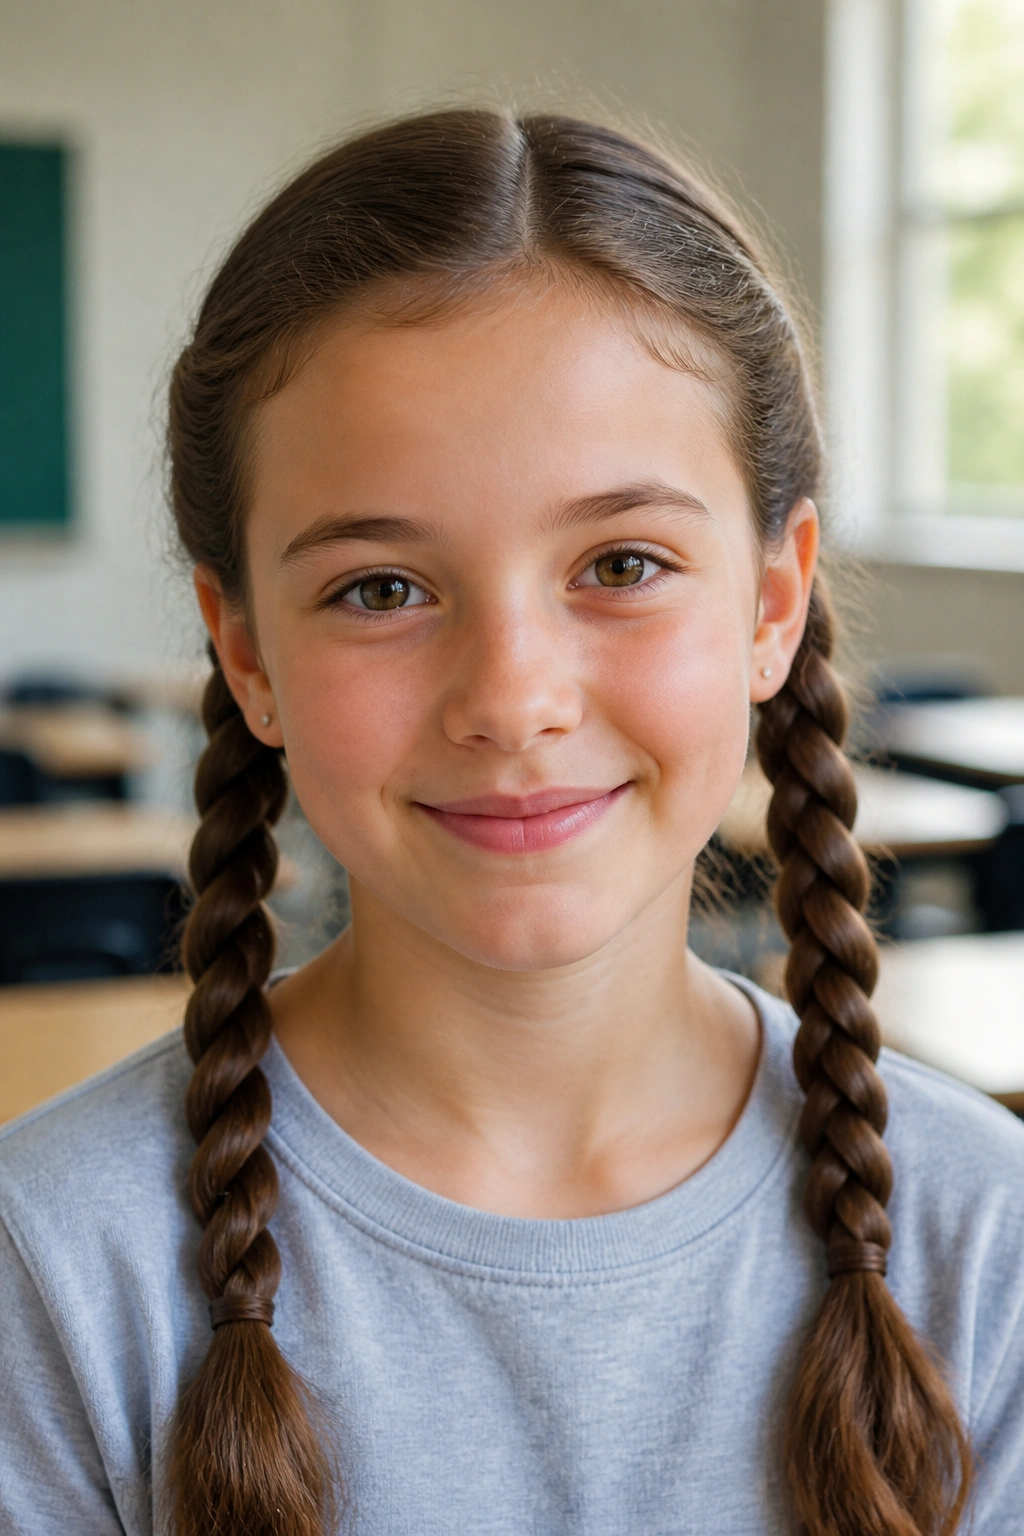
Rope twists are one of those styles people forget about until they need something fast that does not unravel into fluff. They work especially well on fine hair because the twist creates grip without forcing you to weave tiny sections. That matters when your hair slips out of braids halfway through the day.
Start by dividing one side into two equal strands. Twist each strand in the same direction, then wrap them around each other in the opposite direction. That opposite twist is what locks the rope braid together. If you twist both sections the same way and then wrap them carelessly, the braid loosens fast.
They also look clean on hair that has just a little oil at the roots. Freshly washed strands can feel too soft and squeaky for this style, and the rope may slide apart before lunch. A light mist of texturizing spray solves that problem without making the hair crunchy.
One more thing: keep the twist tension even from top to bottom. If the top is tight and the bottom is loose, the braid will start to spin out.
6. Bubble Braid Pigtails With Elastic Breaks

Bubble braid pigtails are the easiest way to fake a more complicated style. They use a line of elastics every 2 to 3 inches, then the hair between each elastic gets gently puffed out into round sections. That is the whole trick, and it works.
Unlike a traditional braid, a bubble braid does not depend on delicate finger work. You gather each side into a ponytail, place another elastic a few inches down, then tug the hair between the elastics until each section looks round and even. If the hair is thick, use more spacing. If it is short, keep the bubbles closer together.
This style is especially handy for younger kids or for mornings when braiding feels like too much effort. It also suits shoulder-length hair that is too short for a long braid but long enough to tie in sections.
Use small clear elastics if you want the shape to stand out. Colored elastics work too, but I like clear ones better when the goal is a neat school look and not a rainbow.
7. Pull-Through Pigtails for Extra Thickness

Pull-through pigtails give the look of a thick, stacked braid without asking your fingers to do the usual braid pattern. That makes them a smart pick for thick hair, long hair, or anyone who wants a fuller result without wrestling with a classic braid for ten minutes.
What Makes It Look Full
- You use 6 to 10 small elastics per side, depending on hair length.
- Each top section gets split in half, then the lower section is pulled through the opening.
- The sections stack on top of one another, which creates volume fast.
- You can loosen the edges later if you want the braid to look softer.
The style is useful when you want pigtails that look dense even if the hair itself is fine. It also works well on hair that has layers, because the elastic structure holds pieces in place better than a loose weave does.
Do not rush the sectioning. Even spacing is what makes this style look intentional instead of messy in the wrong way.
8. Half-Up Pigtail Braids for Growing-Out Bangs

Growing-out bangs behave better when they are given a job. Half-up pigtail braids do exactly that. They pull the front sections away from the face while leaving the rest of the hair free, which keeps the style lighter than full braids and less hot around the neck.
Start at the temples, not the hairline. Gather a small section on each side, braid each one back toward the crown, and secure them with tiny elastics or a couple of bobby pins. The lower hair can stay loose, wavy, or straight. That contrast is what makes the style easy to wear all day.
This is one of the nicer options for middle-school and high-school mornings when bangs are in that awkward stage between grown-out and not-yet-there. It also helps if you hate hair sitting on your eyelashes during class.
A small side note: keep the braids slim. Big half-up pigtails can swallow the face, which is not what you want on a school day.
9. Side-Swept Pigtail Braids for a Softer Frame

Why choose a side part when a center part is easier? Because a side-swept braid can soften the whole look, especially if a center part makes your face feel a little too open or if a cowlick keeps messing with the middle. The braid on one side starts with a bit more hair, and that slight imbalance gives the style movement.
How to Keep the Part From Drifting
Use the tail of a comb to place the part about an inch above the outer edge of one eyebrow. That usually gives a clean line without making the scalp look harsh. Braid the fuller side first, then match the other side with the same tension so the pigtails still feel like a pair.
A side-swept braid also helps if your hair tends to puff around the temples. The diagonal parting pulls attention away from that area and keeps the front pieces tucked in a little better.
It is one of those small changes that makes the whole hairstyle feel different without adding much time. Handy. Quietly handy.
10. Braided Pigtail Buns for School Days With Sports

I like braided pigtail buns for the same reason I like good sneakers: they solve a problem without making a scene. If you have practice after school, a club meeting, or a long day with a backpack that never stops hitting your shoulders, braiding the pigtails first and then winding them into buns keeps the ends locked down.
Braid each side all the way to the ends, then coil the braid into a small bun at the nape or just behind the ears. Secure each bun with two bobby pins placed in an X. One pin will not do much if the hair is thick or layered. Two usually hold.
Key Details
- Works best on medium to long hair that can wrap around itself once.
- Needs 4 to 6 bobby pins total for a secure finish.
- Holds well under a cap or hoodie, since the buns sit low.
- Stays neater if you braid before coiling, rather than twisting loose hair into a bun first.
This style looks neat even after a rough afternoon, and that is worth more than it sounds.
11. Crown-to-Pigtail Braids That Keep Hair Controlled
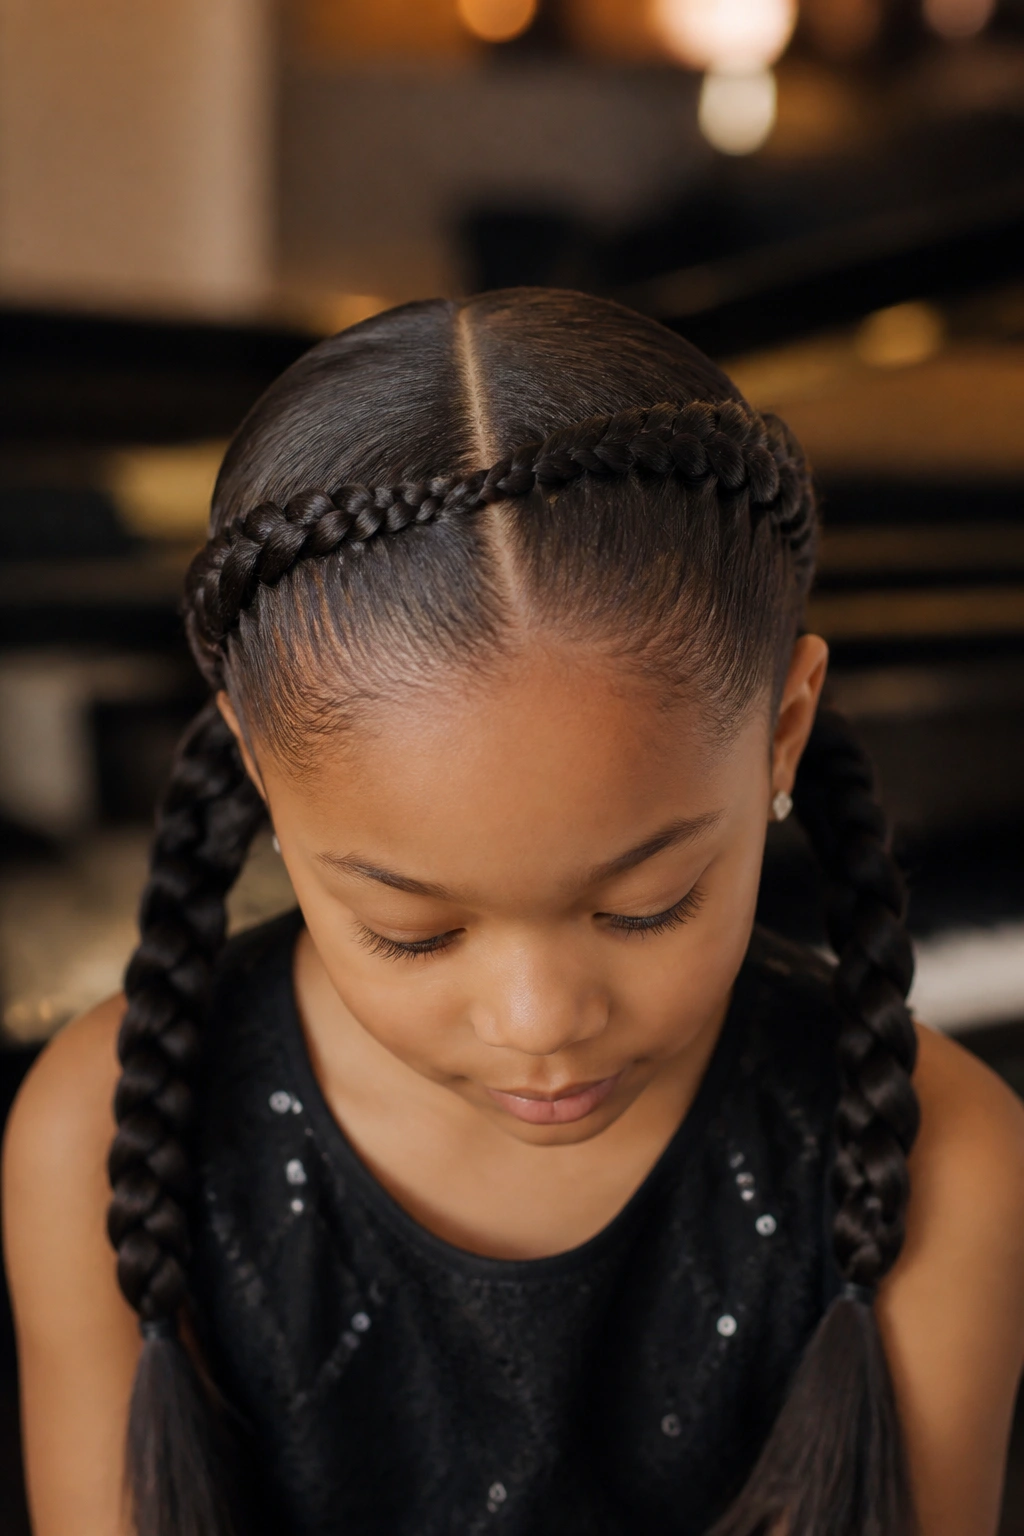
Some styles do a better job than two simple braids when the front layers keep escaping. Crown-to-pigtail braids are good at that. The braid starts near the temples, travels around the head a little, then drops into the two pigtails. That extra path keeps the sides of the hair from springing loose.
You do not need to make the crown section large. A narrow strip on each side is enough. Braid that strip tightly enough to stay close to the head, but not so tight that the scalp feels pulled. Once the braid reaches the point behind the ear, let it flow into the longer pigtail section.
The style works nicely on medium-length hair, especially if the front pieces are short and always falling forward. It also helps when you want a more controlled shape for a recital, school photo day, or a presentation where you do not want to keep flipping your hair back.
One small warning: if your part lines are jagged, this style shows it. Brush the top smooth before you start.
12. Micro-Braid Pigtails for Thick Hair

Thick hair often needs smaller sections, not bigger ambition. Micro-braid pigtails break the hair into tiny braids that feed into each side, and that creates control without turning the whole style into one giant knot. It is a good match for coarse, dense, or very full hair that fights a single braid.
Unlike one large braid, this approach lets you divide the work. Make 3 to 5 mini braids on each side, each one about the width of a pencil, then gather them into the larger pigtail braid or leave them as a cluster. Either way, the hair stays more manageable.
It also helps with puffiness around the crown. Smaller sections lie flatter, which matters when the hair is thick enough to look wide even after brushing. Use a leave-in conditioner or a light cream on the lengths first so the tiny braids do not snag.
This is not the speediest option, so I would not reach for it on the day you overslept. But for hair that needs real control, it earns its place.
13. Ribbon-Woven Pigtail Braids for Dress-Up Days

Ribbon-woven pigtail braids are the easiest way to make a simple school braid feel a little more dressed up. A narrow ribbon, about 1/4 inch wide, gets worked into the braid or tied around the base and then woven through the lengths. School colors work well here, and so do plain black, white, or navy ribbons when you want something quieter.
Keep It Neat
- Choose matte ribbon if the hair is fine and slippery.
- Keep the ribbon narrow so it does not overpower the braid.
- Anchor it under the elastic before you start weaving.
- Tie the ends flat, not into a bulky knot at the bottom.
This style is nice for spirit days, concerts, or any morning when a plain braid feels a little too plain. It still counts as school-appropriate, but it has a bit more personality.
The big mistake is using ribbon that is too wide or too slick. It slides, twists, and turns the whole braid into a fight. Thin ribbon behaves much better.
14. Crisscross Parted Pigtails for a Clean Finish
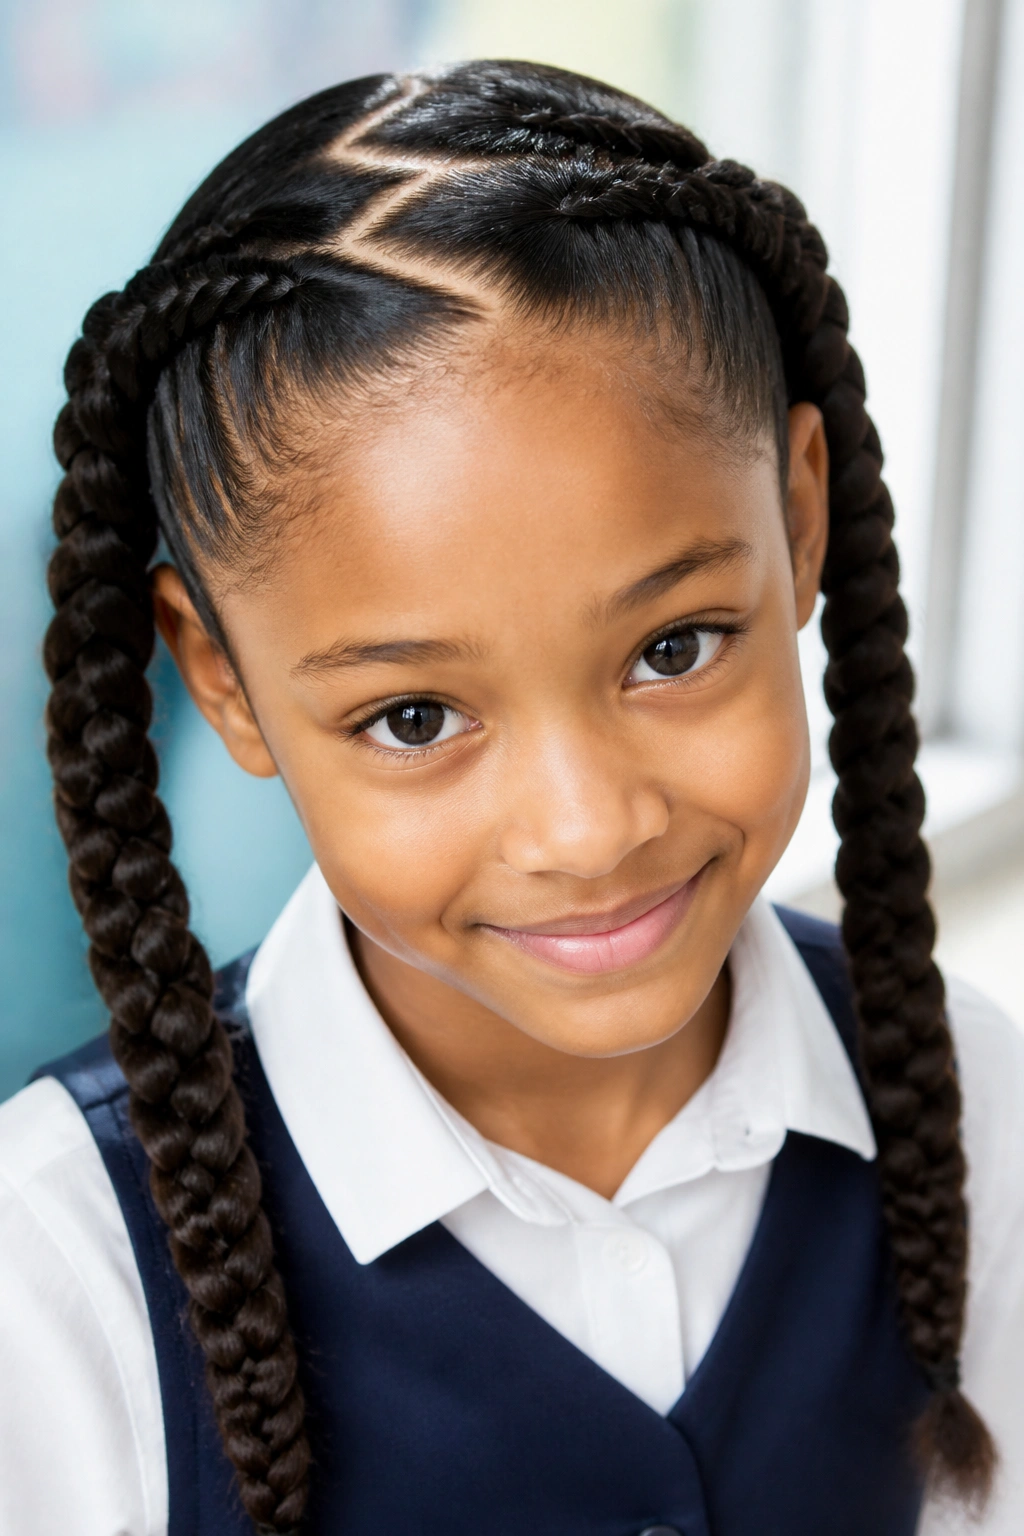
A zigzag part can change the whole haircut illusion without changing the braid at all. Crisscross parted pigtails start with a diagonal or zigzag part across the top, then continue into standard braids on each side. It is a small move, but it gives the style a sharper edge.
Use the tail of a comb to draw a series of short diagonal lines, each about 1 inch apart, across the crown. Keep the angles shallow. If the zigzag is too dramatic, it can look busy instead of neat. Once the part is in place, braid each side normally.
This is a good option when a plain center part feels flat or too severe. It also works well on kids and teens who want something playful without adding extra accessories.
If your hair is fine, mist the part lightly before separating it. Dry strands split messily, and then the zigzag looks more accidental than deliberate. That tiny bit of water helps the sections stay where you put them.
15. Pancaked Pigtail Braids for Fuller Texture

Why pull a braid apart on purpose? Because a little widening can make thin hair look fuller without adding extensions or heat. Pancaked pigtail braids are standard braids that get gently tugged at the outer edges so each loop spreads out a bit.
How to Pancake Without Wrecking the Braid
Start from the bottom and work upward. Pinch the outer edges of each braid loop between your thumb and forefinger, then tug outward just a little. You are widening the braid, not ripping it open. The top should stay neat while the lower sections bloom a bit.
This style is best on braids that are already secure. If the braid is loose to begin with, pancaking will make it fall apart. A small elastic at the end helps keep the shape intact while you pull at the loops.
Day-old hair is useful here too. It has more grip and less slip, which means the braid stays in place while you widen it. Thin hair benefits the most, but I have seen it work nicely on medium hair when someone wants a fuller, softer finish.
16. Messy Textured Pigtail Braids for Wavy Hair
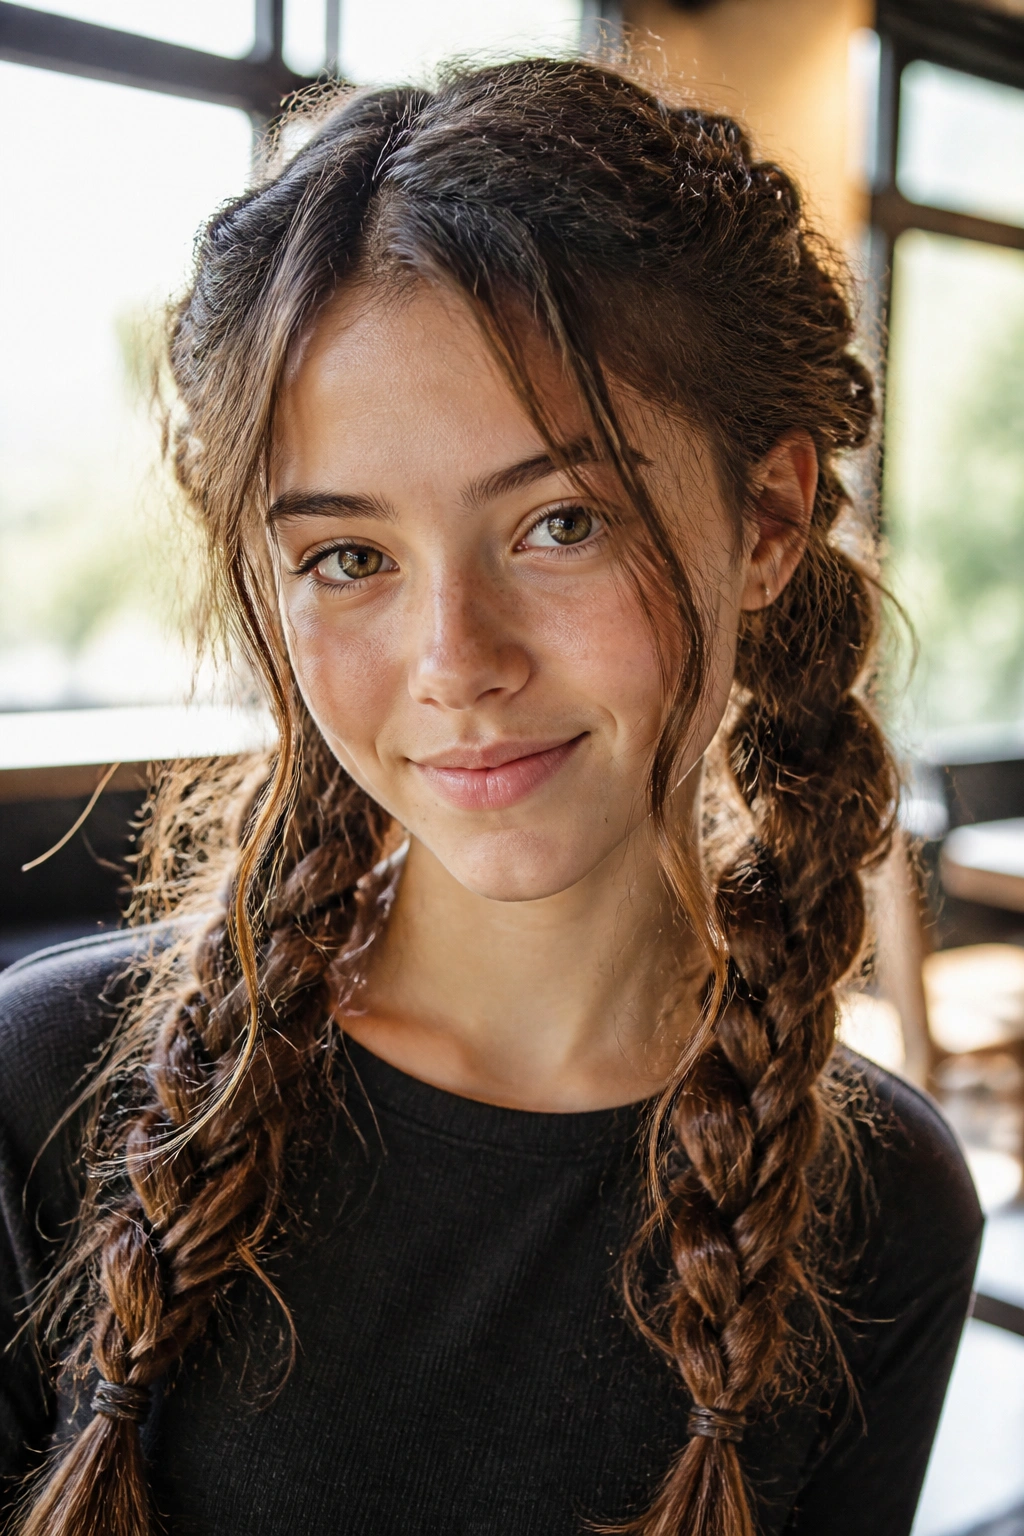
Some hair looks better when it is not forced into a glassy, perfect finish. Messy textured pigtail braids are built for that. Wavy hair, especially on the second day after washing, usually holds this style well because it has enough bend to show the braid shape without going puffy.
The trick is to keep the scalp sections neat and let the lengths have a little movement. Brush the top smooth, but do not overwork the ends. A small amount of dry shampoo at the roots can help if the hair feels soft or slippery. Leave two face pieces loose if you want the style to feel softer around the cheeks.
Small Things That Help
- Use a wide-tooth comb on the lengths, not a brush that frizzes them up.
- Braid loosely at the bottom so the waves can show through.
- Secure with a satin scrunchie if elastics leave dents.
- Skip heavy gel on the ends unless the hair is very frizzy.
Messy does not mean careless. The braid still needs a clean base, or it just looks unfinished.
17. Low Braided Pigtails With Scrunchies

Low braided pigtails with scrunchies are the style I trust when the day is long and comfort matters more than drama. The braids sit near the nape, which keeps them out of the way without putting pressure high on the head. A soft scrunchie at each end keeps the braid from snapping against a backpack zipper or sweater collar.
The low placement also makes the style kinder to the hairline. That is one reason it works so well for kids who wear braids often. A style can be neat and still be gentle.
Satin or velvet scrunchies are especially useful if the hair tangles easily. They do not grab the ends as hard as tiny elastics do, and they leave less of that sharp crease in the braid tail. If your school has rules about accessories, plain dark colors usually keep things simple.
This one is not flashy. It is practical, and sometimes that is exactly what school hair needs to be.
18. Pigtail Braids for Curly and Coily Hair

Curly and coily hair usually looks best when the braid works with the texture instead of fighting it. That means detangling gently, using enough slip, and choosing tension that protects the hairline. A pigtail braid can be a protective style when it is handled with care.
Unlike styles that chase pin-straight parts, curly hair often does better with slightly softer sectioning. Part the hair while it is stretched or lightly damp, then smooth the roots with leave-in conditioner or a little curl cream. If the hair is very dense, two-strand twists may hold better than a three-strand braid, and that is fine. The goal is control, not purity for its own sake.
Braiding on hair that is damp but not wet can be useful when the strands take forever to dry. Wet hair under a tight braid can stay damp too long, and that is a bad setup. Dry to lightly damp is the safer zone.
This style also loves scarves, beads, and small cuffs if you want them. Keep the details light, though. Too much weight can drag on delicate sections.
19. Tucked-In Pigtail Braids for All-Day Wear
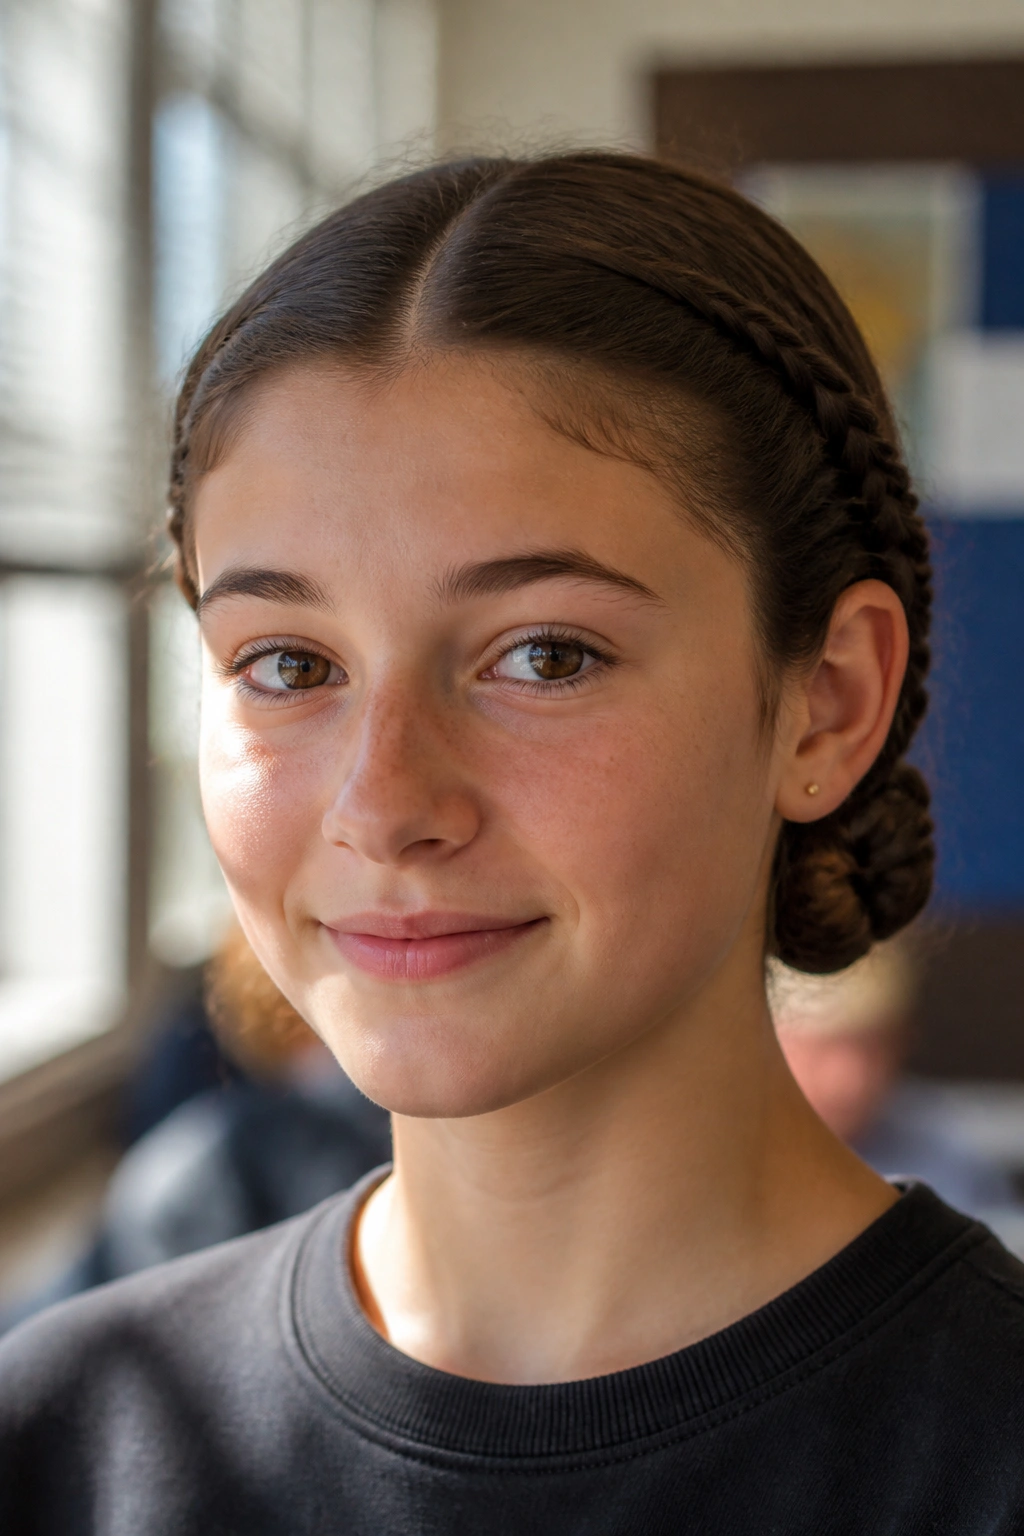
Tucked-in pigtail braids solve one annoying problem: loose ends rubbing on everything. If backpacks, chair backs, and hoodie zippers keep catching your hair, folding the braid tips under and pinning them in place can save you a lot of fuss.
Why This Holds Up So Well
- The ends are hidden, so they do not fray as fast.
- The style sits compactly, which helps under coats or sports gear.
- A single bobby pin or small elastic can finish each side.
- It works well on medium-length hair that is long enough to braid but not long enough to swing around.
The braid itself should not be too tight. If it is, the tuck at the end becomes awkward and bulky. Keep the plait soft enough to bend, then fold the last inch or two under the base and pin it down.
This style has a neat, almost tucked-away look that feels tidy through the whole school day. It is one of the better choices when you want the pigtails to stay put without feeling heavy.
20. School-Day Pigtail Braids That Take Under 10 Minutes
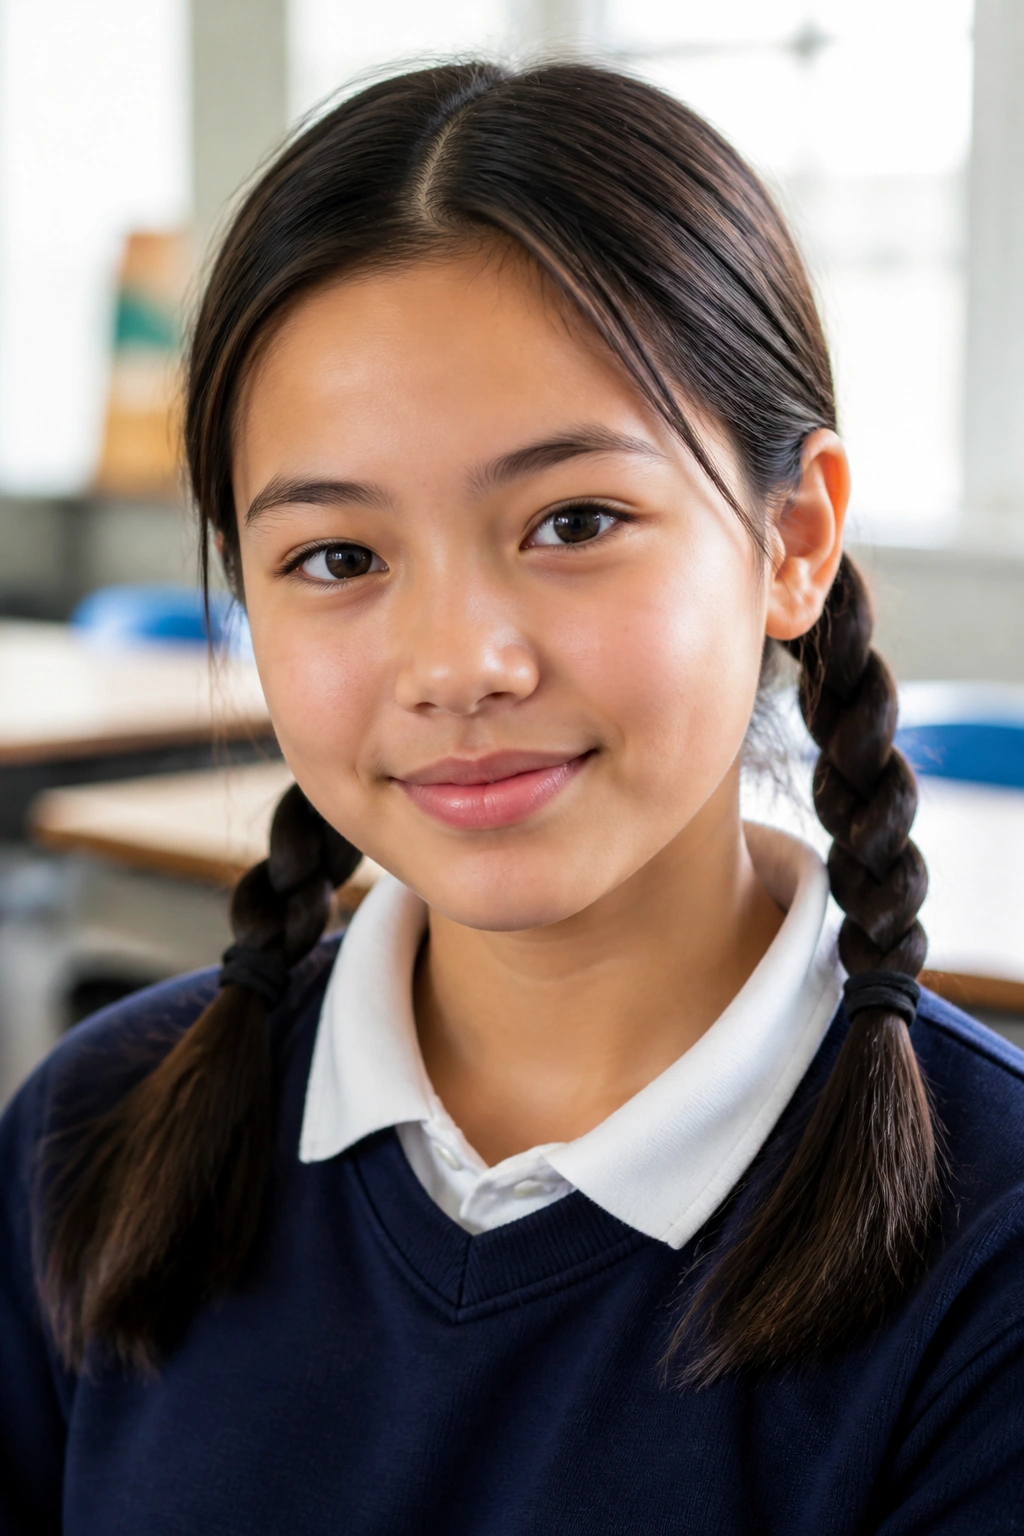
If mornings are chaotic, this is the move: brush, part, braid, tie, done. School-day pigtail braids do not need special extras to work. They need clean sections, steady hands, and a refusal to overcomplicate the whole thing before coffee.
Start with a middle or slightly off-center part, depending on what your hair does best. Make two low braids near the ears, keep the tension even, and stop worrying about perfect mirror-image symmetry. Neat enough is good enough when the bus is outside and your backpack is half-zipped.
A small detangler, a paddle brush, and two spare elastics in a drawer or backpack pocket make this style easier than people expect. That tiny backup kit matters more than a lot of styling advice. Missing one elastic at 7:20 a.m. is how good intentions become a ponytail.
This is the braid I would trust on a day that starts badly and needs to stay simple. No drama. No battle with the mirror. Just two braids that hold their shape until the final bell.
