



There is a specific, quiet satisfaction in the weight of a well-executed French braid. It isn’t just about keeping your hair out of your face; it is about the architecture of tension and the way the hair weaves together into a sturdy, intricate pattern. When you have long hair, you have the canvas to do almost anything with these weaves, from the classic single plait that pulls everything back to complex updos that look far more difficult than they actually are. Most people get stuck in the habit of doing the same variation every morning, but the French braiding technique is arguably the most versatile foundation in hairstyling.
Once you master the basic motion—crossing the outer sections over the middle one while adding new hair to each side—the possibilities become endless. Whether you are dealing with slippery, freshly washed hair that refuses to hold, or “second-day” hair that has just enough grit to stay put, these styles can be adapted to your texture. The secret isn’t just in the braiding; it is in how you prep, secure, and loosen the braid once you are finished. Let’s look at twenty ways to maximize this technique for long hair.
1. The Classic Single French Braid
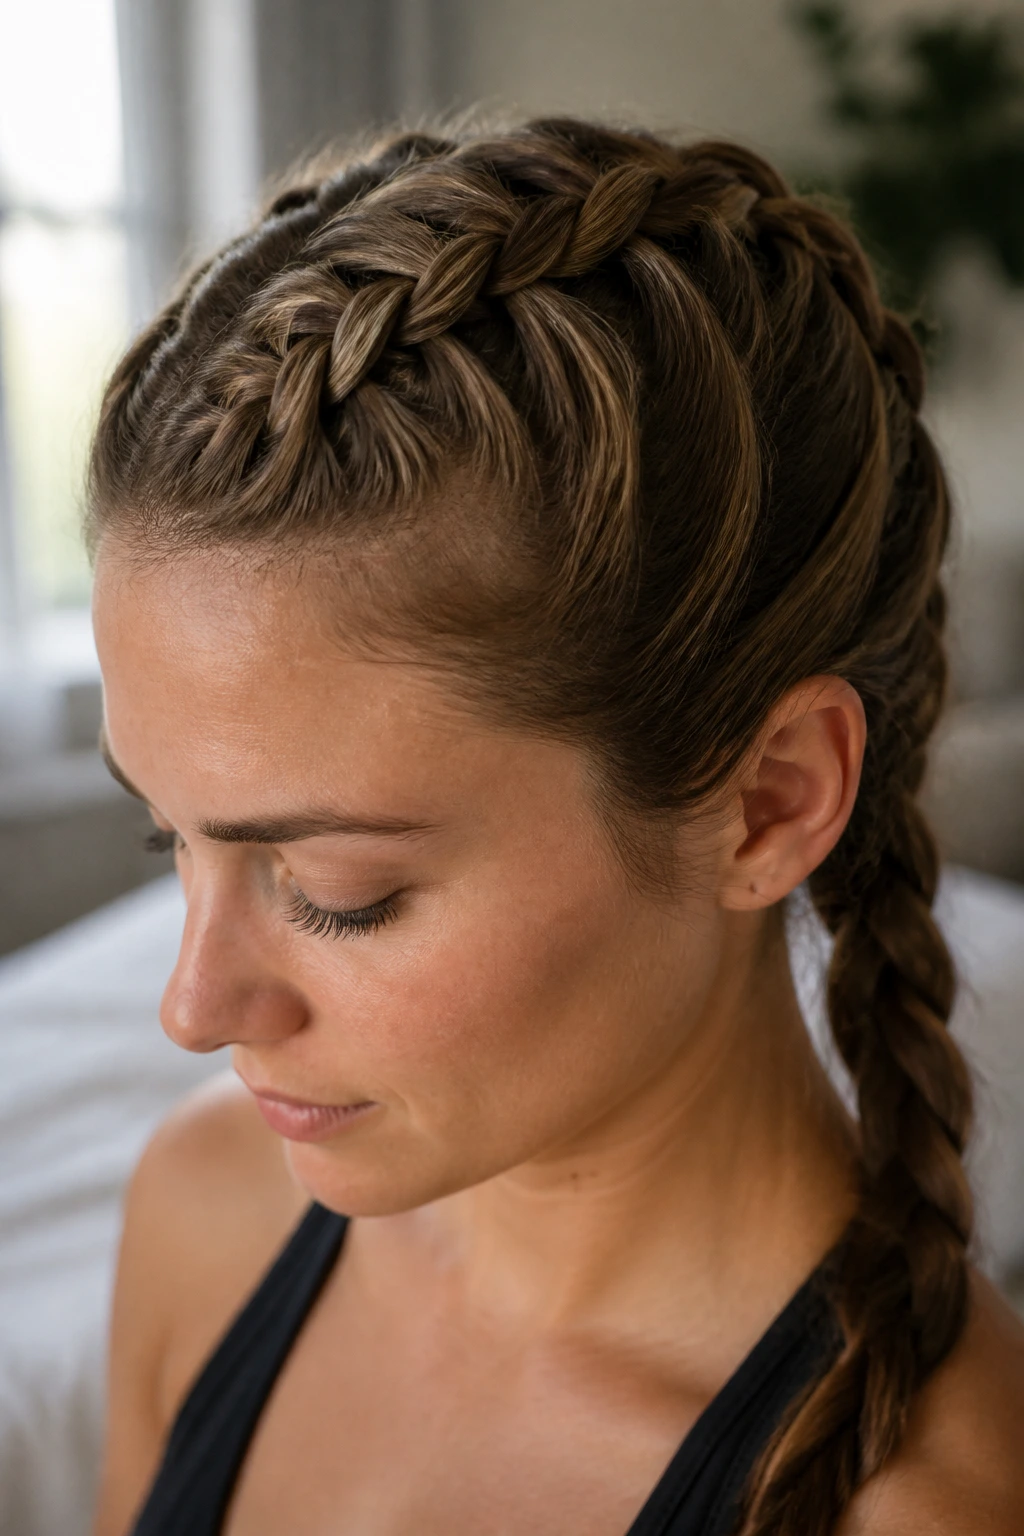
The foundation of every style on this list begins here. If you cannot master the single braid, the more complex variations will feel like a struggle. You want to start at the hairline, taking a small triangle of hair and dividing it into three equal sections. The key motion is simple: cross the right strand over the center, then the left strand over the new center.
Making It Look Polished
Before you start, mist your hair with a texturizing spray or a light dry shampoo. Clean, silky hair often slips right out of a French braid, which leads to loose strands and frustration. Adding grip makes the braid tighter and more uniform from the top to the ends.
Pro tip: Do not pull too tight at the root. If the braid is plastered against your scalp, it creates tension that can cause headaches and breakage. Keep the tension firm, but maintain a slight “bounce” or natural lift at the hairline to frame your face.
2. The Side-Swept French Braid
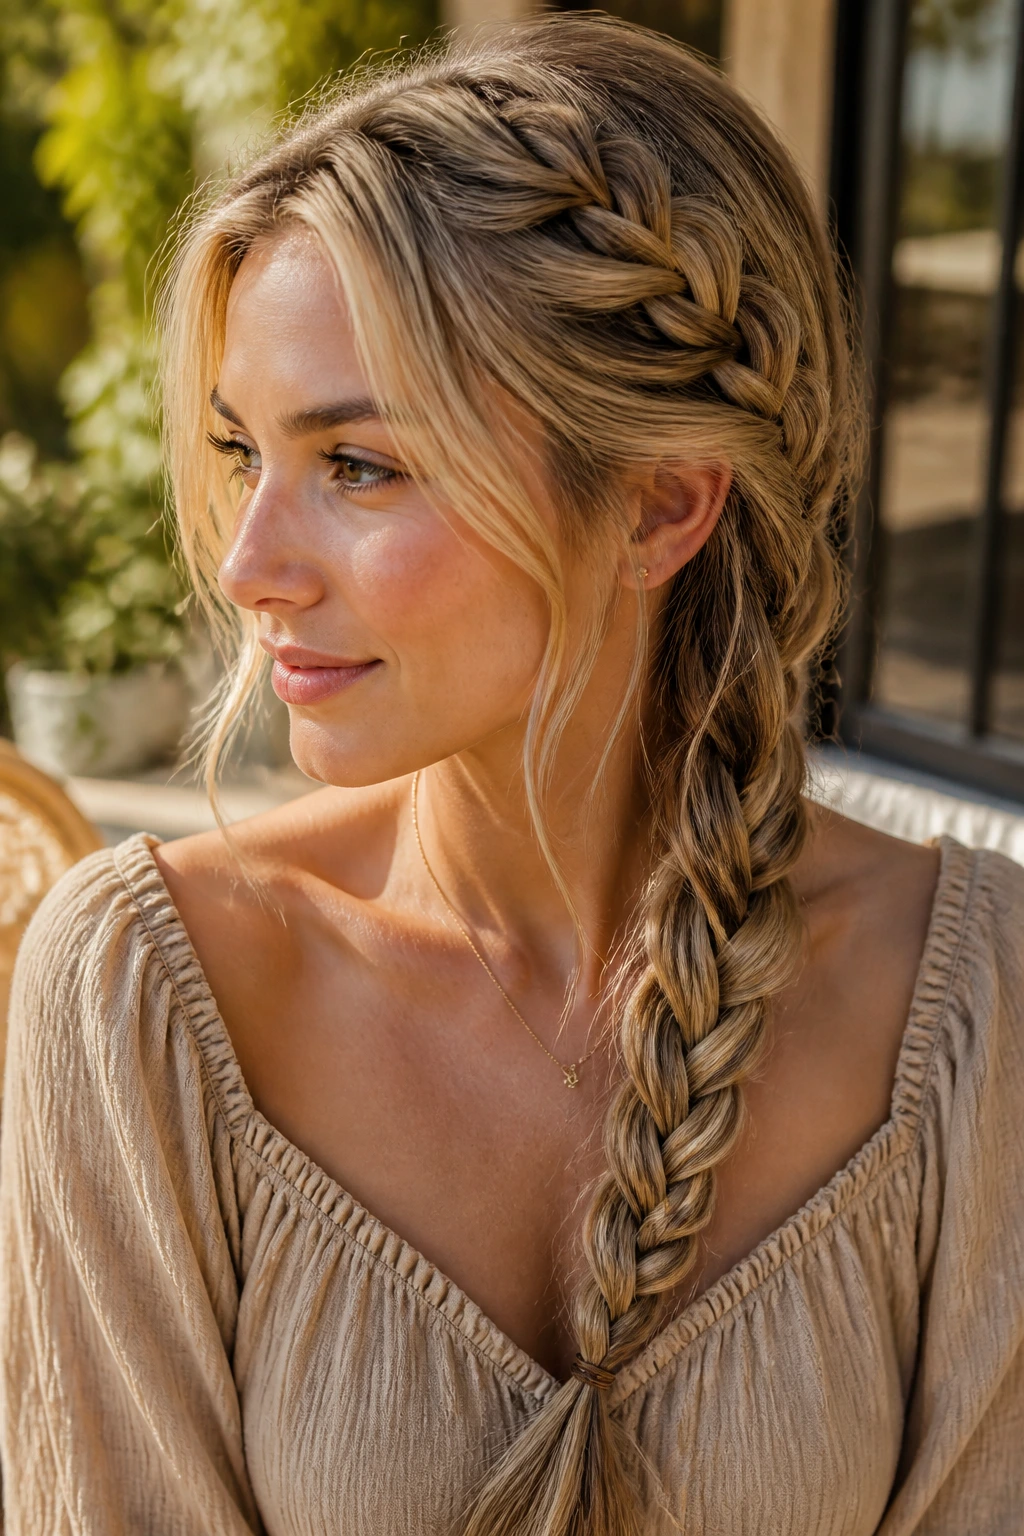
Sometimes you want the elegance of a braid without the utilitarian feel of a straight-down-the-back look. This variation shifts the braid to one shoulder, which adds a bit of asymmetry and softness to your profile. It works best if you have layers, as the shorter pieces will naturally peek out and create a wispy, romantic texture.
Start your braid at one temple, following the natural curve of your hairline toward the opposite nape of your neck. As you feed hair into the braid, continue to angle your hands downward. By the time you reach the ear, the braid should naturally fall over your shoulder. This prevents the “puckering” effect that happens when you try to force a straight braid to bend at an awkward angle.
3. The French Braid Into a Ponytail
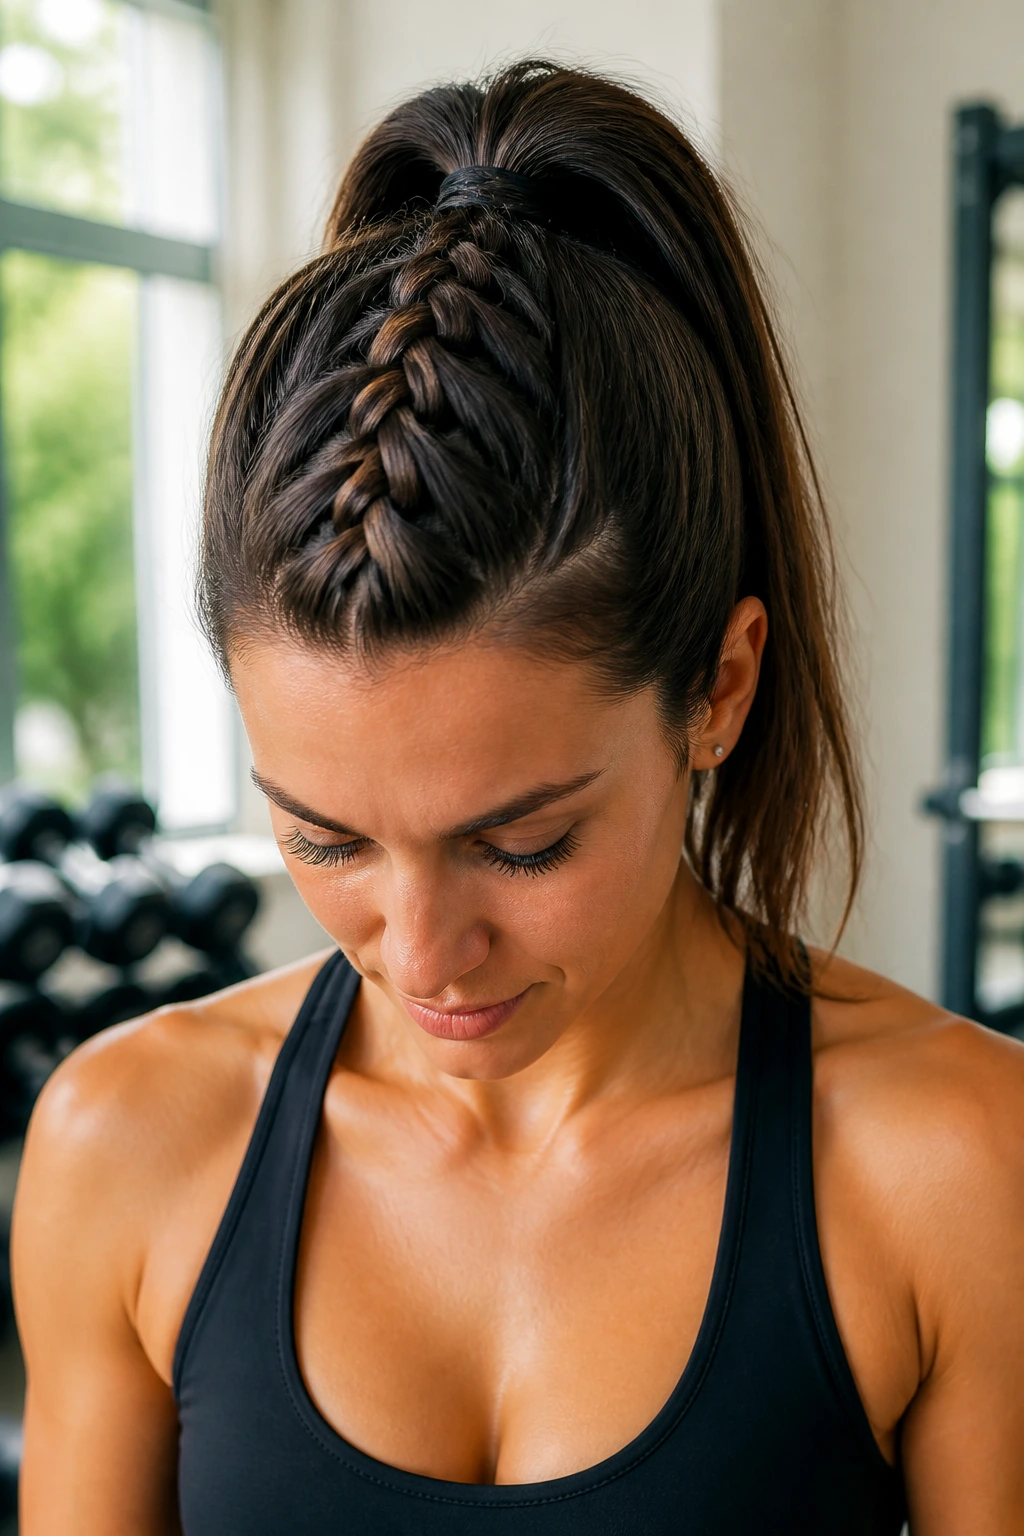
This is the ultimate “gym-to-brunch” style. You get the security of a braid at the scalp, but the freedom and swing of a ponytail at the end. Start your French braid at the forehead and continue it down to the crown of your head. Stop braiding once you hit the occipital bone—the bump at the back of your skull—and secure the rest of your hair into a ponytail.
When to Stop Braiding
- If you have a round face, stop the braid at the crown to add height and elongation.
- If you want a sleeker look, wrap a small section of hair around the elastic to hide the band.
- For a more casual vibe, pull a few face-framing pieces out before you start.
4. The Half-Up French Braid Crown
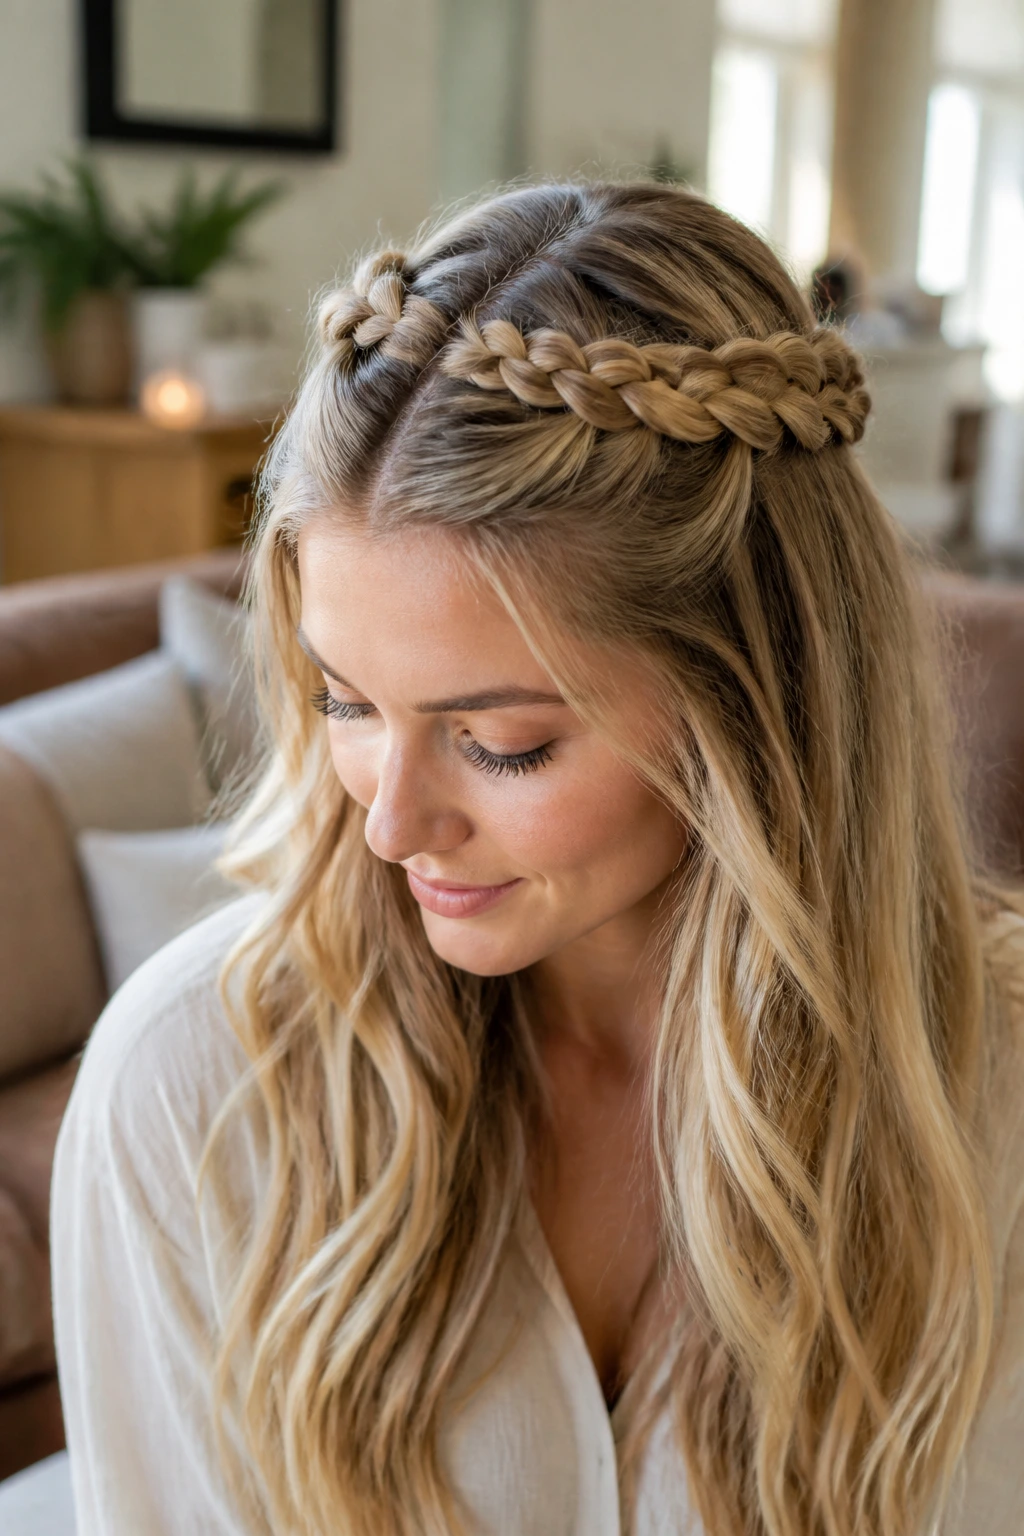
If you love the look of loose, flowing hair but need to keep it out of your eyes, this is the solution. You are essentially doing a “half-up” style but using a French braid to anchor the top section. Create two separate French braids, one on each side of your part, starting at the temples.
Bring both braids back to the center of your head and pin them together with bobby pins. This creates a halo effect that sits on the top layer of your hair. The rest of your length hangs loose, which is perfect if you want to show off a blowout or natural waves. Use clear mini-elastics for the ends of the braids so they blend into the rest of your hair without being obvious.
5. French Braid Pigtails
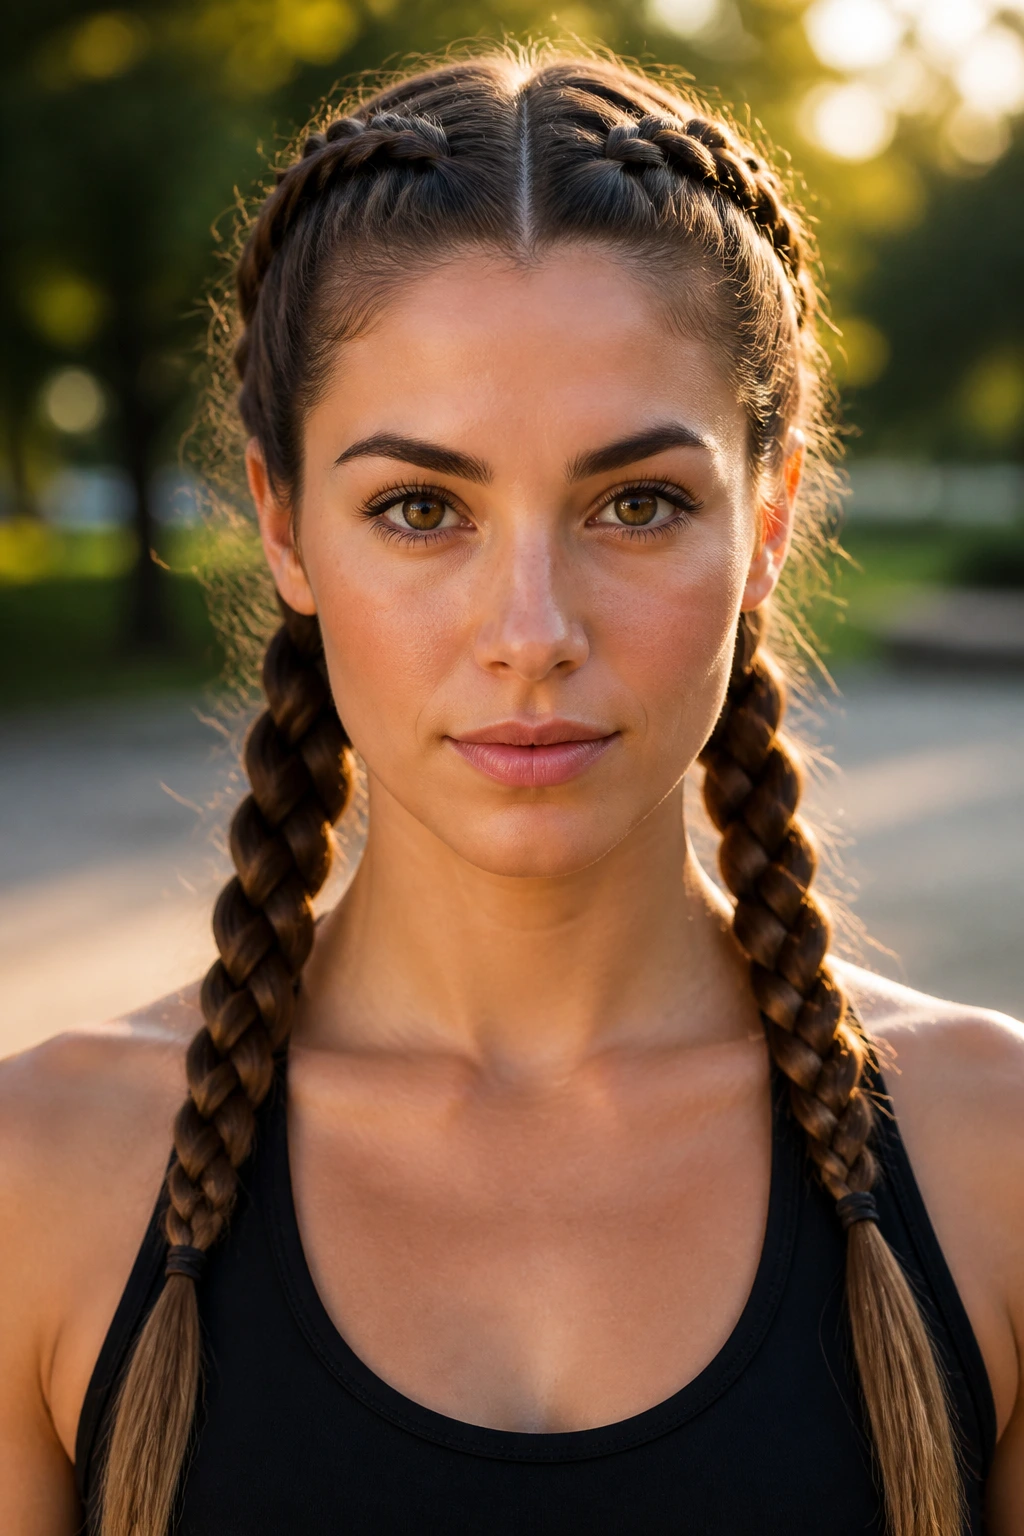
Pigtails have a reputation for being childish, but a French-braided version looks intentional and sporty. Part your hair straight down the middle, using the arch of your brow as a guide for a clean line. Secure one side with a clip while you work on the other so you do not accidentally pull hair from the wrong section.
Maintaining Even Tension
The biggest challenge here is ensuring both sides look identical. Pay attention to the amount of hair you pick up for each section. If you grab a large chunk on the right side and a small one on the left, the braids will look uneven. Keep your eyes on the mirror and check the size of the sections you are adding as you work your way down.
6. French Braid Space Buns
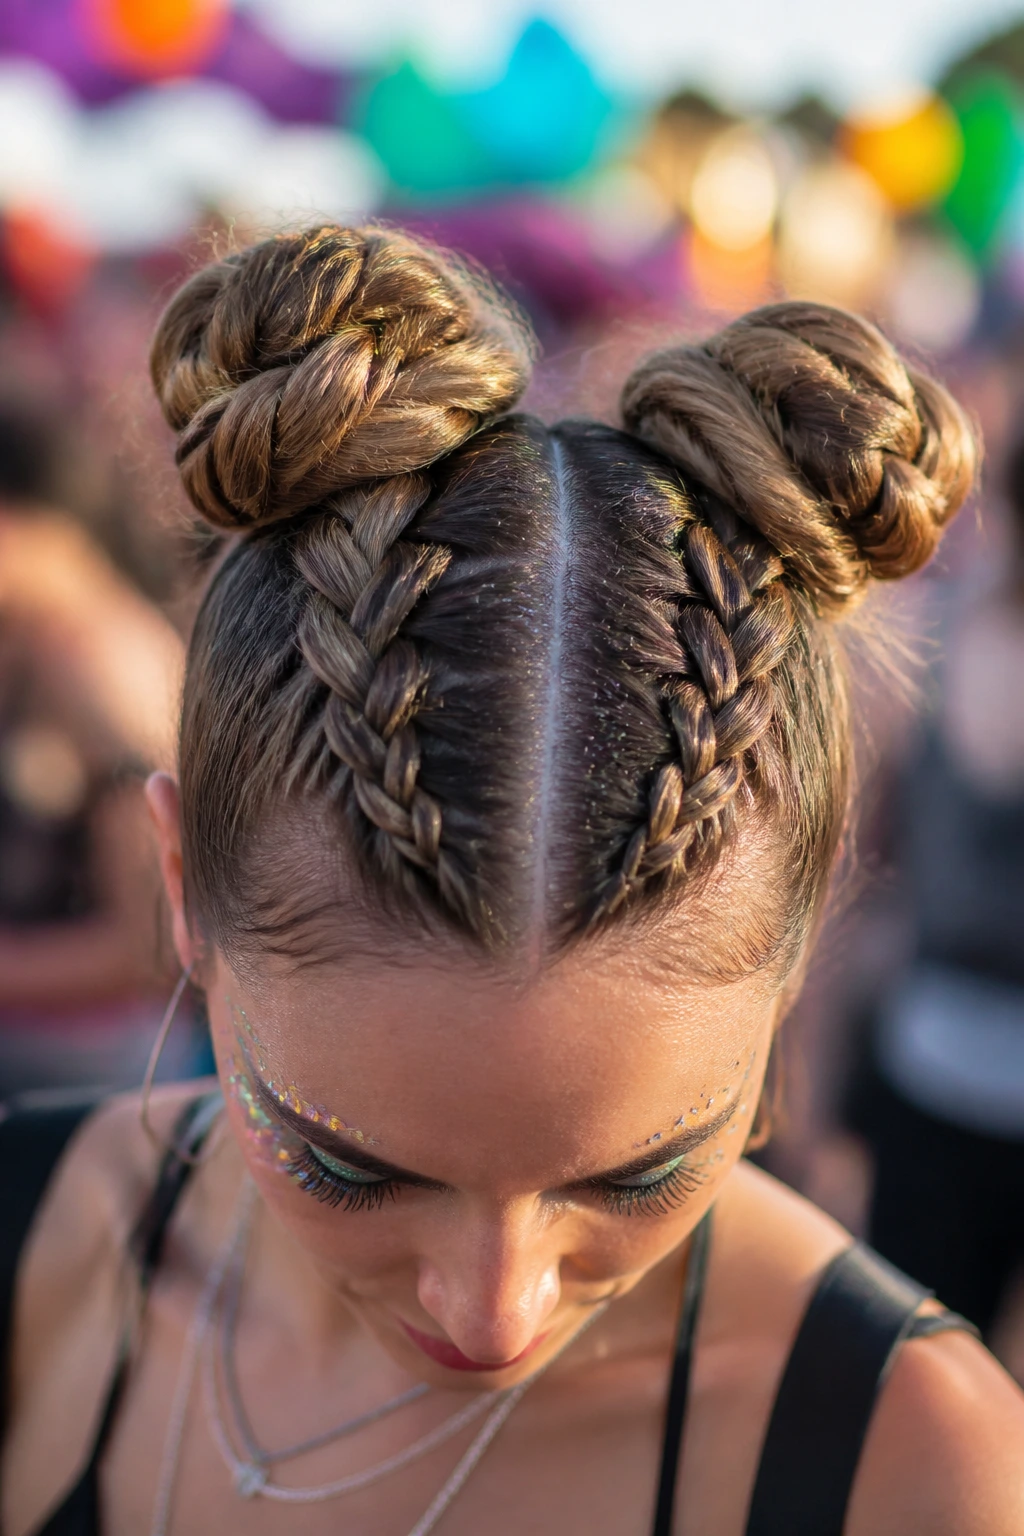
This is a fun, youthful look that works incredibly well for festivals or active days. Start by creating the French braid pigtails described in the previous section. Instead of braiding all the way to the ends, stop at the crown of your head and secure the remaining loose hair into a high ponytail.
Twist the ponytail around the base of the elastic to form a tight bun. Pin it securely in place. The French braid acts as a structural anchor, keeping the base of the bun flat and preventing it from sagging as you move throughout the day. It’s a secure, high-impact style that holds up through wind and movement.
7. The Faux-Hawk French Braid
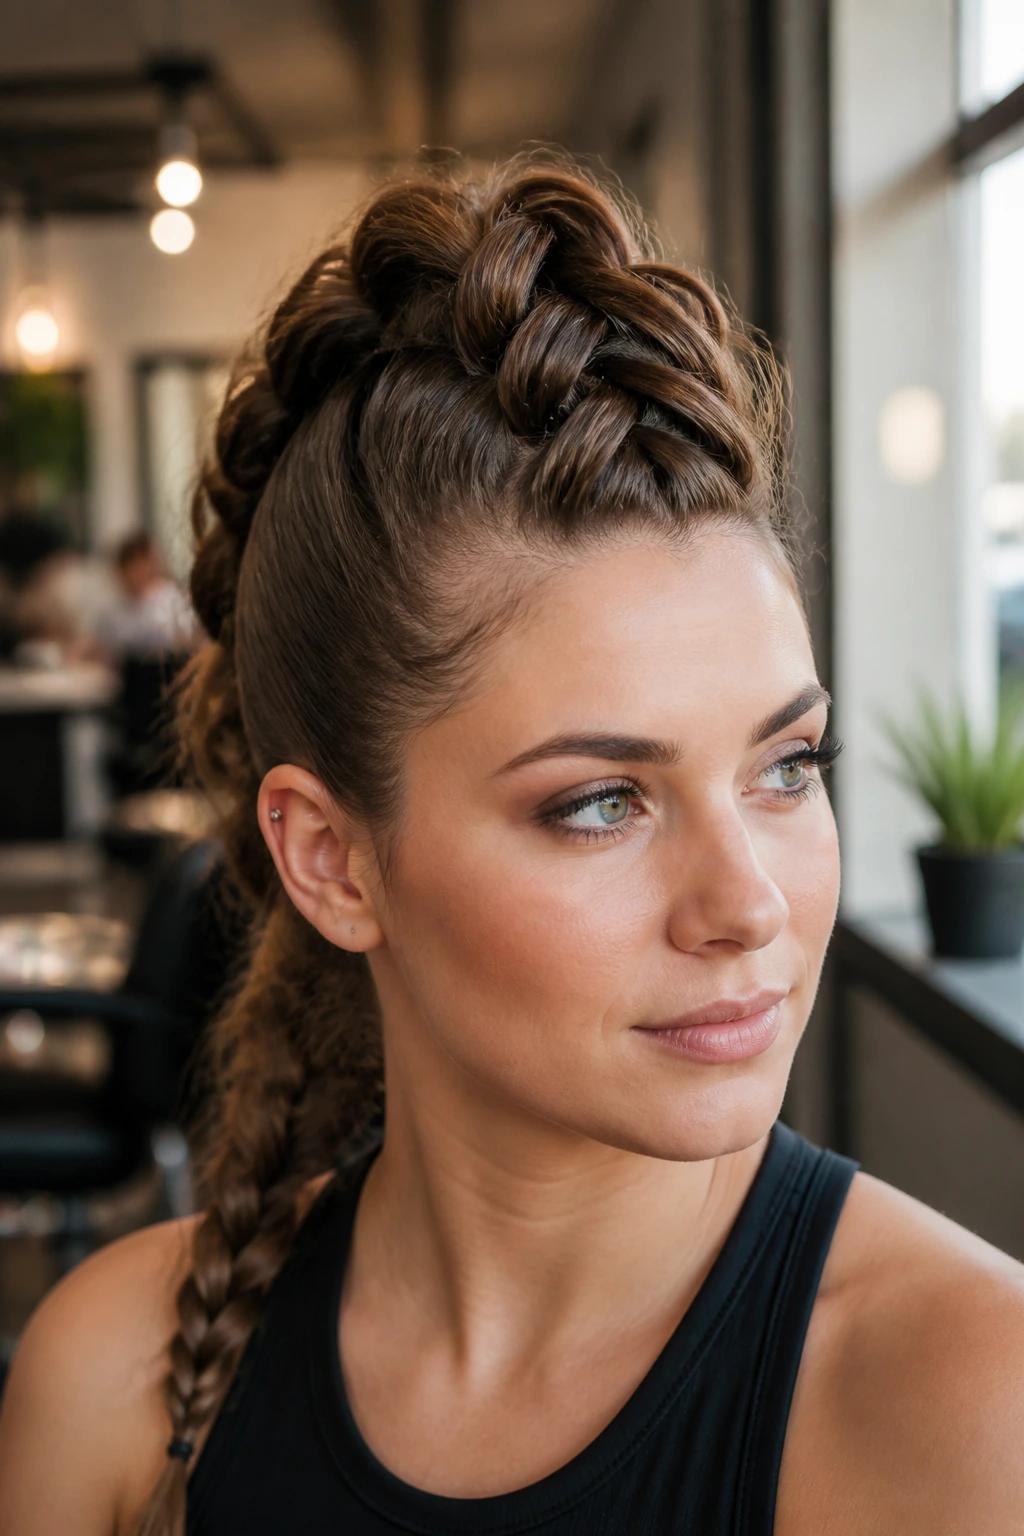
If you want something edgy, this is your best option. You are essentially creating a French braid right down the center of your head, but with a twist. The goal is to maximize the height and volume of the braid so it stands up like a mohawk.
To achieve this, add hair to your braid, but keep your hands positioned directly over the center line. As you finish the braid, go back through and gently tug on the edges of the loops to “pancake” them. Pulling the sides of the loops wide creates that exaggerated, voluminous width that mimics a faux-hawk silhouette.
8. The French Braid Into a Messy Bun
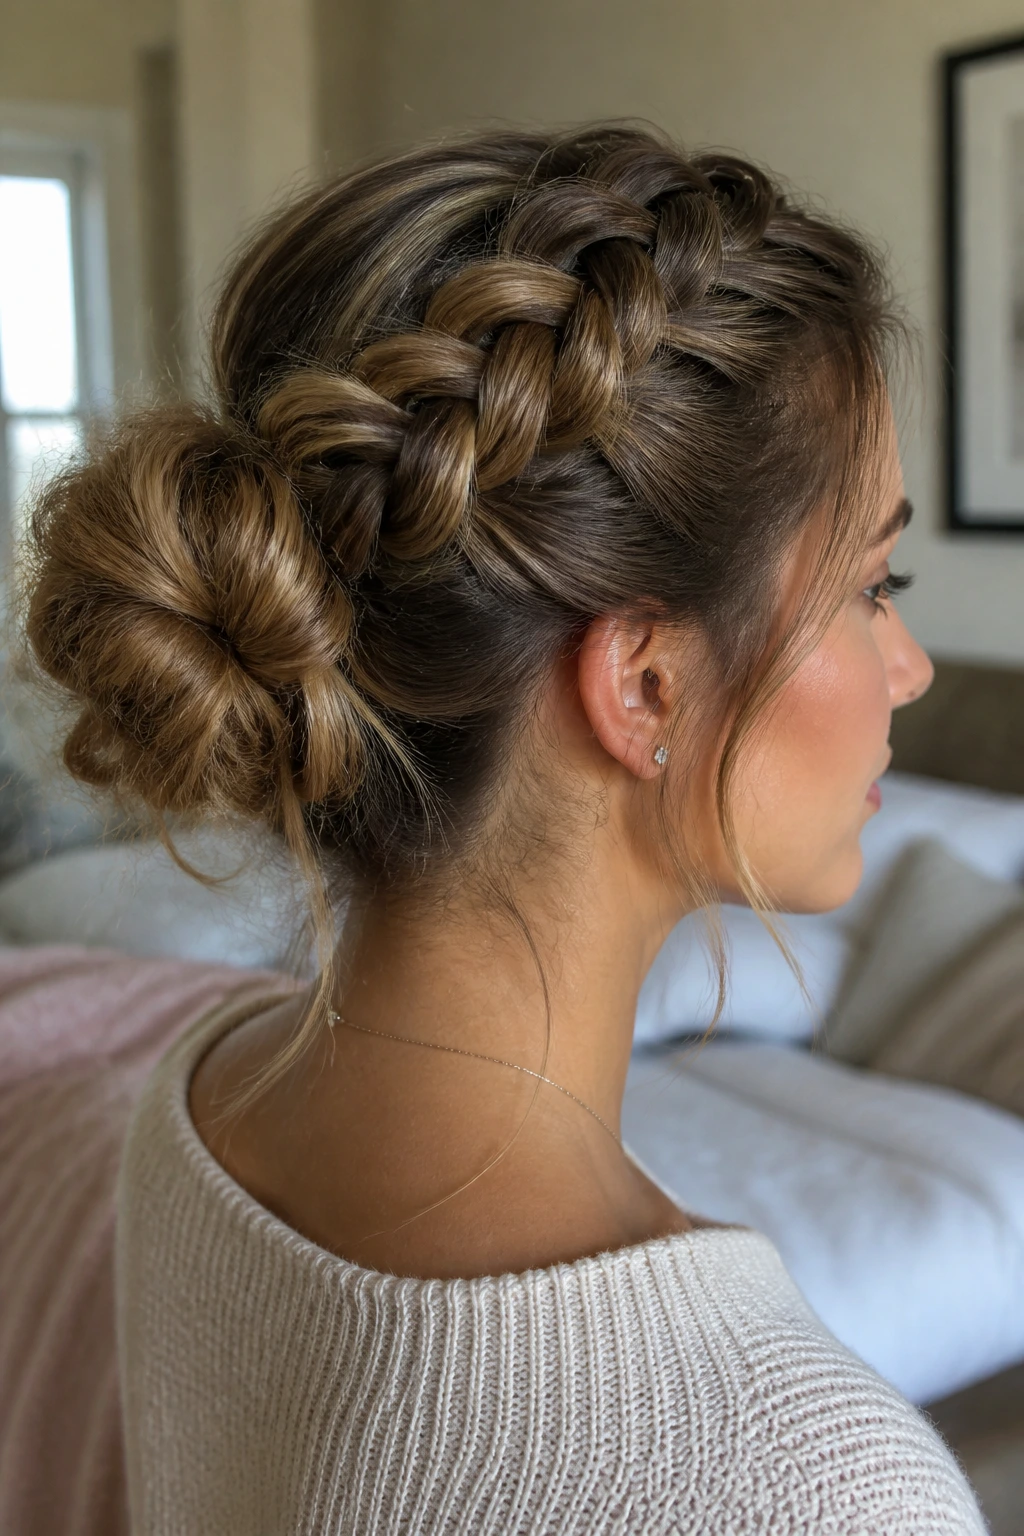
Sometimes, a standard bun feels too severe, and a loose bun feels too messy. This style finds the balance. Start a single French braid at your hairline and take it all the way to the nape of your neck. Secure it with a hair tie.
Instead of finishing with a ponytail, twist the remaining hair into a loose bun at the nape. Use hair pins—not heavy elastics—to secure the bun. The braid provides the texture and detail at the scalp, while the bun keeps the ends tidy. It is a sophisticated, “I just threw this together” look that actually requires a few minutes of effort.
9. The French Braid Headband
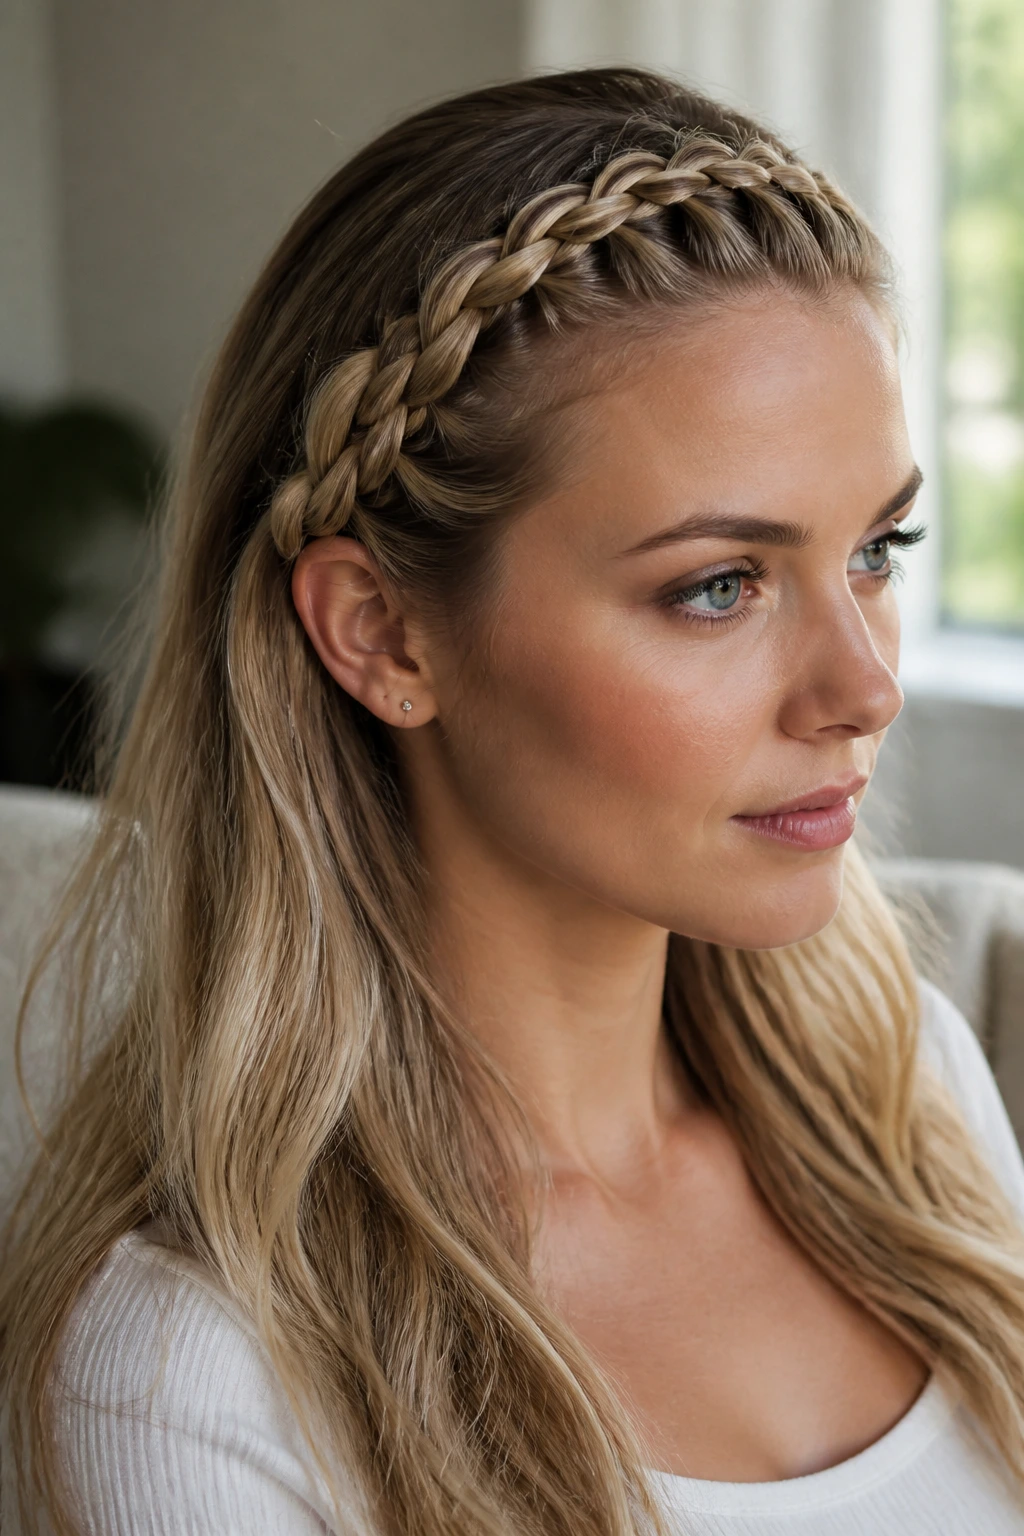
This is a lifesaver for growing out bangs or just managing hair that likes to fall into your face. Part your hair along your natural hairline, separating the front section that you would use for a headband. Clip the rest of the hair back so it does not get in the way.
Begin a French braid at one temple, working your way along the hairline toward the other ear. As you braid, feed hair only from the front, keeping it close to the face. Once you reach the opposite ear, stop adding new hair and finish with a standard three-strand braid. Pin the end of the braid behind your ear, tucking it under the loose hair.
10. The Fishtail-French Braid Hybrid
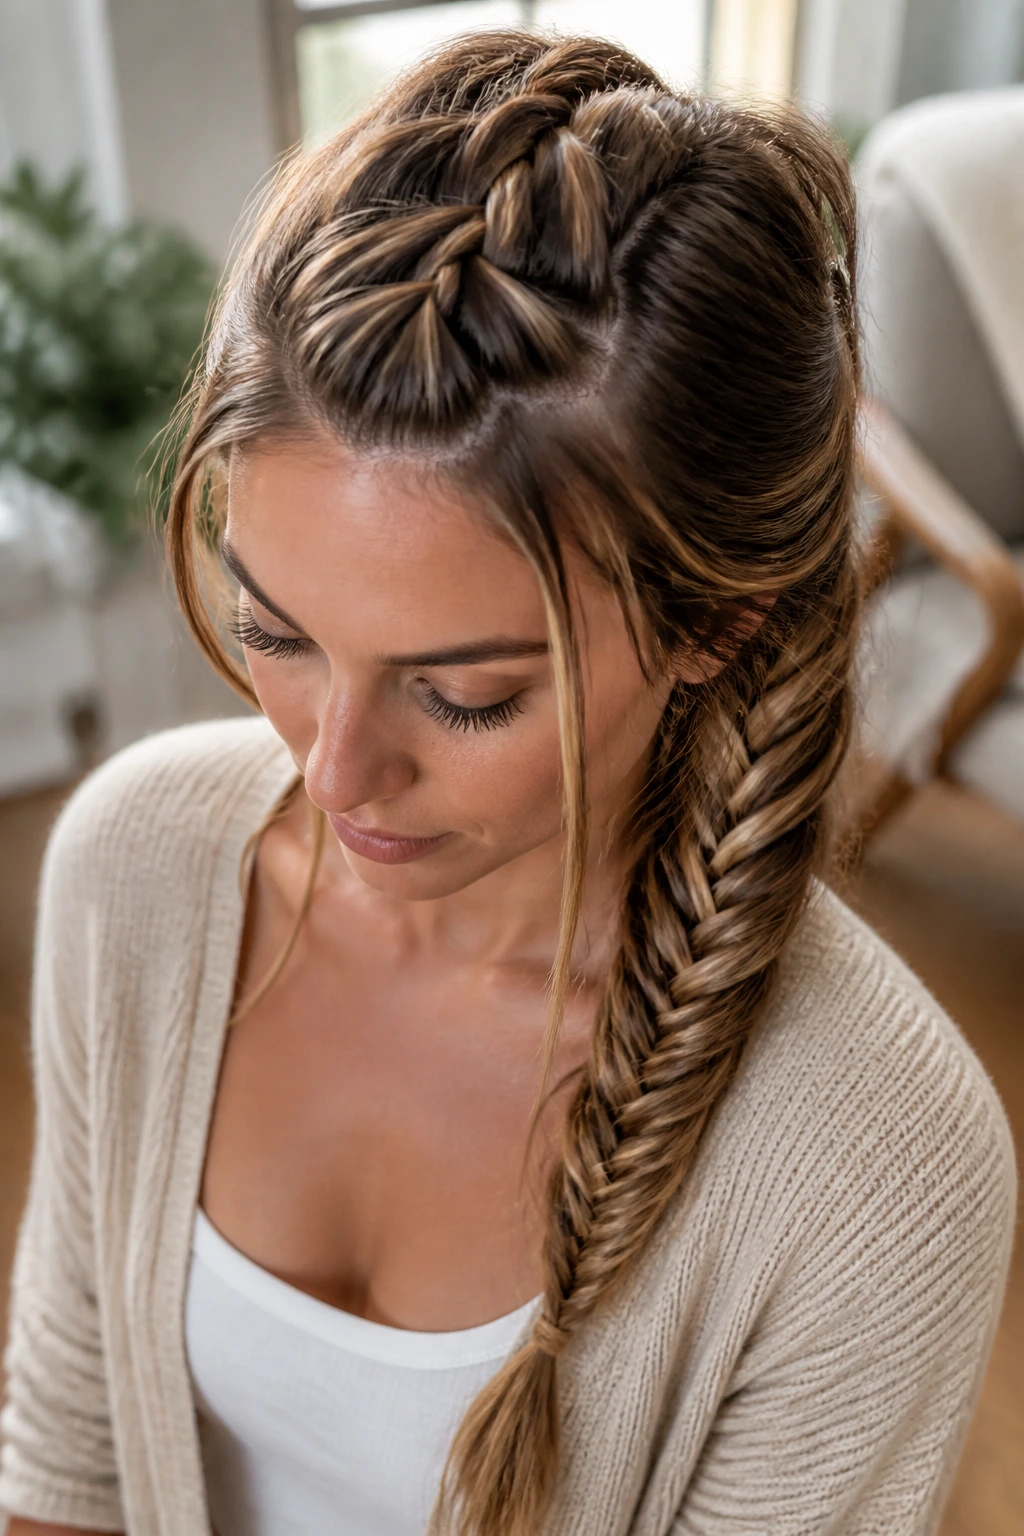
You get the best of both worlds with this one: the structural hold of a French braid and the intricate, woven look of a fishtail. Start with a French braid at the top for about two inches, just enough to secure the hair at the scalp.
Switching Techniques
Once you reach the crown, gather the three strands of your French braid into two larger sections. Begin a fishtail braid by pulling thin strands from the outer edge of one section and crossing them over to the other. This creates a seamless transition that looks highly complex, even though you are just using two techniques you likely already know.
11. The French Braid High Bun
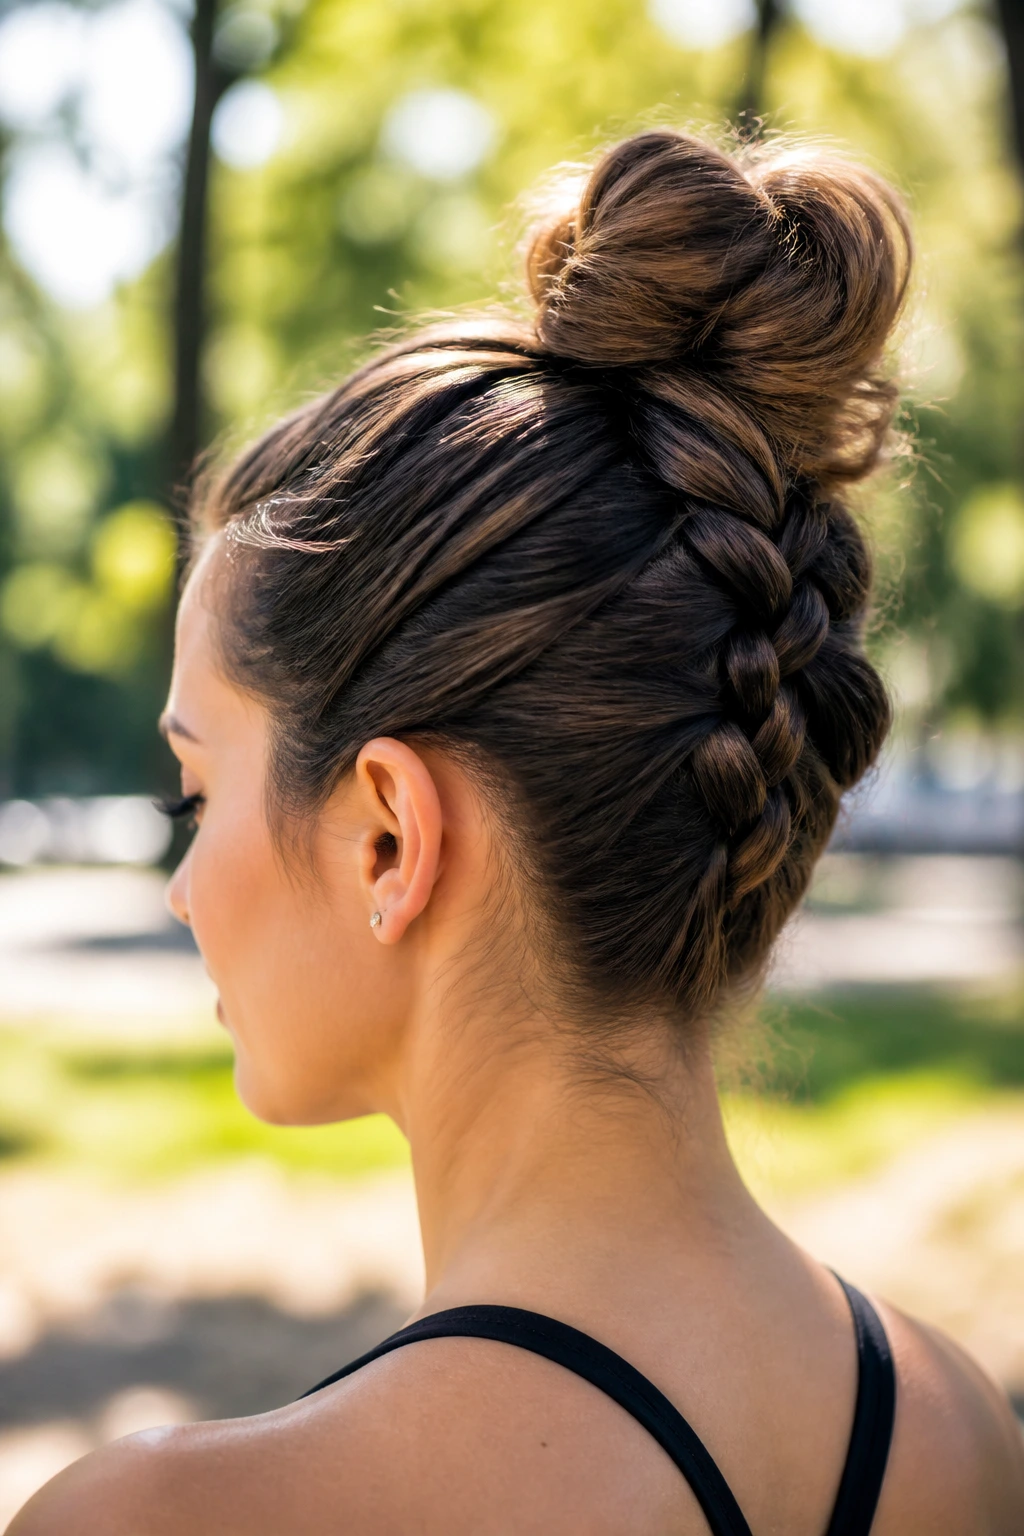
If you need your hair totally secure for a workout or a hot summer day, this is the way to go. Flip your head upside down and begin a French braid at the nape of your neck, working your way up toward the crown. This is often called a “reverse” French braid, as the motion is the same but the direction is inverted.
Once you reach the top of your head, gather all the hair into a high bun. Because the braid starts at the nape and goes up, you won’t have those annoying “flyaways” at the back of your neck that usually fall out of high buns. It is a cleaner, more polished way to wear your hair up.
12. The Scarf-Integrated French Braid
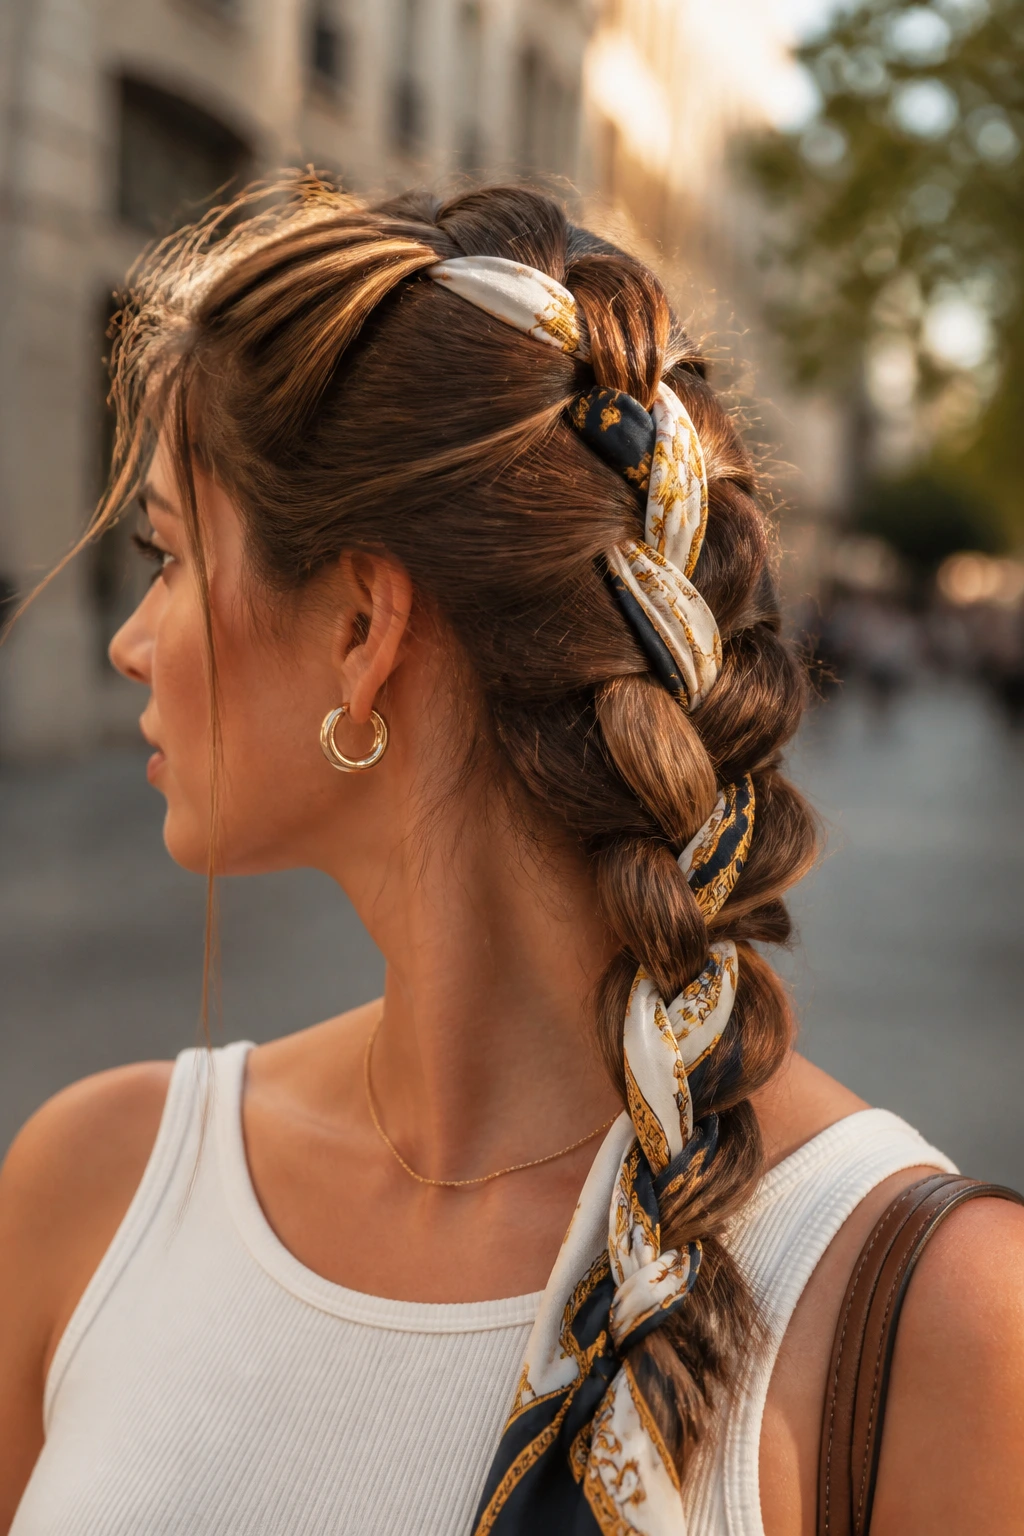
Adding a silk or cotton scarf to your braid changes the entire vibe of the style. It adds volume, color, and a bit of bohemian flair. Start your French braid, but fold your scarf in half and tie it around the center strand before you begin.
Now, your three sections for braiding are: the left strand of hair, the right strand of hair, and the center section which is now a combination of your hair and the two scarf tails. As you braid, the scarf will weave through the plait, creating a thicker, more textured appearance. It is a fantastic way to make a thin braid look much fuller than it actually is.
13. The French Braid Low Chignon
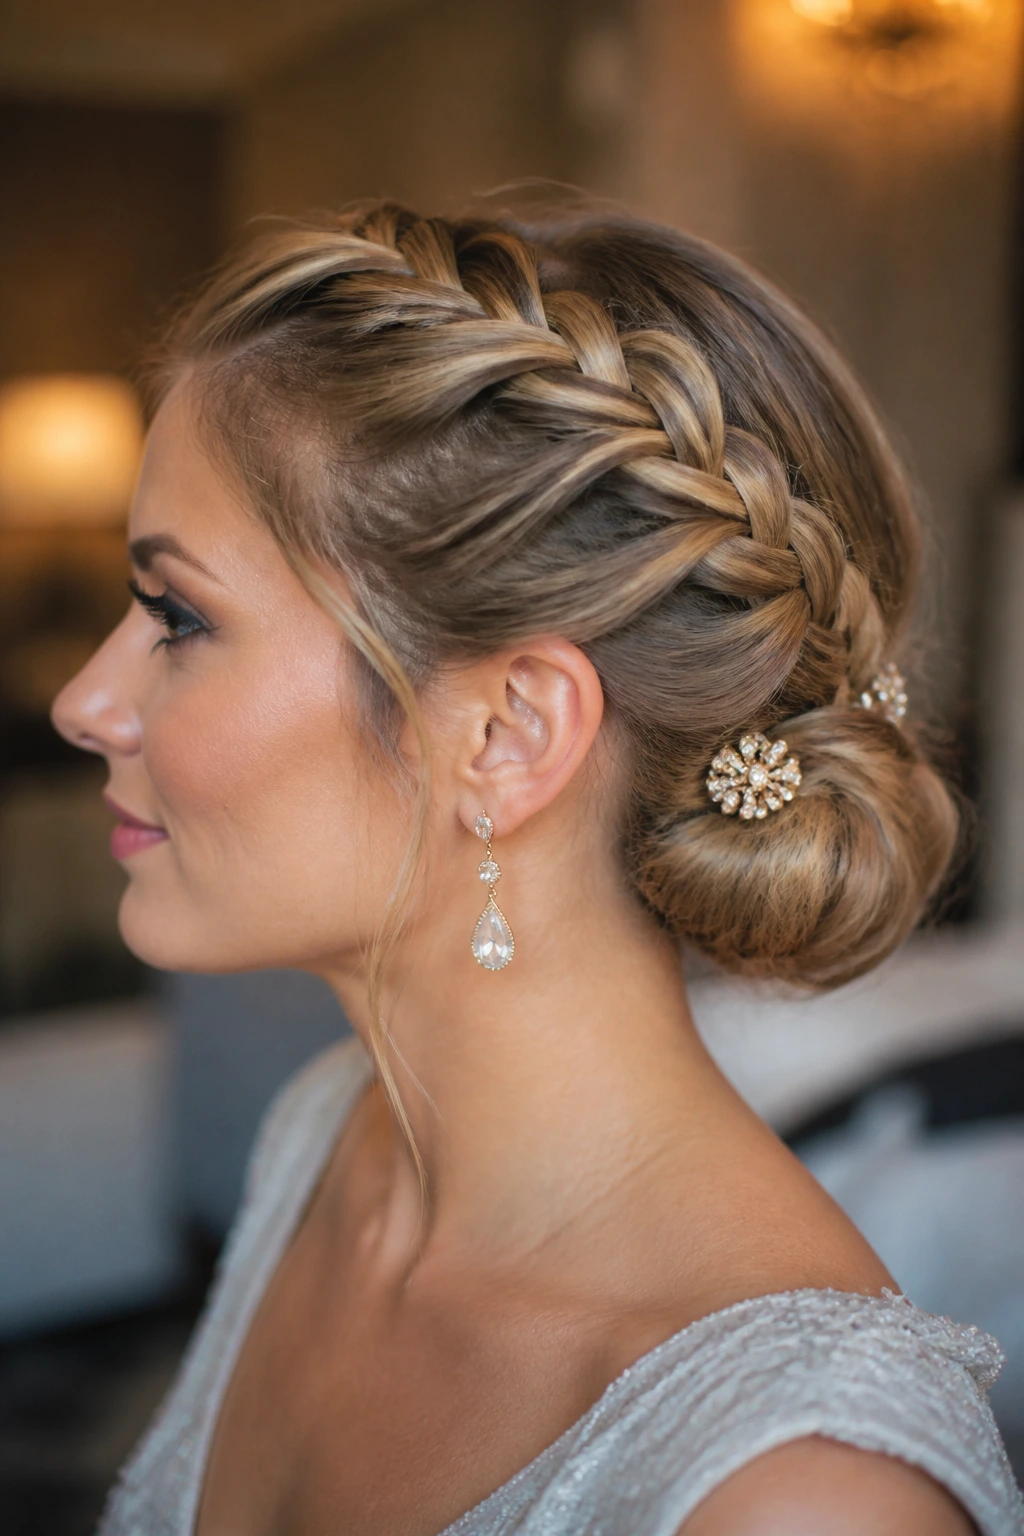
For formal occasions, you want something that sits low and looks deliberate. Start with a side-parted French braid that follows the hairline. As you braid, keep your tension loose and pull the sections slightly to the side.
When you reach the nape of your neck, gather the remaining length and roll it into a chignon. You can use a decorative clip or a jeweled barrette to secure it. This style looks intentional and elegant, and because it is anchored by the French braid, it will not slip or loosen throughout the evening.
14. The French Braid Twisted Crown
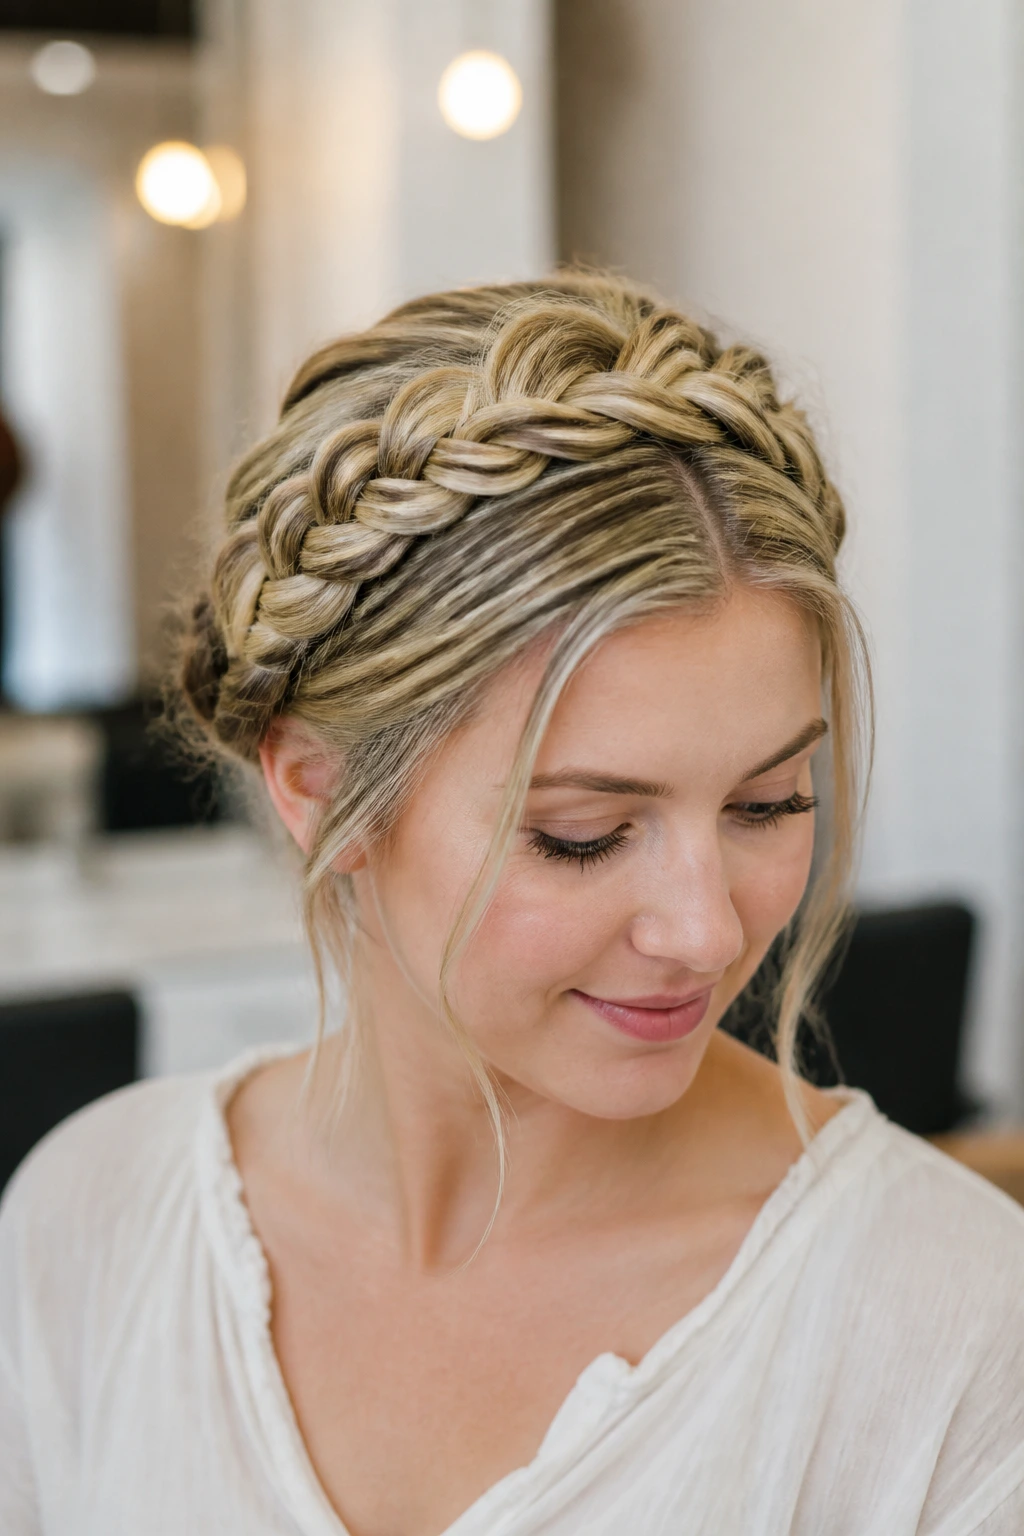
This is a bit more intricate, involving pinning and tucking. Start by creating two French braids, one on each side of your head, starting from the temples. Braid all the way to the ends and secure them with small, clear elastics.
Instead of leaving them hanging, cross the braids over the top of your head, creating a crown shape. Pin them into place with bobby pins that match your hair color. This is a classic “milkmaid” style, but using the French technique at the beginning gives it a much cleaner start than just twisting two standard braids.
15. The Waterfall French Braid
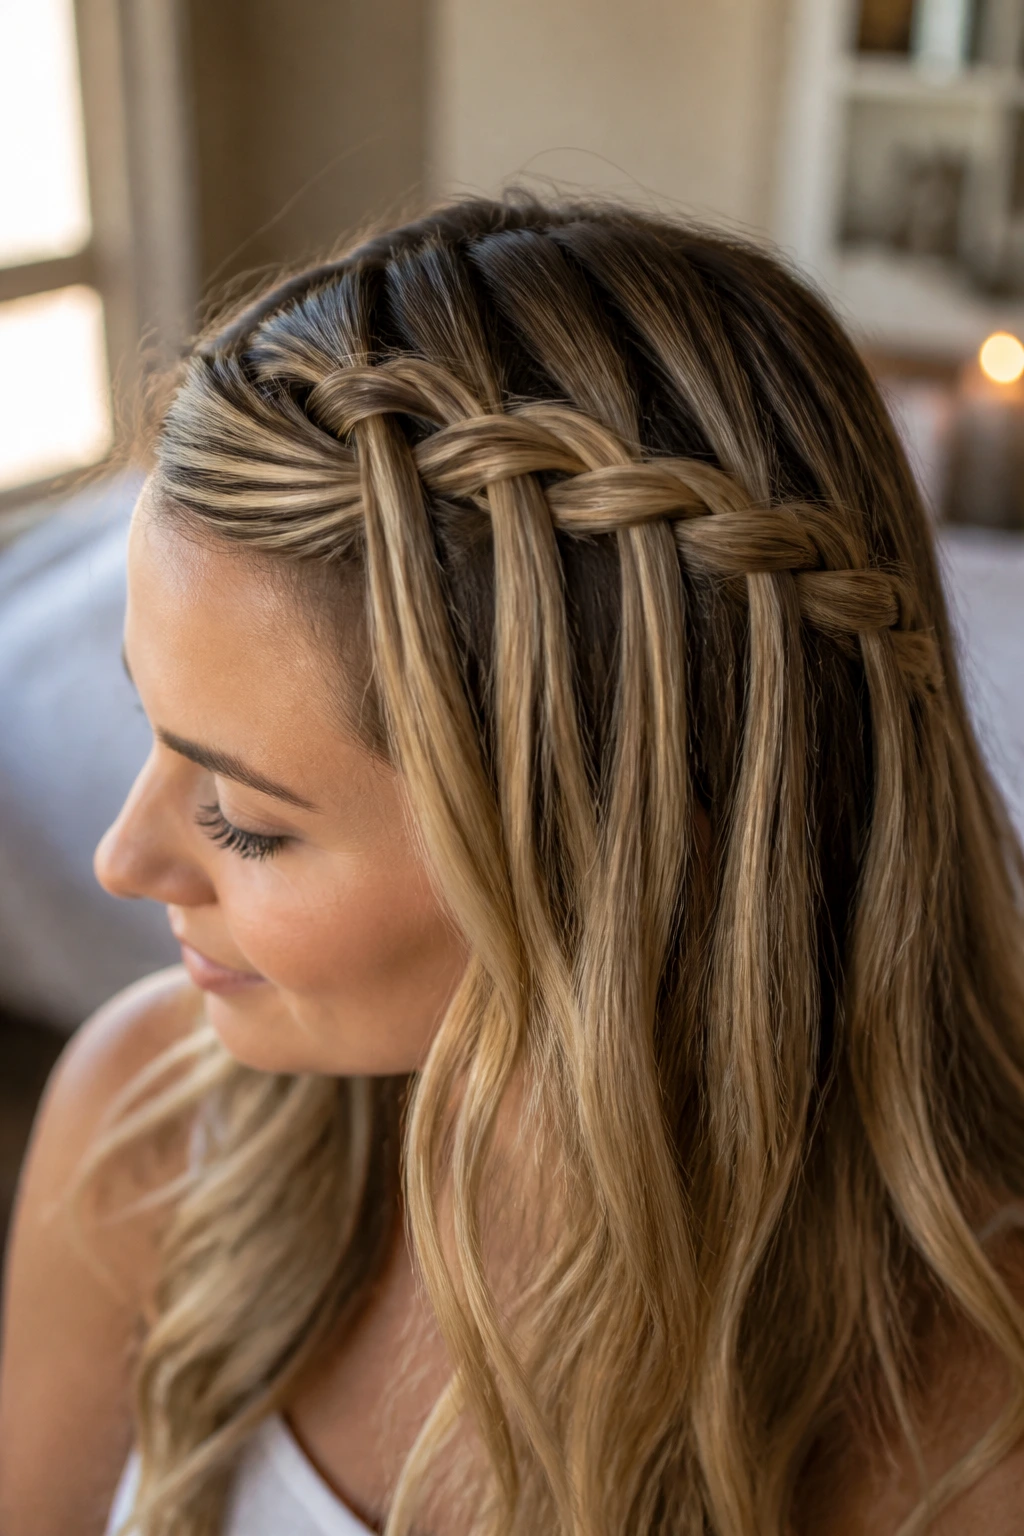
The waterfall braid is all about letting sections of hair “drop” from the braid as you go. Start your French braid at the temple. Instead of adding a new section of hair and pulling it into the braid, you pull a strand through the braid and then let it drop down.
Mastering the Drop
Every time you cross the top strand of your French braid, leave it hanging and replace it with a new section of hair from underneath. This creates a cascading, waterfall effect with the loose hair. It takes a little practice to get the tension right, but it is one of the most visually interesting ways to wear your hair.
16. The Double French Braid Halo
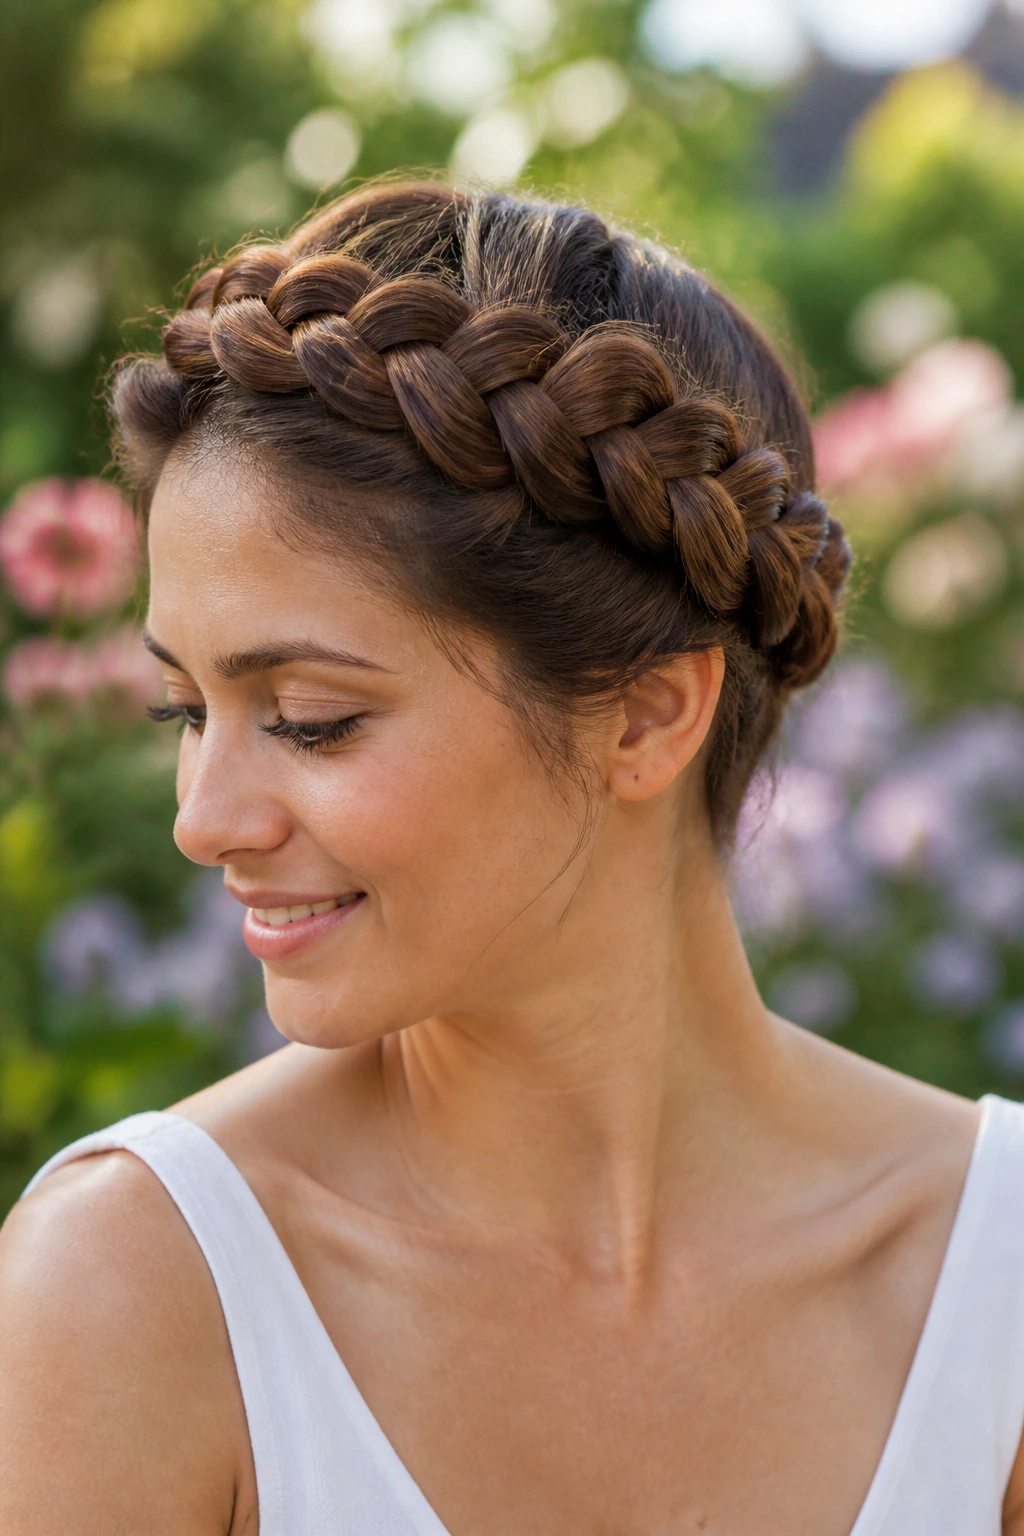
This style encircles the entire head. You start behind one ear and braid around the hairline, picking up hair only from the outside of the circle. You are essentially mapping out a circle with your braid.
Continue this until you have gone all the way around your head and met the starting point. Hide the ends by tucking them under the beginning of the braid and pinning them securely. This keeps the hair entirely off your neck and face, making it a great choice for hot weather or intense activities.
17. The French Braid Accent
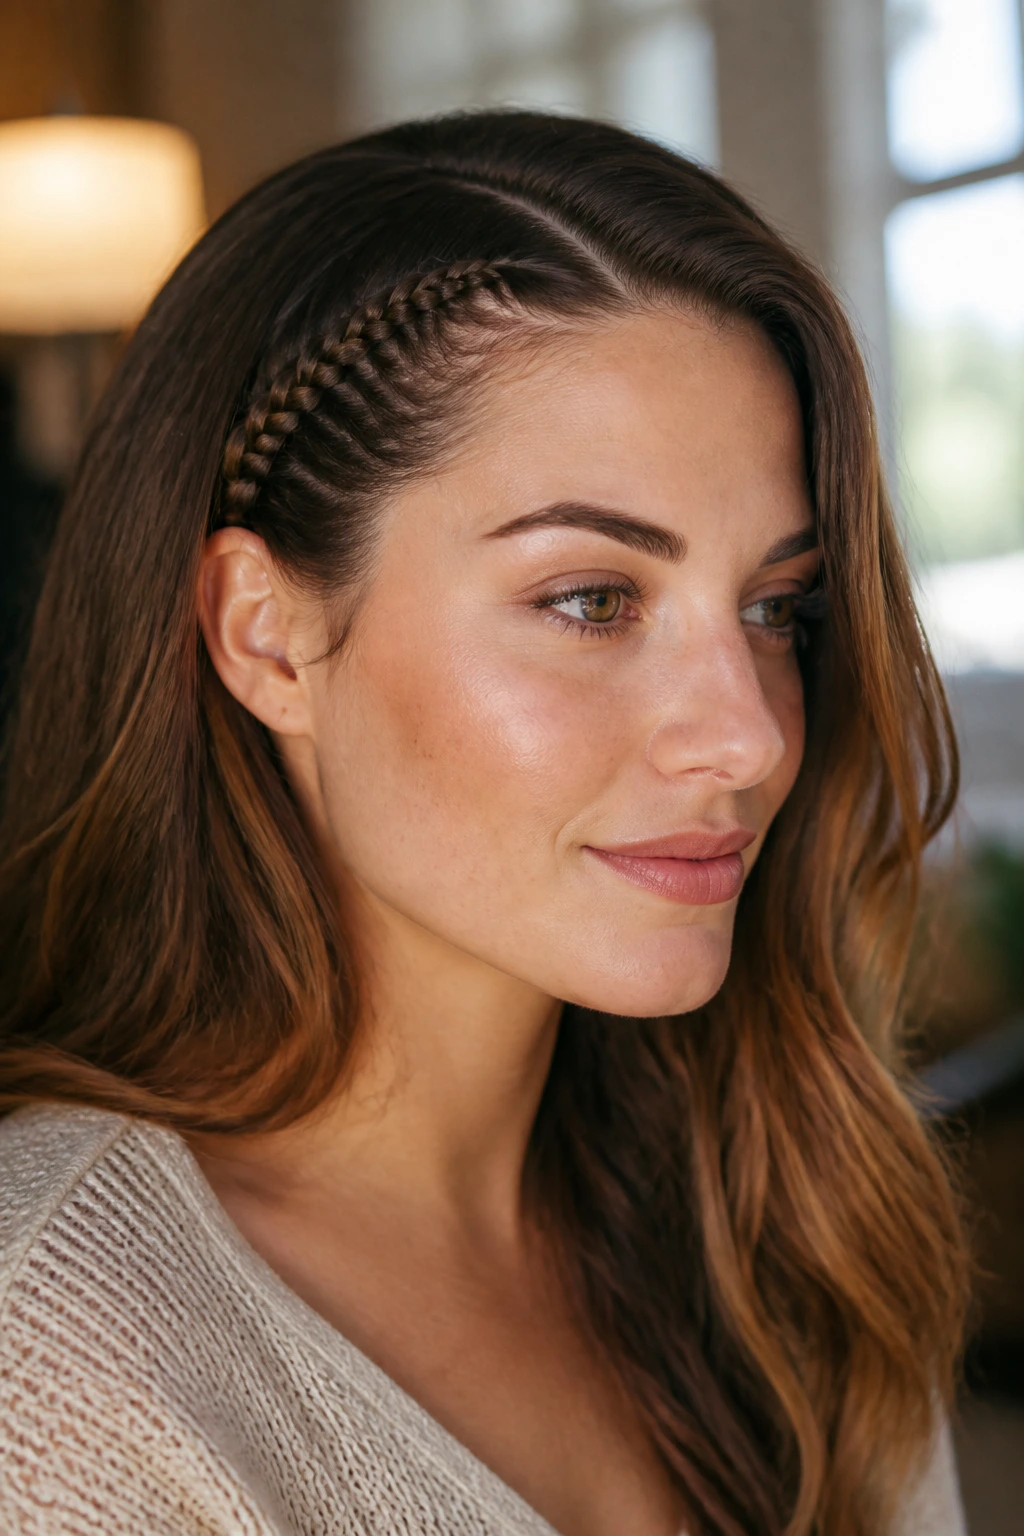
Sometimes, you just want to add a little detail without braiding your whole head. Leave your hair loose and part it where you usually do. Take a small section of hair near your part and start a narrow French braid.
Keep this braid tight and close to the scalp. After about three or four inches, stop adding new hair and finish with a standard three-strand braid. Pin the braid behind your ear, allowing the rest of your hair to cover the end. This is a subtle, pretty detail that makes loose hair look more styled and intentional.
18. The Side-Braid French Plait
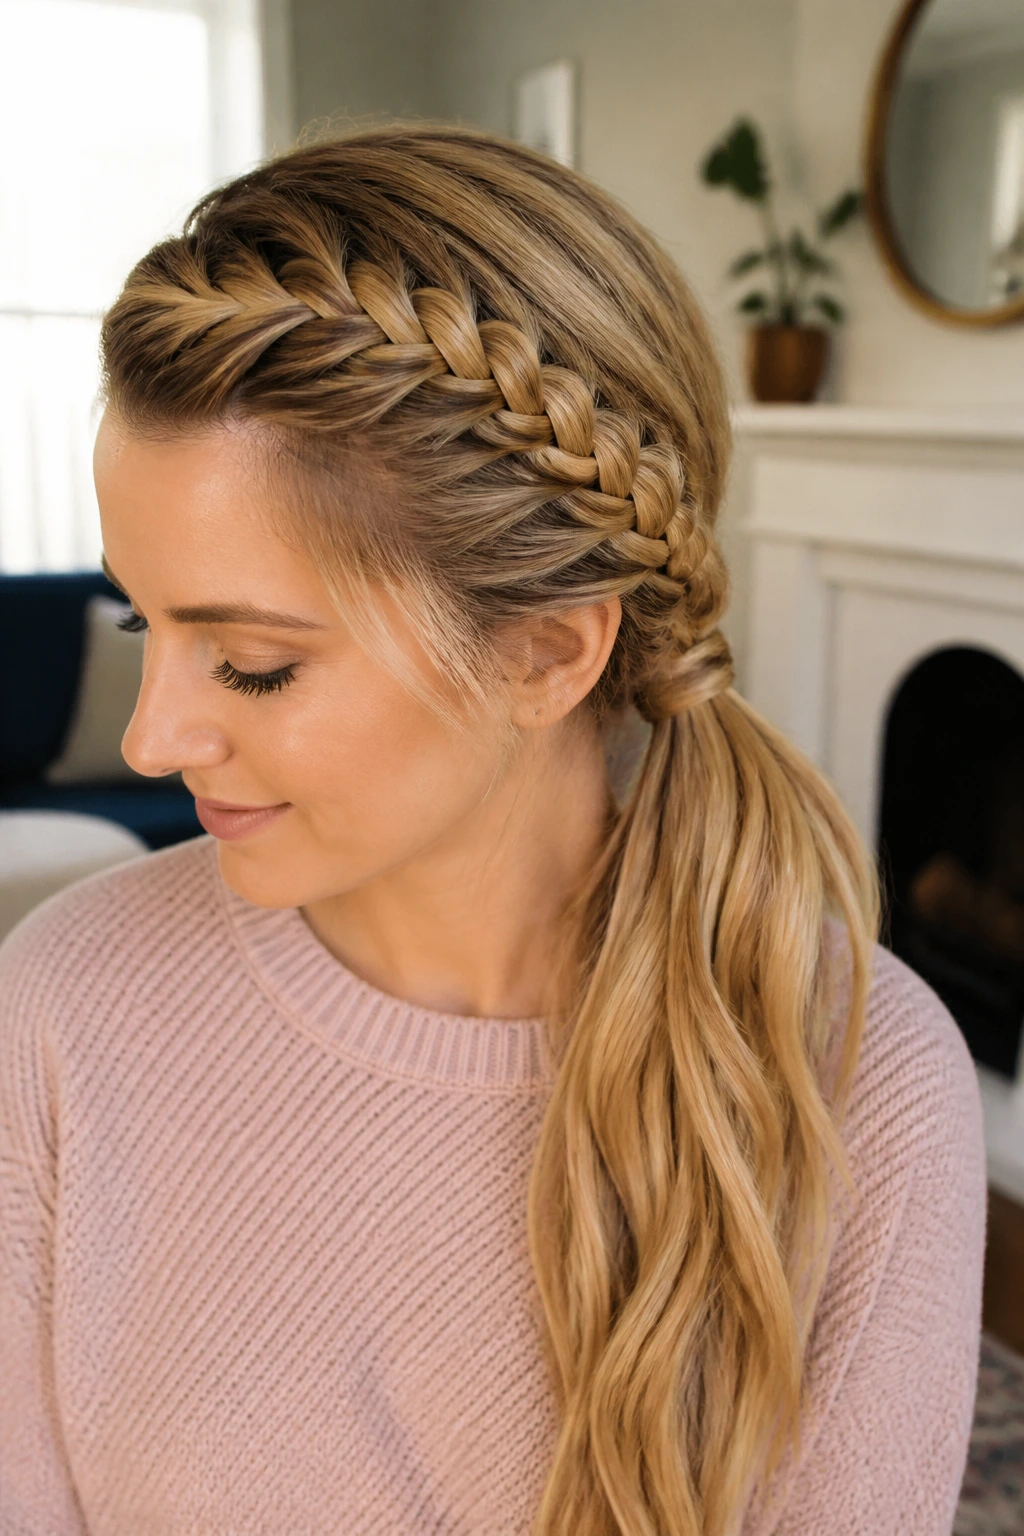
If you prefer a side-part, you can use that to your advantage. Start a French braid on the side with more hair, beginning at the hairline. Follow the path of your part, braiding diagonally across the top of your head toward the opposite ear.
This creates a sweeping, dramatic effect that draws attention to the eyes and cheekbones. It is a sophisticated way to keep hair out of your face while maintaining the length and flow of your style on the other side. Finish it by gathering the braid and the remaining hair into a low side ponytail or bun.
19. The Double French Braid Updo
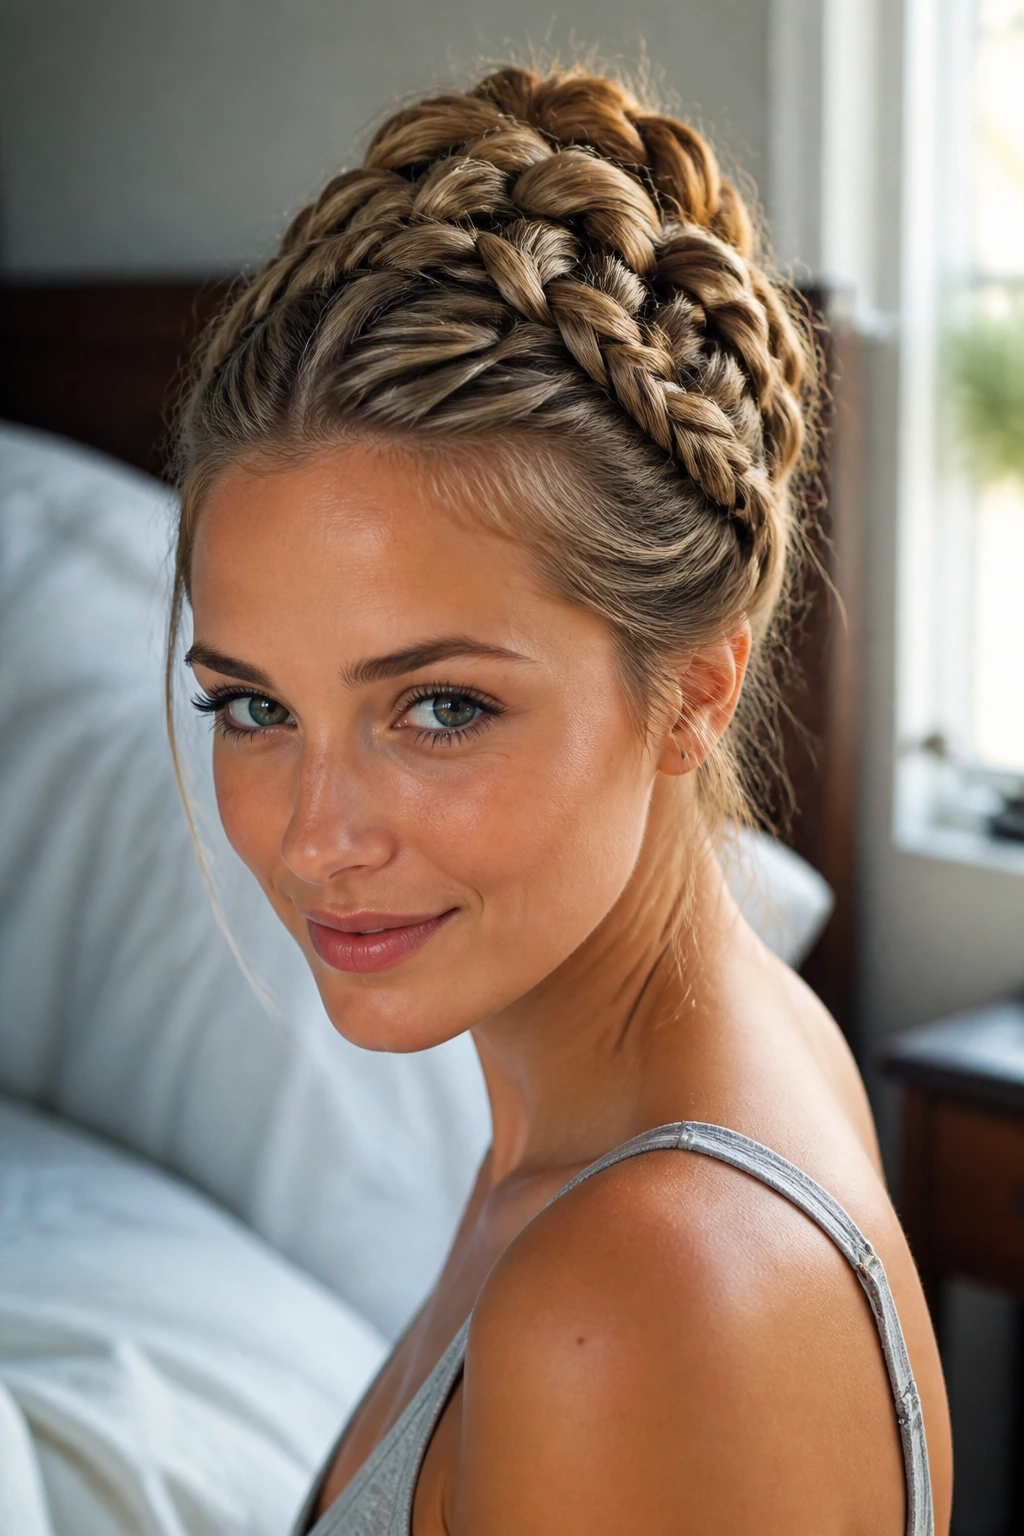
This combines a central French braid with side-braiding for maximum structure. Start by creating a central French braid, leaving out a one-inch section of hair on both sides of your part. Braid the center section and secure it.
Now, take the loose side sections and create two smaller French braids. Pull these toward the center and pin them into the first, main braid. It creates a layered, lattice-like effect that looks like you spent an hour on your hair, even though you just combined two simple techniques.
20. The “Pancaked” French Braid
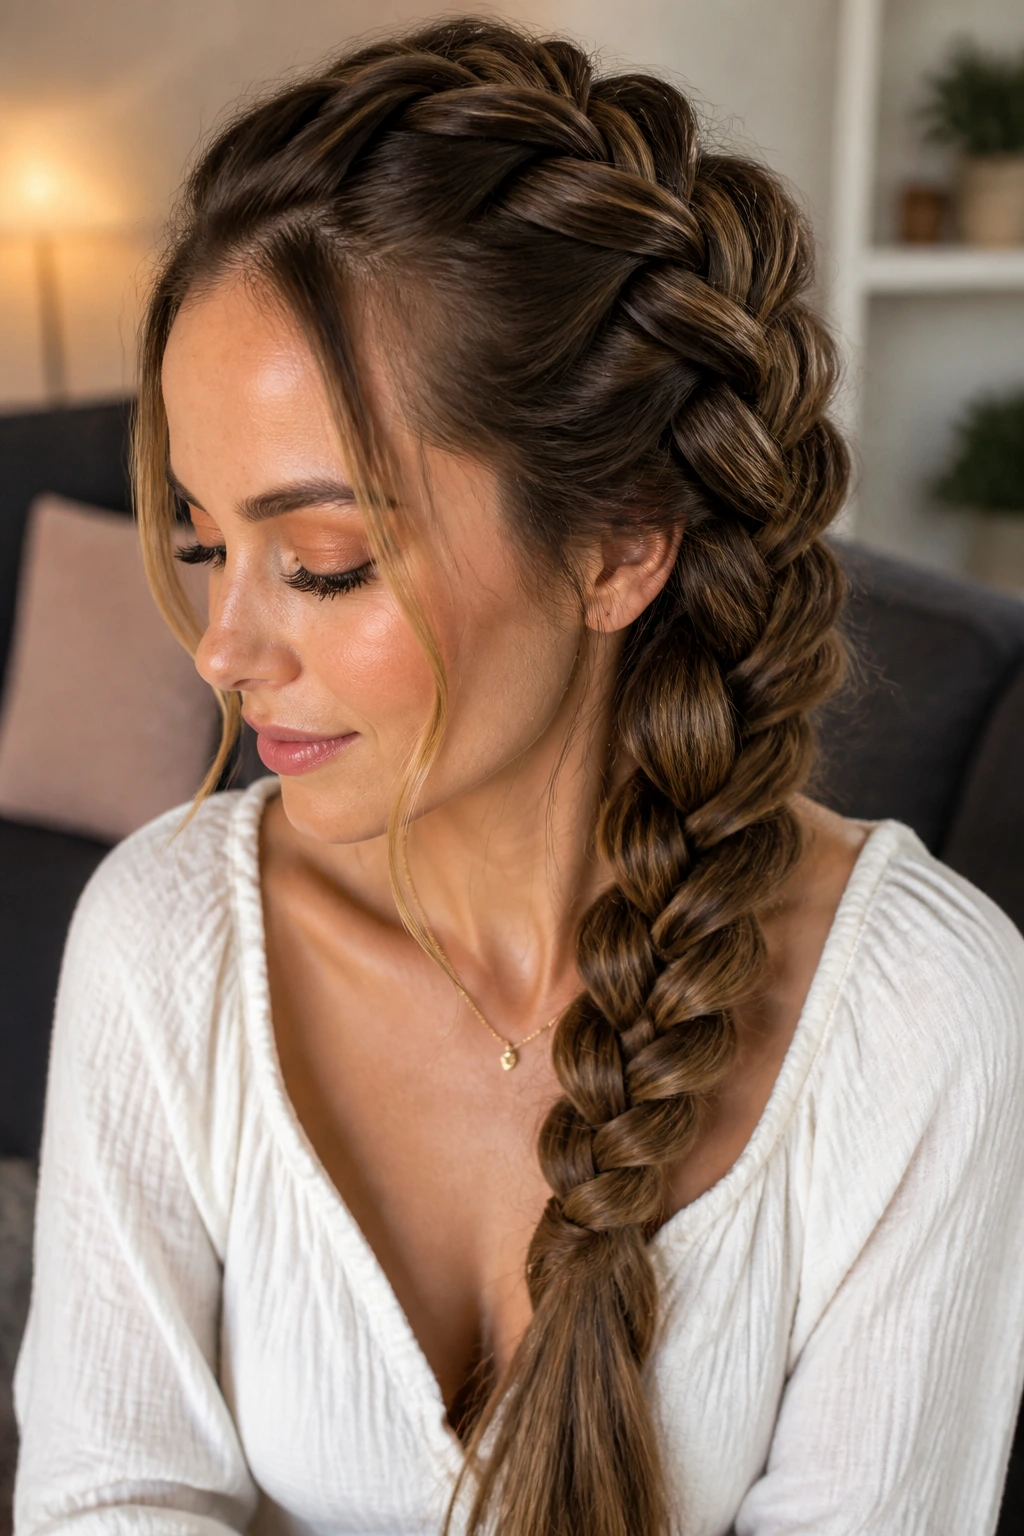
This isn’t necessarily a unique braid position, but a finishing technique that transforms every French braid on this list. Once your braid is secured, go back to the top and gently pull the outer edges of each loop. Start at the top and work your way down.
Why It Works
By pulling on the loops, you create volume and the illusion of much thicker hair. If you have fine hair, this is a game-changer. It softens the braid, making it look romantic and lived-in rather than stiff and precise. Warning: If you pull too hard, the braid can become messy and lose its structure, so use small, consistent tugs.
Final Thoughts
When you commit to French braiding your own hair, the first few tries often feel awkward. Your arms get tired, you cannot see what you are doing in the back, and the sections seem to have a mind of their own. This is completely normal. The muscle memory required for French braiding is unique—it is less about strength and more about consistent, rhythmic movement.
Do not be afraid to practice in front of a mirror with a comb in your hand, even if you do not plan on leaving the house. The more often you run your fingers through those three sections, the more second-nature the “cross-over” motion will become. Whether you are aiming for a tight, sleek look for work or a loose, bohemian style for the weekend, remember that the best braids are the ones you feel comfortable in. Start with the classic, master the tension, and let yourself experiment with the variations that fit your daily routine.
