



Beach bun styles solve a very specific vacation hair problem: you want your hair off your neck, off your face, and still decent when you wander from the pool to dinner. Salt spray, sunscreen, wind, and a damp towel are not gentle on a neat style. They’re worse than people admit. A bun that looks soft at noon and still holds together after a beach walk at dusk is doing real work.
The trick is not making the bun look polished. It’s making it look like you meant it. That’s a different thing, and it matters more than most hair advice gives it credit for. A tight, slick knot can feel too formal under a sunhat, while a floppy twist can collapse the minute your roots get a little sweat and sand in them. Somewhere between those two extremes is the sweet spot.
That sweet spot shifts depending on your hair texture, length, and how much time you want to spend in front of a mirror that fogs up anyway. Fine hair usually needs grit and a few hidden pins. Thick hair needs weight control. Curly hair often looks better when the bun is built around the curl pattern instead of being forced flat. That’s where the good beach bun styles earn their keep.
1. The Salt-Sprayed Twisted Bun
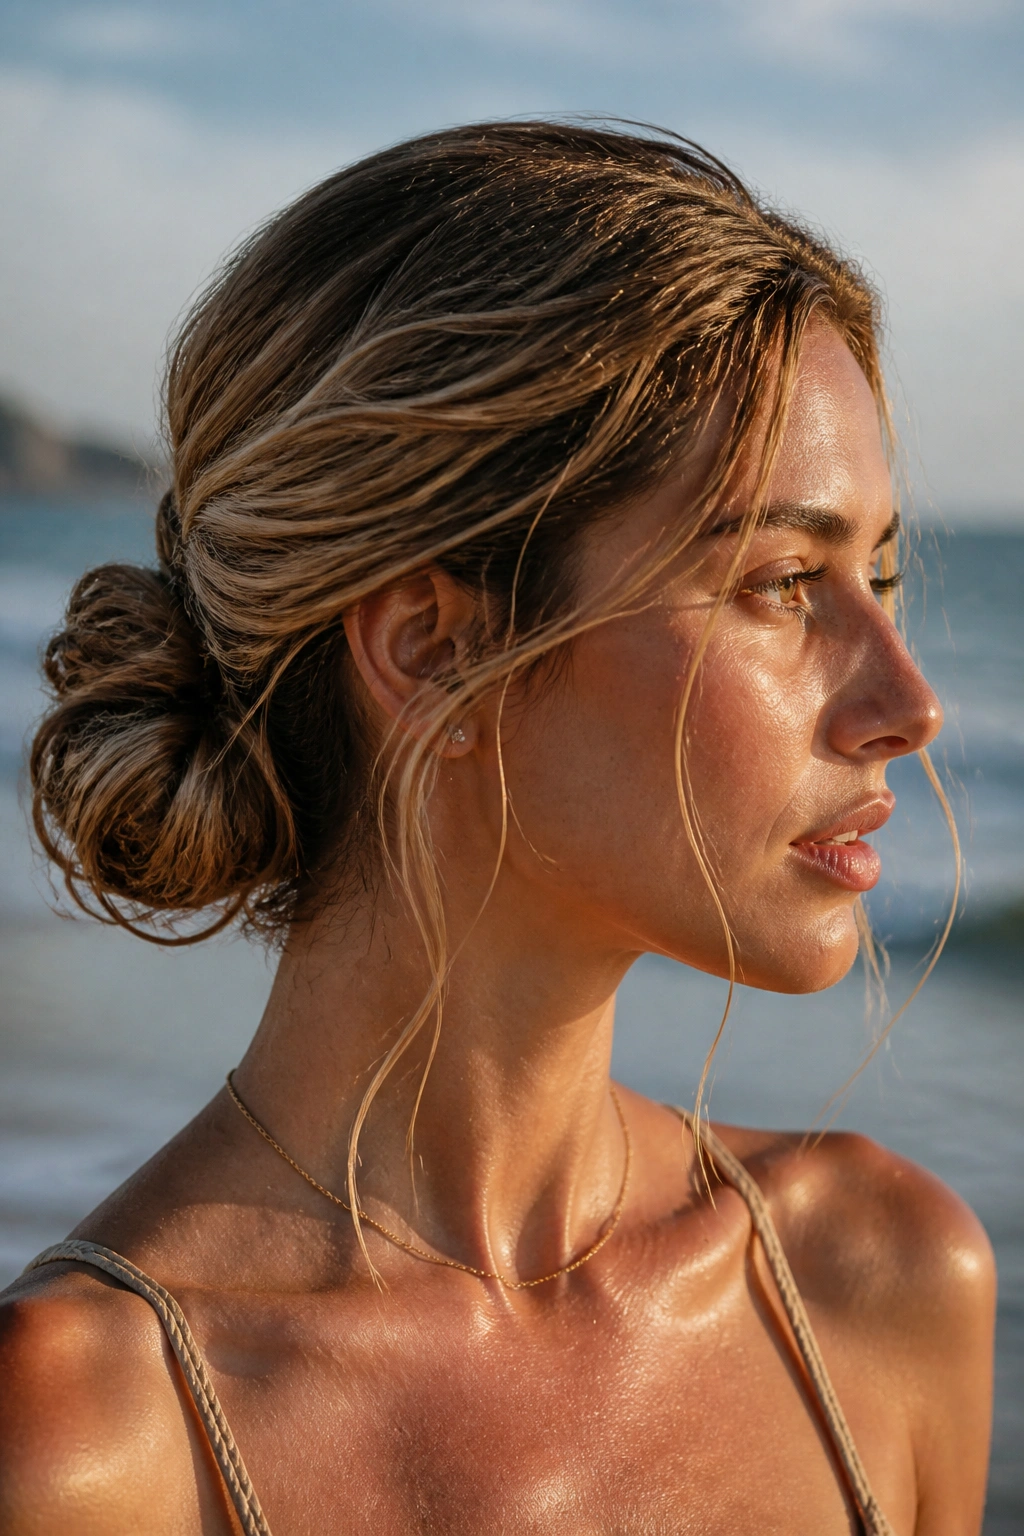
A twisted bun is the one I reach for when I want my hair to look casual without turning into a limp knot. It has enough shape to read as intentional, but it doesn’t ask for neat parts or perfect sectioning. That’s a relief on a beach morning.
Why It Works
Twist one side of the hair back, then the other, and coil both around each other at the nape or mid-back of the head. The crossing motion gives the bun more grip than a simple wrap, which matters when hair gets a little damp or gritty. That built-in texture is the whole trick.
- Best for medium to long hair
- Holds well with 2 to 4 bobby pins
- Easier to build on second-day hair
- Looks softer if you pull out two face-framing pieces
Quick tip: mist the roots with dry shampoo before you start. It gives the twists something to grab, and the bun stays fuller.
2. The Slicked-Back Wet-Look Bun
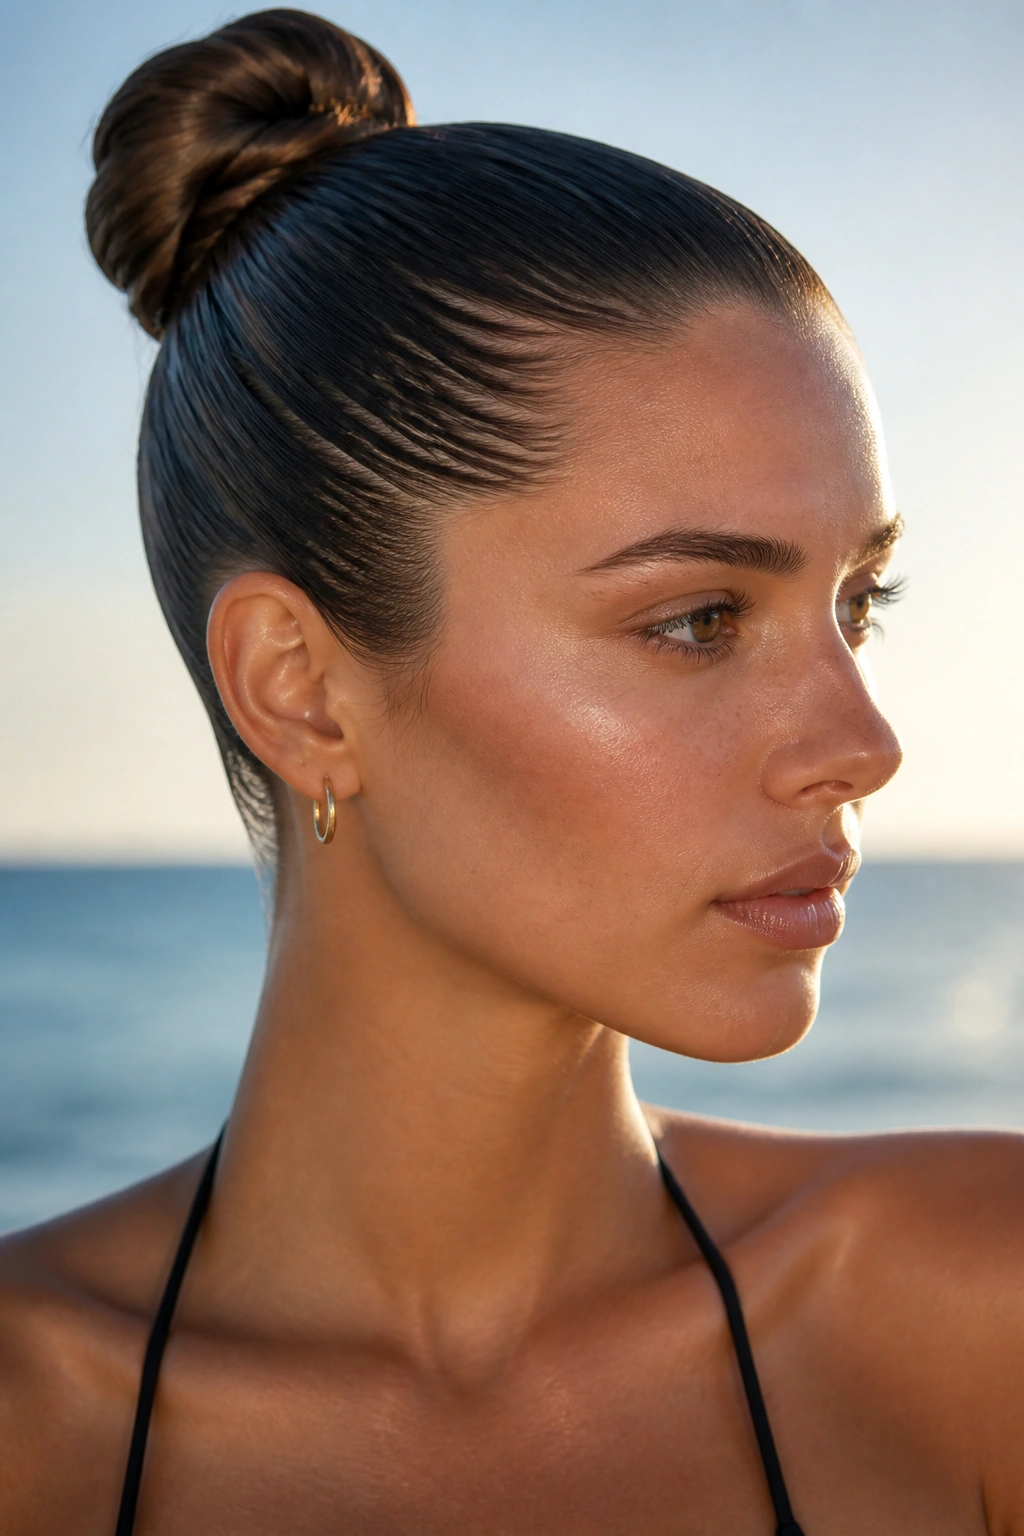
A slicked-back bun can look sharp on the beach if you keep the shape clean and the shine controlled. This is the move for hair that’s already a little oily, or for days when you want your face fully open and your hair absolutely out of the way. It’s blunt. In a good way.
Use a pea-sized amount of gel or styling cream, then brush the hair straight back with a fine-tooth comb. Gather it tight at the crown or the nape, depending on whether you want a taller profile or something lower and neater. The key is to stop brushing once the surface is smooth; overbrushing makes the style look hard and flat.
I like this one with big sunglasses and hoop earrings because the bun gives the face room. It also survives humidity better than most styles because there’s less loose texture for the air to puff up. The downside is simple: too much product will flake when saltwater dries into it. Use less than you think you need.
3. The Braided Topknot Bun
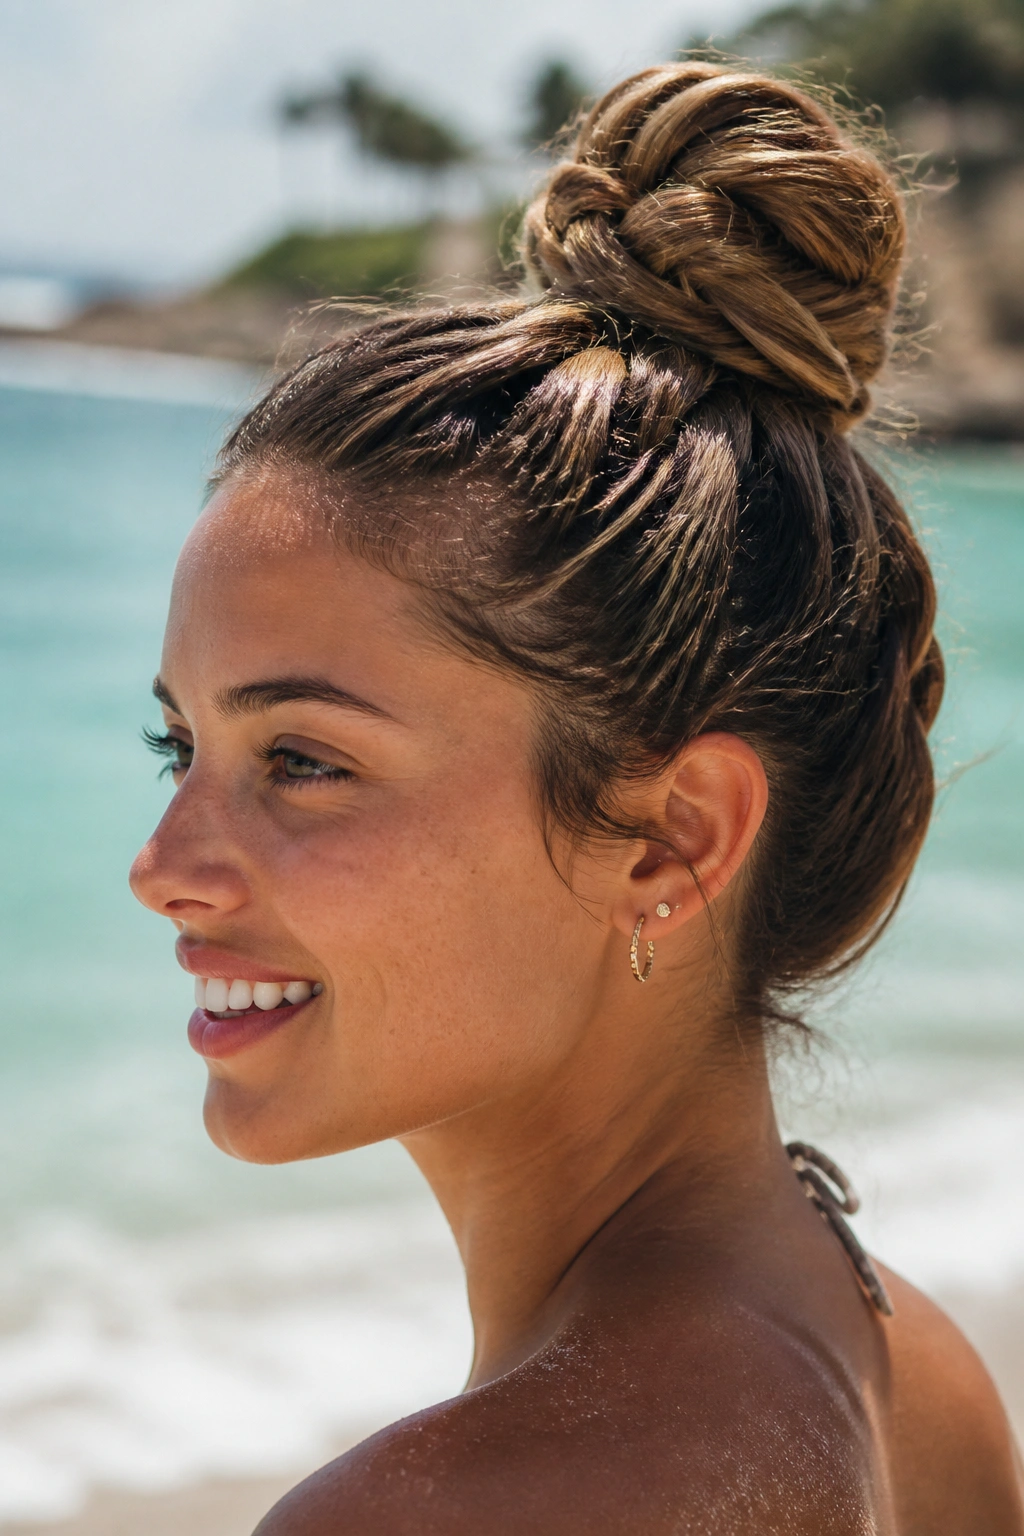
Why braid before you bun? Because the braid gives the whole style a backbone. A plain topknot can slide around on silky hair, but a braid creates ridges for pins to catch. That extra grip is worth the few extra minutes.
Start with a high ponytail, braid the tail loosely, and wrap it into a knot around the base. If your hair is layered, keep the braid loose enough that the shorter pieces don’t pop free right away. A tight braid here is not your friend. It can make the bun tiny and stubborn instead of full and soft.
How to Wear It
This style sits well with long earrings and a swimsuit cover-up because it keeps the shape lifted. It’s also one of the better beach bun styles for thick hair, since the braid helps distribute bulk instead of piling everything into one heavy coil. If your scalp gets tender from tight styles, make the ponytail base just snug, not pulled hard. You want support, not a headache by lunch.
4. The Low Knot Bun at the Nape
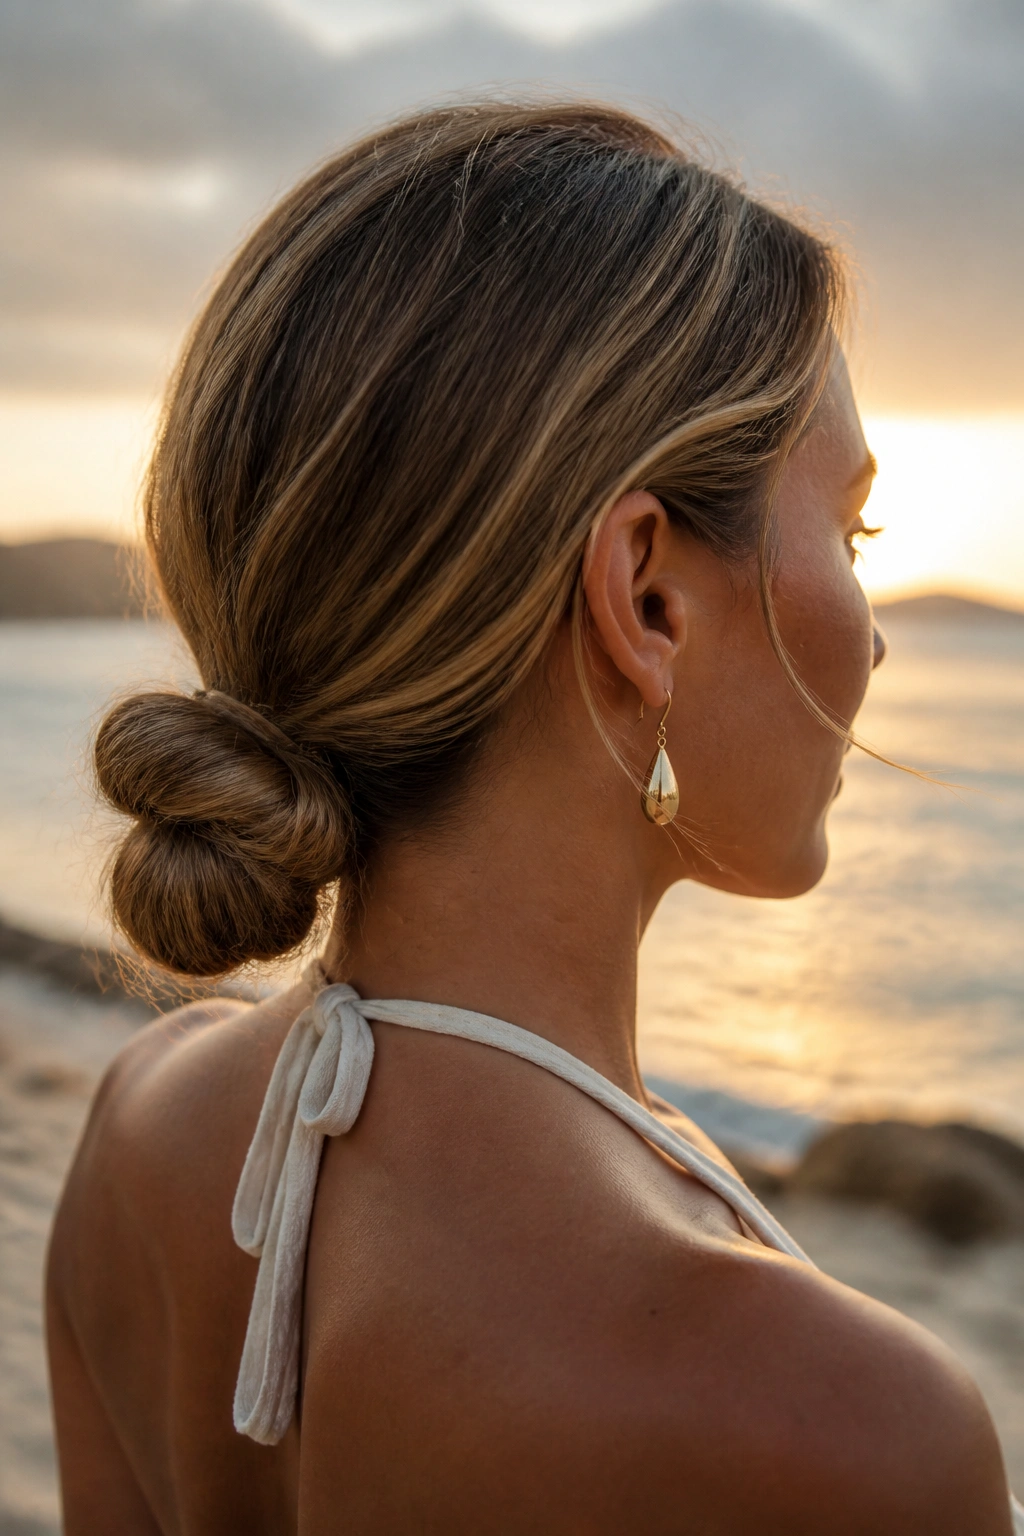
This is the bun for the moment after the swim, when your hair is half-dried and you do not want to think too hard. I’ve always thought of it as the “walk to lunch” bun. It looks relaxed, stays comfortable, and does not fight your neck.
Gather the hair low, twist it once or twice, then knot it loosely before pinning the ends underneath. A low knot sits close to the head, which means less wind snagging and less weight pulling down. That’s why it feels easier to wear for hours.
- Use one elastic and 3 to 5 pins
- Leave the bun slightly uneven for softness
- Tuck shorter layers under the base
- Works well under a sunhat
One small thing: if your hair is very slippery, rough it up with a little dry shampoo first. The style looks best when the edges are a touch imperfect anyway. Too neat and it starts to feel too formal for sand.
5. The Side-Swept Bun with a Deep Part
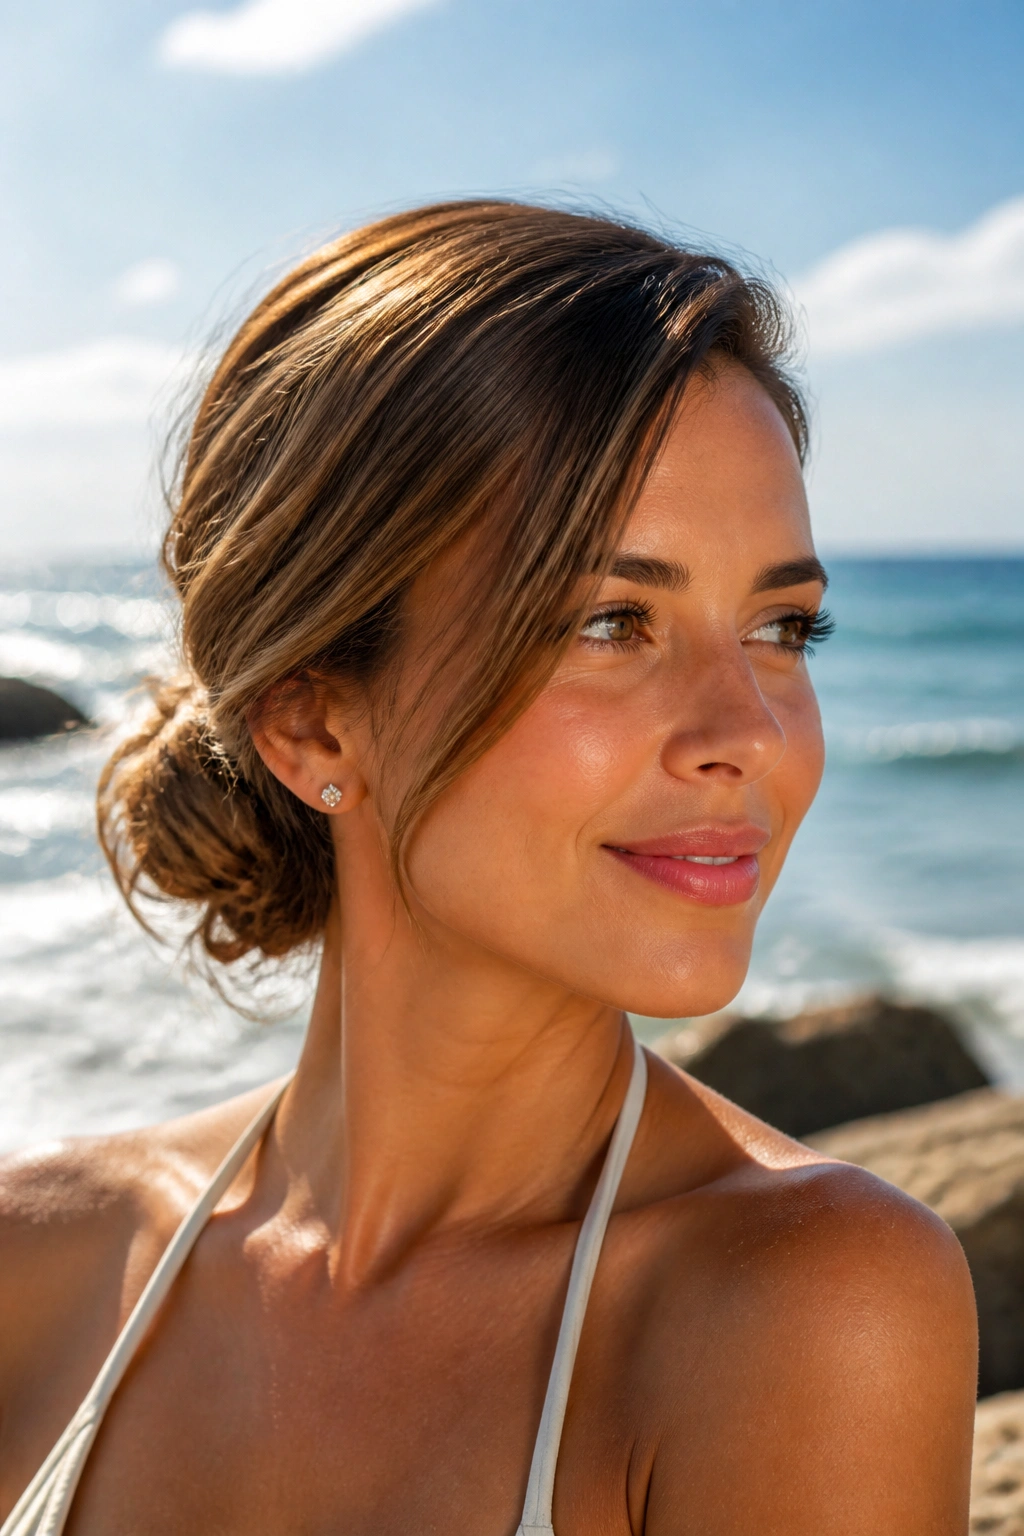
A side-swept bun changes the whole mood of a beach hairstyle. A middle part can feel modern and clean; a deep side part brings a little softness and gives the bun more shape around the face. If you like one side tucked and the other a little fuller, this one has a nice, easy balance.
The bun itself can sit low behind one ear or slightly off-center at the nape. That slight asymmetry is what keeps it from looking stiff. It also works well when your hair has a wave to it, because the side part helps the bend in the hair show up instead of getting flattened into submission. A little curve near the face makes the whole style feel less forced.
This is a good choice if you want something that can go from beach chair to dinner table without much fixing. It’s not the strongest style for strong wind, though. If the day is breezy, pin the side closest to your temple first, then build the bun around that anchor.
6. The Double Mini Buns
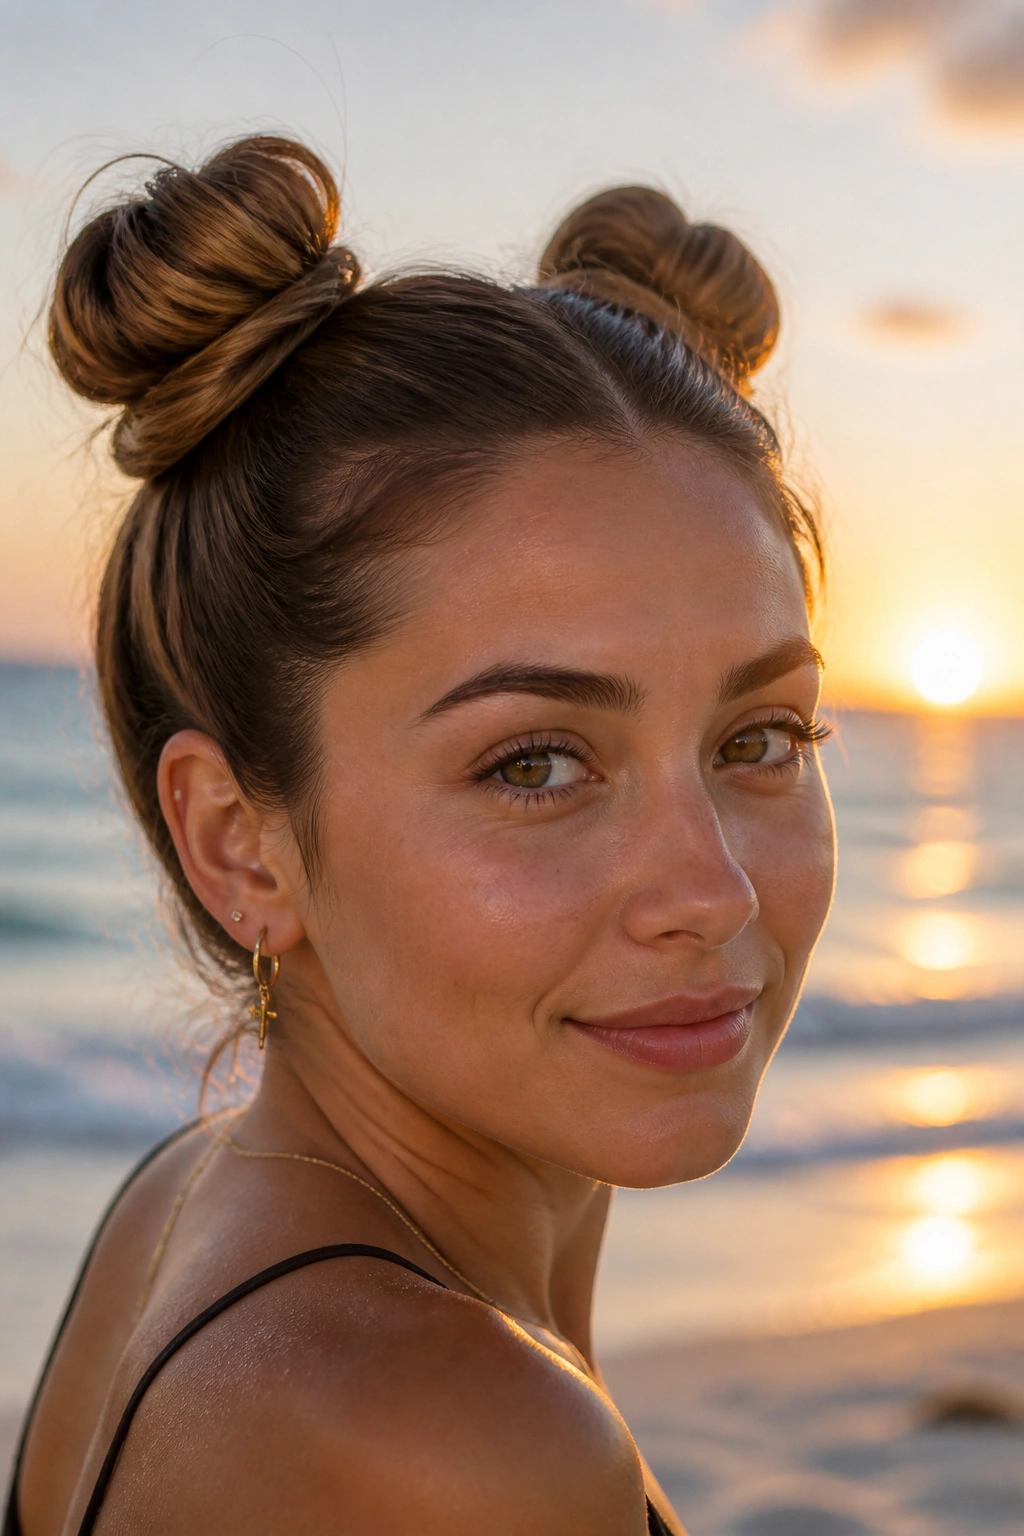
Two small buns beat one heavy bun when you want a lighter feel and a little bit of personality. They’re also kinder to thick hair, because you split the weight into two sections instead of asking one bun to carry everything. That matters when your hair is dense or long.
Unlike a single bun, double mini buns keep the silhouette airy. You can place them high like playful space buns or lower and closer together for something softer. The second option feels less costume-like, which I prefer for vacation hair. The lower placement reads more relaxed and less themed.
Best of all, they’re forgiving. If one side ends up slightly larger, no one notices unless they’re standing very close. Keep the center part clean, twist each side into a compact bun, and secure with mini elastics or a few pins. I’d save this one for pool days, music nights, or anywhere you want a bit of movement in the shape.
7. The French Braid Bun
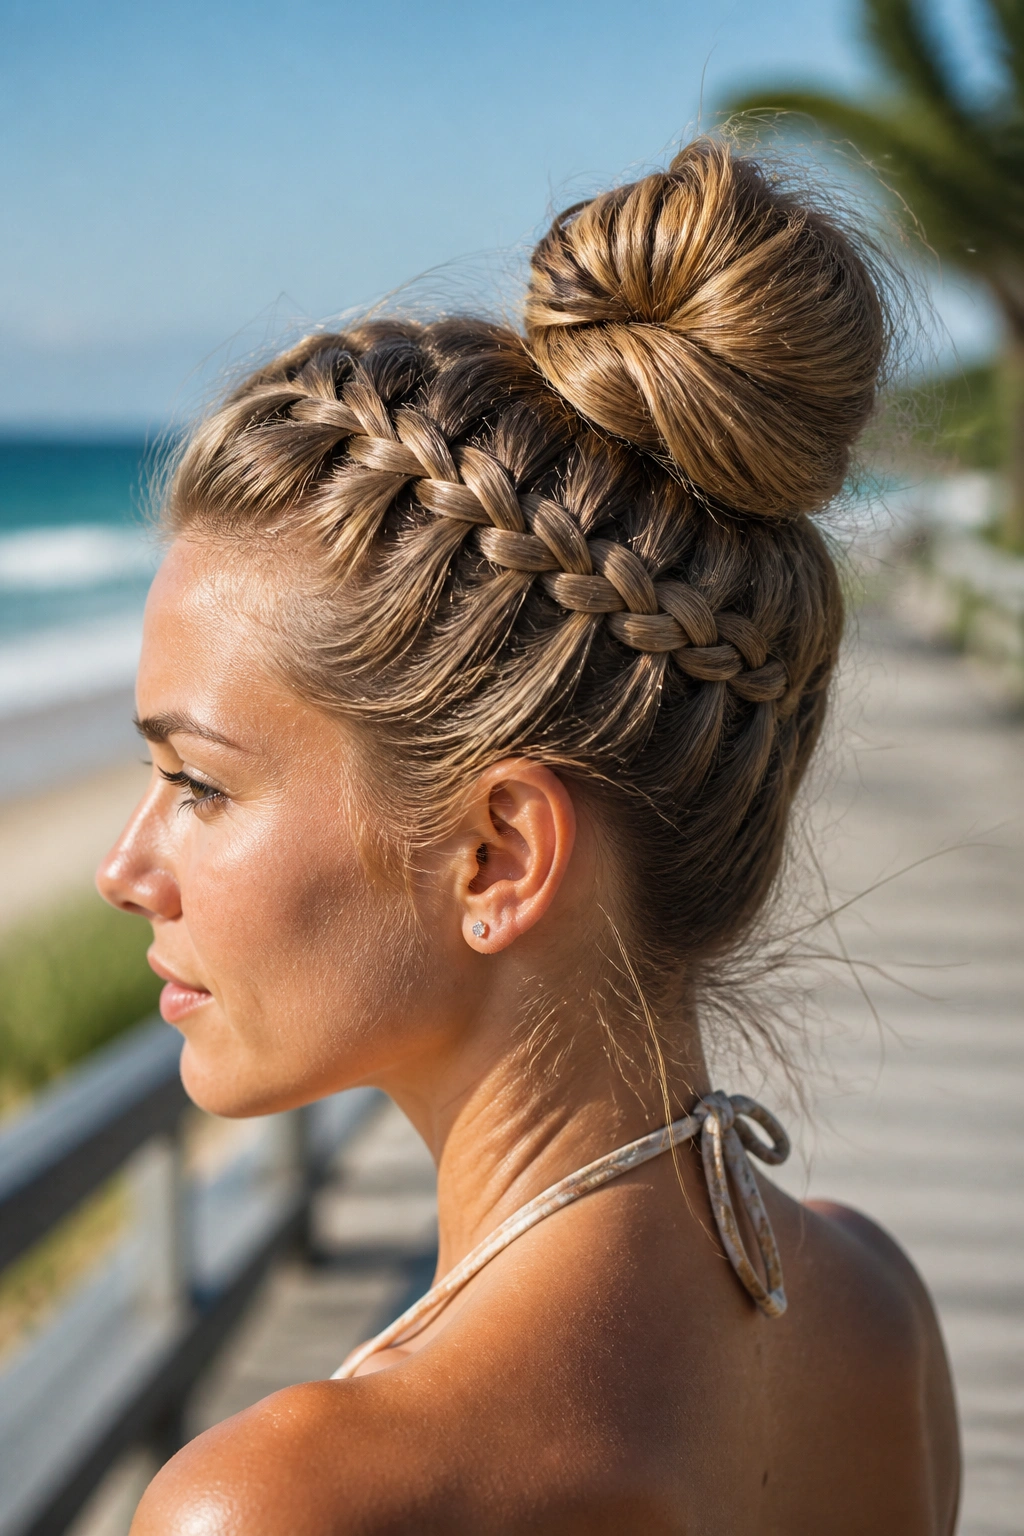
A French braid bun is one of those styles that looks more complicated than it is. Once the braid is in place, the bun almost builds itself. That’s why it’s such a useful beach option: the braid keeps the top smooth, and the bun gives you the off-duty finish.
Best for Windy Boardwalks
Start the French braid at the hairline or slightly off-center, depending on where you want the detail to show. Braid down toward the crown, then twist the remaining length into a bun and pin it underneath. The braid keeps shorter layers trapped in the pattern, which cuts down on flyaways.
- Stronger hold than a plain twist
- Good for layered cuts
- Works with wet or dry hair
- Easier to refresh after a swim than a sleek bun
How to Get More Hold
After you braid, gently pinch the braid loops wider with your fingertips. That gives the bun more thickness without making it bulky. A little texture spray helps, too, but keep it light. The braid should look lived-in, not crunchy.
8. The Scarf-Wrapped Bun
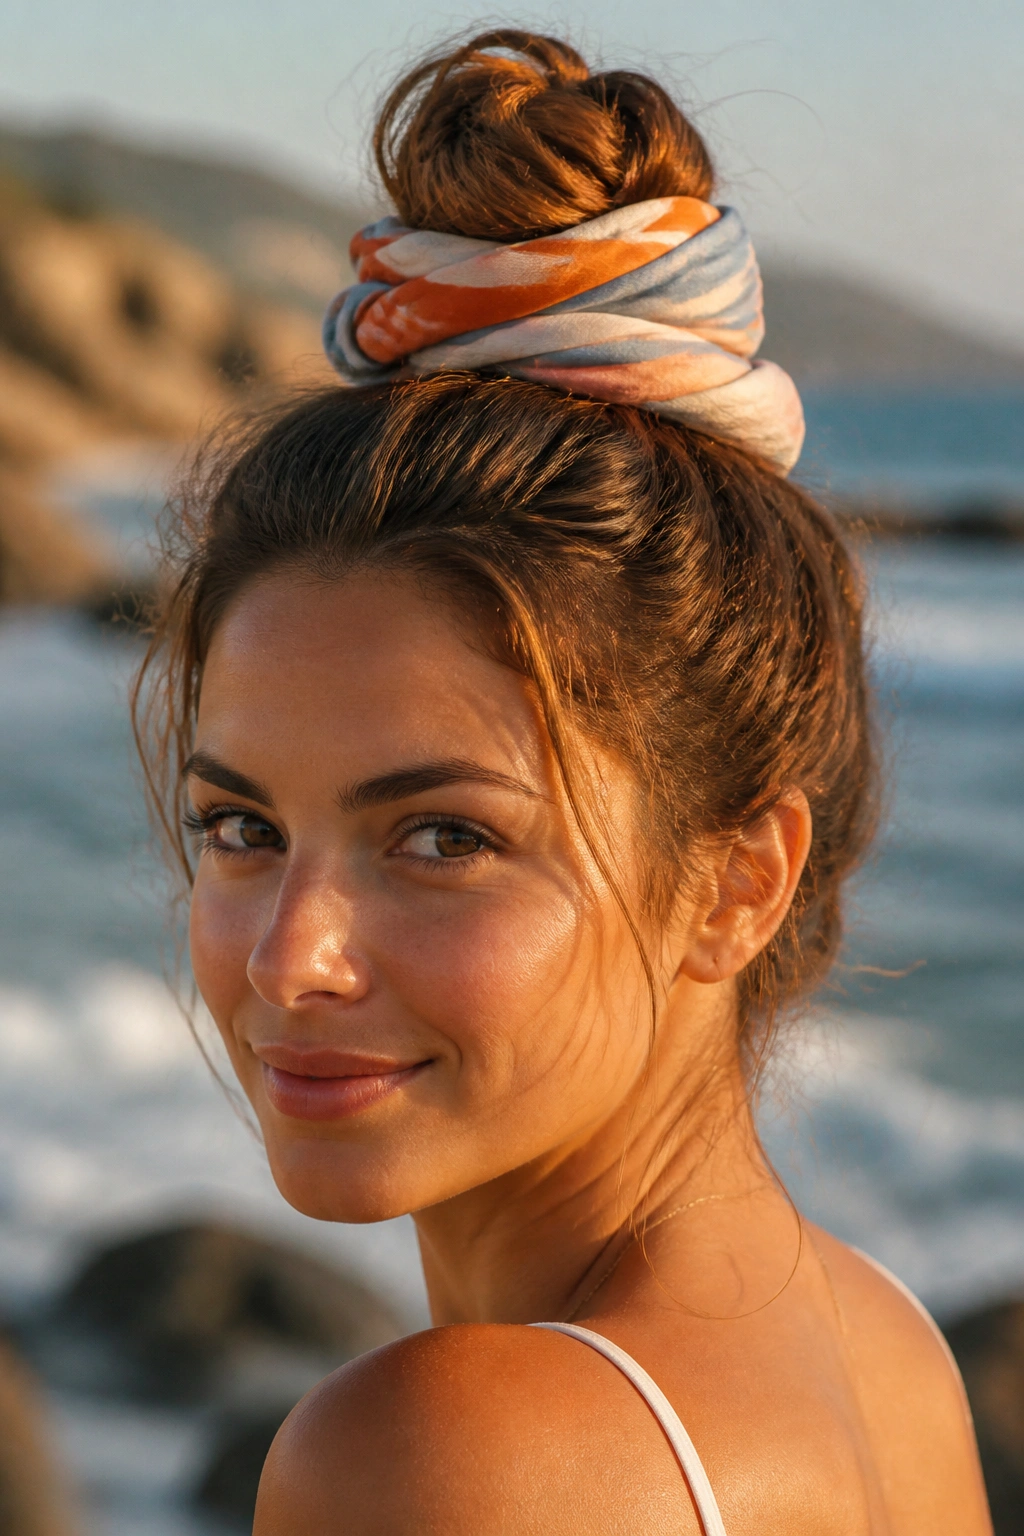
A scarf-wrapped bun does more than decorate the hair. It hides frizz, keeps pins from slipping, and makes a simple bun look finished with almost no effort. That is a nice thing when your hair has gone through saltwater, sunscreen, and a long walk in the heat.
Choose a lightweight scarf with some grip. Cotton voile, soft linen, or a cotton-silk blend works better than a slippery satin scarf if you want the wrap to stay put. Tie the bun first, then wrap the scarf around the base and knot it off to one side or at the back. If the knot sits on the temple, it can start to feel annoying after an hour.
The scarf can match your swimsuit, tote, or nothing at all. I prefer a stripe or faded print because it feels less precious. This style is especially nice when the bun itself is simple and you want one thing to carry the look. It is easy, and it saves you from fussing with frizz every twenty minutes.
9. The Hidden-Elastic Loop Bun
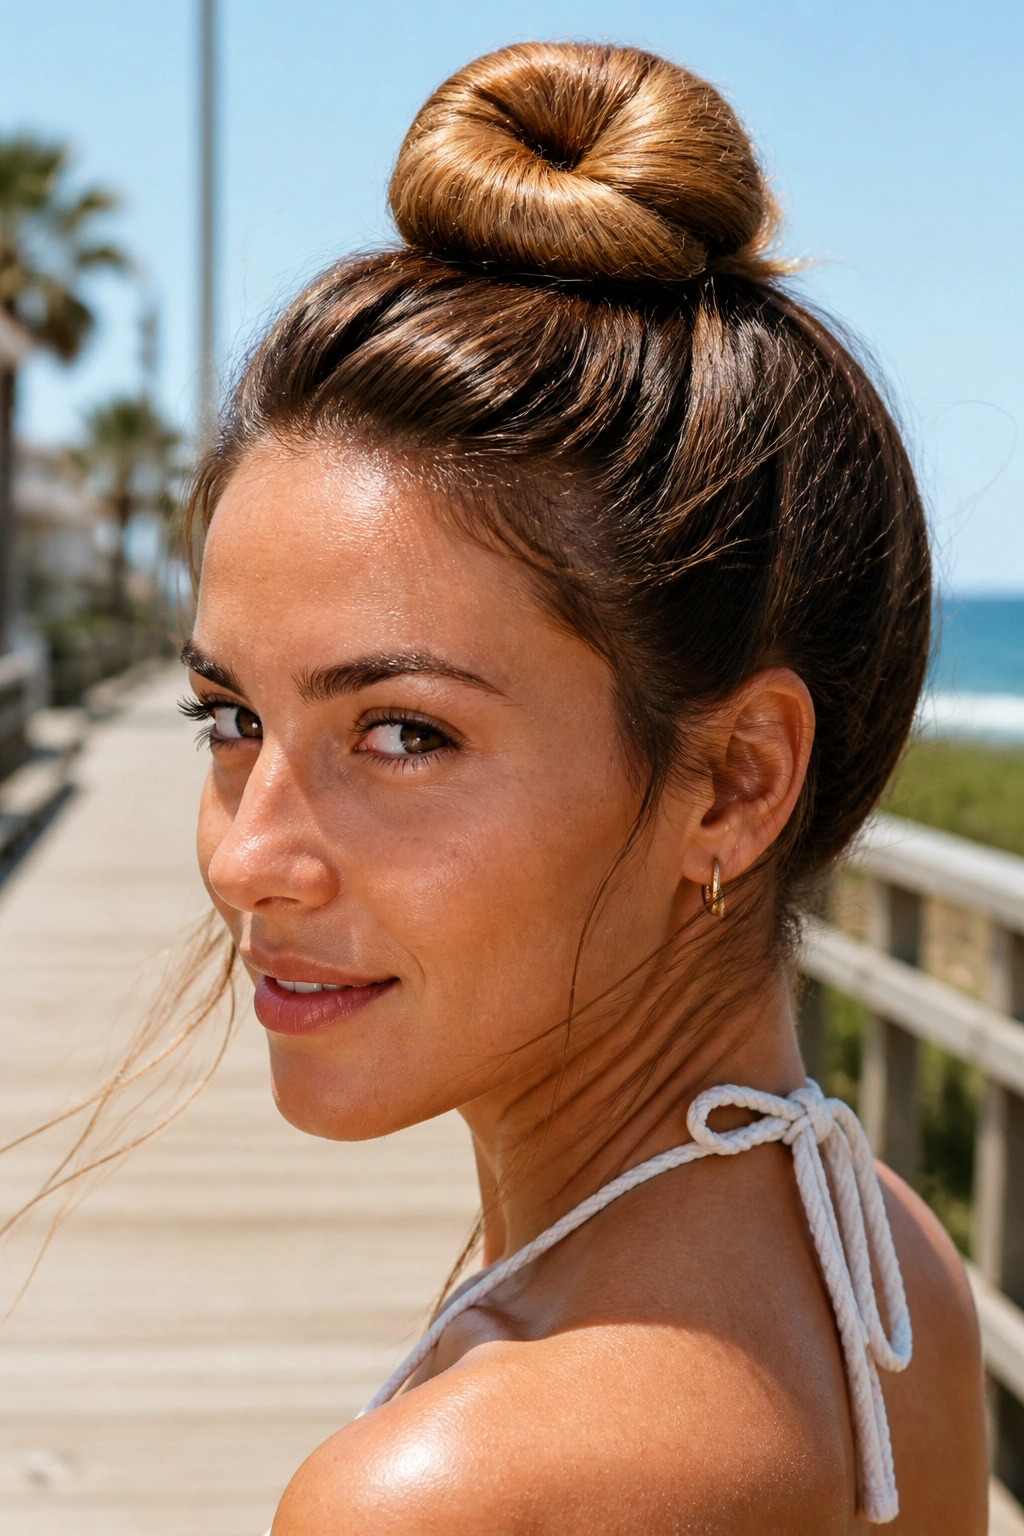
Why does this bun look cleaner than a normal knot? Because the elastic disappears inside the shape. You get the structure of a ponytail, but the finish reads softer and more deliberate. It’s a little trick, and a useful one.
Pull the hair into a ponytail, loop it halfway through the elastic on the final pull, then tuck the loose ends around the base and pin them down. The result is a looped bun with a soft fold instead of a full wrap. That fold gives the style a nice, rounded shape.
How to Keep It from Splitting
Use a strong, snag-free elastic. The thin ones stretch out too fast, and then the bun starts to sag near the end of the day. If your hair is fine, backcomb the ponytail lightly before looping it. If it’s thick, split the ponytail in half before tucking the ends so the bun doesn’t feel heavy. This one works best when the hair has a little texture but not so much that the loop frays apart.
10. The Crisscross Pinned Bun
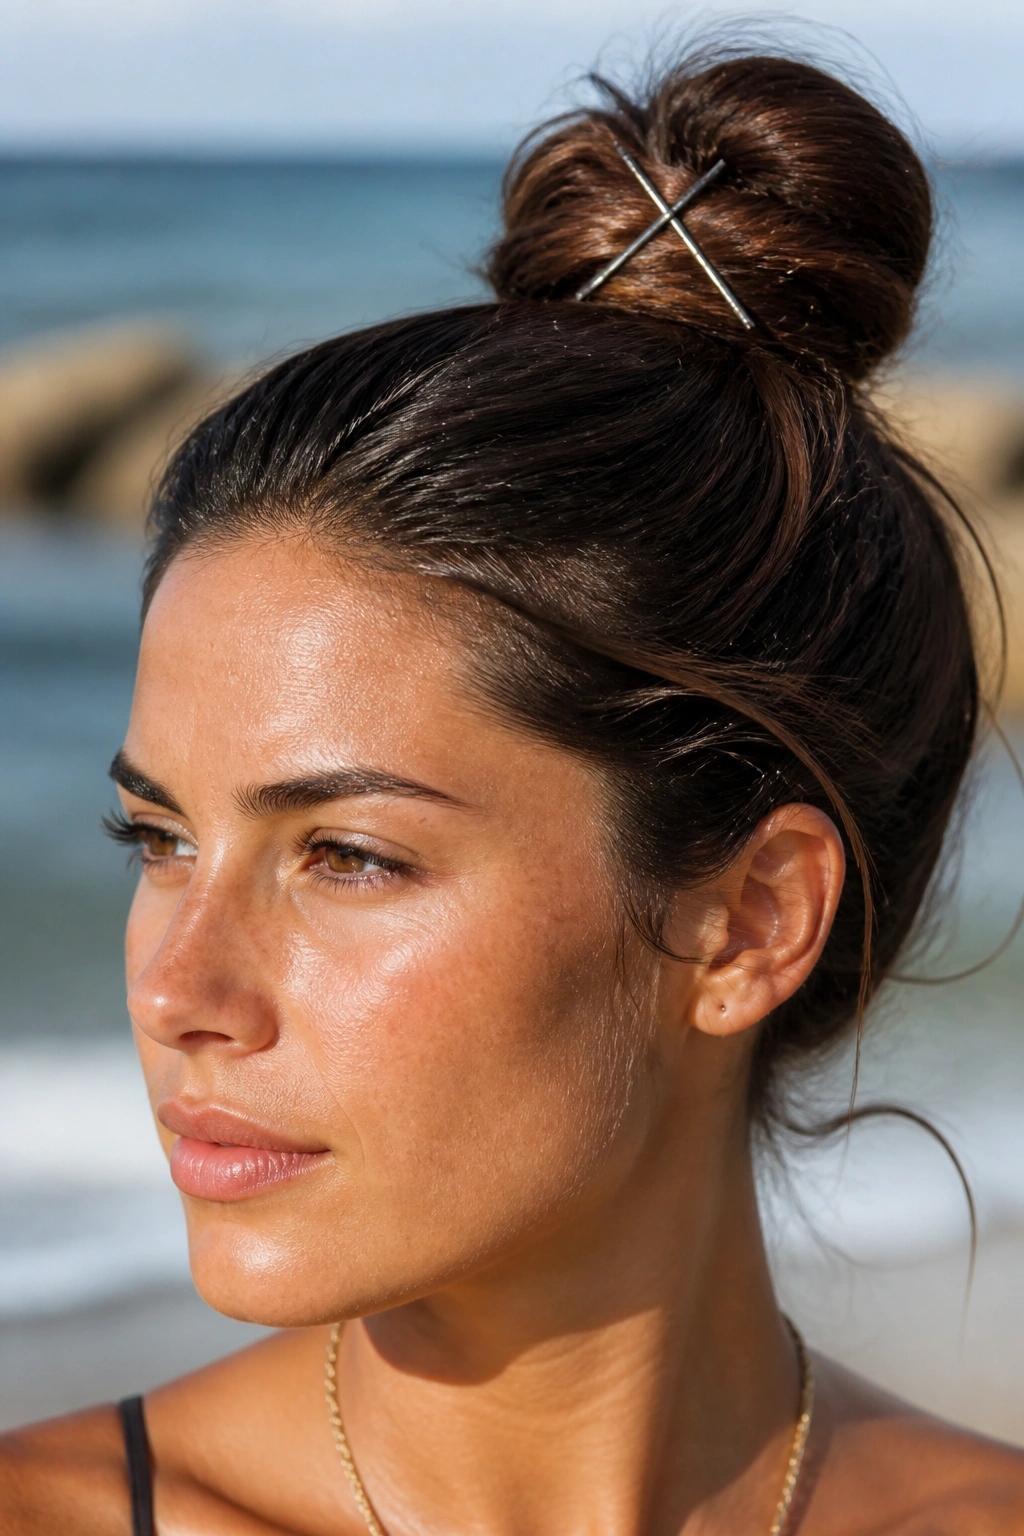
If your hair slips out of pins like it’s trying to escape, crisscrossing them is the fix. Two pins crossing in an X hold much better than one straight pin, especially on layered or silky hair. It looks like a tiny detail. It is not tiny in effect.
Build a simple bun first, then place one pin from the top left toward the base, and a second from the top right toward the base so they cross. The tension of the X locks the bun in place. That pin angle matters more than people think.
- Use 4 to 6 pins for a medium bun
- Cross them in opposite directions
- Insert them into the base, not the outer fluff
- Works best on slightly dirty hair
I like this style for active vacation days because you can move, bend, and change clothes without the bun collapsing. It’s a quiet, practical hairstyle. Not flashy. Just steady.
11. The Voluminous Teased Bun
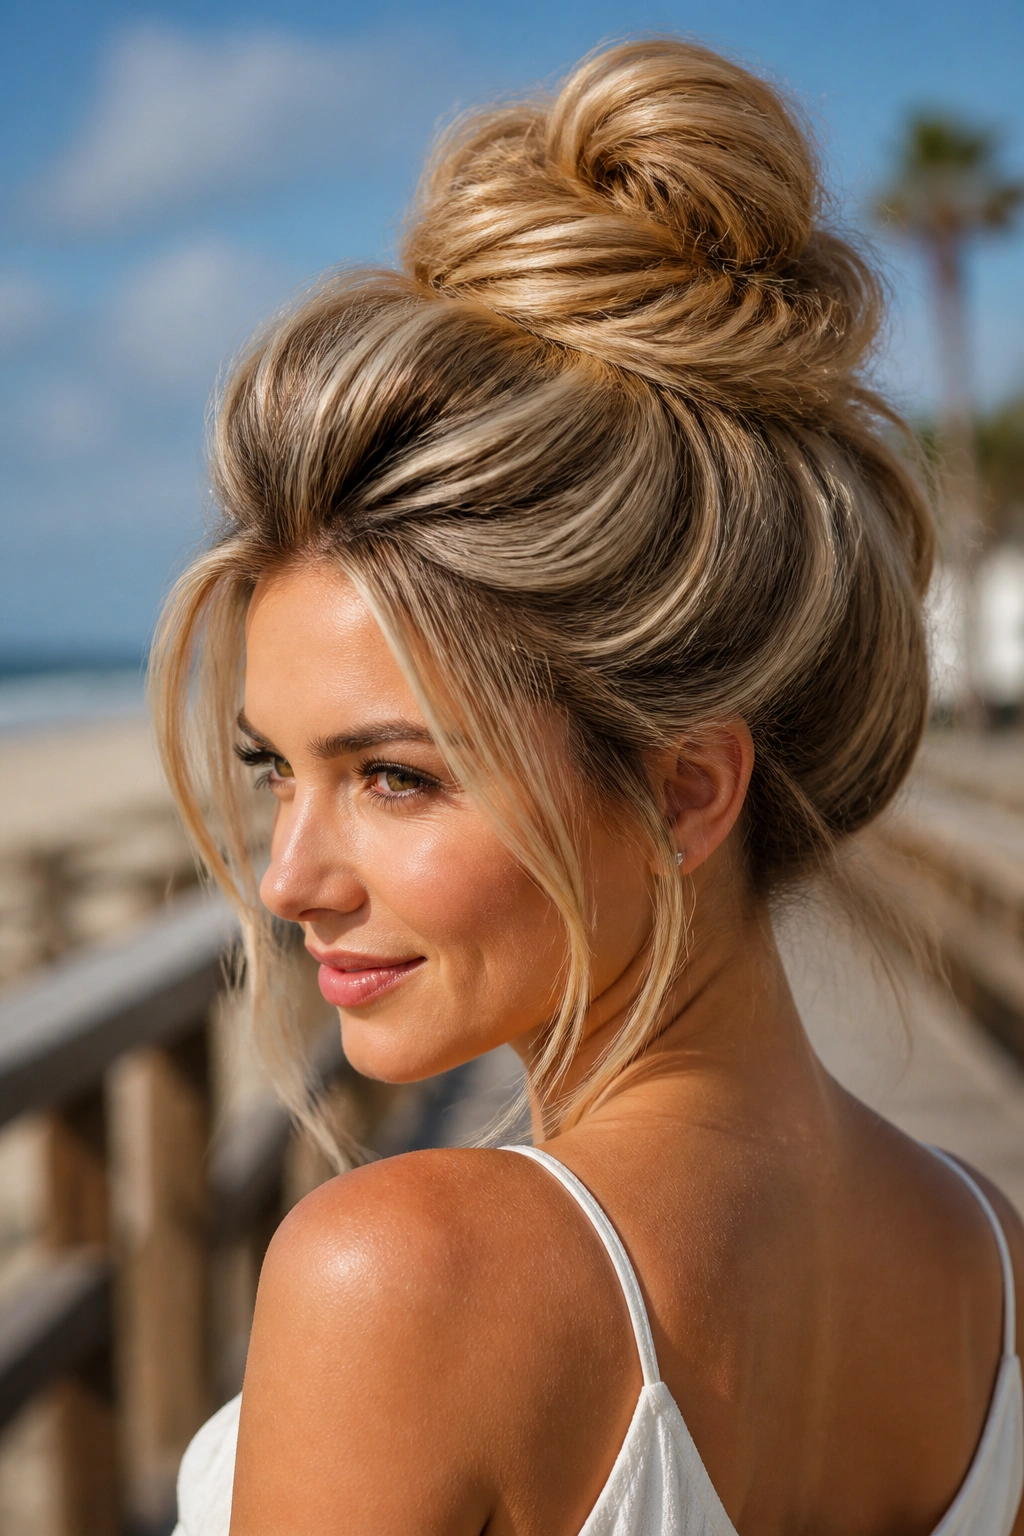
A little lift at the crown changes everything. A teased bun has more body, more shape, and a more relaxed profile than a flat bun that hugs the head too tightly. If your hair tends to disappear into a small knot, this is the style that gives it back some presence.
Backcomb the roots at the crown with a fine comb, then smooth the top layer lightly so you do not lose the lift. Gather the hair into a bun and pin it loosely enough to keep the volume intact. Do not tease the ends. Teasing the wrong section makes the bun rough in the wrong way and harder to pin.
This style works especially well for medium and thick hair, and it holds up nicely when the day gets long. Dry shampoo helps here more than gel does, because you want grit, not gloss. A teased bun is not the one I’d choose for a very sleek outfit, but if you want a soft, beachy shape that keeps its body, it’s a good pick.
12. The Half-Up Beach Bun
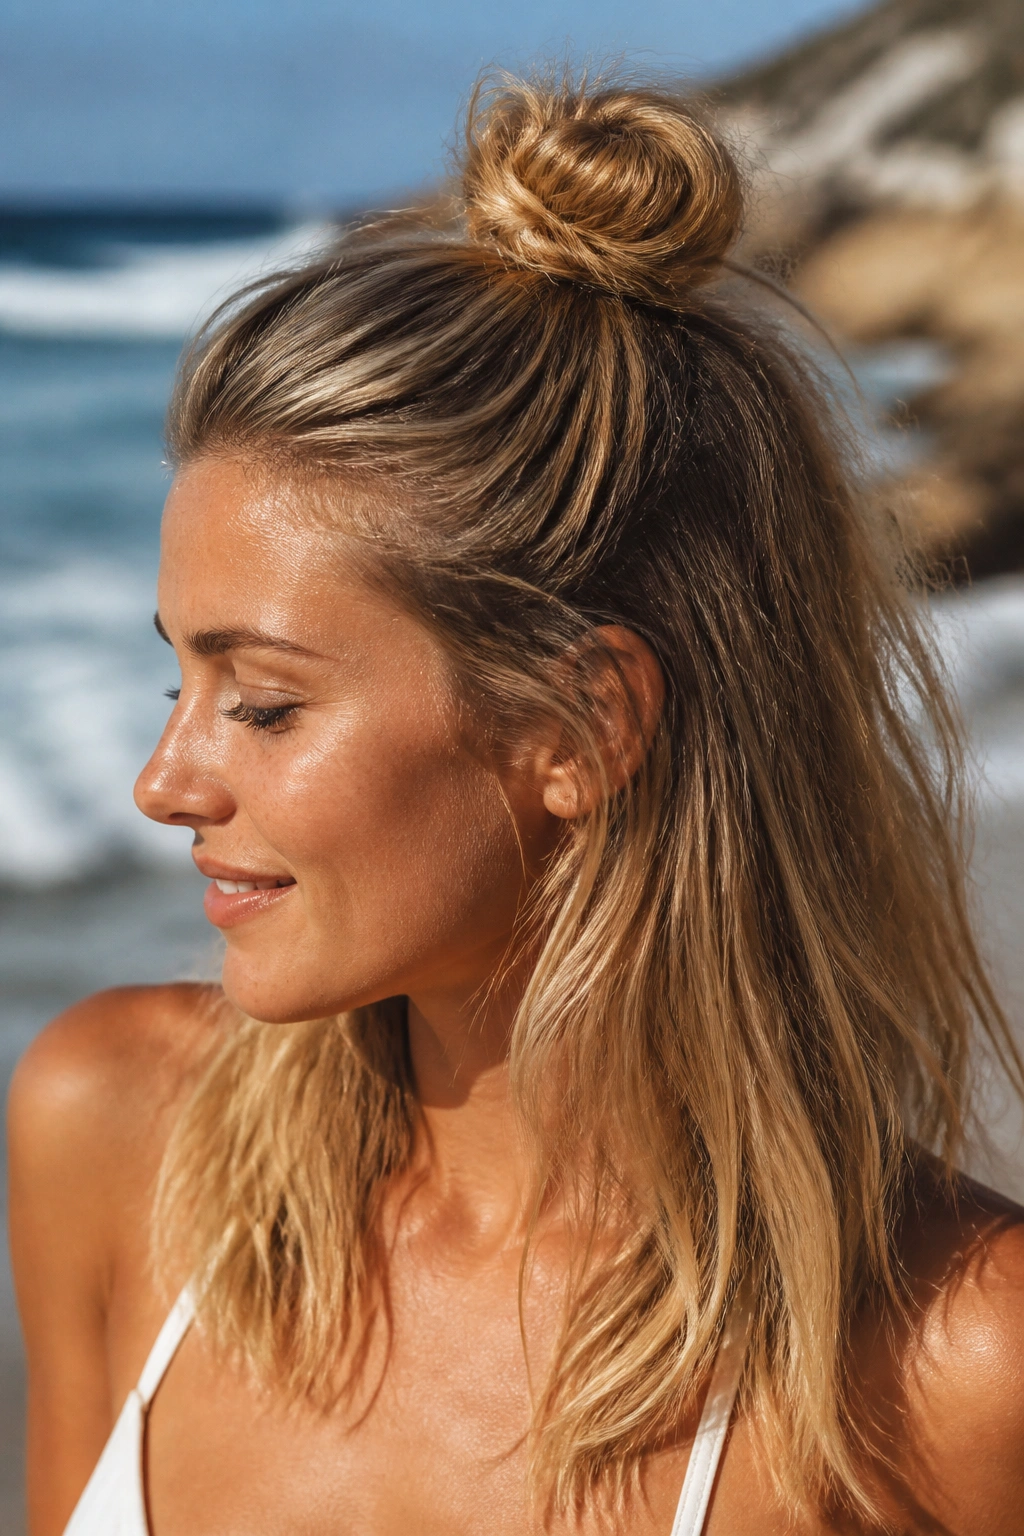
A half-up bun is the one to choose when you want your hair off your face but still want movement through the lengths. It gives you the comfort of an updo without taking away all the texture and swing that make vacation hair feel easy.
Compared with a full bun, this style feels lighter and less committed. That makes it a good option for shorter layers, shoulder-length hair, or wavy textures that look better when some of the hair stays down. You keep the volume where it matters and the heat off your neck.
The top section can be twisted into a small knot, a mini bun, or a loose loop, while the rest hangs free. I think it looks best when the lower hair is left a little imperfect — not brushed into a curtain, just left to fall naturally. It won’t hold through a hard swim the way a full bun will, so this is more of a lounging-and-lunch style than a diving-one.
13. The Chignon-Style Beach Bun
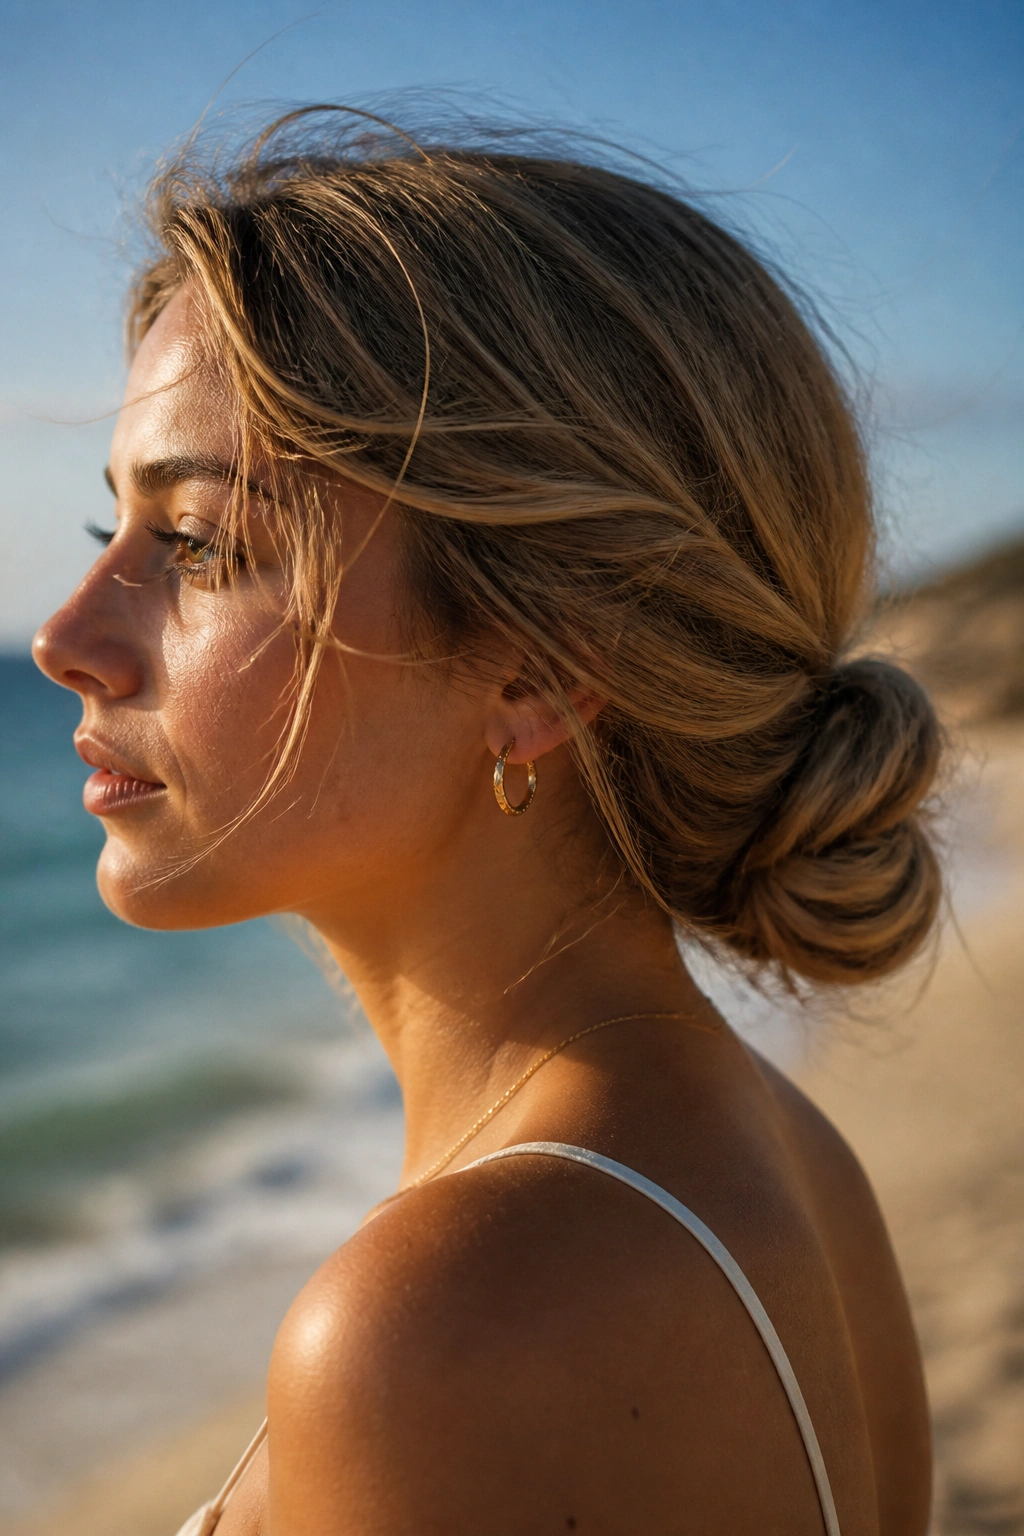
A chignon on the beach sounds fancier than it is. Done loosely, it’s basically a low bun with a smoother outline and a softer tuck. That makes it a nice choice when you want your hair to look calm instead of messy.
How to Keep It Soft
Start with a low ponytail, twist the length into itself, then wrap it into a compact shape at the nape. Leave the ends hidden, but do not pull everything tight. The charm of this style is that it sits close to the neck without looking severe. A little slack keeps it from feeling too formal.
- Best for dinners after the beach
- Looks good with a middle or side part
- Needs 3 to 5 pins for stability
- Works well on straight, wavy, or blow-dried hair
The chignon also behaves nicely with simple earrings or a bare neckline. If your hair has a few frizzy ends, let them stay. A beach chignon that is too polished loses the point.
14. The Fishtail-Wrapped Bun
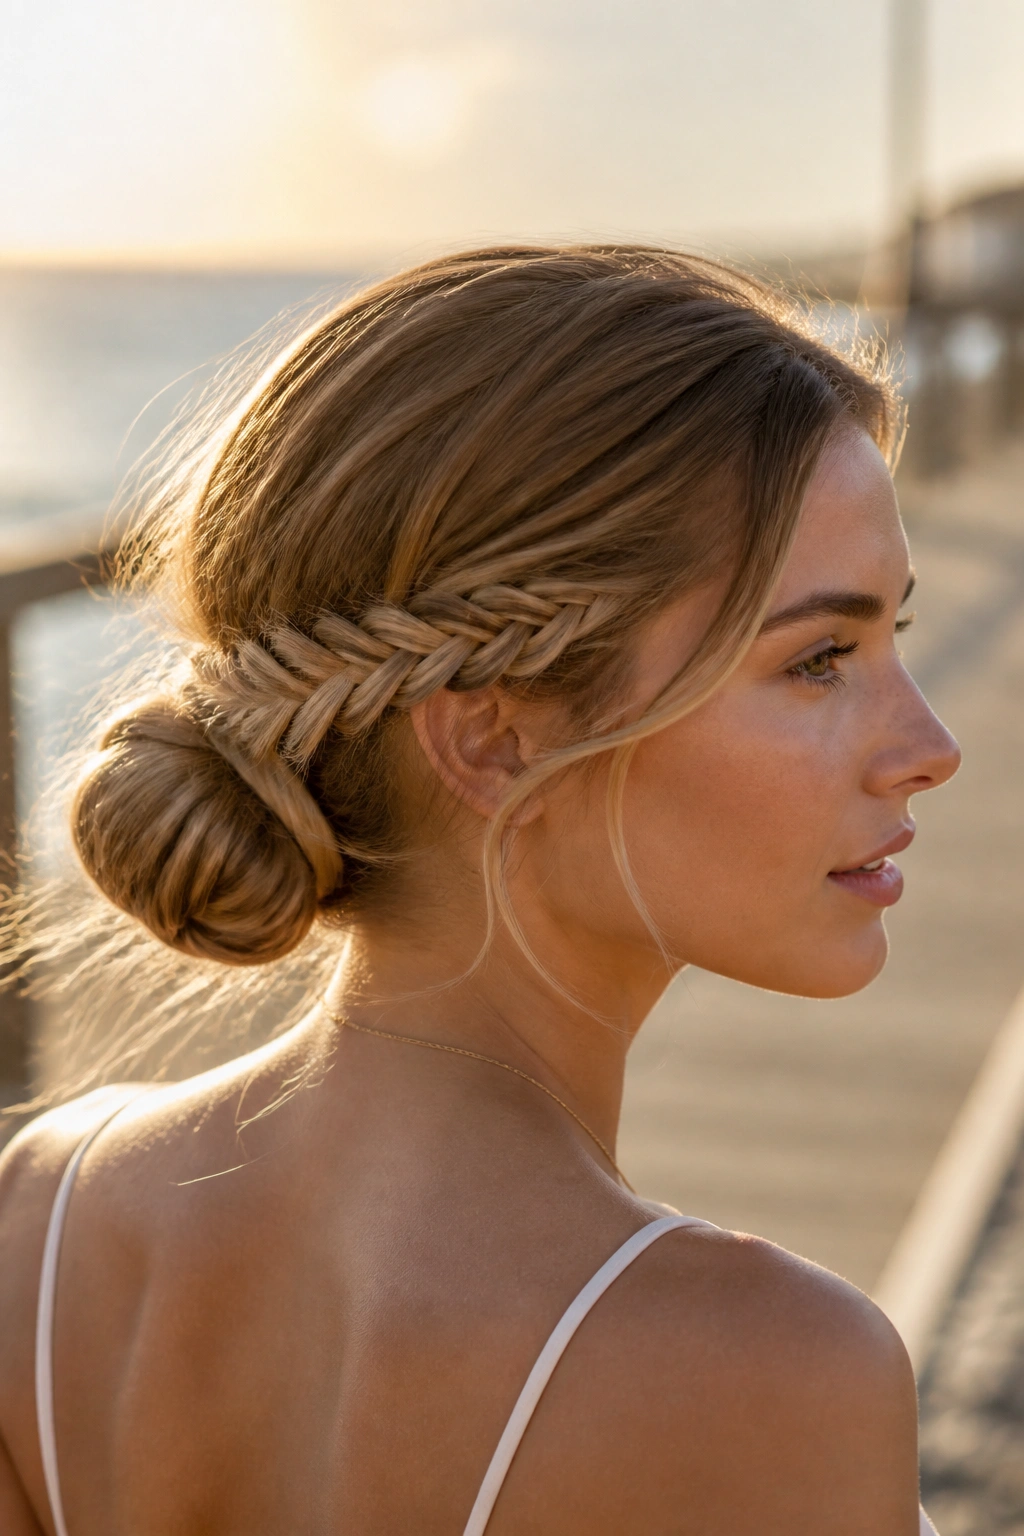
The fishtail wrap is one of my favorites because it looks like you spent a long time on it, even when you didn’t. A slim fishtail braid around the bun adds texture, breaks up the surface, and makes the style look richer without making it bigger.
Braid a small section of hair into a fishtail, then wrap that braid around a low or mid-height bun. Pancake the braid slightly with your fingertips so it looks a little fuller. A widened fishtail always looks better than a tight one here. Tight braids can go a bit wiry, and that is not the mood.
This style works especially well if your hair is fine and needs a bit of visual thickness. It also plays nicely with second-day hair, because the braid holds better when the strands are not silky clean. If you want a bun that photographs nicely without looking overworked, this is a strong pick.
15. The Halo Braid Bun
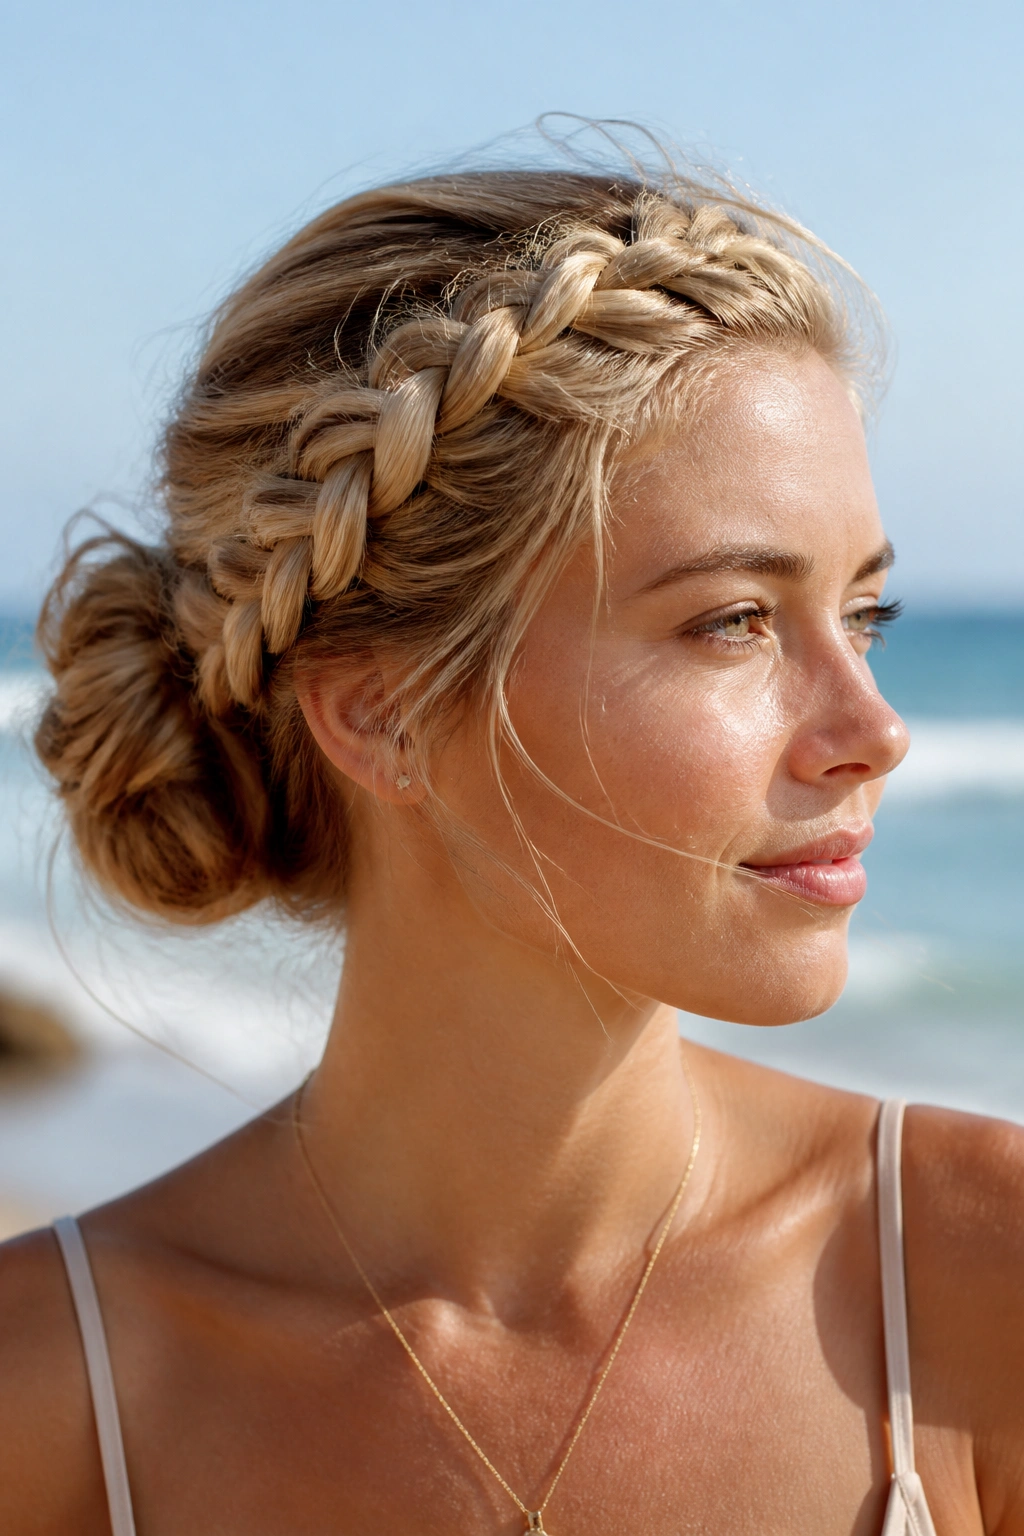
Want your hair off your neck and out of the wind? The halo braid bun does both. It wraps the head with a braid and lets the bun sit as a neat anchor at the back, which feels secure in a way that looser styles do not.
Braid along the hairline or around the crown, then gather the remaining length into a bun at the nape or slightly higher. The braid keeps the front under control, which is useful if your hairline frizzes the second it gets humid. That front section is usually the part that gives people the most trouble.
How to Wear It
This style shines on long hair because the braid has room to show. It also works well if you need your hair to stay put for hours, not just a quick lunch. A small amount of edge cream or styling balm near the hairline can help, but keep it light so the braid still looks soft. It takes more time than some of the other beach bun styles, yet it earns it by staying together.
16. The Micro-Braid Wrapped Bun
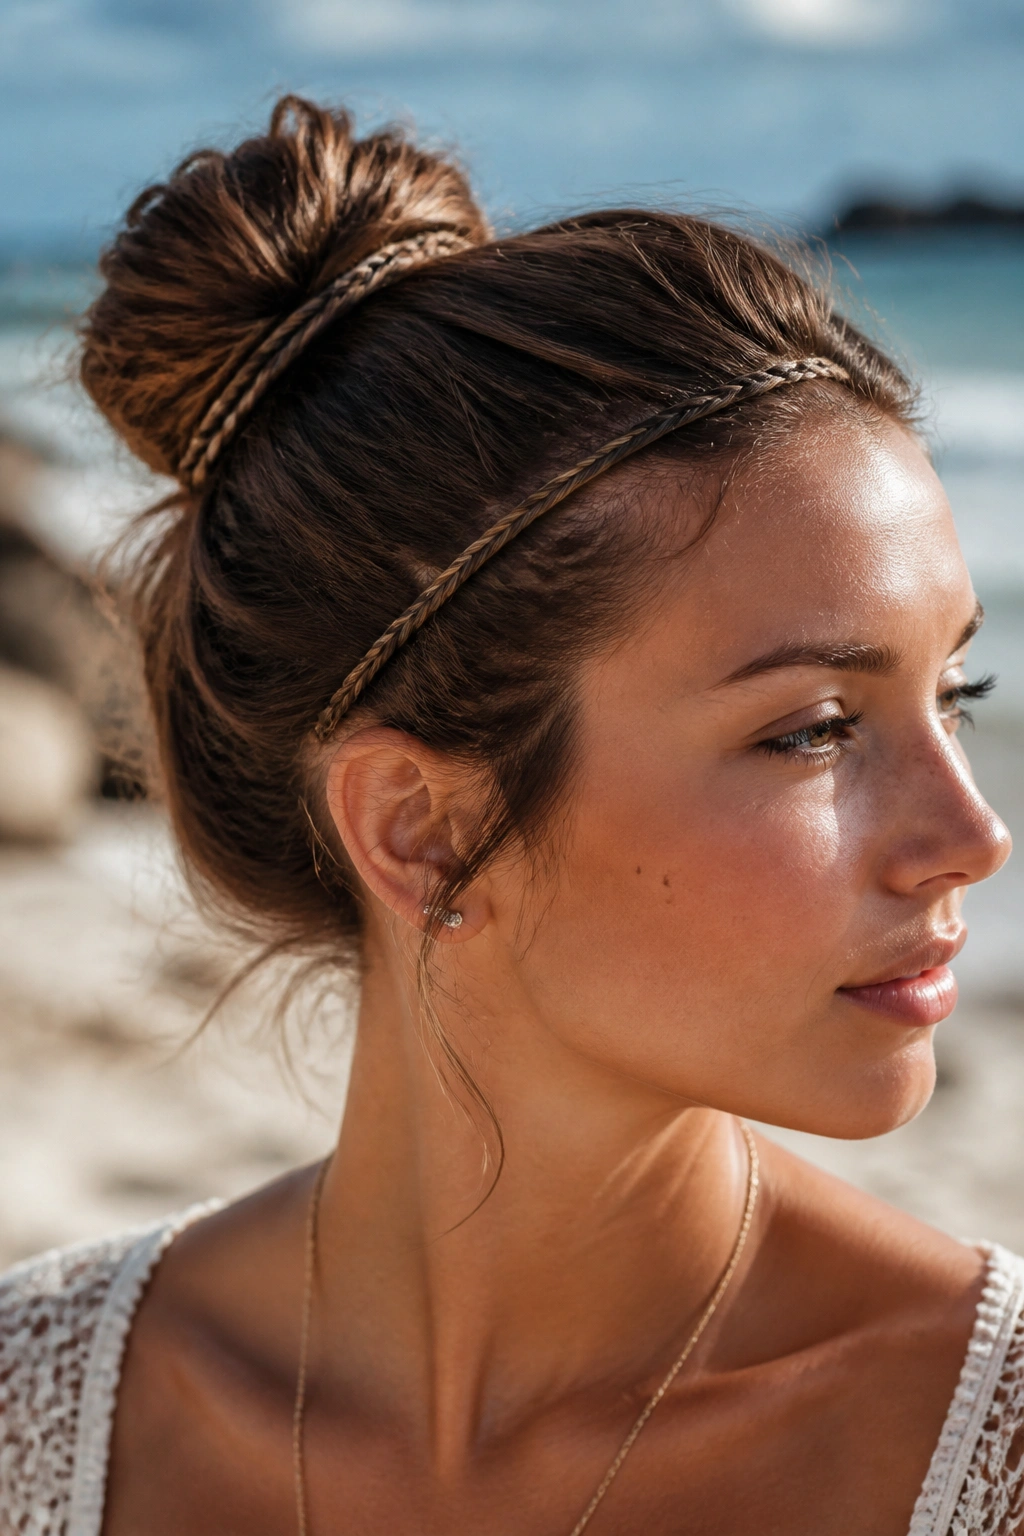
Tiny braids around a bun give the style a bit of edge without turning it into a full braided updo. This is a nice middle ground if you want detail but do not want the whole head braided. It feels personal, which I like.
Create one or two micro-braids near the temple or in the ponytail, then wrap them around the bun before pinning. The smaller braid acts like trim. It changes the whole bun with very little extra hair work. A single thin braid can do more than a pile of accessories.
- Good for curly or coily hair textures
- Helps hide frizz near the hairline
- Needs small, tight pins
- Looks best with a slightly undone bun base
This style is especially useful when your hair has mixed textures and you want to make the whole look feel deliberate. It does not need to be spotless. In fact, a little softness keeps it from looking overbuilt.
17. The Loose Surf Bun
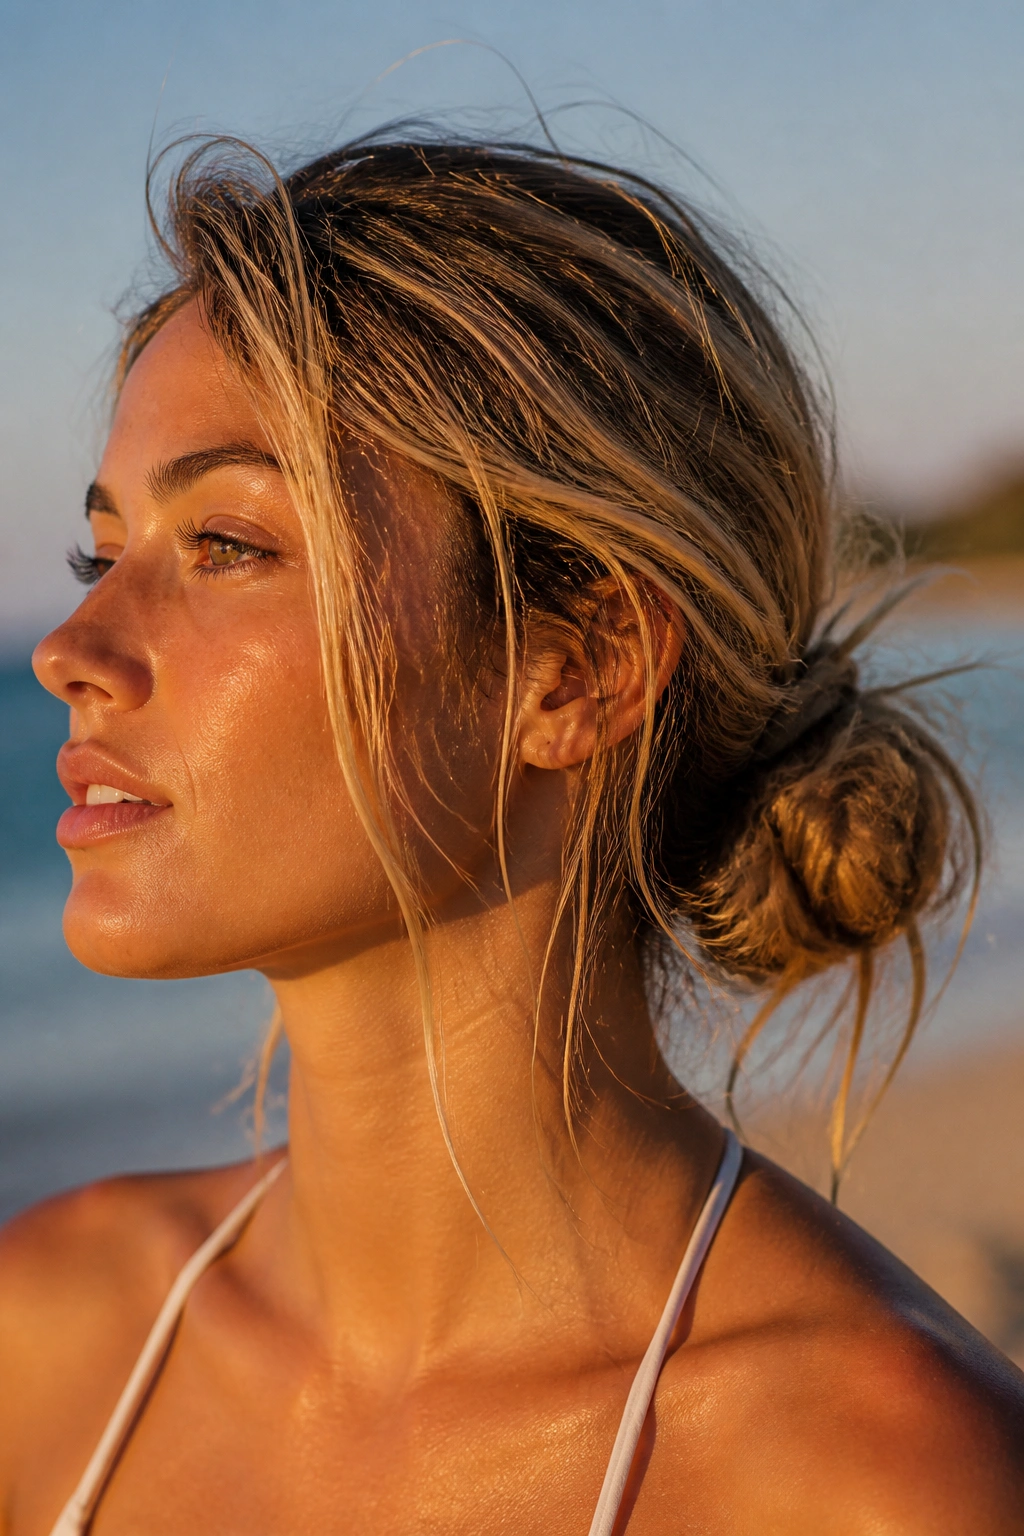
A loose surf bun is for the days when your hair already has salt in it, or at least the idea of salt in it. It sits a little undone, with a few ends escaping and a softer outline around the head. That loose shape is the point.
Use your fingers instead of a brush. Gather the hair into a casual twist, then pin it without worrying about every strand. The bun can sit low, high, or somewhere in the middle. The less you force it, the better it looks. A brush can make this style too neat, which steals the whole feeling.
This is the bun I’d choose for hair that has already dried in waves. Dry shampoo at the roots helps, but only a little. If you overload the hair with product, the shape starts to look sticky instead of easy. Pair it with sunglasses, a loose shirt, and a day that doesn’t demand much from you.
18. The Clipped Twist Bun
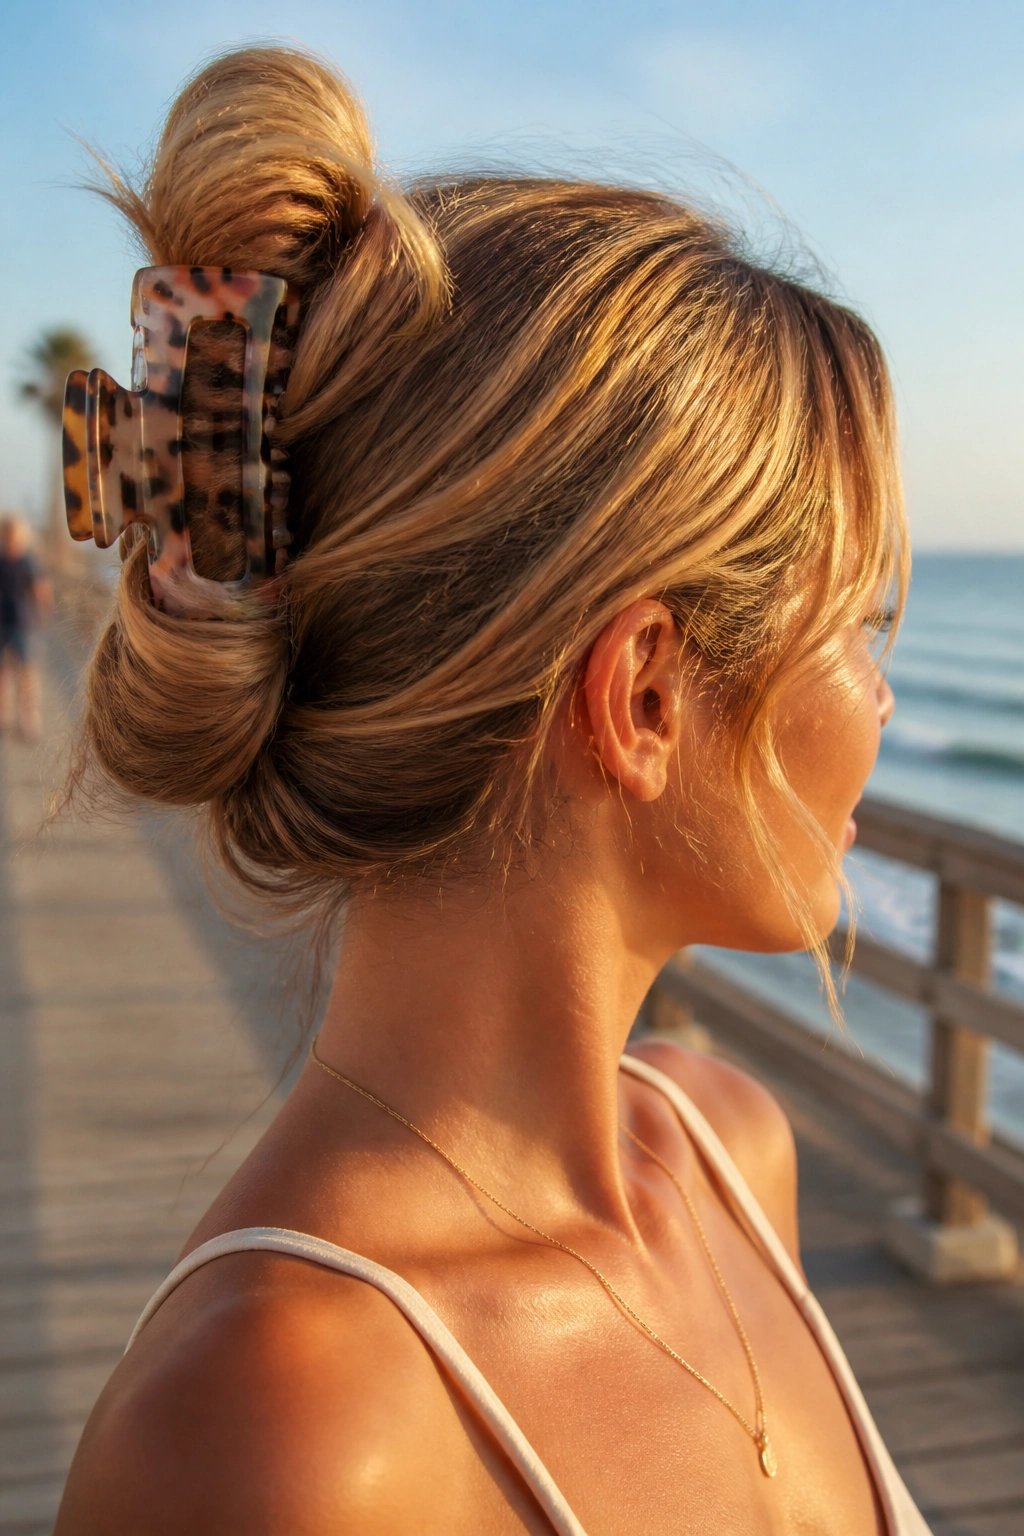
A large claw clip can turn a plain twist into a beach hairstyle that feels quick, secure, and oddly chic in the simplest way. I like this one because it works when your hands are sandy, your hair is damp, or you just want something done in under a minute.
Twist the hair upward, fold the length into a bun shape, and clamp the clip over the middle so it catches both the base and the tucked ends. The clip should bite into the twist, not sit on top of it. If the clip is too small, the whole thing slips. Size matters here more than decoration.
This style suits medium to long hair and it handles a day that starts near water and ends somewhere with cold drinks. It’s not the most formal look on the list, and that is part of the appeal. Some vacation hair should be easy enough that you stop thinking about it after the first mirror check. This is that kind of bun.
