



Nothing ruins a cute ski-day hair plan faster than a helmet that flattens one side, fuzzes the other, and leaves your fringe glued to your forehead. Short hair has fewer tangles than long hair, sure, but it also has less weight to hold its shape, which means every bend, tuck, and flyaway shows up fast.
The trick with skiing helmet hairstyles for short hair is not volume. It’s control. You want styles that sit close to the head, keep the hairline smooth, and still look intentional when the helmet comes off for lunch or the gondola ride.
A lot of people try to fight the helmet with bigger shape. That usually backfires. A puffed-up crown gets crushed, a hard clip digs in, and a loose wave turns into a frizzy halo once cold air and static get involved.
The styles below lean into what short hair actually does well: clean parts, tiny braids, flat twists, tucked ends, and texture that can survive a little pressure. Some are polished, some are lazy in the good sense, and a few are the sort of thing you can do with cold fingers and one mirror in the lodge bathroom. Good. That’s the real test.
1. The Deep Side Part and Low Tuck
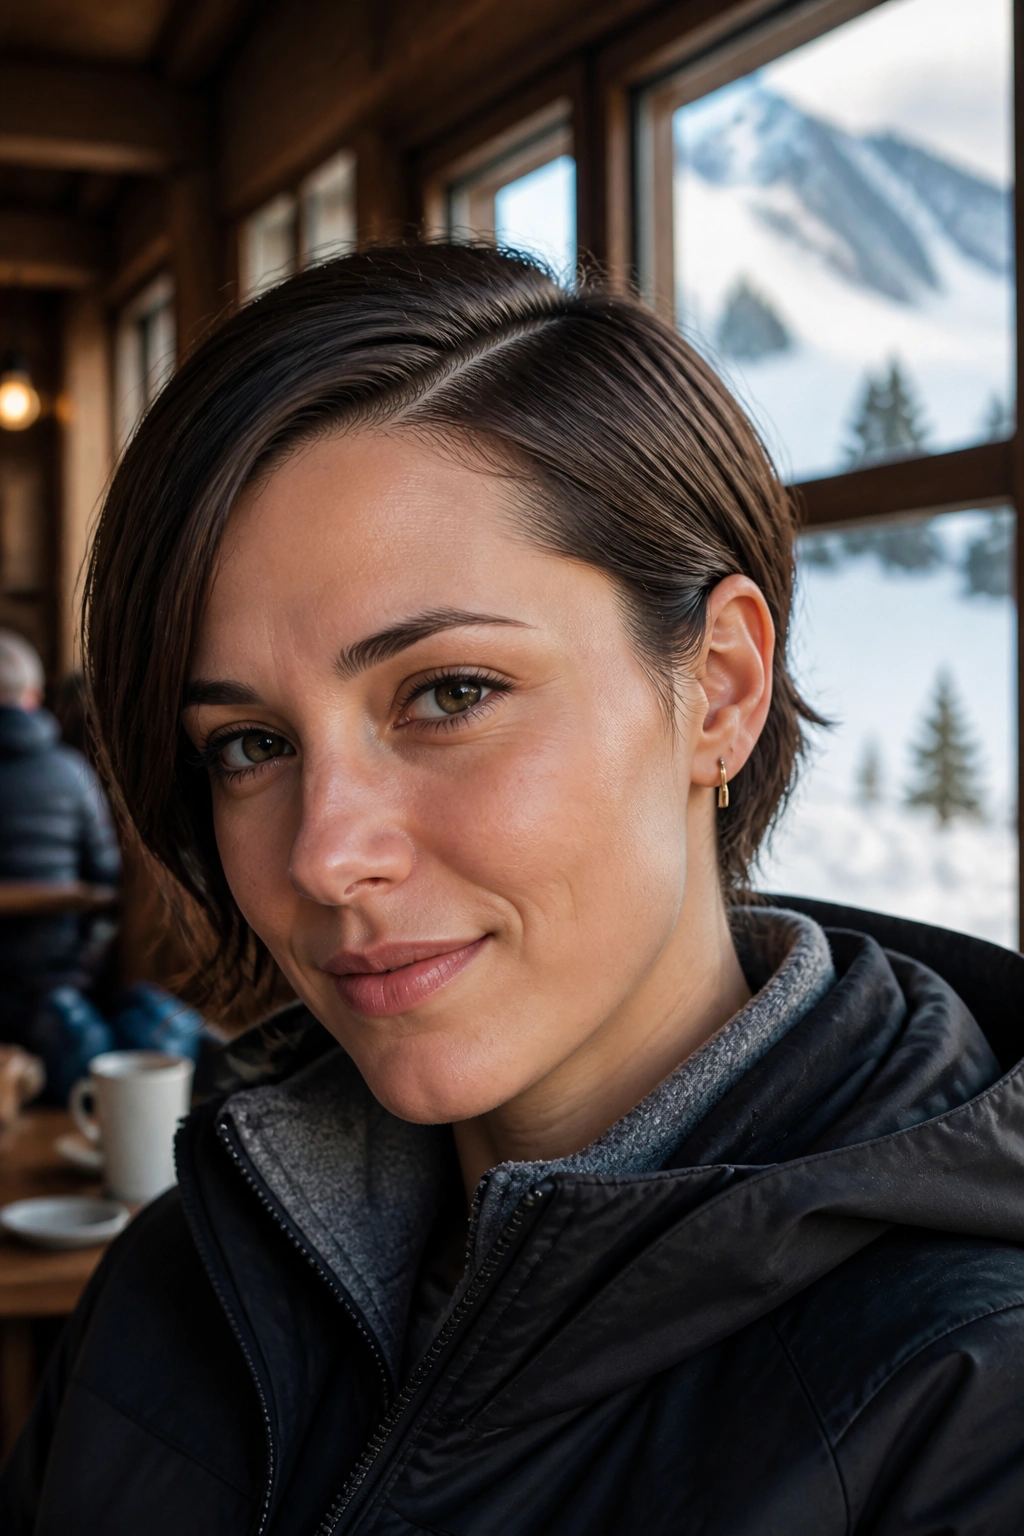
A deep side part is the easiest way to make short hair look styled after a helmet. It gives the eye something to read even when the crown gets compressed, which is half the battle with helmet hair. On a pixie, it softens the top. On a bob, it keeps the front from puffing into a triangle.
If your hair is fine or flat, this is the move I’d start with. Work a pea-sized dab of matte cream or light pomade through the roots, draw the part with the end of a comb, and tuck the heavier side behind one ear. Don’t chase symmetry. The slight imbalance is what makes it look deliberate.
Why It Works Under Pressure
- The part line stays visible even when the helmet presses the top down.
- Tucked hair keeps the temples from frizzing into the padding.
- A matte product gives grip without the greasy shine that cold daylight makes extra obvious.
- It takes about 30 seconds once you know where your part lives.
Skip shiny serum here. It turns short hair limp fast, and helmet padding makes that limpness look even stronger. A little texture is your friend.
2. The Mini French Braid Along the Hairline
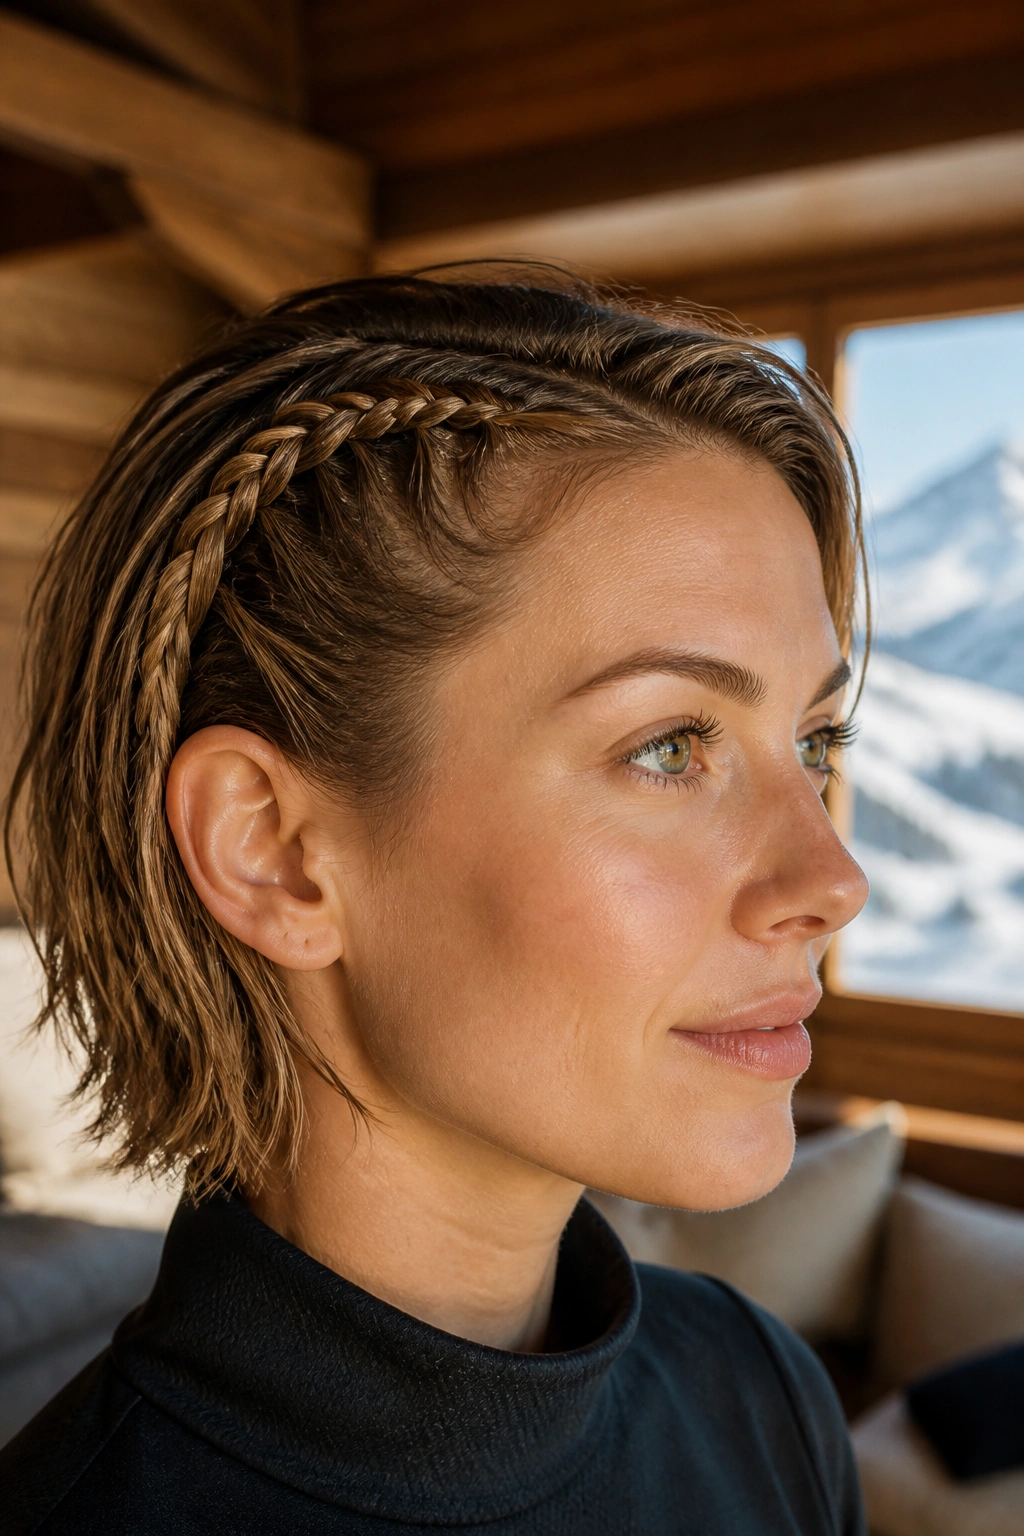
Why does a tiny braid work so well under a ski helmet? Because it keeps the front layers anchored before the helmet rubs them loose. That sounds almost too simple, but simple wins when your hair is short and the weather is doing its own thing.
The braid does not need to travel far. On a pixie-bob or a layered cut, braid just the front inch or two along one side of the part, then clip or pin it flat behind the temple. If your hair is chin length, you can run it farther back and let it disappear into the rest of the cut. It feels tidy without looking severe.
How I’d Place It
Start with slightly damp hair or hair that has a touch of leave-in conditioner in it. Dry, slippery hair is hard to grip, and tiny braids fall apart fast if you rush them. Keep the braid flat against the head so the helmet can sit over it without a ridge.
A tiny braid is especially good if you hate hair in your eyes. Once it’s secured, the front line stays put for hours. No flap. No constant finger fixing.
3. The Low Nape Braid for Chin-Length Hair

Picture this: you take your helmet off, shake your head once, and the braid still sits clean at the nape instead of exploding into a fuzz ball. That’s the appeal of a low braid on short hair. It looks calm, which is more valuable than fancy in cold air.
This works best when the cut hits between the jaw and the collarbone. Gather the hair low and centered, or a little off to one side if your layers are stubborn. Use a small clear elastic and braid all the way down the tail. If your ends are too short to braid neatly, stop early and twist the last inch before tying it off.
- Use a smoothing cream on the lower half only.
- Keep the braid snug, not tight.
- Pin any short pieces at the nape with flat bobby pins.
- Leave the top soft so the helmet doesn’t fight the shape.
A low braid also means less rubbing at the neck, which matters more than people admit. Helmets, scarves, collars, and zippers all compete back there. The less bulk you create, the better the whole setup feels.
4. The Textured Pixie with Matte Paste
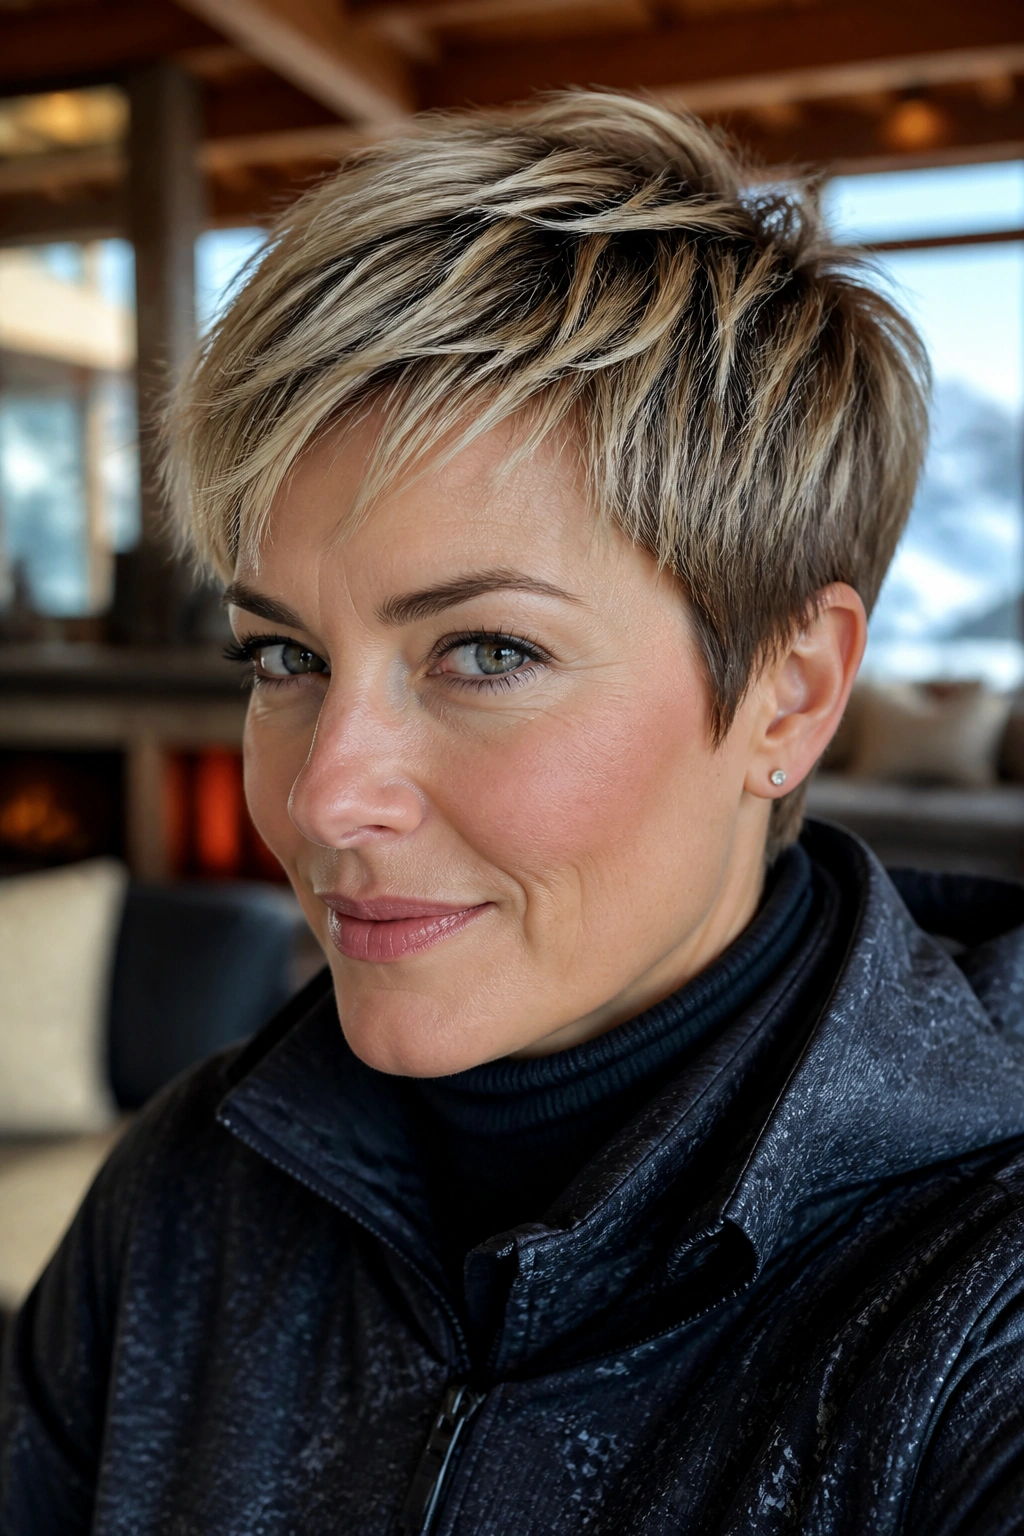
A pixie cut can be the easiest short style under a helmet if you stop trying to make it behave like long hair. That is the whole game. Short pieces want direction, not length, and a little matte paste gives them exactly that.
Work a pea-sized amount between your fingers, then press it into the roots and through the top layers. Don’t smear it everywhere. Put more on the crown if you want a bit of lift, and leave the sides closer to the head so they can slip under the helmet cleanly. A comb can overdo it.
No fluff. No fuss.
The best pixies for skiing have a bit of choppiness on top and a fringe that can be pushed forward or to the side. If the cut is too clean and round, the helmet flattens it into a cap shape. If it has texture, the flattening looks styled instead of accidental.
A quick finger-twist at the front is enough. Twist a small section, let it fall, and leave the rest alone. The less you touch it after styling, the less static you’ll get later.
5. The Twisted Temple Pin-Back

A couple of flat twists at the temples solve the problem of short pieces that won’t reach a braid. That makes this one especially good for layered bobs, bixies, and grow-out cuts with shorter front pieces. You get control without forcing the hair into a shape it can’t keep.
How to Place the Twists
Take a section no wider than your pinky from each temple. Twist it back toward the ear, not upward, and pin it flat with a bobby pin or two crossed pins if the hair slips. If your hair is slippery, rough it up with a touch of dry shampoo first.
The beauty of this style is that it hides right where helmets tend to irritate the hairline. The twist sits low enough to stay out of the way, and it gives the front a finished edge even if the rest of the hair gets squashed.
What to Watch For
- Don’t use thick decorative clips. They dig.
- Keep the twist flat, not ropey.
- Place the pin where the helmet padding won’t press directly on it.
- If you feel a lump, redo it. You’ll notice that lump every single time.
This style has a tiny bit of polish to it, which is nice when you want to look awake before coffee.
6. The Slicked Crop That Survives Ski Helmet Hair
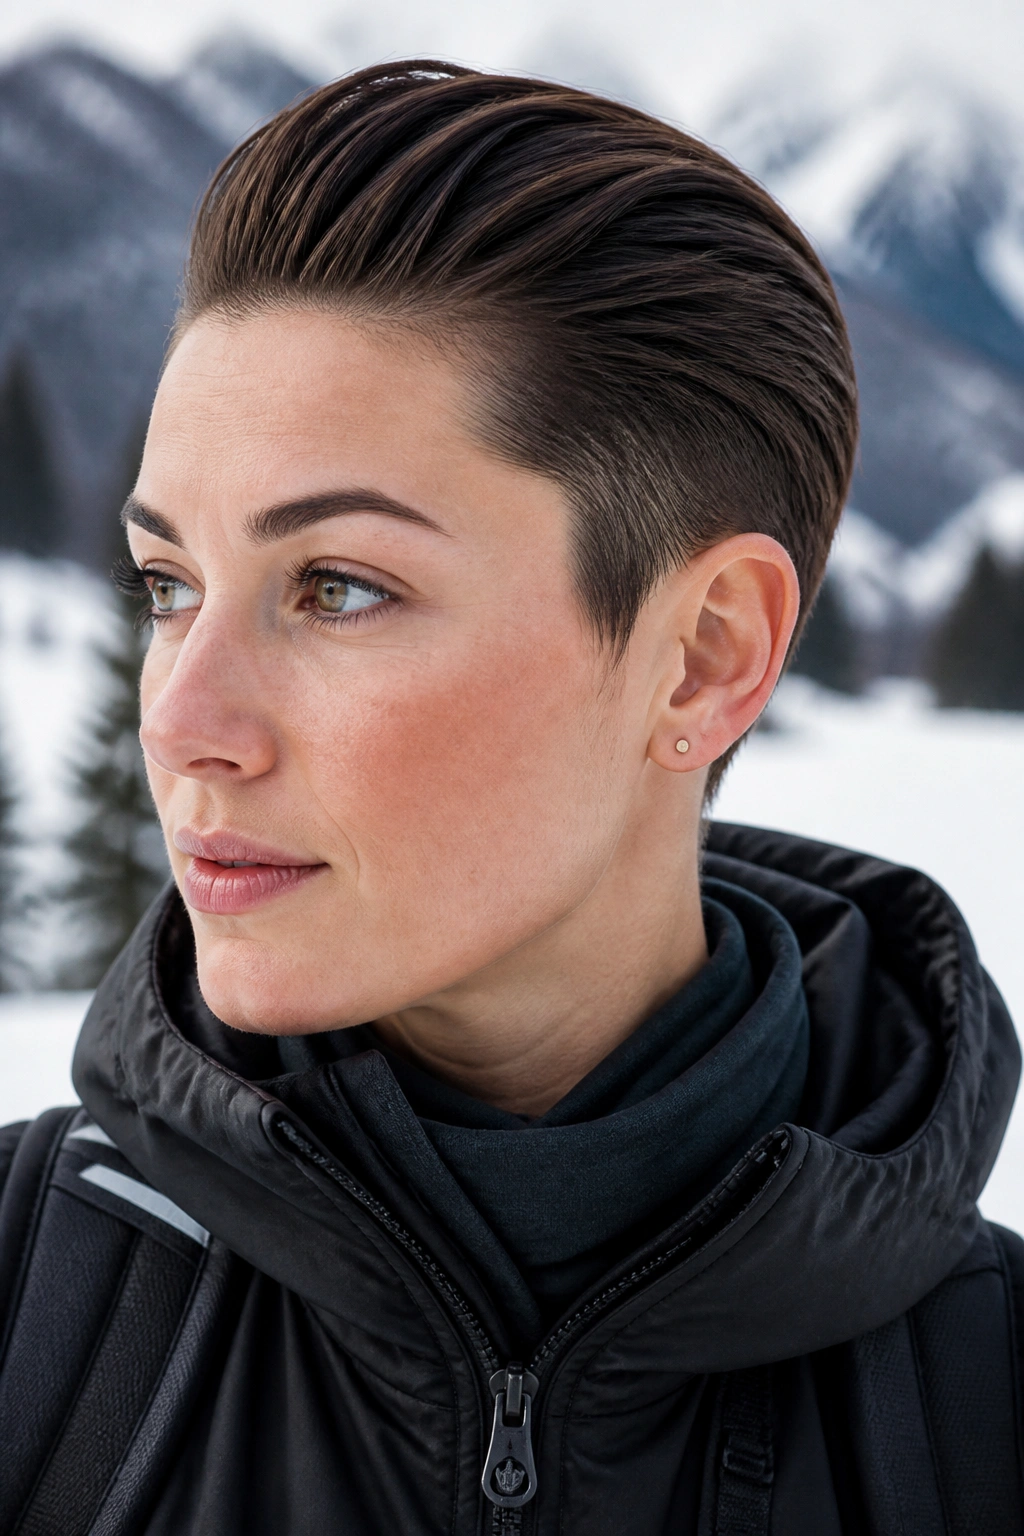
Unlike fluffy styling, a slicked crop makes the helmet part of the look. That sounds blunt because it is. If you’ve got a short, straight cut, this is one of the most useful skiing helmet hairstyles for short hair because it stays neat instead of puffing up into chaos.
Use gel or a cream-gel on damp hair, focusing on the sides and the front hairline. Comb everything back or diagonally to one side, then smooth it with your palms. You want the hair to look sleek, not wet. If it feels crunchy, you used too much product.
This style works especially well on hair that tends to spring up in the cold. A slicked crop keeps the shape close to the scalp, and the helmet just reinforces the direction instead of destroying it. Very short hair can go almost fully slicked back. Slightly longer short hair looks better with a soft side sweep.
If you like a clean finish, this is your friend. If you want movement and volume, it may feel too tidy. That is the tradeoff, and honestly, it’s worth it on a windy day.
7. The Half-Tucked Bob With Face-Framing Pieces
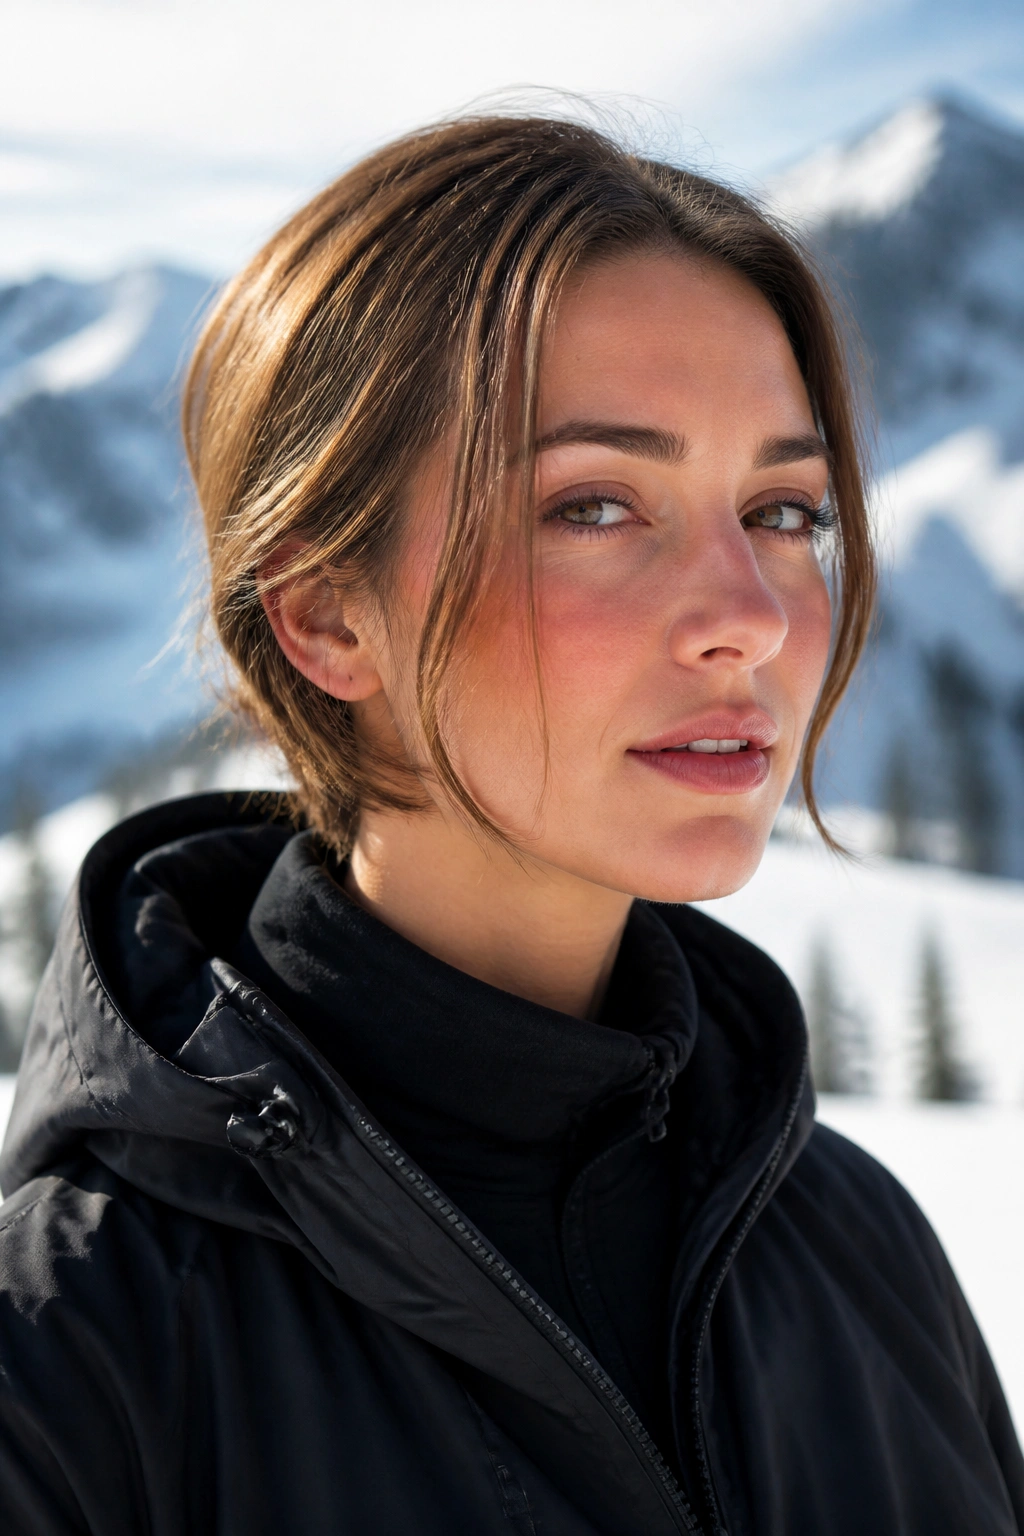
A bob that skims the jaw does not need to be forced into a braid to behave. Sometimes the smartest move is to tuck most of it back and leave two front pieces loose so the cut still looks like a cut.
Take the hair behind the ears and pin it low at the nape or just above it. Leave the front corners soft, especially if your bob has a bend or a wave that you actually like. Those face-framing pieces stop the style from looking too severe once the helmet comes off.
A Simple Way to Make It Work
- Smooth the back with a little cream or balm.
- Use flat pins, not bulky clips.
- Leave one piece on each side out near the jaw.
- Let the ends rest under the helmet instead of fighting for height.
This is a good one if you hate hair touching your neck but still want a bit of movement around the face. It’s also forgiving. A half-tuck can survive being redone with cold fingers, which matters more than people think when the wind is making your hands clumsy.
The result is casual in a nice way. Not sloppy. Just easy.
8. The Two Micro Dutch Braids
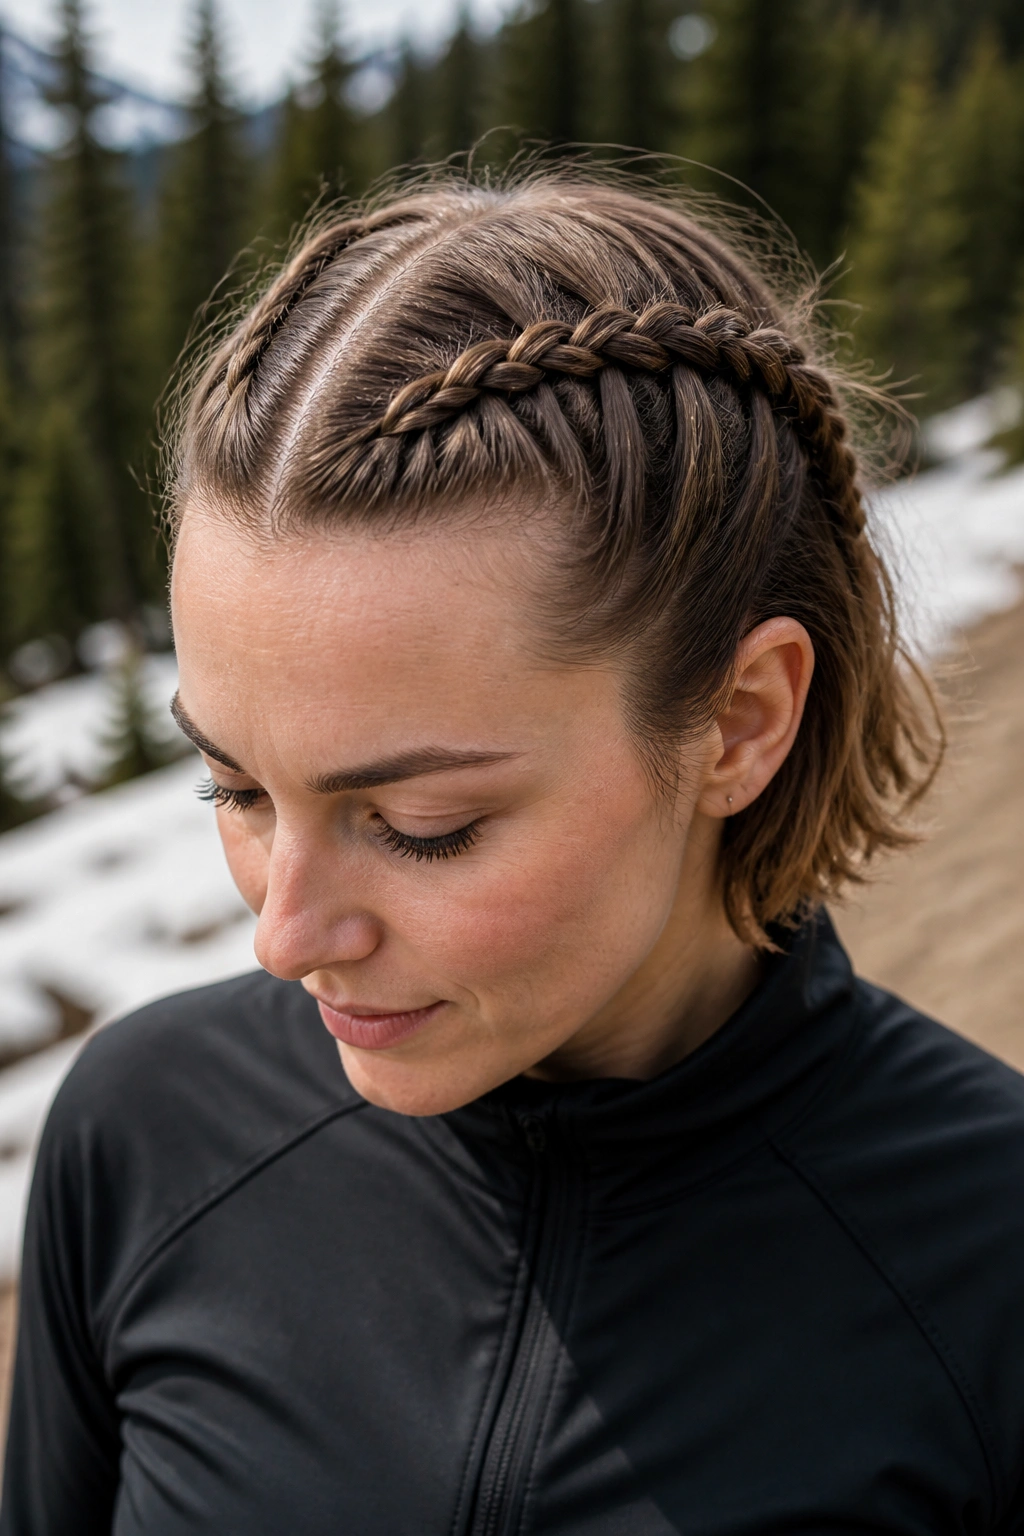
If your hair hits the ears but not the shoulders, twin Dutch braids can be a small miracle. They keep layers in line, split the visual weight evenly, and make helmet hair look more intentional when the helmet comes off.
Keep the braids tiny and close to the scalp. Start near the part, work back only a few inches, then finish each side as a regular braid if the length runs out. That little change matters because it keeps the braid low-profile under the helmet instead of building a bump at the crown.
I like this style on very active ski days. It feels secure. You’re not chasing flyaways, and you don’t get that odd half-loose, half-pinned mess that some short cuts create after an hour in the cold. If the ends are too short to braid neatly, stop early and secure with small clear elastics. Ugly elastics work fine here. No one is grading you.
The one catch is speed. Micro Dutch braids take a minute longer than a simple tuck. On busy mornings, they can feel fussy. On a long day outside, they earn their keep.
9. The Rope Twist Into a Low Pin
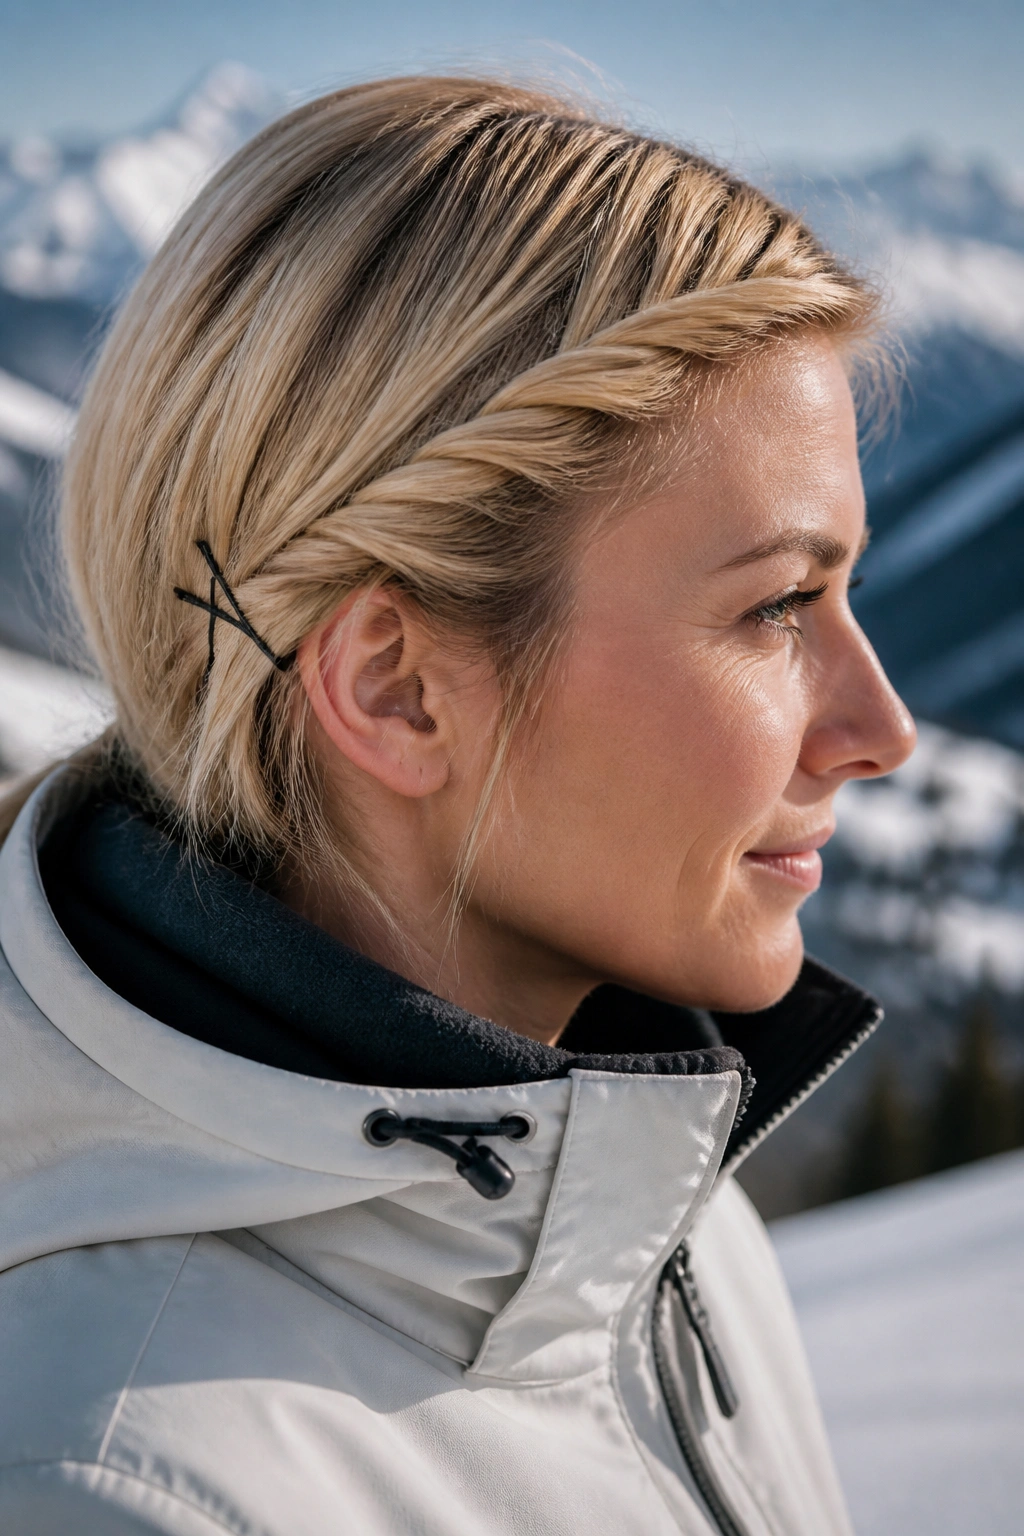
Can you fake a style in under a minute? Yes. A rope twist is the closest thing short hair has to a quick save, and it sits nicely under a helmet because it stays flat.
Take a front section on one side, split it into two, twist the pieces around each other, and guide the twist back toward the ear or the nape. Pin it low with two bobby pins crossed into an X if the hair is stubborn. That crossing trick matters. One pin often slides out on layered hair.
How to Get the Most From It
Use it on the side that falls forward first. That way the twist solves the exact problem you’re having, instead of decorating a section that already behaves. If your hair is very fine, mist the section with texturizing spray before twisting. If it’s coarse, a small amount of cream helps it coil without frizzing.
This style looks especially good on asymmetrical cuts and longer pixies. It gives the front enough shape that the rest of the hair can be simple. And simple is good when you’re wearing a helmet, a neck gaiter, and probably sunglasses too.
10. The Defined Curls With Leave-In and Scrunch
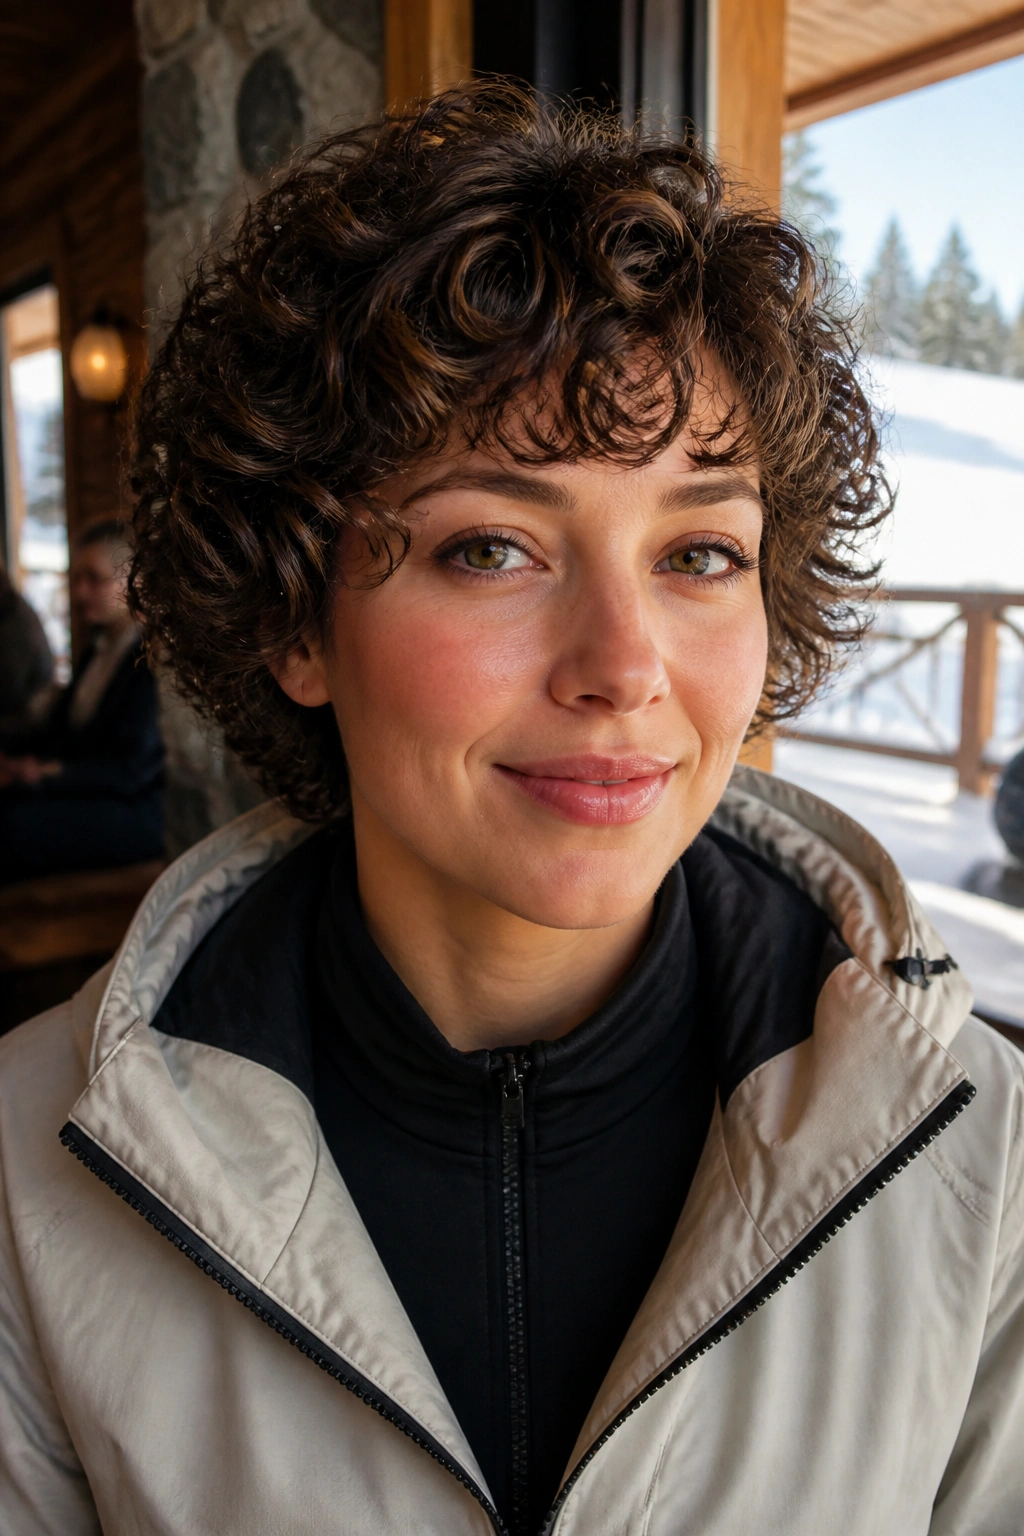
Short curls under a helmet need less fighting and more definition. If you have curls or waves, the goal is not to preserve every ounce of volume. That ship has already sailed the second the helmet goes on. The goal is to keep the curl clumps neat enough that they don’t turn into frizz.
Start with clean, fully dried hair. Add a leave-in conditioner, then a small amount of curl cream or light gel. Scrunch upward from the ends, and let the hair dry before you put the helmet on. Damp curls and ski helmets are a bad mix. You end up with warmth, steam, flattening, and later a puffier shape than you wanted.
The Curl Routine That Holds Up
- Use a water-based leave-in so the hair doesn’t get coated.
- Scrunch with hands or a microfiber towel.
- Let a soft cast form if your curls need hold.
- Break the cast only after the hair is dry.
A helmet will press curls down, yes, but pressed curls can still look good if the pattern stays intact. The thing that ruins them is roughness at the surface, not the flattening itself. Keep the outside smooth and the inside defined.
When you take the helmet off, don’t rake through everything at once. Shake the roots a little, separate only the curls that need it, and leave the rest alone.
11. The Clipped Fringe Sweep

Flat clips beat bulky clips. That is the whole lesson here. If your short hair has a fringe, long bangs, or those awkward front bits that never stay put, a clipped sweep keeps them out of your eyes without building a ridge under the helmet.
Sweep the fringe to one side and secure it with one or two snap clips placed just above the temple. The clips should lie flat against the head, not stand up like little handles. If your hair slips, use a touch of dry shampoo or a dab of paste before clipping. Clean hair can be too slippery for this.
This style is especially good when the rest of your haircut is short and easy, but the front section has a mind of its own. It gives you control where you need it most. And because the clips sit near the hairline, they’re quick to adjust with gloves off for thirty seconds.
I’d avoid decorative barrettes here. They sound cute in theory and feel like a headache under a helmet in practice. Hard edges and helmet pressure do not make friends.
12. The Faux Bob for Longer Short Hair

If your hair sits between a bob and a lob, the faux bob is one of the nicest helmet-day tricks around. You keep the length, but you fold it under so it behaves like a shorter cut while you’re outside.
Start by smoothing the hair and tucking the ends inward at the nape. Pin the folded ends flat in two or three spots, keeping the shape close to the head. A U-pin or a couple of long bobby pins usually works better than one big clip because it spreads the hold out.
Where the Fold Sits
The fold should rest below the helmet line, not jammed high at the crown. If it sits too high, the helmet pushes it into a lump and the whole thing gets uncomfortable. Keep the roll low and soft. The silhouette should look neat from the side, not bulky from the back.
This style works well if you want your hair to look like it was arranged on purpose after you remove the helmet. It also keeps the ends from rubbing against scarves and jacket collars. Little detail. Big payoff.
The best part is that it can survive a whole day of stop-and-go movement without needing much touch-up. That’s rare enough to appreciate.
13. The Mini Bubble Pony at the Nape

There is something oddly satisfying about a tiny bubble pony on short hair. It keeps the ends contained, adds shape without height, and feels a little playful without crossing into costume territory.
Gather the hair low at the nape and secure it with a small elastic. Then add another elastic about 1 to 1.5 inches down the tail, and another after that if your length allows it. Gently tug each section between the elastics to create the bubble shape. Keep the bubbles small. Big bubbles under a helmet just turn into mashed bumps.
This works best on chin-length cuts, layered bobs, and shaggy short hair that can still reach a tiny pony. If the hair is too short to make a real tail, leave the shortest layers free and just secure the rest. That still counts.
A Few Things That Help
- Use snag-free elastics so removal is painless.
- Place the first tie low enough to stay under the helmet.
- Tug the bubbles softly, not hard.
- A touch of smoothing cream on the top keeps flyaways down.
The style looks a bit more finished than a plain mini pony, which is nice when you plan to peel off your helmet in a lodge and keep moving.
14. The Flat Finger Waves That Sit Close
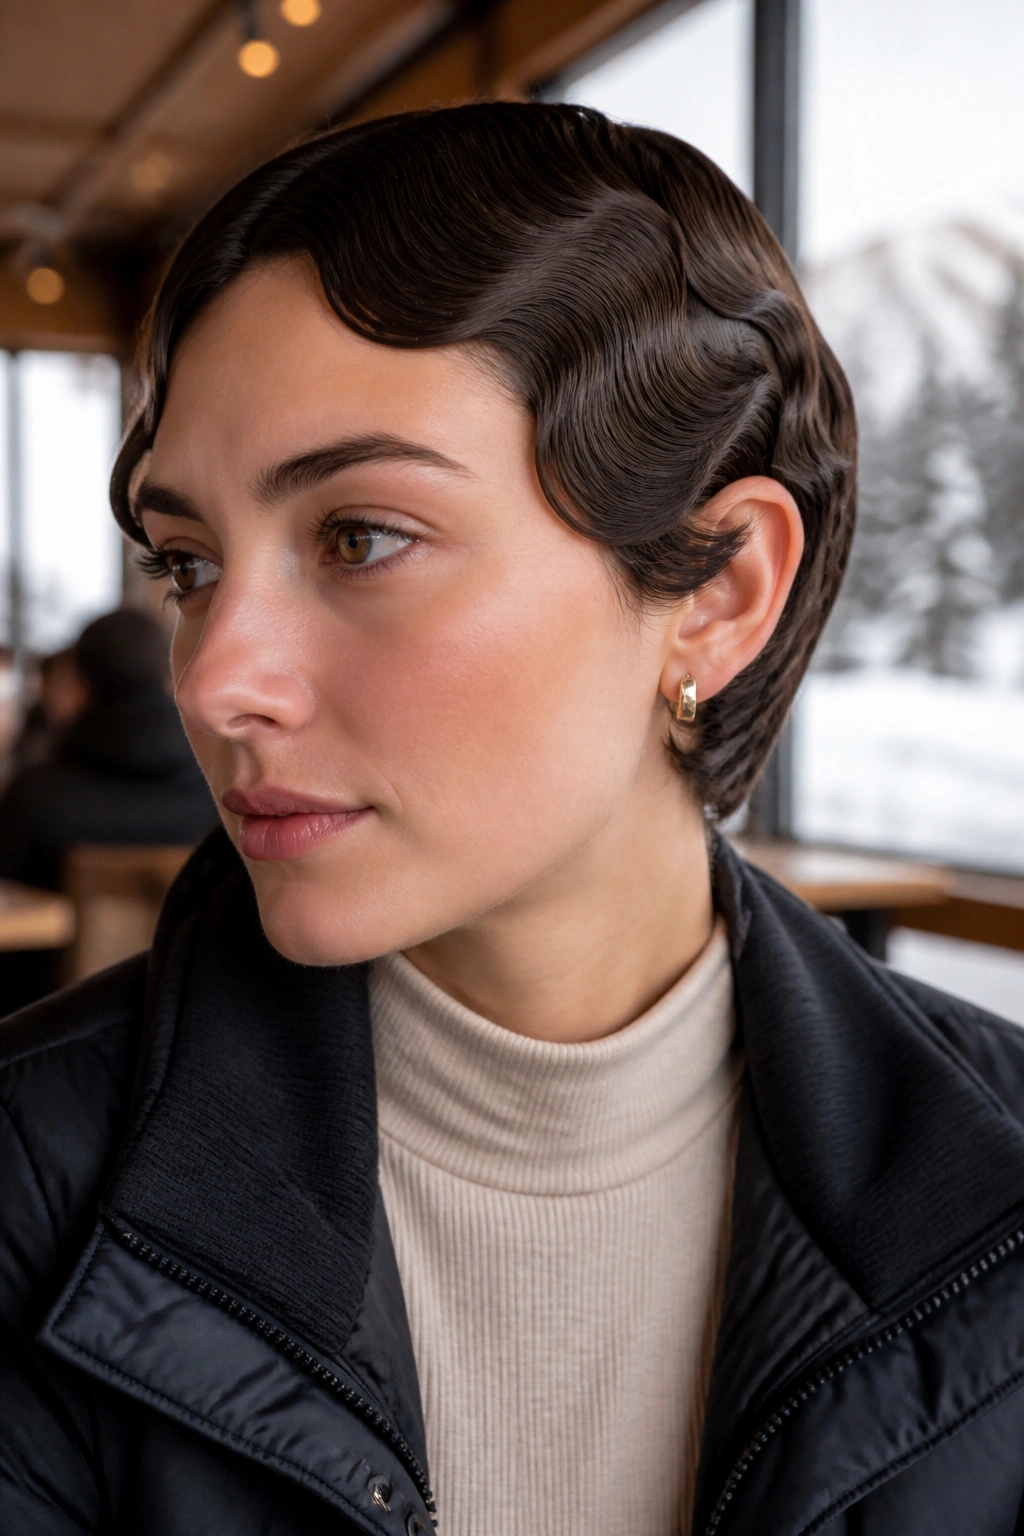
Can finger waves survive a ski helmet? Only if they sit close and are set dry. Big, airy waves will flatten into mystery shapes. Flat waves, though, can hold their line and look polished even after a helmet press.
This works best on short bobs, side-swept crops, and cuts with enough length on top to sculpt. Use gel on damp hair, comb the waves into place with fingers and a fine comb, and clip them until they dry fully. If you skip the drying step, the shape will collapse the second the helmet warms it up.
What Makes Them Hold
The wave has to lie low against the scalp. No lifted rolls, no oversized bends. Think narrow, smooth S-curves that track the head shape. If the section fights you, make the waves smaller rather than bigger.
You’ll get a slightly dressier look than most ski-day styles, which can be fun if you’re heading somewhere after the slopes and don’t want to start from scratch. It is a more exact style, though. If you’re the kind of person who likes 5-minute hair, this one may feel like too much work before breakfast.
Still, when it’s done well, it looks sharp.
15. The Natural Texture Shag for Ski Helmet Hair

Sometimes the smartest ski-day hairstyle is refusing to overstyle it. A short shag, bixie, or choppy crop often looks better when you work with the texture instead of trying to pin every piece into obedience.
Start with a lightweight leave-in or a little mousse on damp hair, then rough-dry the roots and let the ends keep some movement. Push the front pieces back with your hands, not a brush, and let the layers do what they already want to do. If one side falls weird, pin just that side. Don’t rescue the whole head when only one section needs help.
This approach is especially good if your cut has airy layers around the face. The helmet will press them down a bit, but that can actually help the shape feel softer and less puffy. A shag that’s too perfect before the helmet often looks too perfect in the wrong way afterward, which is a little stiff. A less controlled finish reads better.
The nice thing about this style is that it doesn’t demand a mirror every ten minutes. You can shake it out, adjust one piece, and go. And honestly, for short hair under a helmet, that’s about as practical as it gets.
