



Long hair can hold a curl like a dream—or slump flat before you’ve left the house. The best voluminous curl styles for long hair are the ones that work with weight instead of pretending it isn’t there. That’s the whole trick. You want lift at the crown, movement through the middle, and ends that still look soft after the hair has had a chance to settle.
A lot of curl advice gets stuck on tightness. Tight curls are not the same thing as full curls. On long hair, a smaller barrel can make the lengths look busy and the roots look tired, while a bigger barrel, a proper cool-down, and a little root support usually give you a fuller shape that lasts longer and looks better in motion.
I’ve always liked curls that can survive a real day. A windy walk. A car ride. A dinner where you keep touching your hair and pretending you don’t. Long hair needs styles with some backbone, but it also needs a bit of softness or the whole thing starts to feel stiff and overworked.
1. Big Barrel Blowout Curls for Long Hair
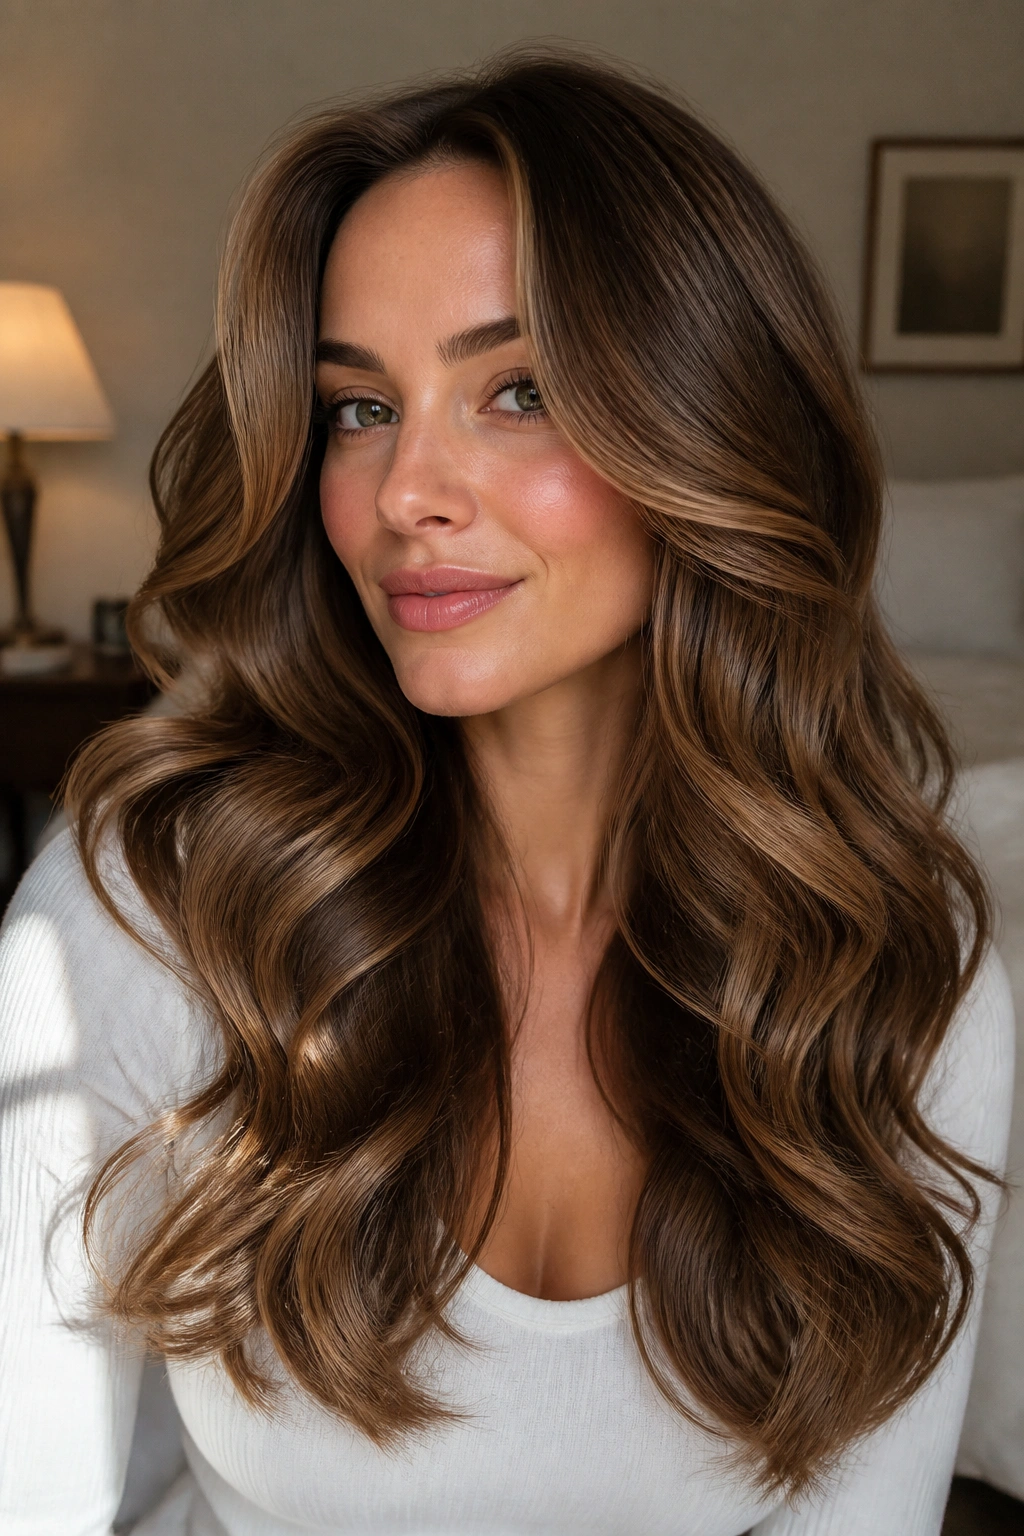
If you want long hair to look full without looking stiff, start here. Big barrel blowout curls sit in that sweet spot between a salon blowout and a curl that still has shape the next morning. A 1.25-inch or 1.5-inch curling iron usually gives the right amount of bend on long lengths, especially if your hair is thick and likes to drag everything down.
The key is not wrapping the hair too tightly. Leave the last inch or so of the ends a little looser, and curl away from the face on the front sections. That keeps the style from turning into one giant tube of hair, which is the risk with long lengths and a barrel that’s too small.
What Makes It Work
Big barrel curls look fuller because the shape is wide enough to catch the eye, but not so wide that the curl disappears. They also photograph well in real life, not just in salon lighting. You get movement, shine, and a little bounce at the ends.
A few details matter more than people think:
- Use a heat protectant with a light hold before drying.
- Blow-dry with a round brush so the roots already have lift.
- Curl 1-inch to 1.5-inch sections, not huge panels.
- Clip the curls while they’re warm if your hair drops shape fast.
- Finish with a flexible hairspray, not a crunchy one.
My favorite move: let the curls cool completely before brushing them out. That pause is what gives the style its body.
2. Old Hollywood Side-Sweep
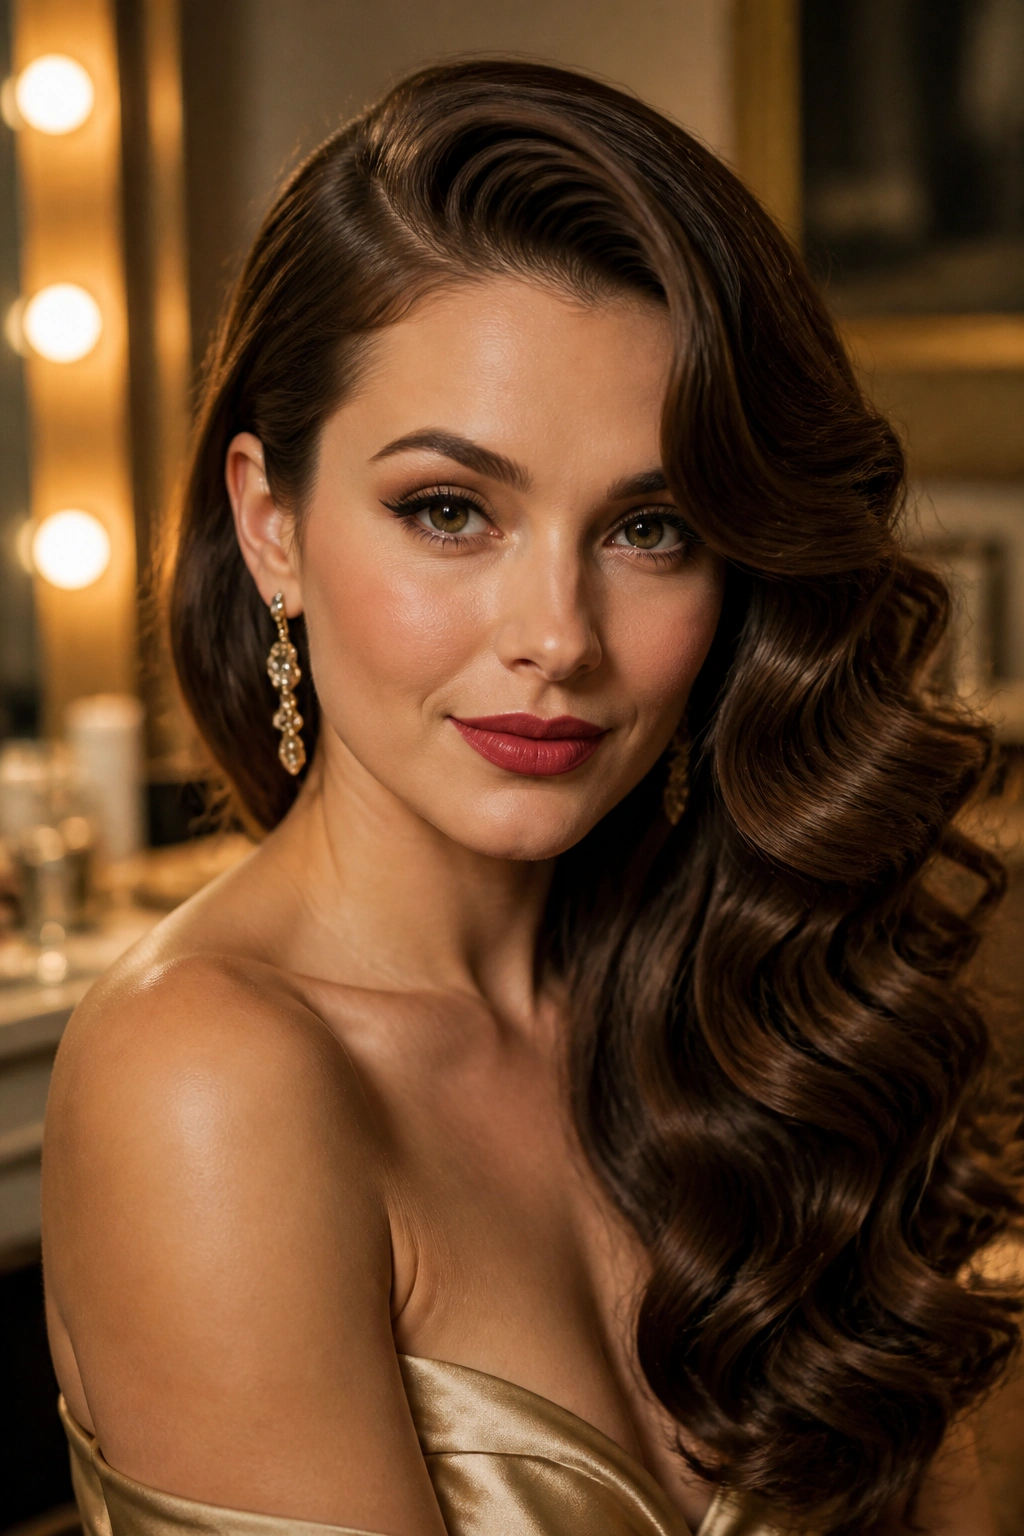
Some styles look polished because they obey the rules. Old Hollywood curls do exactly that. A deep side part, a smooth top, and waves that all flow in the same direction create a shape that feels full without looking fluffy. On long hair, this style works best when the curl starts around the mid-lengths and the root stays sleek.
The look is stronger than it seems. A side-sweep changes where the weight sits, and that alone can make long hair look taller at the crown. The whole style feels controlled in the best way, like the hair has been given a frame instead of being left to sprawl.
Where the Drama Comes From
The drama is in the line, not the curl size. A deep part creates lift instantly, especially if you set the root with a clip while the hair cools. Keep the front section smooth, then shape the wave so it folds over one shoulder. If the ends are too tight, the style loses that old-film softness and starts to look dated.
A few things help here:
- Use a 1.25-inch iron or a large curling wand.
- Curl every section in the same direction.
- Brush only after the curls are fully cool.
- Add a tiny amount of shine serum from the ears down.
- Tuck one side behind the ear if you want the face to open up more.
This one is beautiful for formal events, but it also works when you want your long hair to look expensive without trying too hard. And yes, that matters.
3. Brushed-Out Ribbon Curls
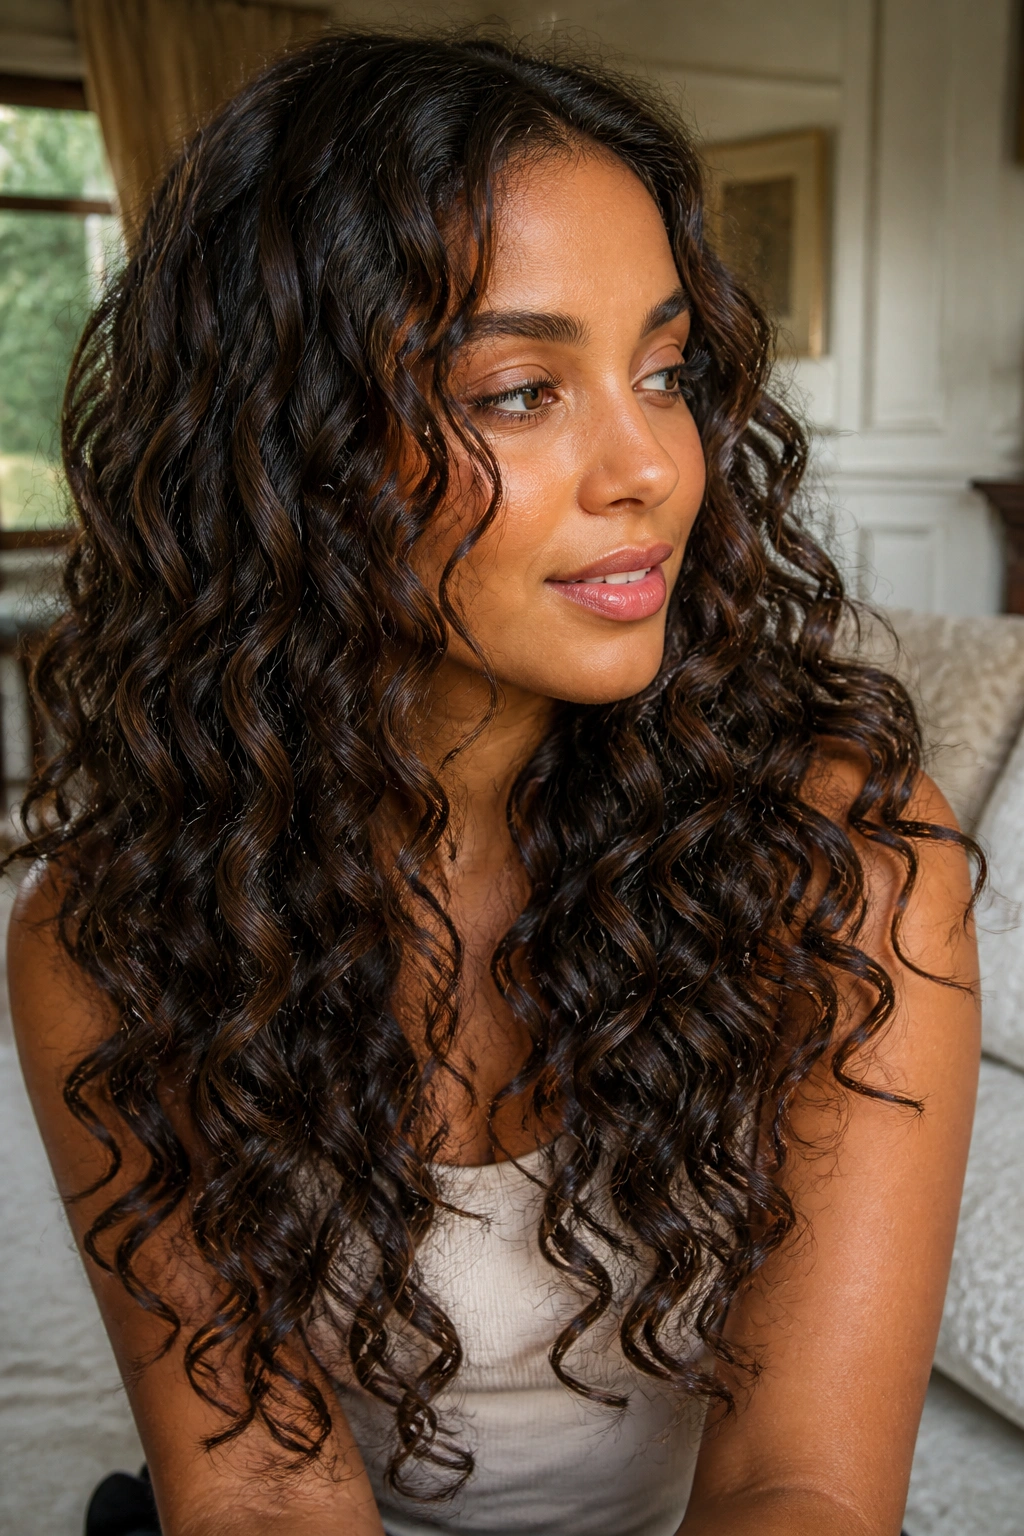
Brushed-out ribbon curls are for people who like movement more than structure. The style starts with defined curls, then gets softened into long, silky ribbons that still show shape. On long hair, that brushed finish keeps the curls from looking too ringlet-heavy. It also gives you the kind of fullness that moves when you turn your head.
I like this look on thick hair. A lot. It takes the bulk you already have and makes it feel intentional instead of heavy. The trick is to curl each section vertically, let it cool, and then brush through in a very controlled way. No aggressive tugging. That’s how you end up with frizz instead of ribbons.
How to Keep the Shape Plush
Use a vent brush or boar-bristle brush, not a tiny paddle brush that can wreck the pattern too fast. Start at the ends and work upward in small passes. If the hair puffs out too much at the crown, pin the top few curls for 10 minutes before brushing anything out.
- Curl 1-inch sections with a medium barrel.
- Let each curl cool in your hand or on a clip.
- Brush from the bottom up.
- Stop brushing once the curl turns into a smooth wave.
- Mist the finished style from about 10 inches away.
The result is soft, long, and touchable. Not messy. Not stiff. Just full.
4. Half-Up Crown Lift Curls for Long Hair
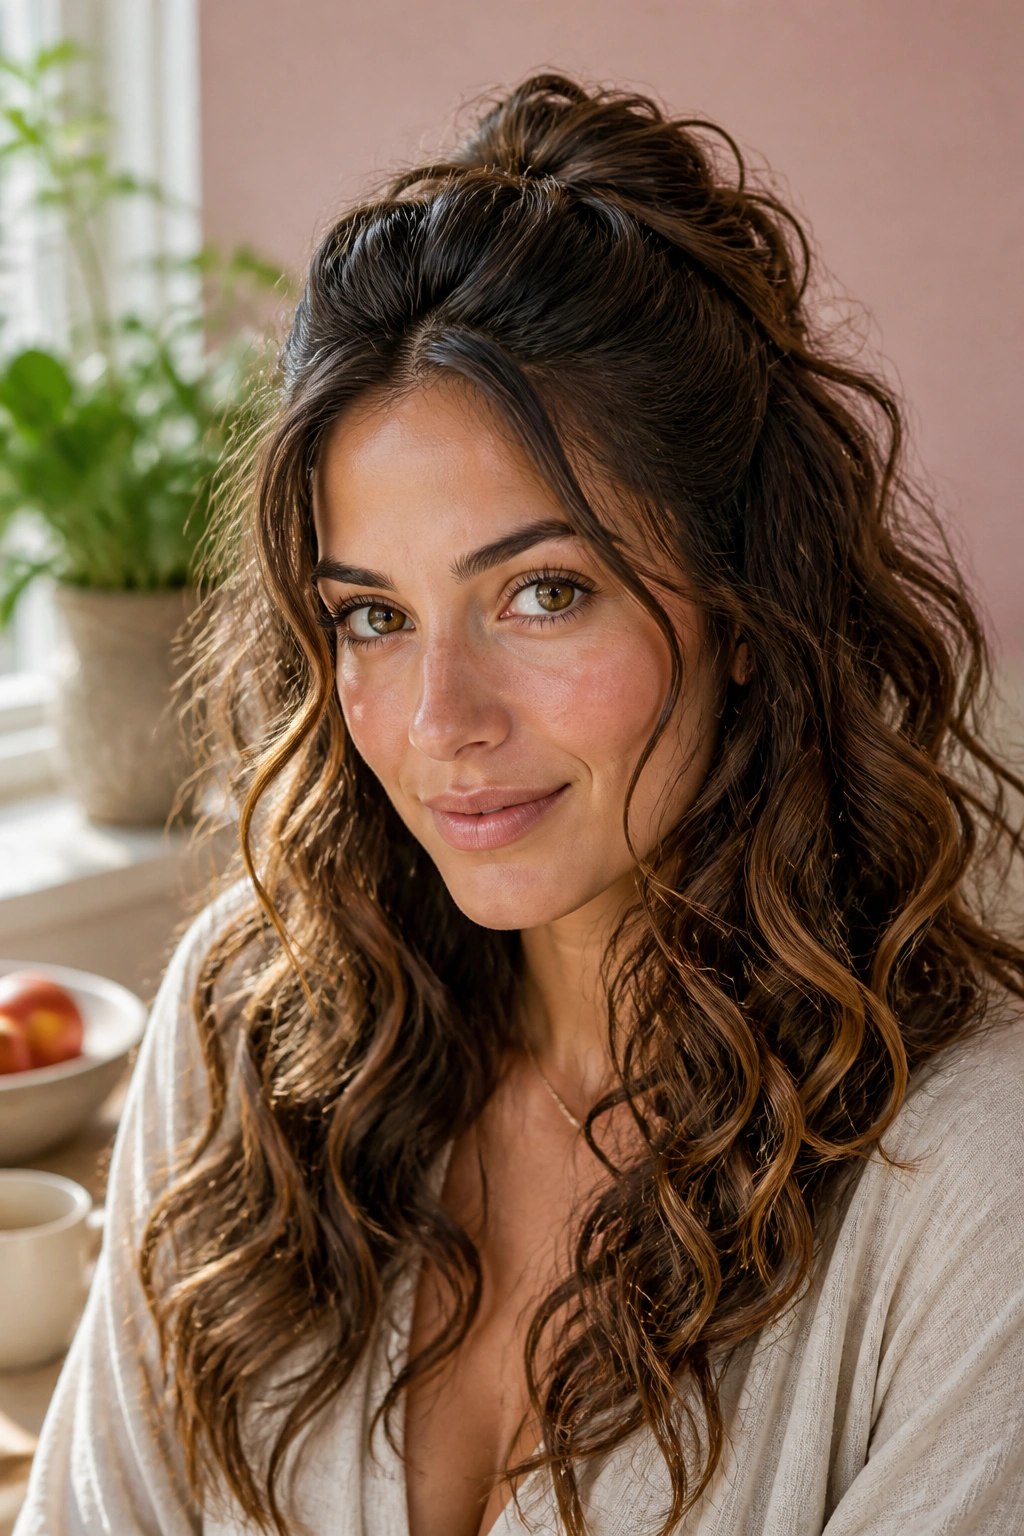
Nothing lifts long hair faster than taking half of it out of the fight. A half-up curl style gives you height at the crown, keeps the face soft, and leaves the length to do what it does best: sit there and look lush. If your hair tends to collapse at the roots, this is one of the smartest ways to cheat a little fullness.
The best part? It doesn’t need to look fussy. A tiny twist, a hidden clip, or a wrapped half-up knot can all do the job. The goal is to create a little shelf of volume on top so the curls underneath have somewhere to live.
If your hair is fine, this style is forgiving. If your hair is heavy, it’s even better. The top section gets pinned up and the rest falls below it, which means your length looks more dramatic than weighed down.
A few things make this style hold:
- Backcomb only the inner crown, not the visible surface.
- Use a small clear elastic or a hidden clip for the half-up section.
- Keep the top section loose enough to avoid a flat bump.
- Curl the lower lengths away from the face for a cleaner finish.
I reach for this when I want volume without losing length. It’s easy, but not lazy. There’s a difference.
5. Deep Side-Part Glam Curls
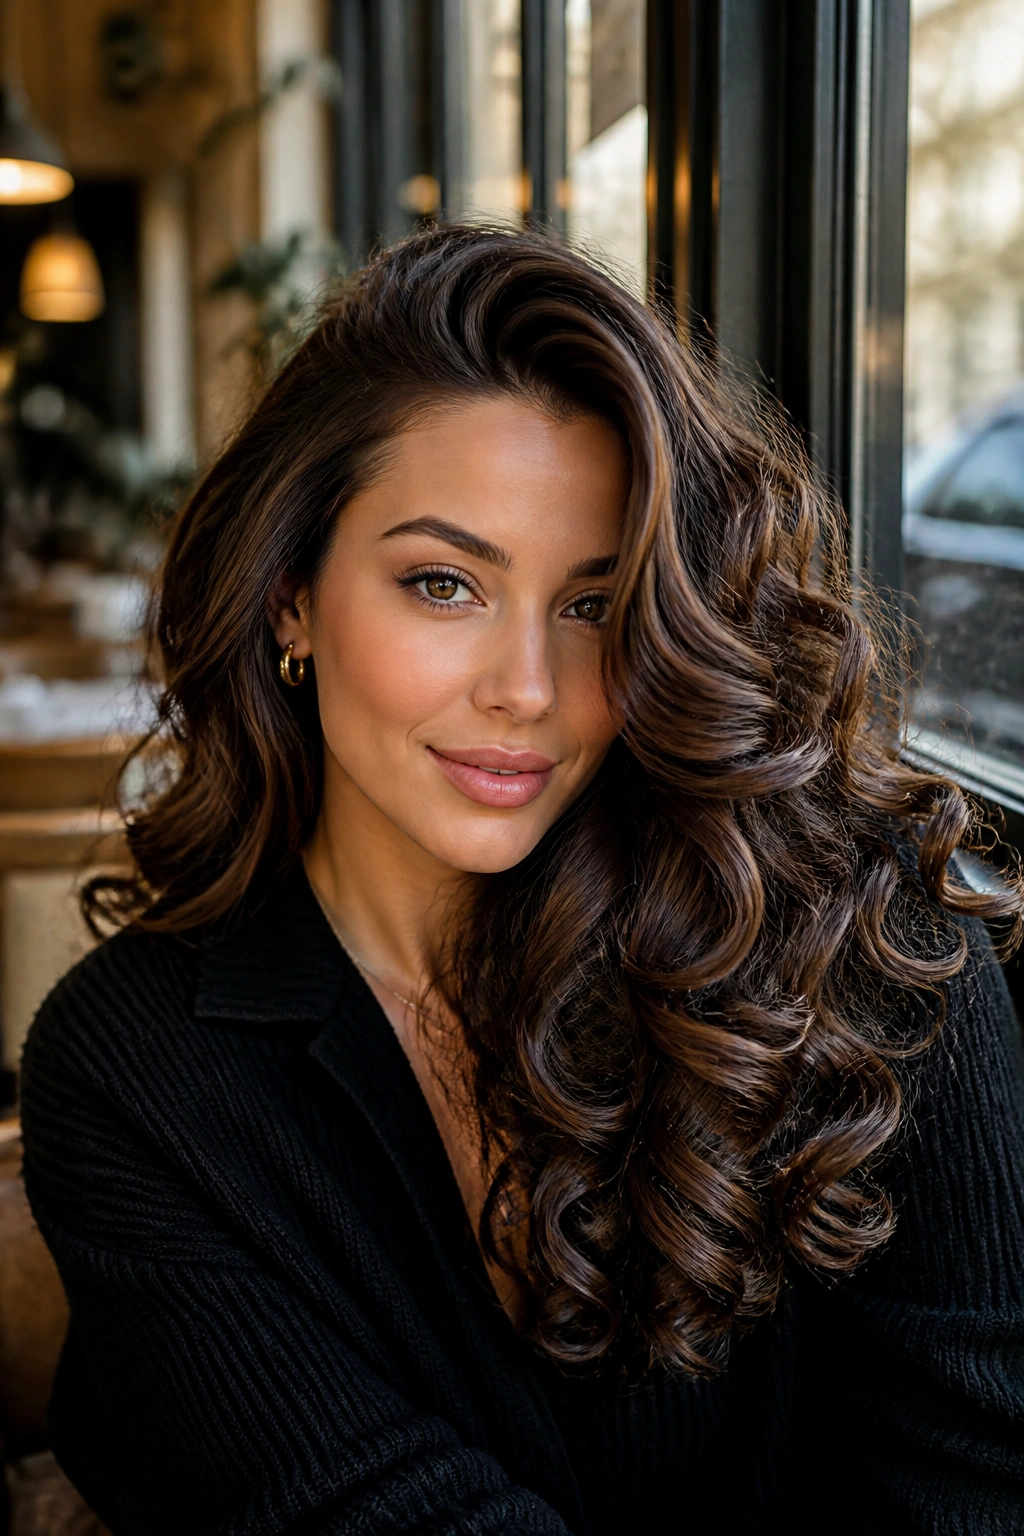
Why does a side part change everything? Because it gives long hair a new center of gravity. A deep side part creates instant height on one side and lets the curls fall into a softer, longer line on the other. That asymmetry is what makes the style feel fuller. Your eye reads it as more hair, even if the actual amount of hair hasn’t changed.
The curl pattern itself can stay pretty simple. What matters is where the lift starts. Push the part back with the tail of a comb, clip the roots for a few minutes while they cool, and then shape the front section so it sweeps across the forehead instead of sitting flat.
How to Place the Part
A part that lands about 2 inches off center usually gives the best balance. Too deep, and the hair can start to feel like it’s falling over. Too shallow, and you lose the lift. That middle ground is where the style earns its shape.
A few notes help:
- Spray a root-lifting mousse into damp hair before drying.
- Direct the front sections away from the part while curling.
- Use a large clip to hold the crown for extra height.
- Brush the finished look only at the ends if you want to keep the lift.
This is a good one for round faces, long faces, and frankly anyone who wants the hair to look a little more expensive than it feels to do.
6. Face-Framing Curtain Curls

The front pieces matter here. A lot. Face-framing curtain curls can turn long hair from heavy to airy in about five minutes, as long as the pieces are cut and styled with some care. You want the shortest front layers to land around the cheekbone or jaw, then open into longer curls through the rest of the hair. That shape pulls attention upward and keeps the length from swallowing your face.
The texture should feel soft at the front, not overdone. If the front pieces are curled too tightly, the whole style gets busy. If they’re left too straight, the cut loses its shape. The sweet spot is a bend that hugs the cheek and then melts into the rest of the style.
Small detail. Big payoff.
I like this with long layers because the curtain pieces can be swept away from the face and still hold enough shape to matter. On one-length hair, you may need a slightly smaller section in front so the curl has enough bend to show up after it cools. Clip the front pieces up while they’re warm. That tiny habit makes the style last longer than a lot of people expect.
7. Mermaid Waves with Root Lift
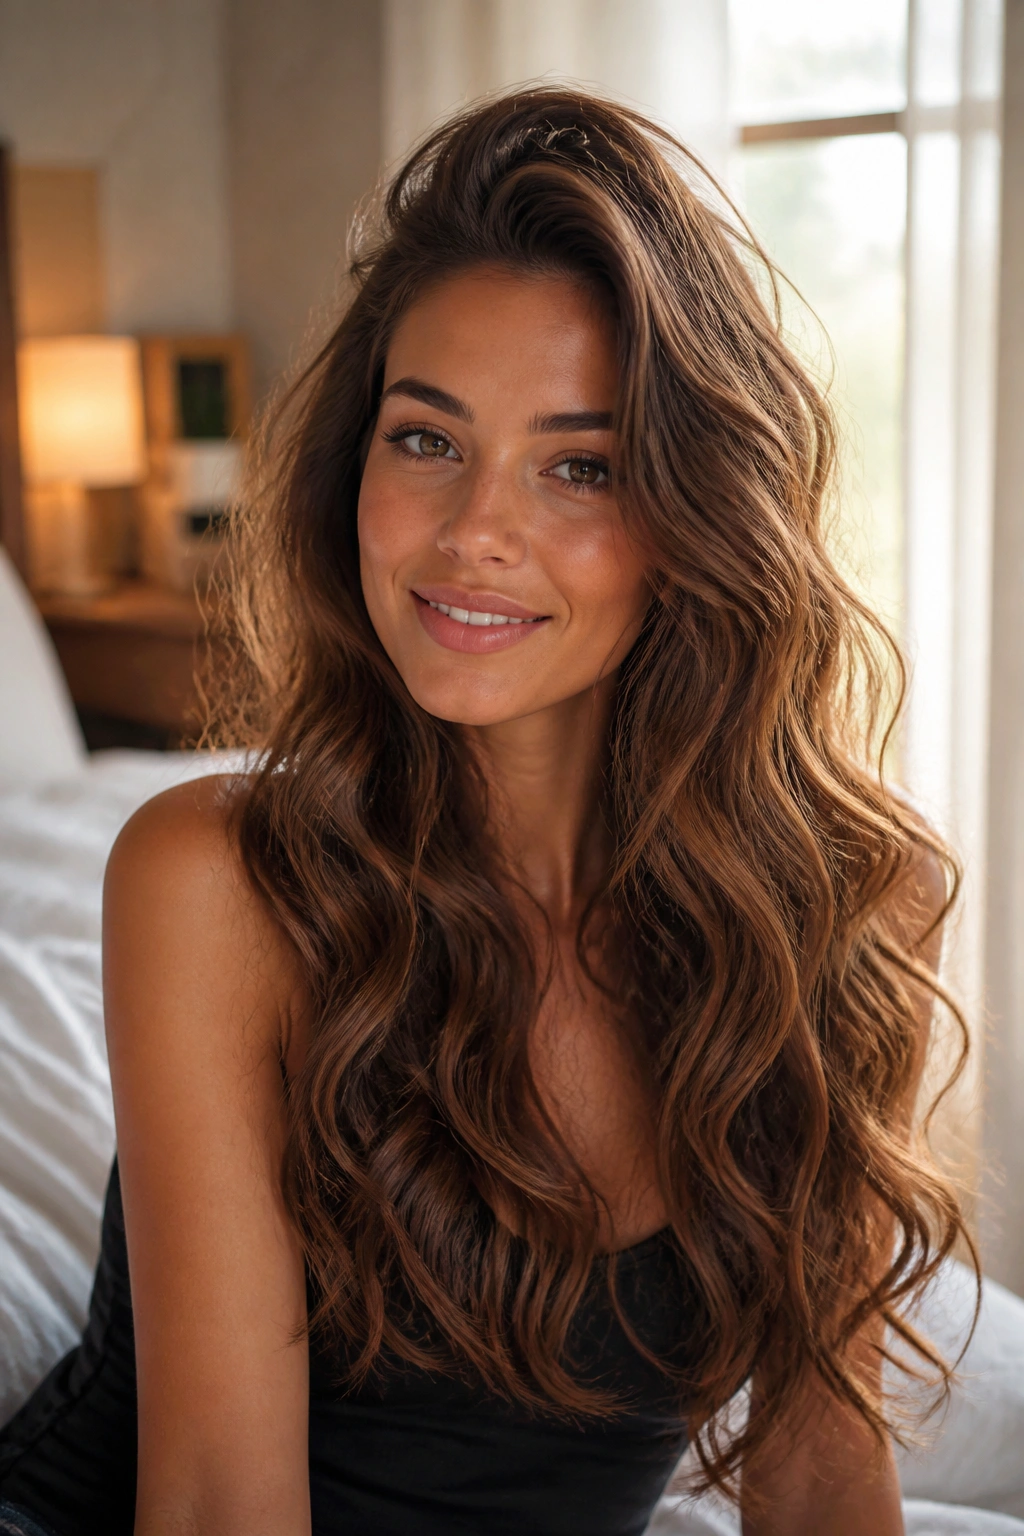
Mermaid waves are not just beach waves with a prettier name. They’re smoother, longer, and a little more deliberate. Where beach waves can look broken up and casual, mermaid waves keep a softer S-shape through the lengths, which makes them ideal for long hair that needs movement but not chaos.
The difference shows up fast on heavy hair. Loose waves can get swallowed by length, but mermaid waves stay visible because the pattern runs farther down each strand. Add root lift, and the hair doesn’t sit flat against the head like a curtain.
What Makes Them Different
The wave should look continuous, not choppy. That means using medium sections and alternating the direction of the wrap so the curls don’t stack into one giant lump. A touch of mousse at the roots helps too. So does drying the hair with the head upside down for 30 seconds at the crown, then flipping back and smoothing the top lightly with a brush.
- Use a 1.25-inch wand for soft bends.
- Leave the ends slightly straighter than the middle.
- Mist texture spray through the lower half only.
- Keep the root area smooth, not crispy.
These waves are good when you want softness with shape. Not too polished. Not too messy. Just enough structure to keep long hair from looking flat.
8. Spiral Curls with a Soft Finish
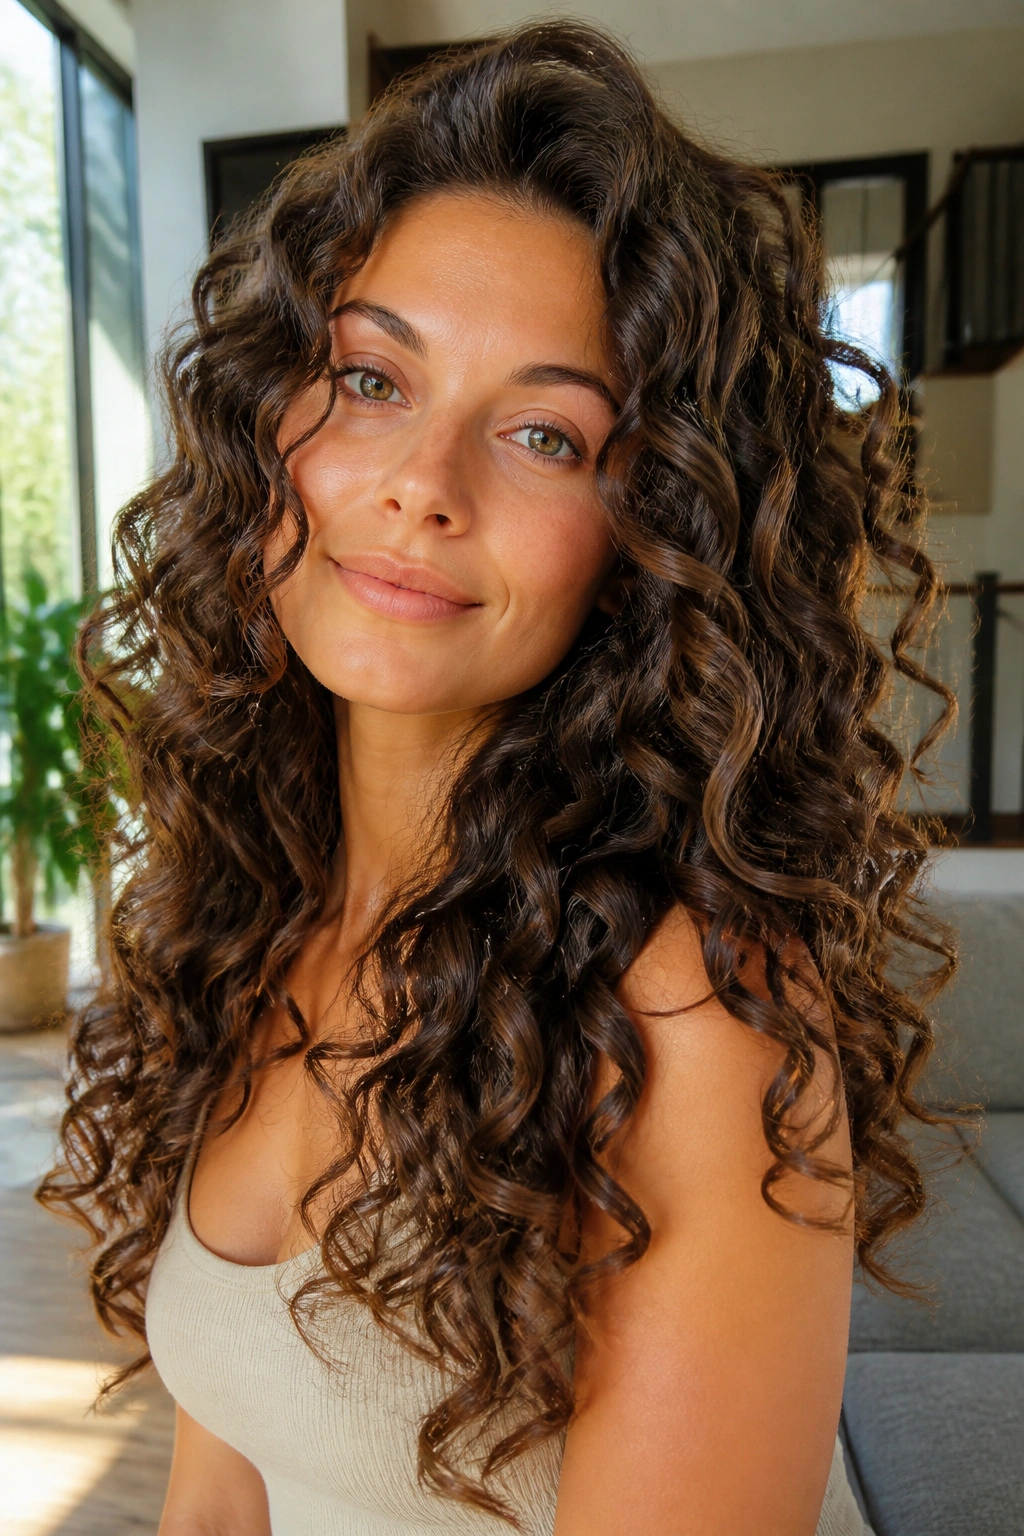
Spiral curls look like they should be dramatic, and they are, but the softness at the end is what keeps them wearable. On long hair, a spiral pattern can add a lot of fullness because the curls stack on top of one another instead of lying in one flat sheet. If your hair is dense or layered, this style makes the texture read clearly.
The setup matters more than the finish. Use smaller sections, wrap the hair vertically, and keep the tension even from mid-length to ends. If the wrap loosens halfway through, the curl gets lumpy. If it’s too tight, the style can look springy in a dated way. That’s not the vibe.
Where They Shine
Spirals work well when you want the curl itself to be the point. They also hold better on hair that already has some natural bend, because the shape has something to grip.
- Section the hair at about 1 inch wide.
- Use a 3/4-inch to 1-inch barrel.
- Let the curl cool in the palm of your hand before releasing it.
- Separate with fingers, not a brush, if you want to keep definition.
- Finish with a light mist and stop there.
A soft spiral on long hair can look expensive in a quiet way. Not loud. Not overbuilt. Just full, defined, and a little romantic.
9. Pin-Curl Set Volume

Pin-curl volume has an old-school feel, but the method still works because it solves a real problem: long hair loses shape under its own weight. Pinning the curls up while they cool lets the hair set higher on the head, which is what gives you lift at the roots instead of volume only at the ends.
This is one of those styles that rewards patience. Curl the section, pin it flat against the scalp, and leave it alone until it’s fully cool. If you rush the release, the hair drops before it has a chance to lock in the shape. And then you’re back where you started.
The Setting Trick
The curls should be warm, not hot, when you pin them. A duckbill clip or a flat clip works better than a thick claw clip because it keeps the section close to the head. On fine hair, pin the top half of the head first and the lower half last. On thick hair, work in smaller sections so each curl actually cools.
A few specifics help:
- Pin each curl for 15 to 20 minutes at minimum.
- Focus the pins at the crown and top sides.
- Release in the same order you pinned.
- Shake the roots with your fingers before brushing.
It’s not the fastest style on this list. It may be the smartest one, though. Especially if your hair usually falls flat by noon.
10. Layered Shag Curls
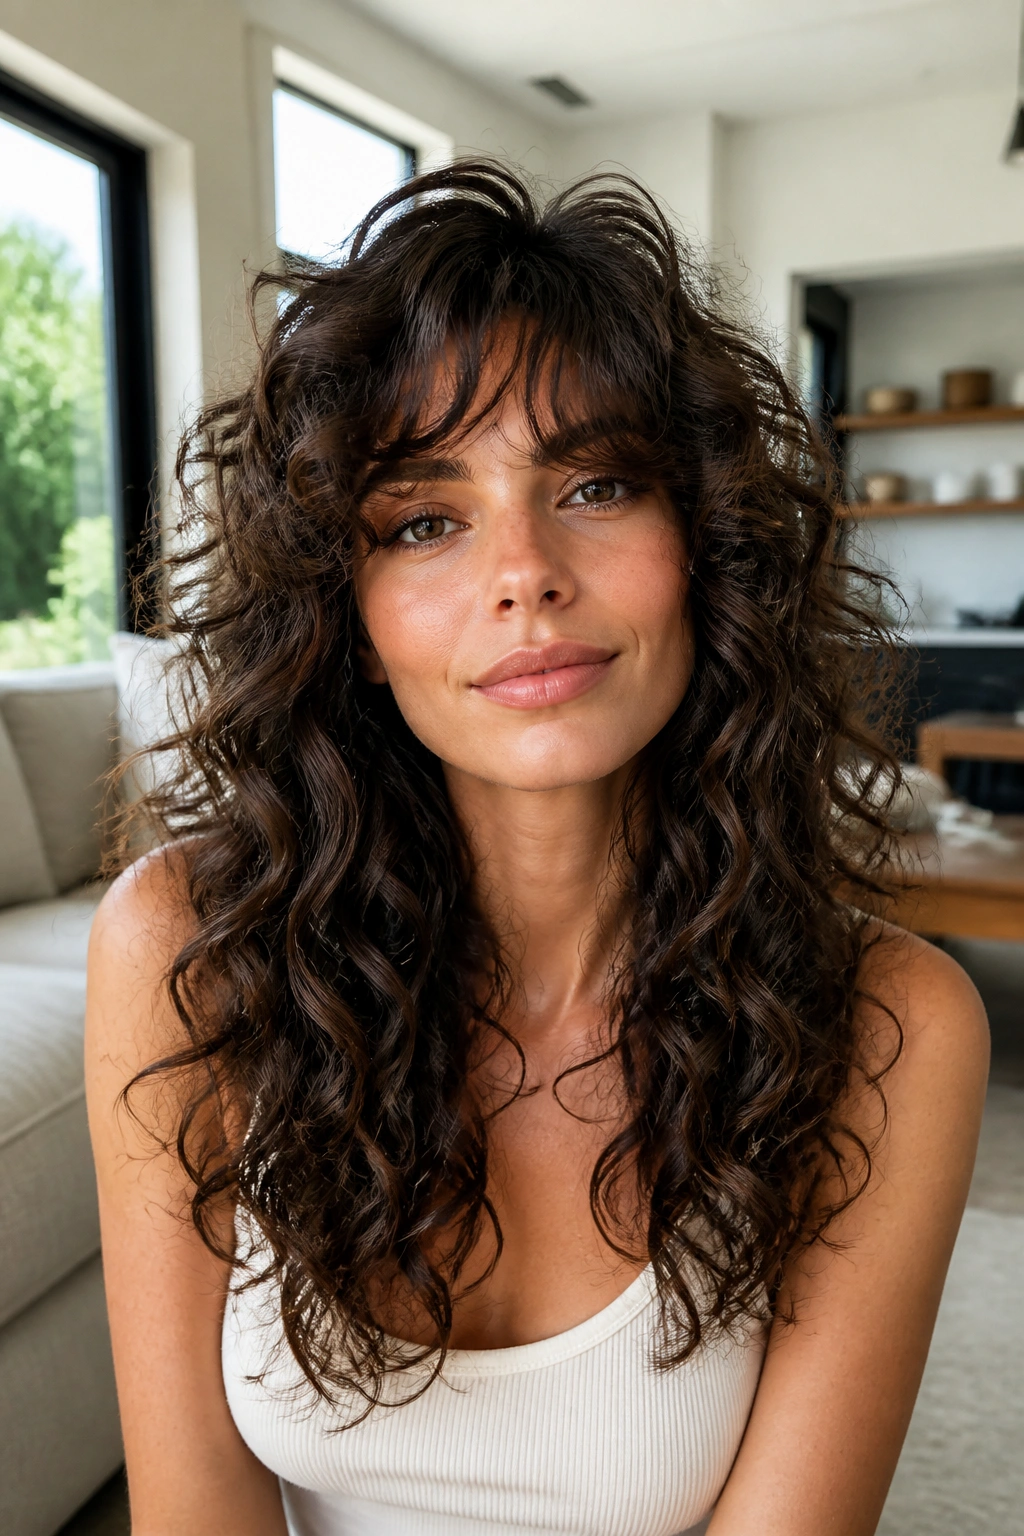
Layers do half the work here. Maybe more. A layered shag gives long hair built-in movement, so the curls don’t have to fight a heavy blunt edge. That means the style feels airy at the crown and full through the lengths instead of forming one bulky triangle at the bottom.
A modern shag does not need to look punk or overly choppy. Soft layers around the crown, a little face framing, and longer pieces through the bottom can be enough. Once curled, those layers separate naturally and give you a fuller silhouette with less effort than a one-length cut would need.
What to Tell Your Stylist
Be specific. Ask for crown layers that remove weight without creating holes, and make sure the face-framing pieces are long enough to curl cleanly. Too many short layers can split the curl pattern and leave you with fuzzy ends. Too few layers, and the volume never really appears where you want it.
- Keep the top layers soft, not razor-short.
- Let the bottom layers stay long enough to move.
- Curl away from the face on the front pieces.
- Use a lightweight mousse so the layers stay separated.
This is a style-cut combo that looks alive. Hair should move here. If it doesn’t, the layers probably need a little more room.
11. Heatless Rope-Bend Curls
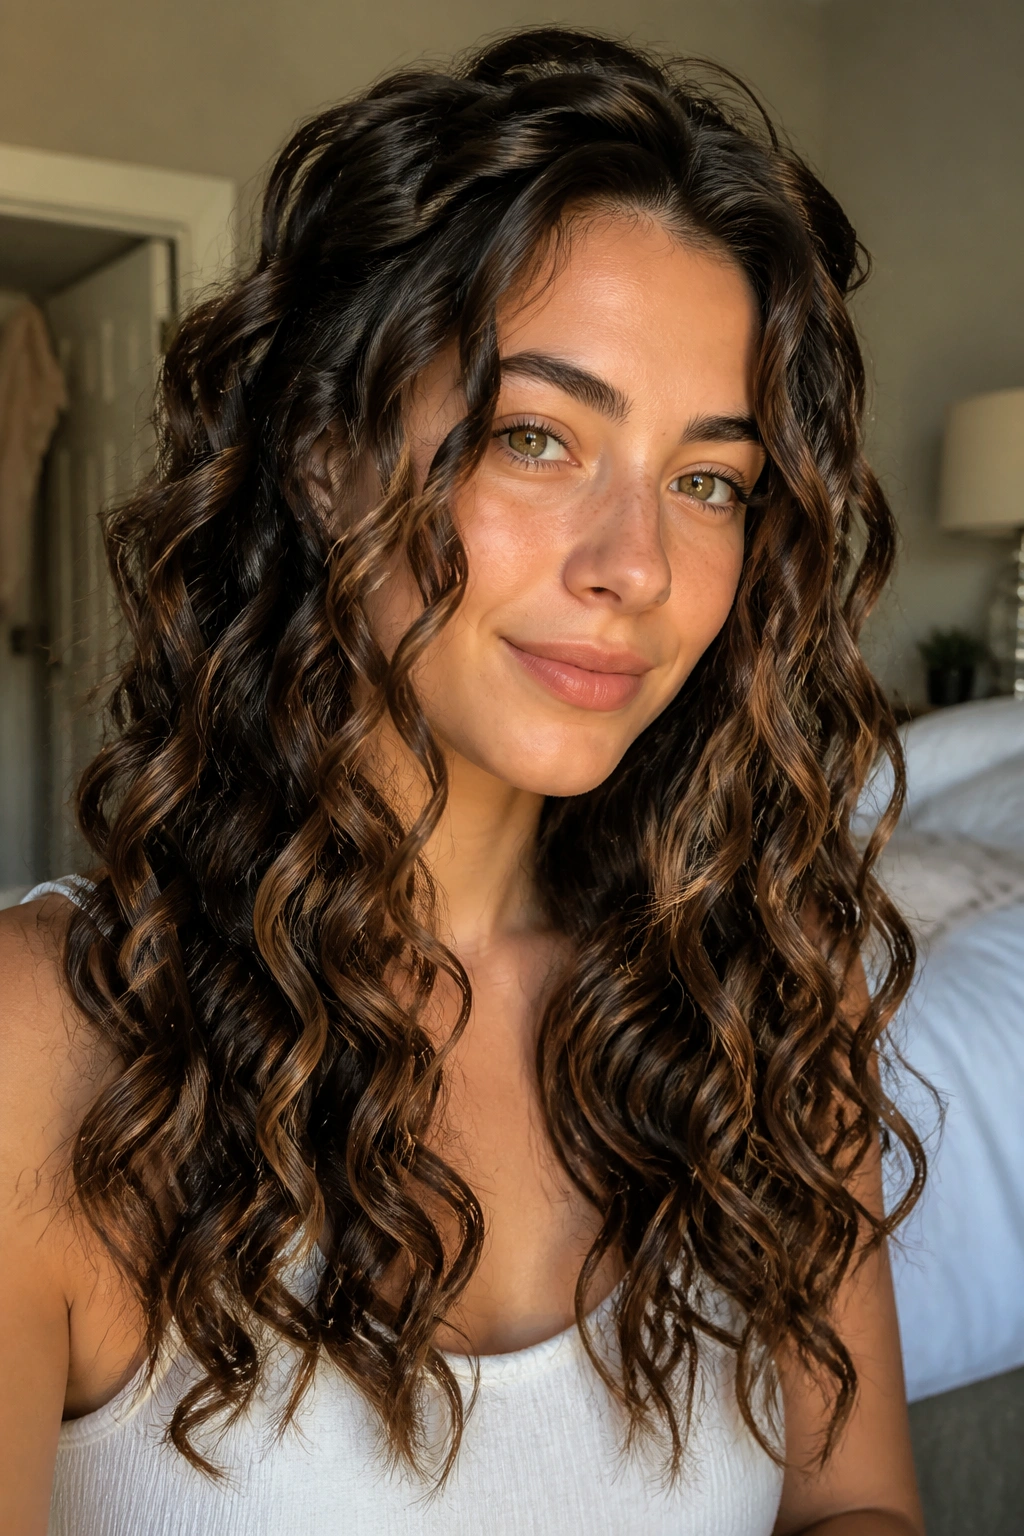
Can long hair get volume without heat? Yes, but only if you give the hair enough shape while it dries. Heatless rope-bend curls are a good answer when your hair feels tired, fragile, or overdue for a break from hot tools. The look starts with damp hair, a little product, and a twist that holds the strands in place long enough to dry.
The rope part matters. Instead of loose braids, twist two sections around each other so the hair forms a cleaner bend. When you release it, the result is less crimp and more curve. On long hair, that curve can add a surprising amount of body, especially near the ends.
How to Avoid the Flat Crown
The crown needs help. Always. If the roots dry flat, the whole look goes limp, no matter how pretty the lengths are. Clip the front sections up or place the twists higher on the head so the roots dry with a bit of lift underneath them.
- Start with hair that is 70 to 80 percent damp, not soaking.
- Work in sections no wider than 2 inches.
- Add mousse or styling cream before twisting.
- Let the hair dry completely before undoing anything.
- Separate the waves with your fingers only.
This style is slower, but it’s gentle. And on hair that tends to get puffy when heated, gentle is not a small advantage.
12. Crown-Teased Halo Curls
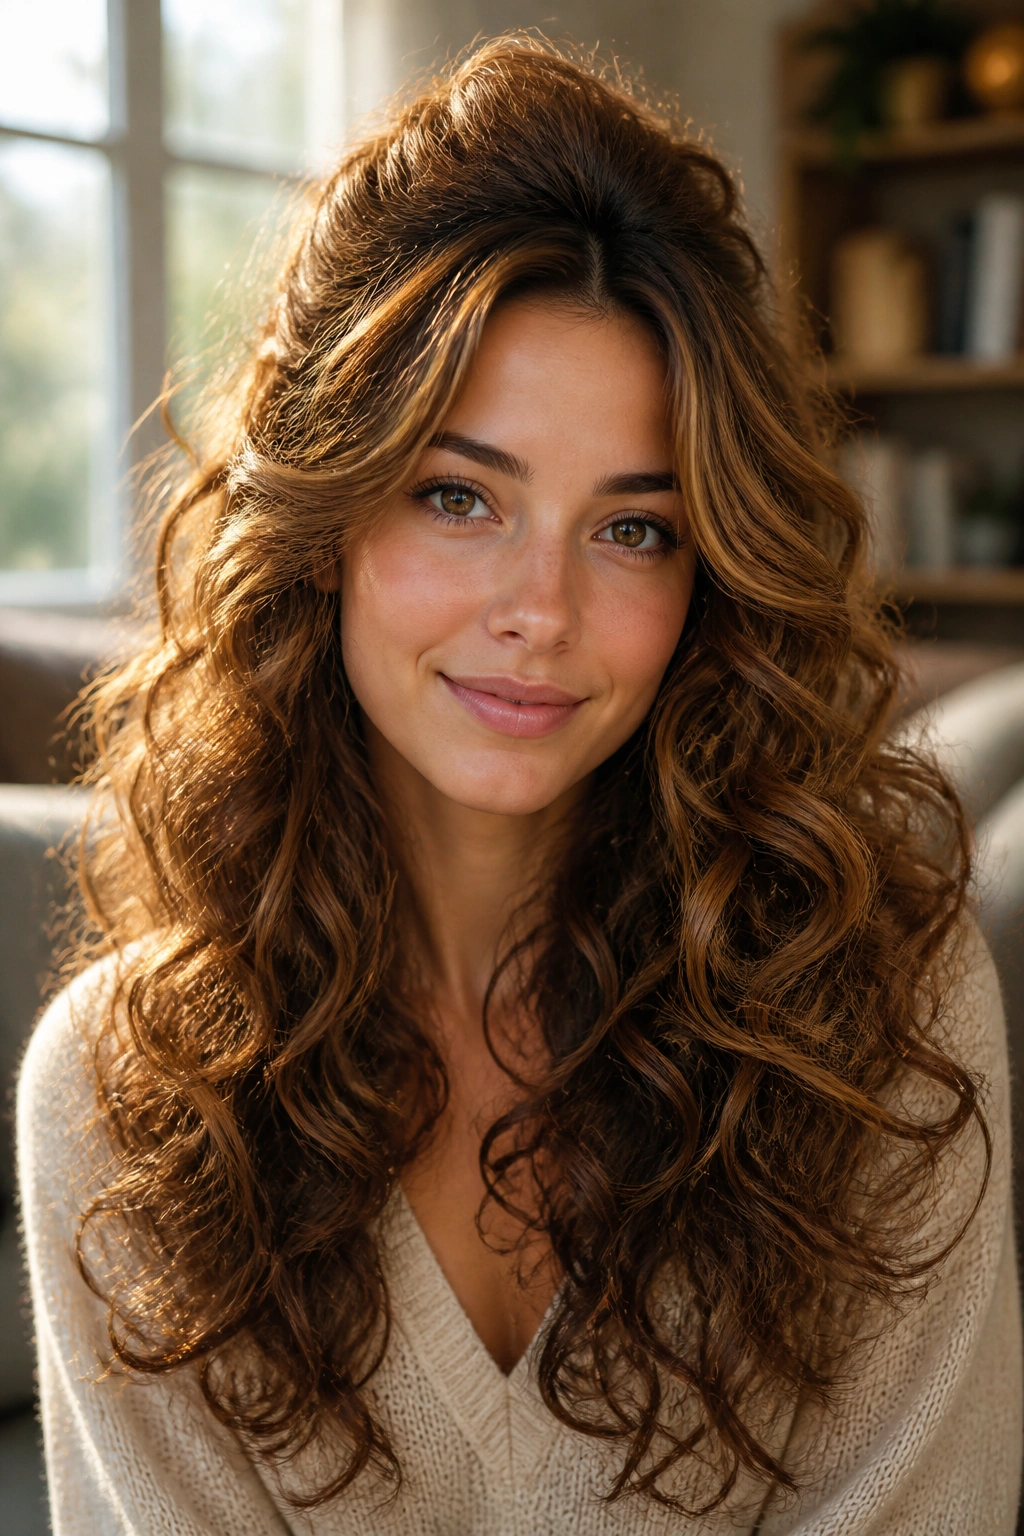
Teasing gets a bad reputation because people usually overdo it. A little bit of controlled backcombing at the crown, hidden under the top layer, can give long hair the halo effect that curly styles often need. The goal is not a giant bump. The goal is support.
That support matters because long hair pulls itself down all day. Even the prettiest curl pattern can flatten if the root never gets a little help. A light tease under the crown, paired with a smoothing layer on top, keeps the visible surface soft while giving the style a base.
Use a fine-tooth comb or a teasing brush, and work only on the inner section at the crown. A puff of root powder can help too, but don’t turn the area chalky. That looks dusty fast.
- Tease only the hidden root layer.
- Smooth the outer layer gently over the top.
- Spray each section from 8 to 10 inches away.
- Stop before the hair starts to feel sticky.
If your hair tangles easily, this may not be your favorite. In that case, root clips are the cleaner option. But if your hair can handle it, the halo lift looks good from every angle.
13. Sleek Root, Full-Length Curls for Long Hair

There’s a reason this style keeps showing up on long hair that needs to look polished. The smooth root keeps the top neat, and the curls begin lower down, where the length can actually support them. That contrast makes the ends look fuller and the whole style look longer. Less puff at the scalp. More shape where it counts.
This is the opposite of over-teased hair, and honestly, that’s why it works. When the crown stays sleek, the curls feel cleaner and the hair keeps its line. It’s a nice choice if you deal with flyaways, frizz at the hairline, or that odd puff that shows up when you try to add volume everywhere at once.
Why It Works Better Than All-Over Teasing
The eye sees the smooth root as tidy and the full lower half as dense. That trick is simple, but it’s effective. Long hair benefits from contrast.
A few moves help:
- Smooth the roots with a paddle brush or round brush before curling.
- Start the curl around eye level or below.
- Curl the ends away from the face for a lifted edge.
- Keep product light at the scalp and heavier at the ends.
I like this style for events where I want the hair to look expensive but not overworked. It has a bit of restraint, and restraint usually ages better than too much volume anyway.
14. Flip-Out Curl Ends
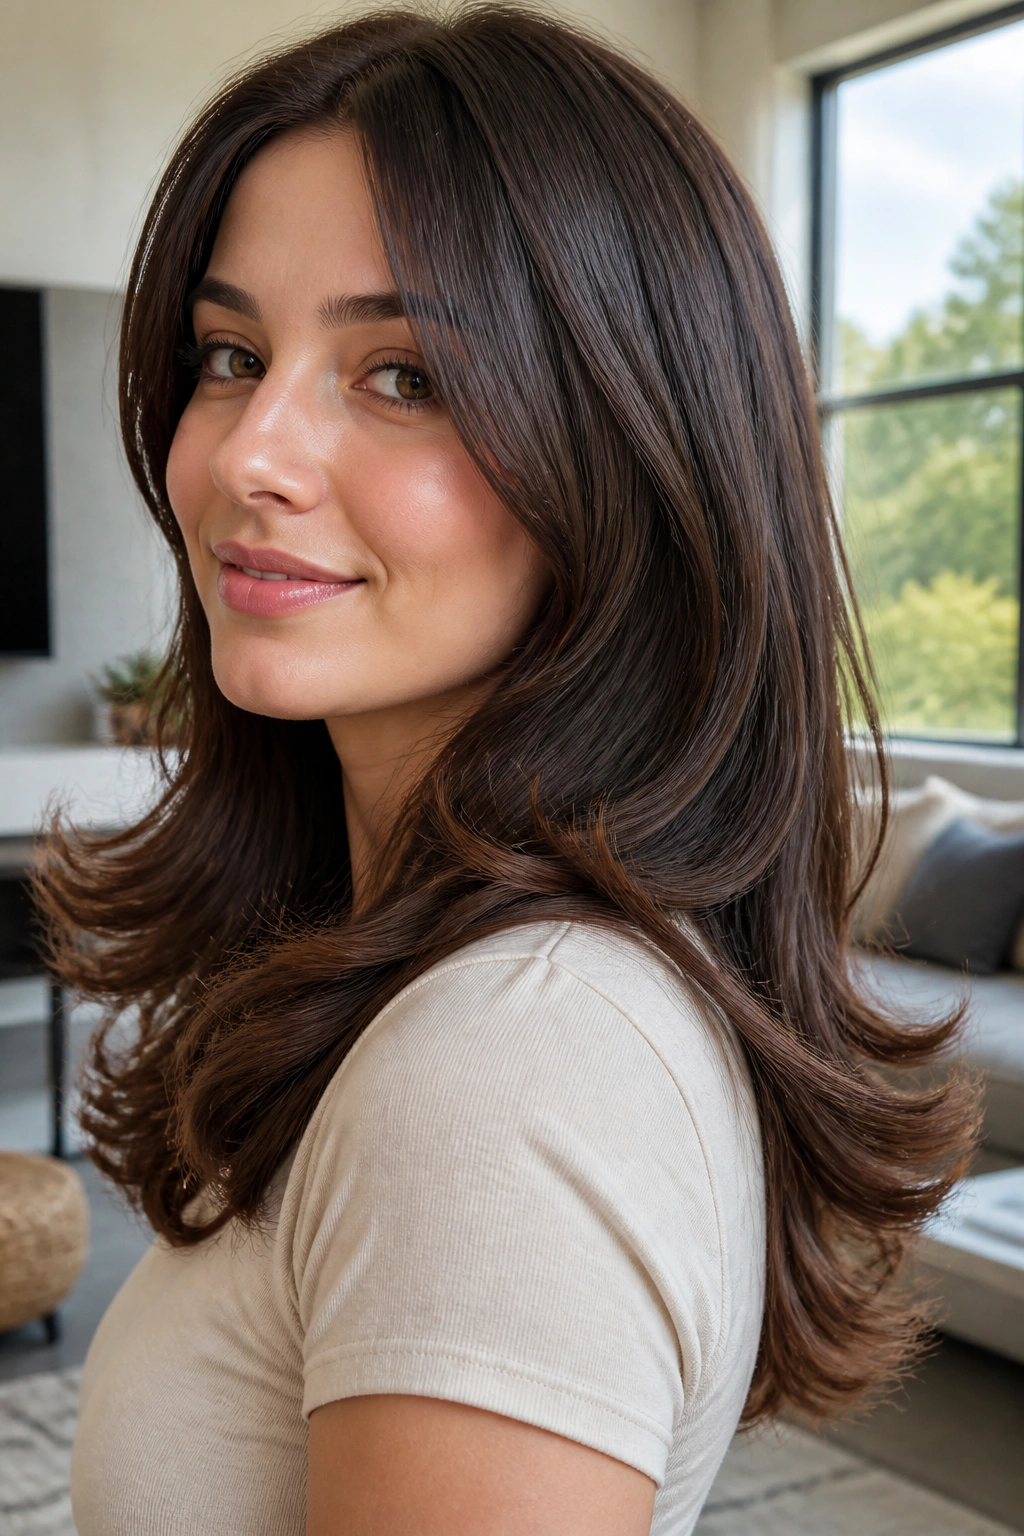
If full curls feel too sweet, flip-out ends give long hair a sharper edge. Instead of wrapping the whole length into a spiral, you focus the movement on the bottom few inches and send the ends outward. The effect is airy, lively, and a little retro without tipping into costume territory.
The style is especially useful on long layered cuts. The layers already create movement, so flipping the ends outward adds lift without turning the whole head of hair into one giant wave. It’s a small adjustment, but it changes the mood fast.
A Small Change That Reads Big
The simplest way to do this is with a round brush and a blow dryer. Pull each section straight, then turn the ends away from the face for a soft kick. A flat iron works too, as long as you keep the movement smooth and don’t clamp too hard.
- Focus the bend on the last 2 to 4 inches.
- Keep the crown smooth.
- Leave the mid-lengths mostly straight.
- Use a light finishing spray so the ends hold their shape.
This isn’t the curly style for someone chasing ringlets. It’s for someone who wants long hair to look fuller, lighter, and a little more styled without looking overdone. There’s a place for that.
15. Loose, Brushed-Out After-Dark Curls
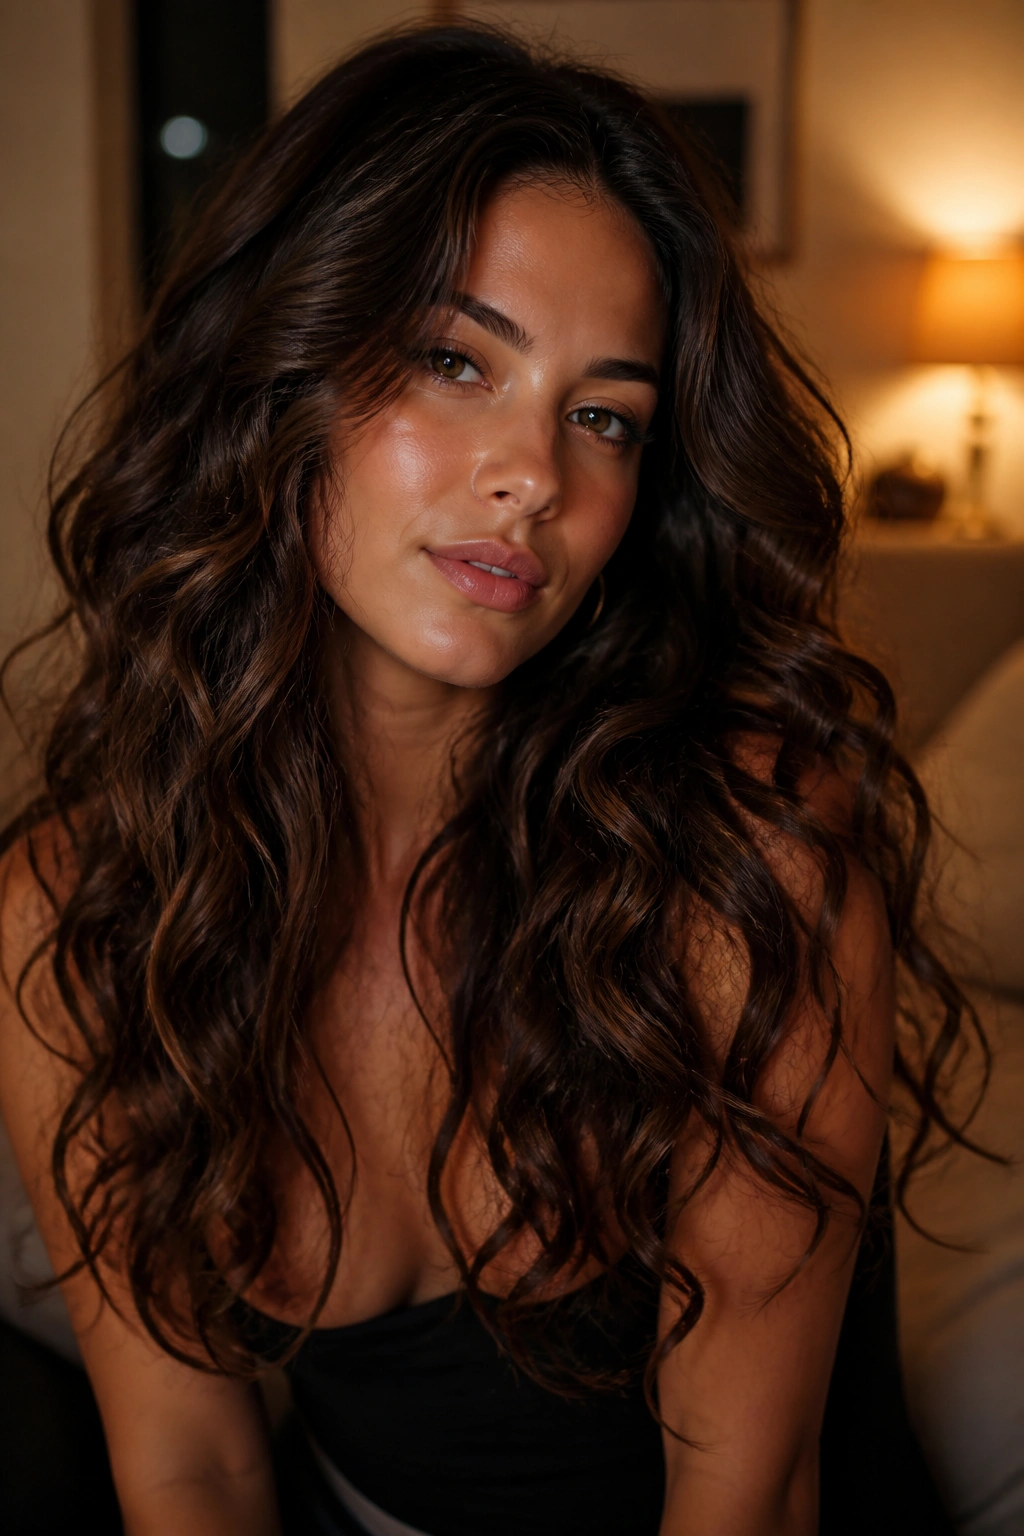
This is the style I reach for when I want long hair to look full and easy at the same time. Loose, brushed-out curls land somewhere between a blowout and a wave. They have enough shape to feel finished, but they never look like they’ve been frozen in place. That’s a nice balance when you want movement more than perfection.
Start with a 1.5-inch barrel if your hair can hold it, or a 1.25-inch barrel if your hair is fine and needs a little more structure. Curl in larger sections than you would for spiral curls, let everything cool completely, then brush through until the shape opens up. The brush should soften the curl, not erase it.
I like this look because it ages well through the evening. The hair settles a little, the roots keep some lift, and the ends stay soft instead of fraying into frizz. If the style needs a touch-up, a quick pass with a curling wand on the face-framing pieces is usually enough. No need to start over.
The real trick is restraint. Stop brushing before the curl disappears. Leave a little bend. Leave a little room. Long hair looks richest when it still moves, and this style gives you that without asking for much back.
