



Natural waves hair ideas are at their best on the days you want to look pulled together without spending half the morning negotiating with your hair. Wavy texture has a habit of looking polished one hour and a little unruly the next, which is part of its charm and part of the annoyance.
The fastest fixes are rarely the heaviest ones. A soft scrunch, a deep part, a clip, a scarf, or one small braid can do more for a wave pattern than a thick cream layered from root to end. That lines up with the sort of advice you hear from dermatology groups and curl specialists alike: keep friction low, keep the touch light, and stop treating dry waves like straight hair that needs to be forced into place.
I keep coming back to that because it’s the difference between hair that looks “done” and hair that looks overworked. A wide-tooth comb beats a brush on damp waves, microfiber or a soft T-shirt beats a rough towel, and a little bit of hold at the roots often matters more than loading the ends with product.
Easy-day hair should feel easy. The first move is picking the shape you want, then leaving enough texture in the hair for the wave to do its own thing.
1. Air-Dried Center Part With a Soft Scrunch
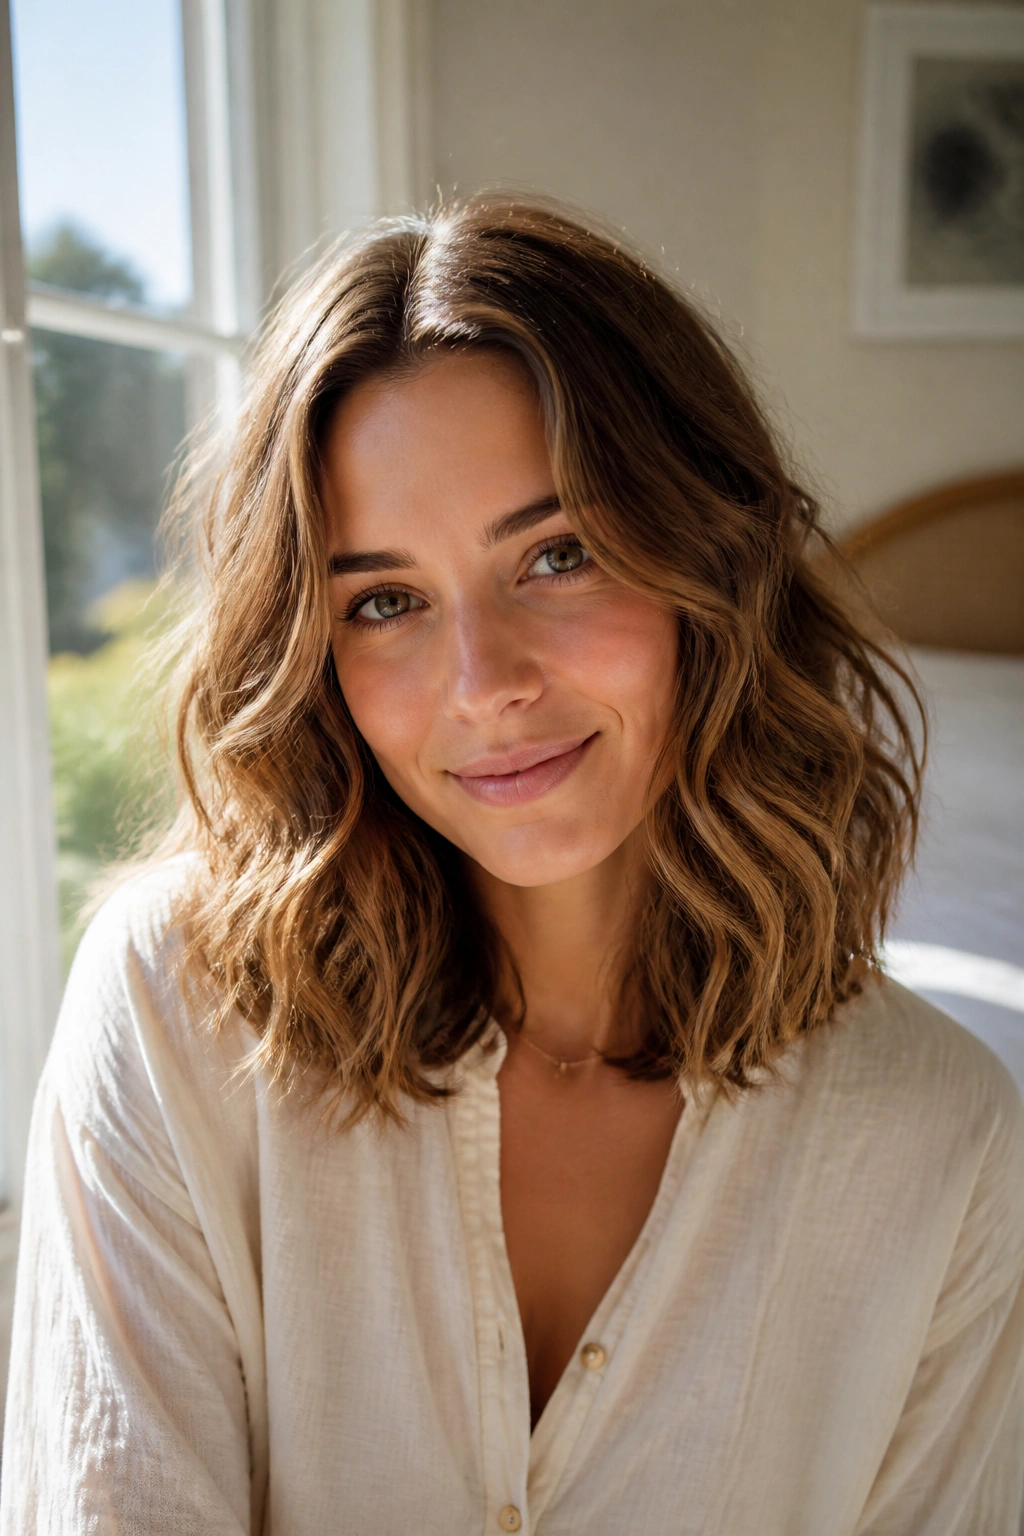
This is the style I reach for when the waves are behaving, but only halfway. A center part gives natural bends a clean frame, and the scrunch keeps the ends from drying into that flat, stringy shape that happens when you handle them too much.
Why It Works on Wavy Hair
The middle part makes the whole style read as deliberate, even when the texture is loose. It works especially well on hair that bends from the mid-lengths down, because the eye notices the symmetry before it notices the exact curl pattern.
A small amount of foam or light mousse makes a big difference here. On shoulder-length hair, a nickel-size amount is enough if you spread it through damp strands with praying-hands motions, then scrunch upward for 15 to 20 seconds.
- Best for medium and long waves that dry with a soft S-shape.
- Use a microfiber towel or a cotton T-shirt to press out water before styling.
- Part the hair while it’s still damp, not after it has already set in the wrong place.
- Stop touching it once the shape is in place. That’s the hard part.
Quick tip: If the crown collapses, clip two tiny sections at the roots while the hair dries and remove them once the hair is fully dry.
2. Deep Side-Part Flip for Flat Roots

A deep side part is the fastest way to fake more volume without adding a single extra product. If your roots go flat by lunchtime, this is the move that changes the whole shape of the head in about ten seconds.
The trick is to set the part near the arch of one eyebrow rather than splitting the hair down the center. That little shift lifts the root line, gives one side more height, and makes loose waves look fuller because the eye sees movement right away.
I like this one on second-day hair because it hides the spots that have gone a little sleepy. You can flip the heavier side over once, mist the roots lightly with water, and let the hair settle on its own. No teasing needed. No sticky spray either.
If your hair is fine, tuck a tiny clip behind the heavier side while it dries or while you’re finishing makeup. That tiny bit of support keeps the lift from collapsing before you even leave the house.
3. Half-Up Twist That Keeps the Crown Light
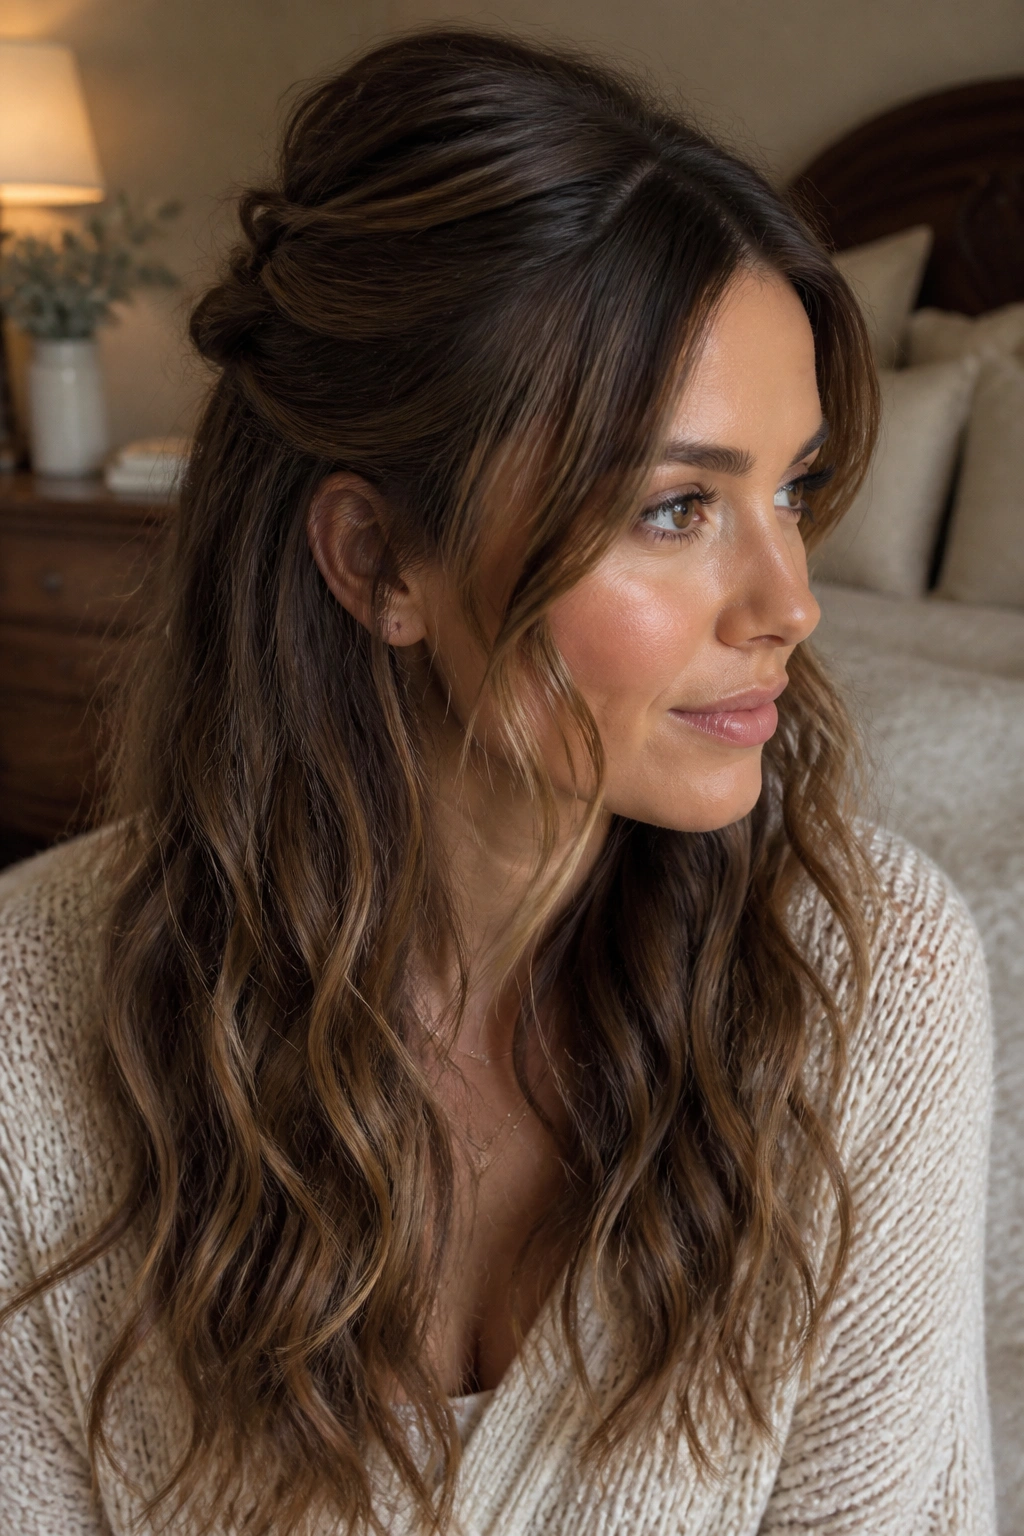
Why does the half-up twist work so well on natural waves? Because it solves the two problems wavy hair has on easy days: flatness at the top and too much movement at the bottom.
You take the top third of the hair, twist each side back from the temples, and secure them together at the back of the crown. The ends stay loose, so the wave pattern still shows, but the front gets the lift and shape it needs. It looks casual in the best way. Not careless. Just unforced.
How to Wear It
- Twist the sections loosely; tight twists turn the style into a different hairstyle entirely.
- Use a small clear elastic or a slim clip about 2 to 3 inches above the occipital bone.
- Leave a few face-framing pieces free if the front layers are shorter than chin length.
- Spritz a little water on the front pieces before twisting if they’re already frizzy.
This one is especially good for medium-length waves that need a little structure but not a full-up style. It also works on days when the ends still look good and you do not want to hide them.
4. Claw Clip French Twist for Wavy Lengths
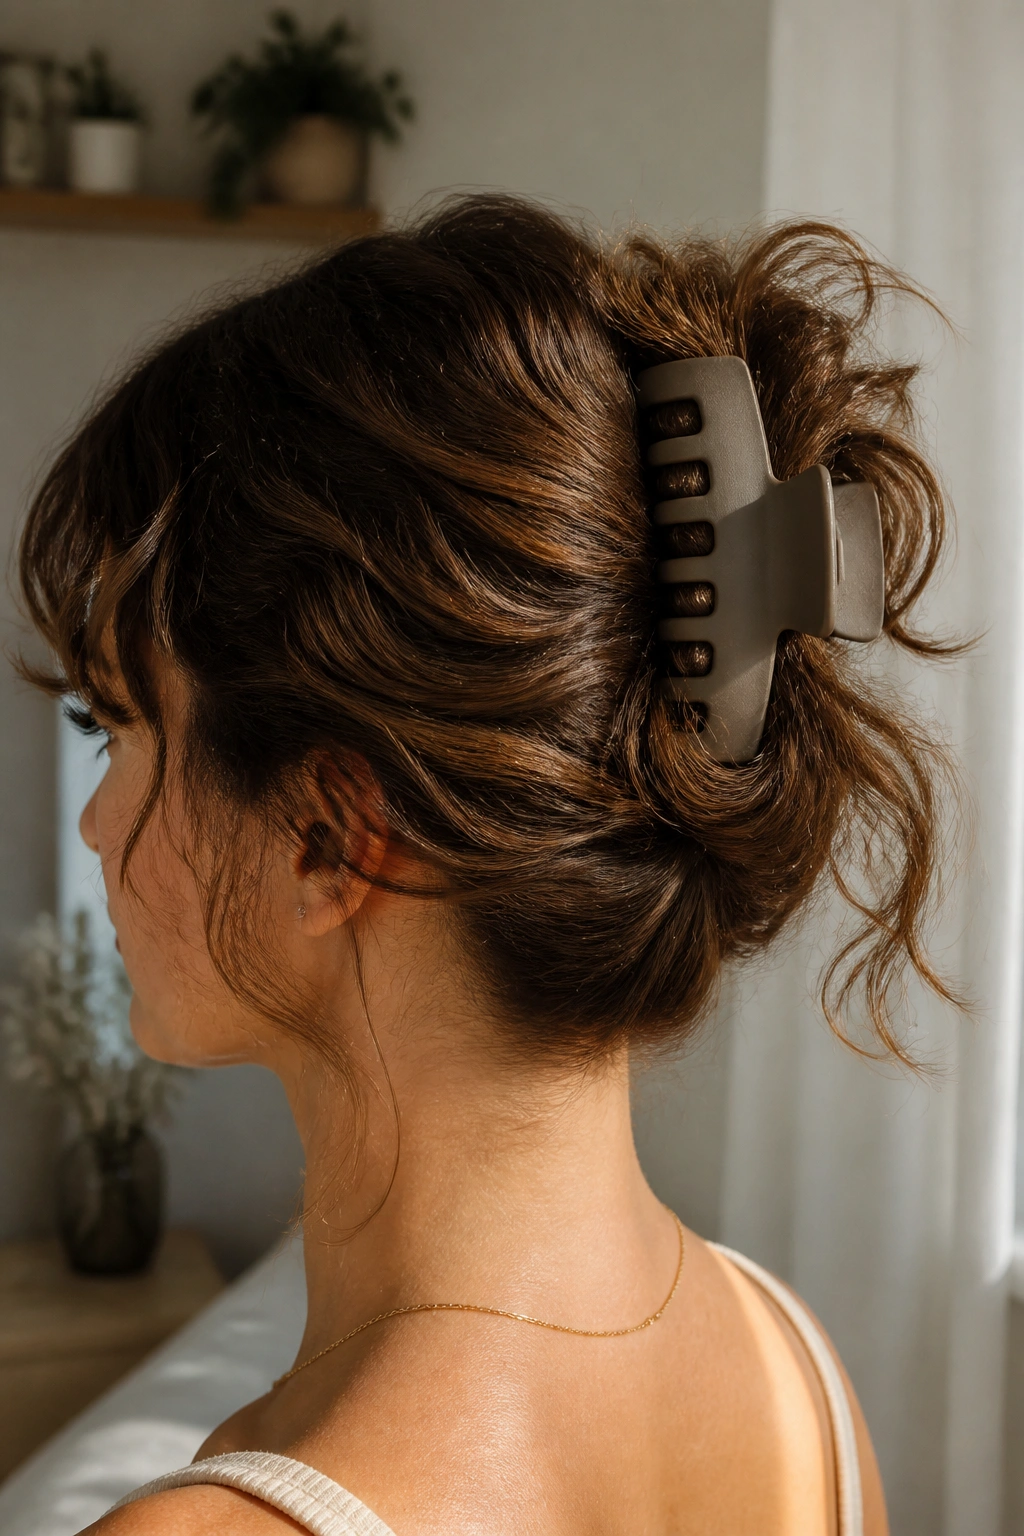
Picture this: you’re late, your hair is half-dry, and a ponytail feels too ordinary. A claw clip French twist fixes that without flattening the wave pattern into a boring sheet.
The reason it works is simple. The hair is gathered upward and pinned in a way that leaves the ends free to spill, bend, and show off whatever movement they already have. If you twist the hair too tightly, the whole thing turns stiff. Leave some slack. That’s where the good shape comes from.
A medium claw clip usually works better than a tiny one, especially if your hair is thick or shoulder length. Fold the lengths upward, tuck the ends down, and let a few strands escape near the neck. Those loose pieces make the style look soft instead of severe.
A couple of shape notes matter here:
- A matte clip grips wavy hair better than a slippery glossy one.
- Longer hair often needs the twist to sit lower, near the center of the back of the head.
- If the front layers fall out fast, pin them first and twist over them.
The best part is that this style looks better when it’s not perfect. That’s rare and useful.
5. Low Loose Ponytail With Face-Framing Pieces
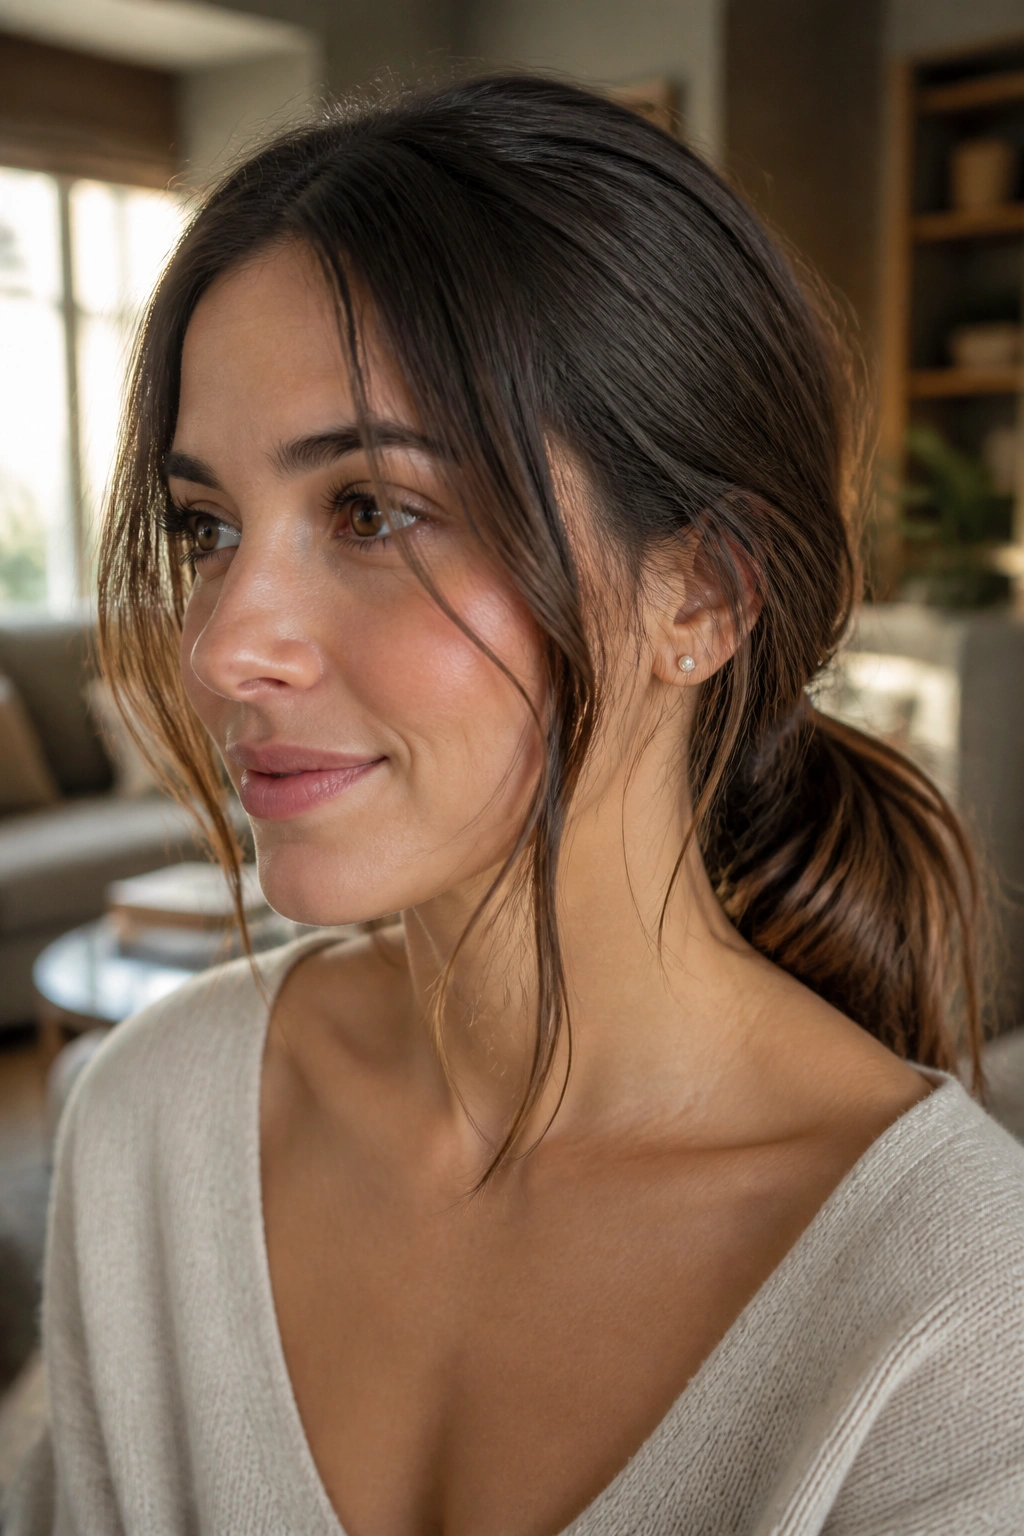
A low ponytail is not boring when the texture is doing half the work for you. On wavy hair, the trick is to keep it low, loose, and soft around the face so the style feels relaxed instead of school-photo stiff.
I like the ponytail to sit right at the nape, fastened with a fabric tie or a slim elastic wrapped with a small strand of hair. The wave in the tail stays visible, and the base doesn’t get pulled so tight that it creates a harsh line across the scalp. If your hair is collarbone length or longer, this is one of the easiest ways to keep the length under control while still showing movement.
Face-framing pieces matter more than people think. Two slim sections, one on each side, can soften the whole look, especially if they fall somewhere between cheekbone and jaw. Let them bend on their own. If they are too straight, mist them lightly and bend them around one finger for a few seconds.
This style is also kind to day-two waves. A quick brush at the root area, a finger comb through the tail, and you’re done. No one needs to know that the ponytail took less than two minutes.
6. Textured Low Bun With a Soft Halo

Unlike a sleek bun, this one wants a little mess around the edges. That’s what makes it work on wavy hair. The loose halo of flyaways and curved ends keeps the bun from looking severe, and the wave texture gives the whole style a softer outline.
The best version starts with a low ponytail. Twist the tail once or twice, wrap it into a bun, and leave a few ends sticking out on purpose. Then tug the bun gently at opposite sides so it looks fuller and a little less tight. If your hair is thick, that tugging step matters a lot; otherwise the bun sits too small and hard against the head.
This style is strong on humid days, on windy days, and on any day when the ends are not cooperating. It also saves you from the temptation to keep smoothing the hair, which is usually how wavy styles lose their shape. A few pins hold it better than you’d expect.
Use this when you want the face open and the neck clear, but you still want the hair to look textured. It is neat without being polished to death.
7. Braided Front Pieces and Open Ends

A tiny braid at the front can rescue waves that go flat around the hairline. The rest of the hair stays loose, so you still keep that easy movement, but the braid gives the front enough structure to look intentional.
What to Do With the Front Sections
Braid one small section on each side, starting at the temple and stopping around ear level. Secure them with tiny elastics or pin them back with a bobby pin if the hair is too short to tie off neatly.
- Use a dab of styling cream on the section before braiding so the short hairs stay in place.
- Keep the braid loose; tight braids can pull the wave pattern strange.
- Pull the outer edges of the braid open a little once it’s secured.
- Let the rest of the hair hang naturally.
This style works well when the front pieces keep separating or puffing up while the lengths stay nice. It also plays well with layered cuts, because the braids pick up the shorter pieces that would otherwise float around your face.
There’s a nice bonus here. The braid gives you a little grip at the front, so you can tuck sunglasses on your head or throw on a hat without wrecking the shape.
8. Headband Sweep for Frizz-Prone Days

A headband is the fastest fix for hairline frizz, and I mean that without drama. If your roots look fuzzy or your front pieces won’t settle, a band can clean up the whole front of the hairstyle in one move while leaving the waves open in back.
A wide cloth band or a satin-covered headband works best because it holds the hair without digging into it. Thin plastic bands can pinch and leave a line across the crown, which is annoying and easy to avoid. Slide the band back just far enough to cover the frizzy area, then use your fingertips to lift a little volume at the crown so the style doesn’t go flat.
This is a strong choice for short-to-medium waves, especially if the front layers are at that awkward stage where they are too short to tuck behind the ear but too long to ignore. The band keeps them under control without hiding the texture.
One sentence is enough here: if the waves are acting wild, the headband lets the rest of the style stay calm.
9. Bubble Ponytail on Natural Waves
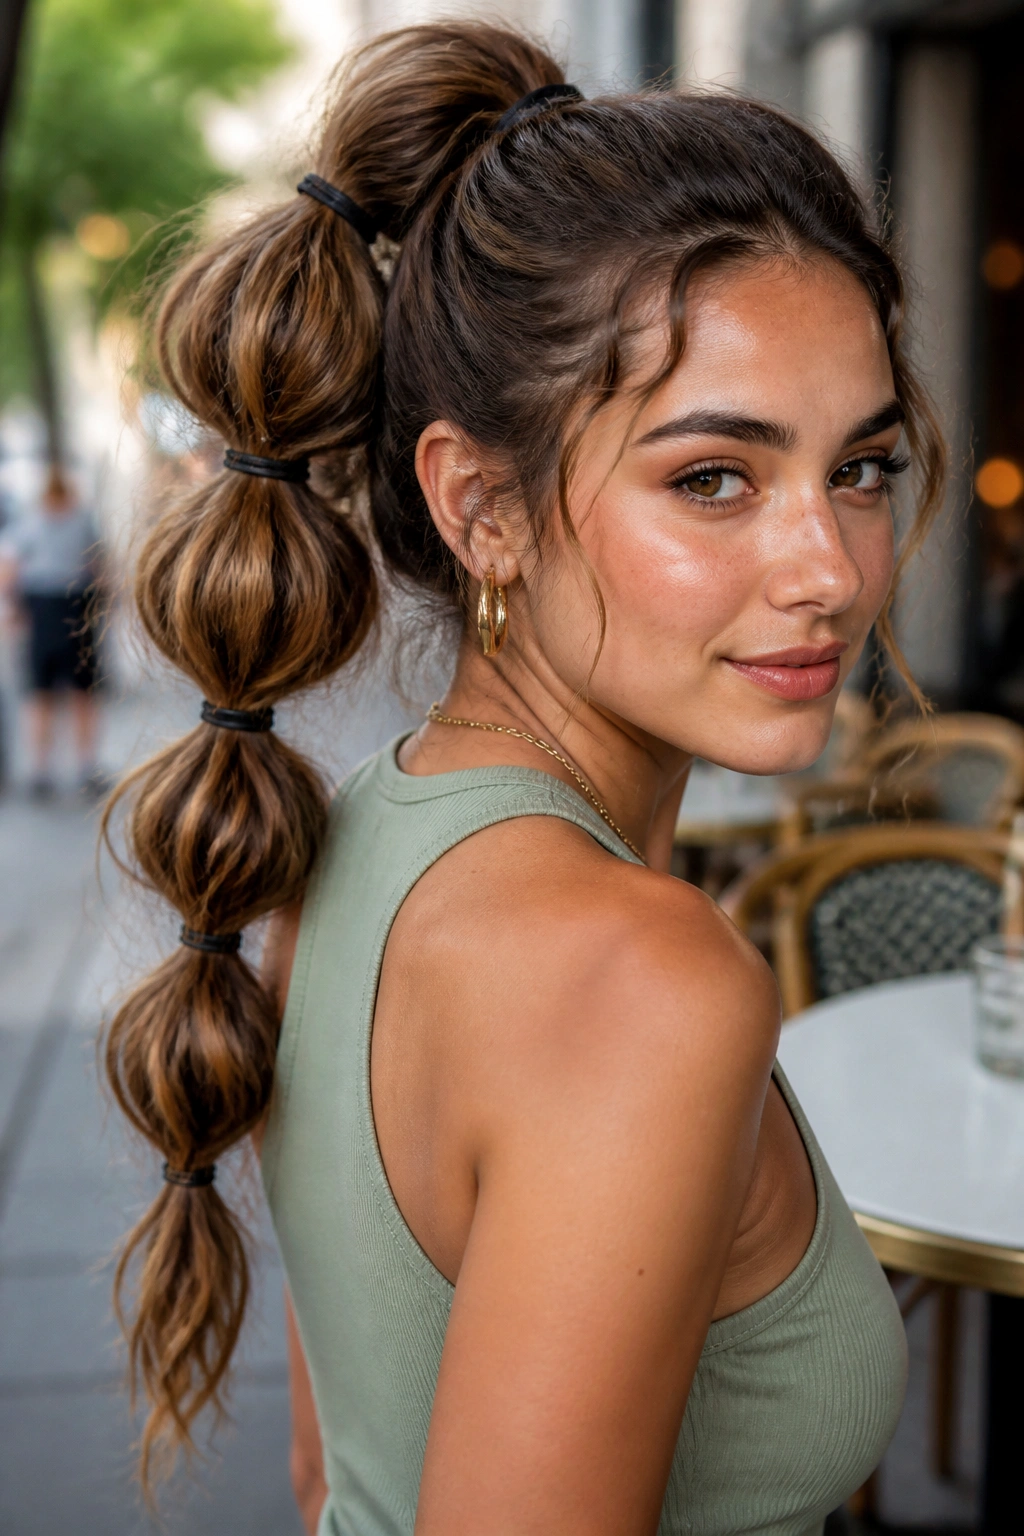
The bubble ponytail looks playful, but the real win is that it does not ask your waves to behave like straight hair. You gather the hair into one ponytail, then add elastics every 2 to 3 inches down the length and gently tug each section so it puffs into a rounded “bubble.”
That shape works especially well when the wave pattern is loose or stretched out. The elastics break up the tail in a way that makes the bend look deliberate, not accidental. On long wavy hair, it also keeps the ends from getting tangled against your coat or bag strap.
Small Details That Matter
- Use 4 to 6 elastics depending on hair length.
- Match the elastics to your hair color if you want the style to stay quiet.
- Tug each bubble outward a little, but do not pull so hard that the ponytail loosens at the base.
- Leave the crown slightly soft instead of slicking it down tight.
I like this style for errands, coffee runs, and any day when regular ponytails feel dull. It gives you shape, a little movement, and a way to use the natural wave instead of flattening it out.
10. Slick Roots and Curved Ends
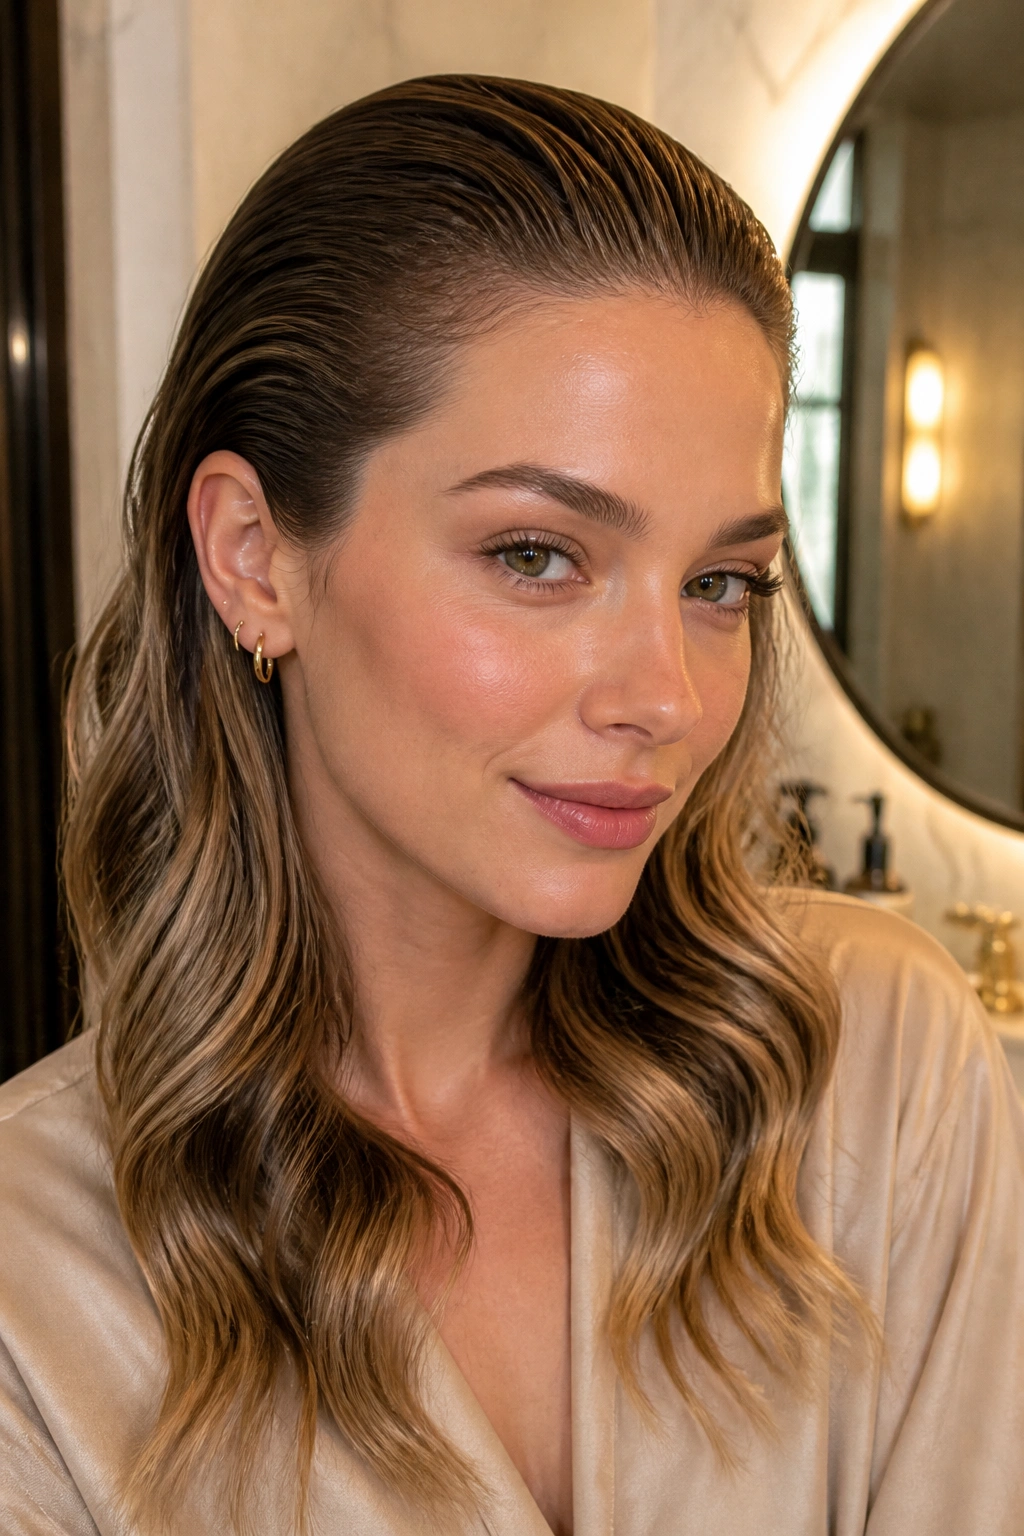
This is not a fully slicked style, and that’s the point. You smooth the roots and the top layers, then leave the lower half of the hair soft so the wave pattern can show at the ends.
If your roots get oily faster than the rest of your hair, this style is useful because it hides the shine without hiding the texture. A small amount of gel or pomade at the hairline can lay everything down, while the lengths stay loose and bendy. It works well in a ponytail, a low bun, or even left half-up.
Unlike a super sleek look, this one still feels like wavy hair. That matters. Too much smoothing can make the ends look thin and the whole style feel too hard. A little control at the top, then a stop point around the mid-shaft, is usually enough.
Who should pick this? Fine waves, especially. Heavy waves can also wear it well, but they need less product at the roots than people think. If the hair starts to look wet instead of smooth, you’ve gone too far.
11. Scarf-Tied Low Knot for Second-Day Waves

Why does a scarf make such a difference on second-day hair? Because it gives the style something to look finished with, even when the wave pattern is a little uneven.
You gather the hair into a low knot or a low twist, then tie a silk or satin scarf around the base or through the knot itself. The scarf softens the shape, covers the elastic, and gives the style a little color without asking you to restyle every strand. It also helps if the ends are starting to fray at the edges.
How to Keep It Soft
Choose a scarf that is narrow enough to wrap twice if needed. A huge square can overwhelm fine waves, while a slim scarf sits closer to the hair and looks cleaner. Tie it off-center if you want the style to feel a little less rigid.
This is one of my favorite options for hair that has a good wave pattern but needs a little distraction at the back. If the front looks fine and the tail looks tired, the scarf does the polite thing and steals the attention.
12. Mini Braids With Loose Lengths
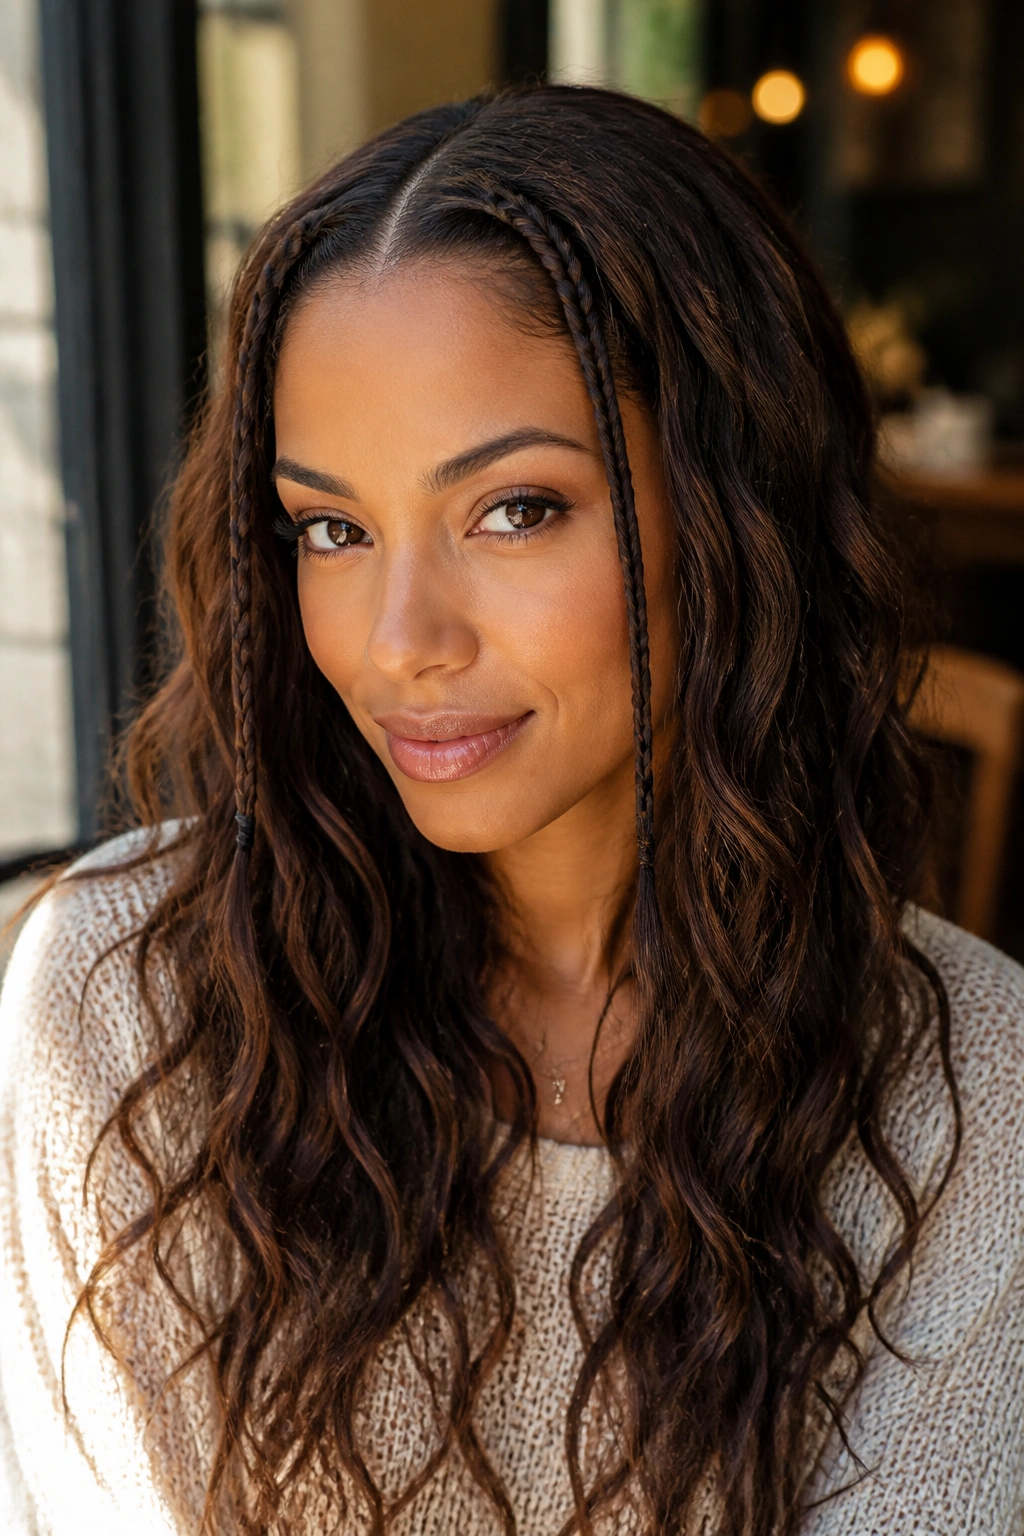
Tiny braids at the front are one of those small moves that change the whole mood of wavy hair. They give the hairline some structure while leaving the lengths open, so you still get movement and softness where you want it.
I reach for this when the front layers are doing that annoying half-wave, half-flip thing that never looks finished. Two slim braids, one on each side, can pin those pieces back without flattening the rest of the hair. The style reads relaxed, but it has enough detail to look planned.
A little styling cream on the sections before braiding helps keep the flyaways in check. If the braids are too tight, they pull the wave pattern weird and make the scalp look overdone. Loose braids are better. Always.
You can also leave the braid ends unbraided for an inch or two if the hair is very layered. That trick keeps the style from looking too neat. Wavy hair tends to look better when one or two pieces are allowed to bend their own way.
13. Side-Pinned Waves With Statement Clips
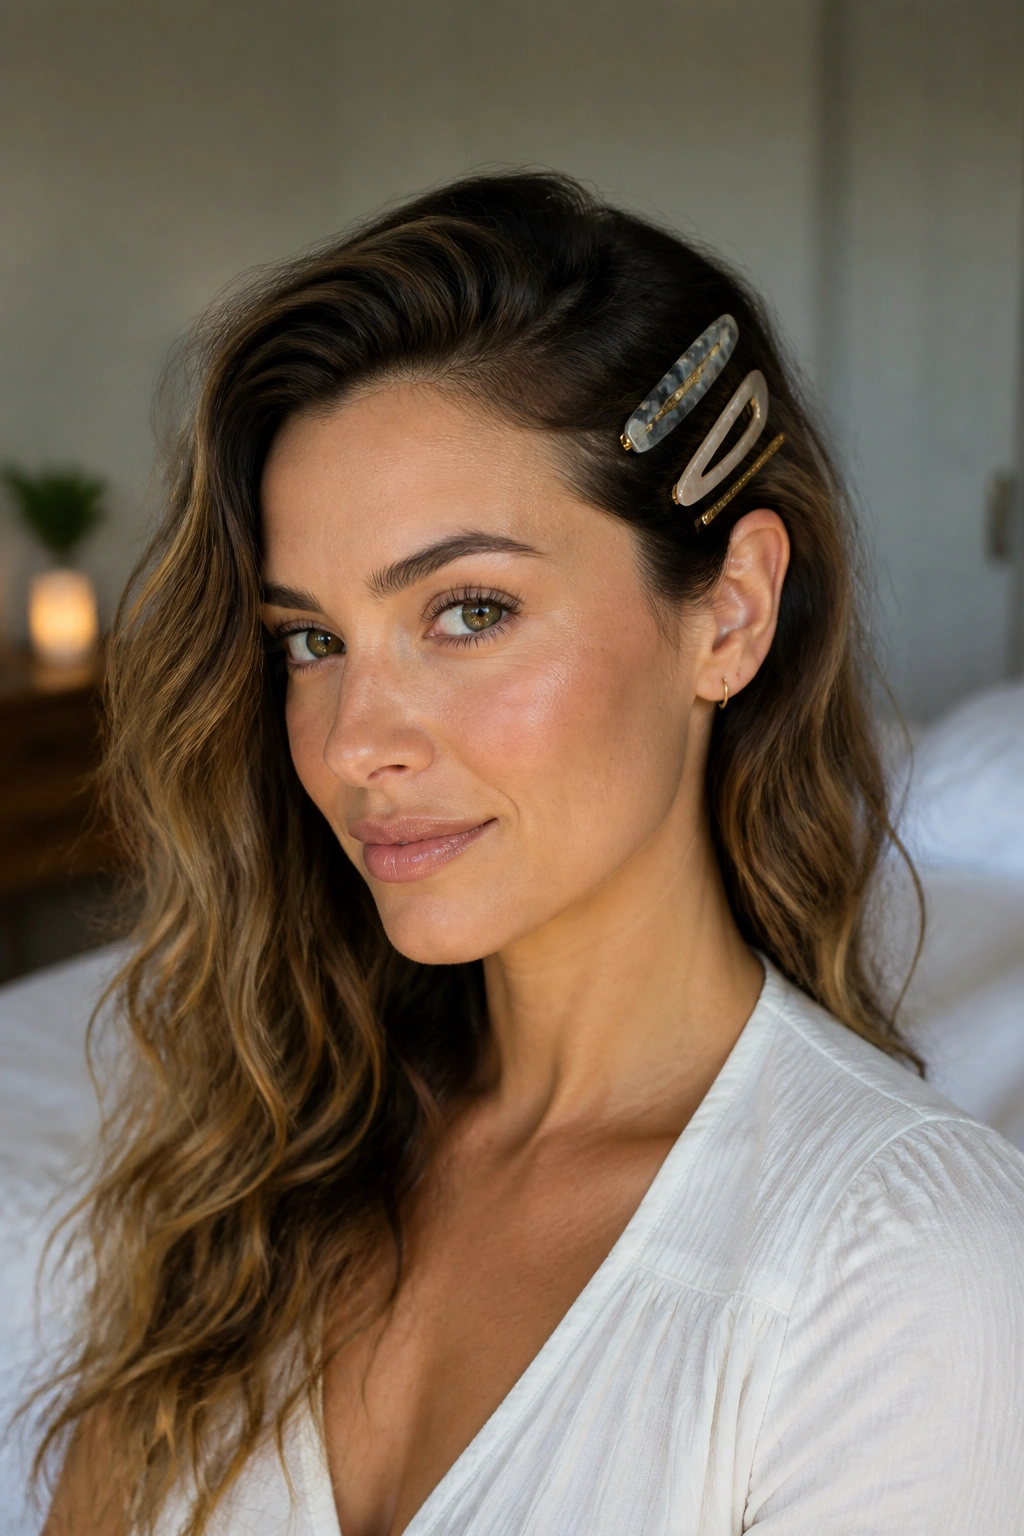
A side pin is one of the quickest ways to make natural waves look like you made a choice. That sounds small, but it matters. A line of clips on one side gives the wave pattern a frame, and the open side gets to show off its movement.
The best version uses two or three clips placed in a slight diagonal near the temple or behind the ear. You can stack them, stagger them, or mix one plain clip with one decorative one if you want a little contrast. The important part is keeping the other side full, loose, and a touch messy so the hair does not feel overcontrolled.
This is especially useful for growing-out bangs, face-framing layers, or front sections that never quite sit flat. Pinning one side back pulls the eye away from the annoying bits and makes the rest of the hair look fuller.
One clean line of clips beats five random bobby pins. Every time.
14. Rope-Braid Crown Into Loose Ends
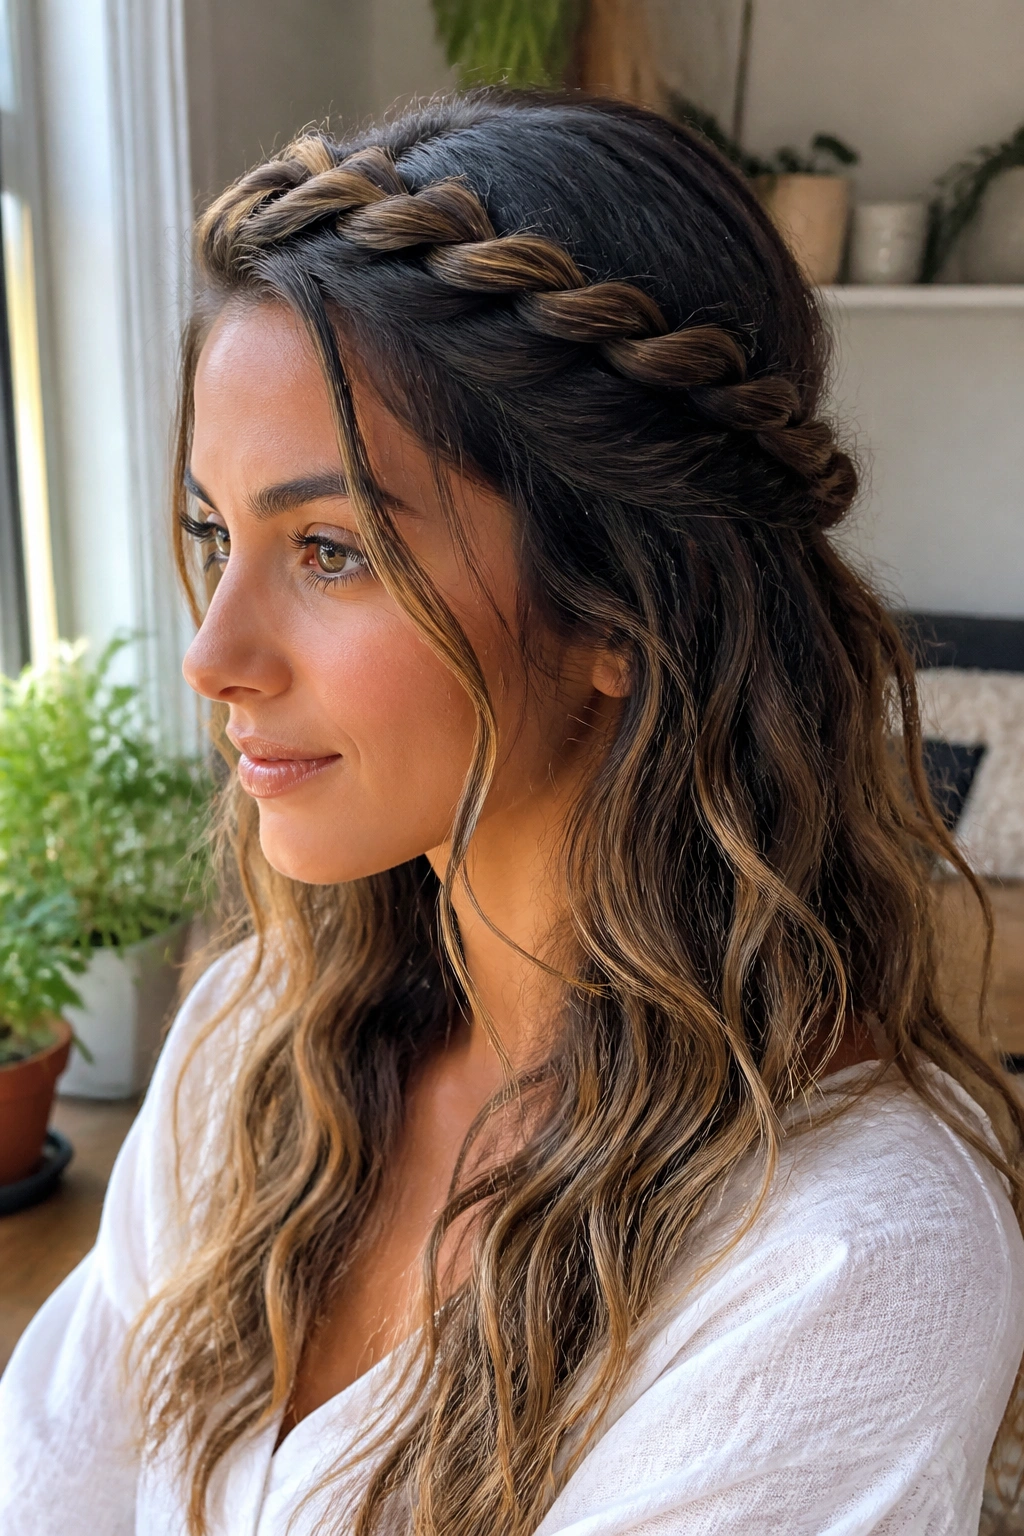
A rope braid is one of the easiest braids to fake competence with, which is part of why I like it for wavy hair. You only twist two sections around each other, so it’s faster than a French braid and usually less fussy on texture that wants to spring out of the weave.
Why It Works Better Than a Tight Braid
The rope braid grips the front and side sections without pressing every wave flat. That means the top of the style stays controlled while the lengths can still move and fall naturally. It’s a good call for thick hair, because the braid can handle the bulk without turning into a little rope-shaped brick.
- Start at the temple and twist back toward the ear.
- Keep the tension loose so the braid looks soft rather than stiff.
- Pin the braid across the back of the head instead of dragging it too far down.
- Leave the ends open if the wave pattern looks better loose than tucked.
This style has a nice in-between quality. It’s more polished than a pin-back, but less formal than a full crown braid. That makes it useful for easy days when you want shape without a full styling session.
15. Half-Up Claw Clip With a Tail Left Out
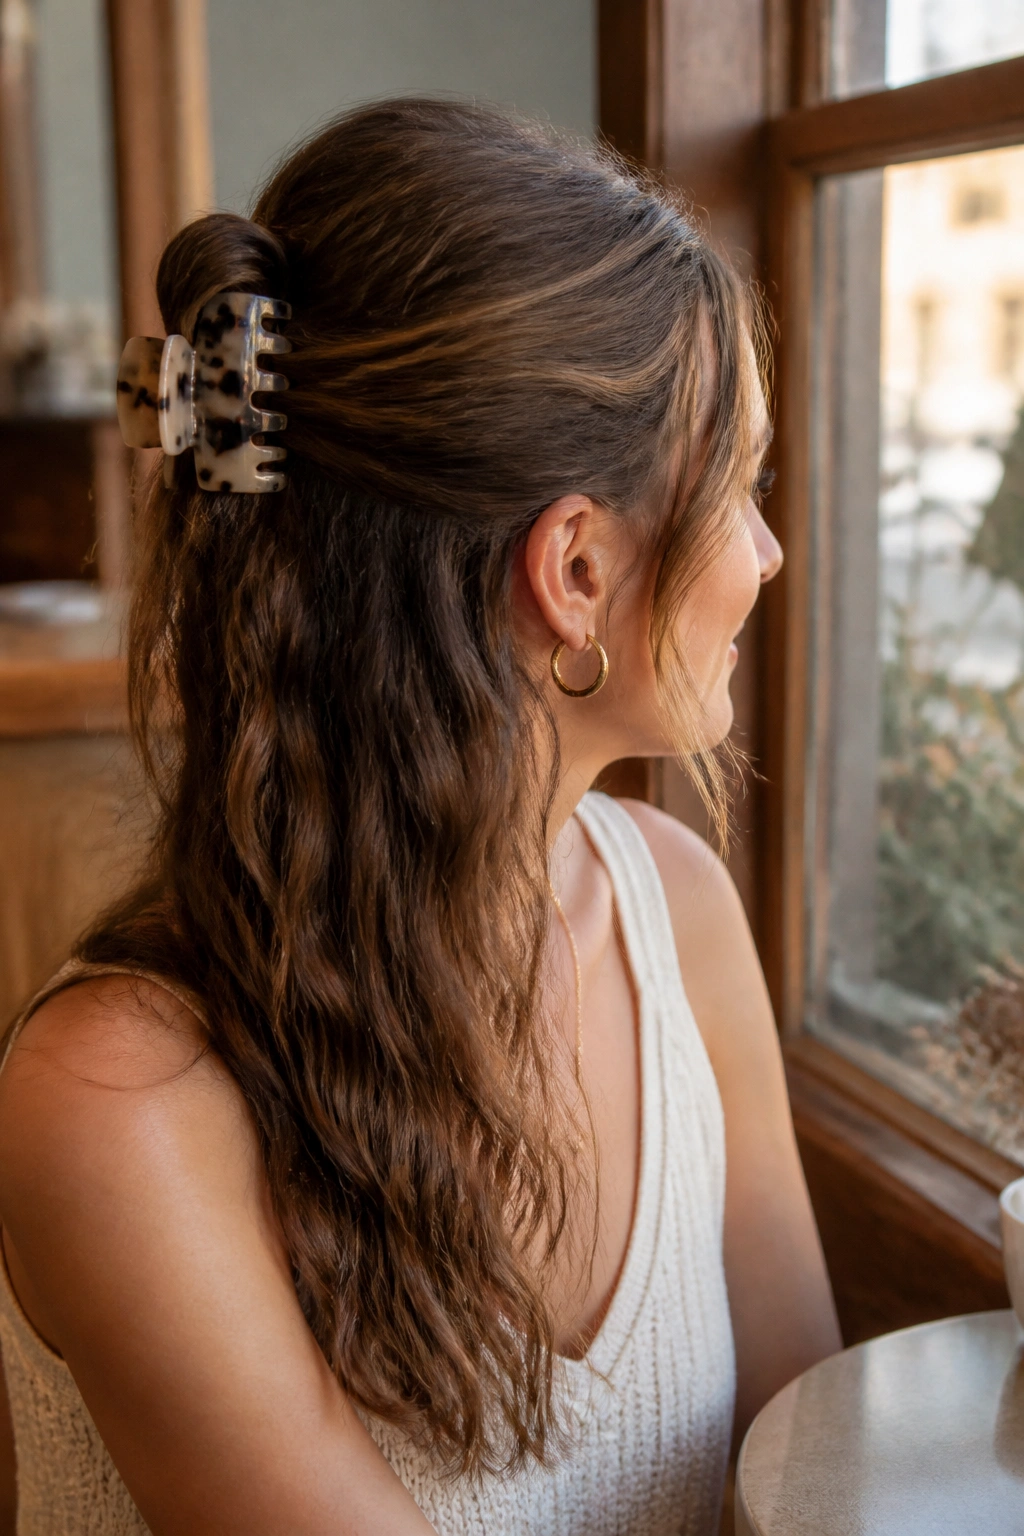
If there is one style that earns its keep on rushed mornings, it’s this one. A half-up claw clip gives you the lift of an updo, but the loose tail keeps the wave pattern visible so the hair still looks like itself.
Gather only the top section, usually from temple to temple, and twist it upward just enough to clip it. Leave the bottom half out. That bottom section should keep the movement, curl, and bend that make natural waves worth showing off in the first place. If your hair is thick, a larger clip works better; if it’s fine, a smaller one keeps the style from sliding.
This is a smart option when the crown is flat, the ends still look good, and you do not feel like hiding all your texture in a full bun. It also wears well with a little face-framing softness, especially if the front layers fall around the cheekbones.
One clip. One twist. That’s often all the day asks for.
