



Loose side braids are one of those rare hairstyles that can look calm, romantic, and pulled together at the same time. On long hair, they solve a practical problem too: all that length has to go somewhere, and sweeping it over one shoulder keeps it controlled without turning it into a stiff, sprayed-down helmet.
The catch is tension. A side braid that starts too high or gets pulled too tight can make long hair look bulky at the scalp and flimsy at the end. A softer hand works better. A tail comb, a couple of snag-free elastics, and a little texture through the mid-lengths go a long way, especially if your hair is silky or freshly washed.
These loose side braid hairstyles for long hair work because they respect the hair’s own weight instead of fighting it. Some sit close to the head. Some feel airy and undone. Some are polished enough for dinner and still easy enough for a regular Tuesday.
1. Soft Loose Side Braid with Face-Framing Pieces
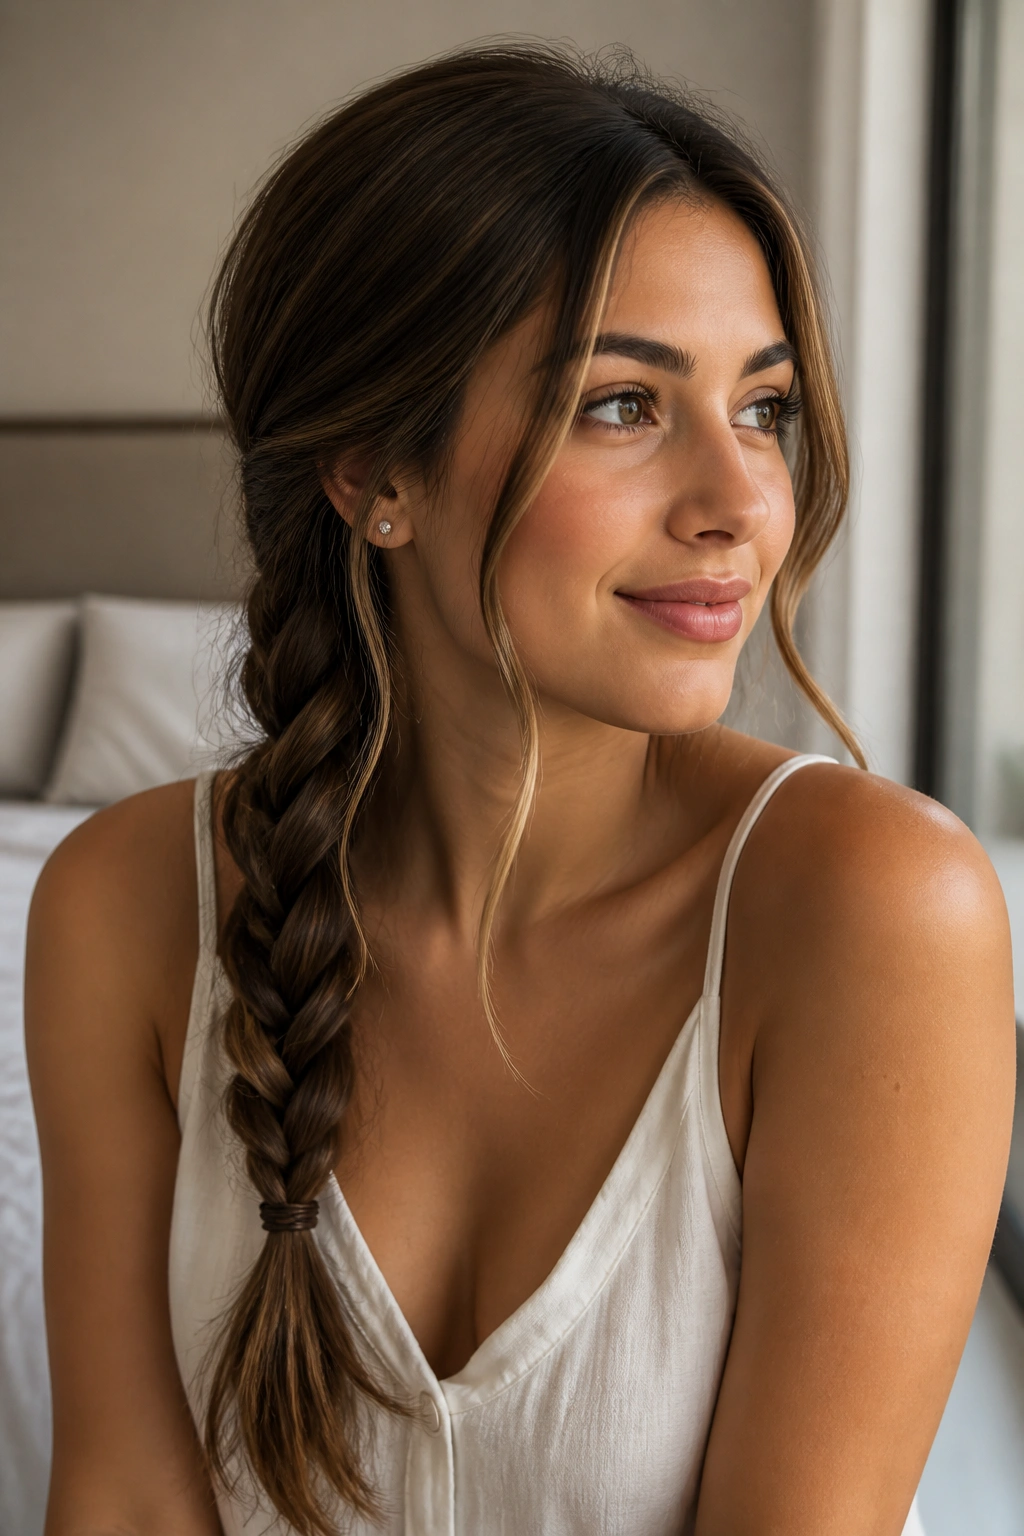
This is the version I’d hand to someone who wants the safest, prettiest starting point. It has enough shape to look intentional, but it never tips into that overdone, prom-night stiffness that ruins a lot of braids.
Why It Works on Long Hair
Long hair carries a braid differently than shoulder-length hair does. The extra length gives the braid a nice drape, so the whole style looks softer when you let the sections breathe a little. Leave a 1- to 2-inch face-framing piece on each side, start the braid just behind the ear, and keep the first few crosses loose. That keeps the braid from looking crowded at the top.
A tiny amount of texture spray at the roots helps a lot here. Not a ton. Just enough grip so the braid does not slide apart halfway through the day.
- Start with hair brushed back into a low side part.
- Keep the braid anchored below the temple for a softer line.
- Pull the outer loops outward every 2 to 3 inches.
- Finish with a clear elastic and hide it with a small hair wrap if you want a cleaner look.
Best tip: tug the braid itself, not the roots. That keeps the volume where you want it.
2. Dutch Side Braid That Stands Off the Hair

A Dutch side braid gives long hair more lift than a French braid, and that extra height matters when the ends are heavy. Instead of blending into the surface of the hair, the braid sits on top and reads clearly from the front. That makes it a smart choice if your hair is thick, layered, or just plain stubborn.
I like this one when the goal is shape, not fuss. It looks polished, but it still has some air in it if you keep the hand light and stop pulling once the braid reaches the collarbone. Start with a deep side part, cross each section under the center strand, and feed in only modest amounts of hair as you work down. Big sections make the braid chunky fast.
The best part is the profile. From the front, you get that raised, sculpted line; from the side, the braid curves down nicely instead of collapsing into the shoulder. That little bit of structure is what keeps it from looking flat.
3. Fishtail Side Braid with a Pancaked Finish
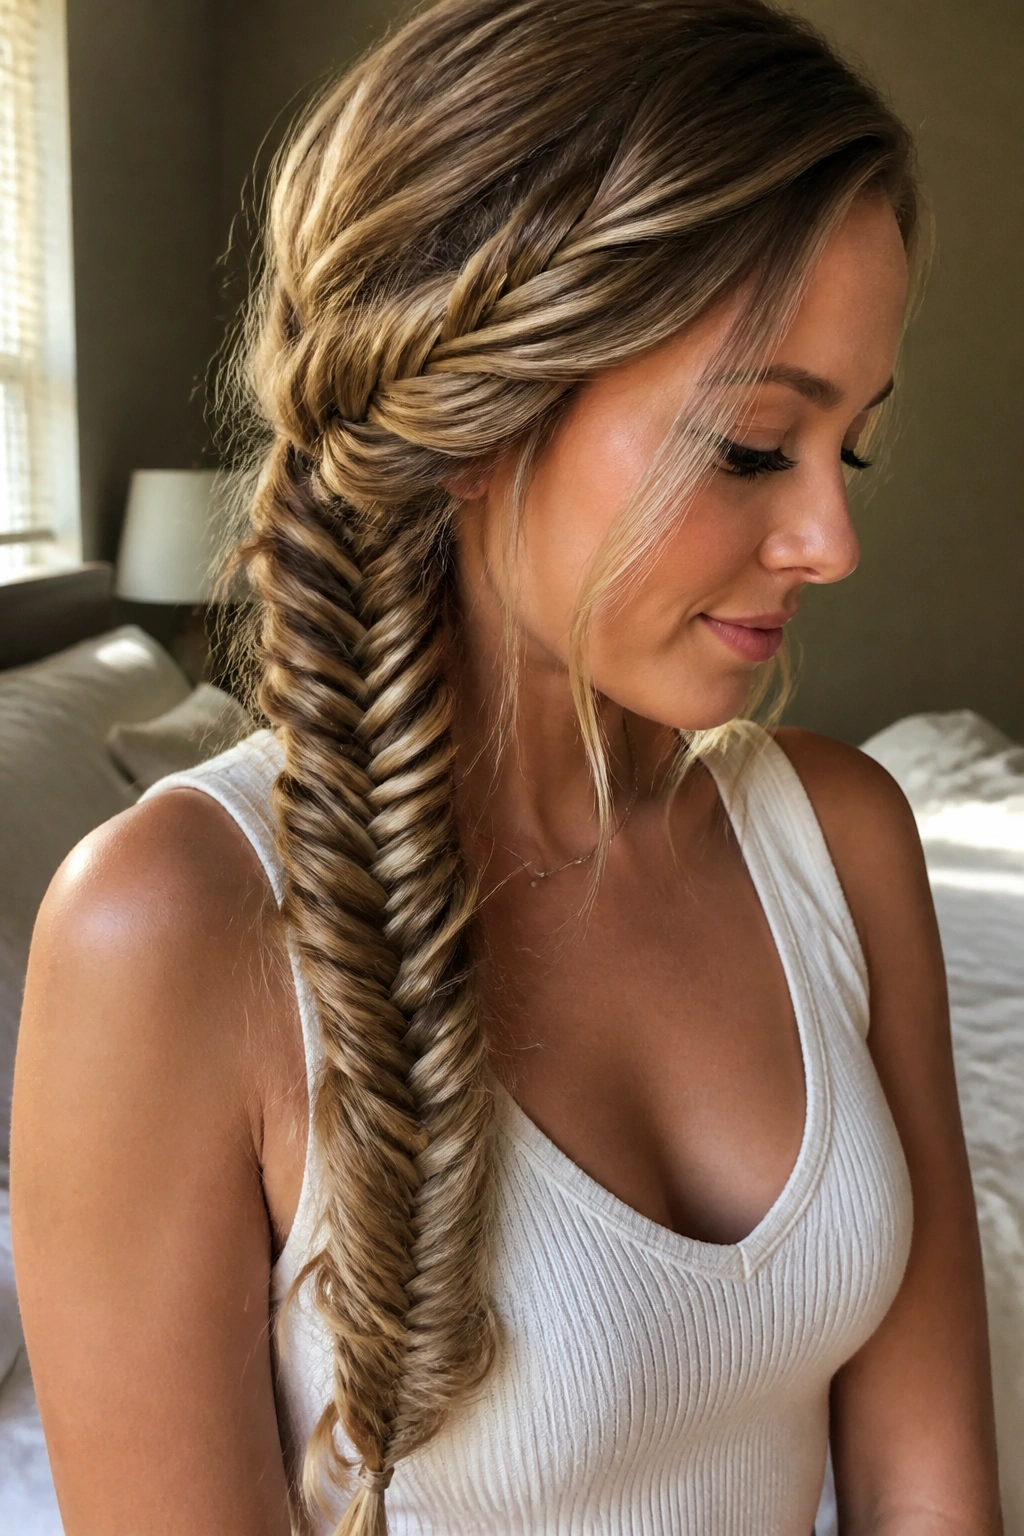
Why does a fishtail side braid feel so soft, even though it takes more patience than a regular braid? Because the smaller sections break up the pattern and make the whole thing look finer and more detailed. On long hair, that matters a lot. The braid has room to fall, so the texture becomes the point.
How to Get the Shape
Separate the hair into two sections, then take thin pieces from the outside edge of each section and cross them over. Keep those pieces small and even. If one side gets much thicker than the other, the braid starts to look twisted instead of woven.
Once the braid is tied off, pancake it by gently pulling at the outer loops. Do not yank. Just widen the braid a little at a time until it looks fuller and flatter. That trick makes a huge difference on long hair because the length can handle the extra spread without losing the braid shape.
If your hair is fine, a mist of dry shampoo before braiding helps the fishtail hold its edges. If your hair is thick, keep the tension soft so the braid does not feel heavy at the nape. It’s a pretty braid, but it does ask for a little patience.
4. Messy Deep Side-Part Braid

Picture second-day hair, a deep side part, and one soft piece falling over the cheekbone. That is the whole mood here. It is the braid you choose when you want your hair to look lived-in instead of styled within an inch of its life.
The trick is starting with a part that has attitude. Push the hair well to one side, then braid low and slightly behind the ear so the braid can drape forward over the shoulder. Leave a few shorter pieces around the face, especially if you have layers. Those pieces stop the style from looking too neat.
- Use a wide-tooth comb or your fingers, not a stiff brush.
- Mist the mid-lengths with light texturizing spray.
- Keep the braid a little uneven on purpose.
- Let the ends stay a touch tousled instead of pressing them flat.
That last part matters. A messy side braid only works when it looks relaxed, not lazy. The shape should still be clear. The looseness is what gives it charm.
5. Waterfall Side Braid Swept Over One Shoulder

A waterfall braid has a floaty look that regular braids just can’t copy. Strands drop out of the weave as you move down the head, so the style feels airy even on very long hair. When you sweep it to one shoulder, the whole thing turns into a soft ribbon of hair with movement built in.
This one looks best when the hair has a little bend to it. Straight, freshly washed hair can make the dropped pieces slip apart too quickly. A curling wand with a 1-inch barrel or even a few loose bends through the ends gives the braid enough grip to stay visible. I also like it with a side part that isn’t too severe; too much parting can make the style feel lopsided.
Pretty. Also a little fussy.
That’s the honest version. The braid takes more concentration than the others on this list, and it is not the fastest thing to do before heading out the door. But when it works, it looks like the hair is doing something delicate on purpose. If you like a softer, more romantic finish, this is one of the strongest options.
6. Rope-Twist Side Braid for a Cleaner Finish

Unlike a three-strand braid, a rope twist uses only two sections, so it looks sleek without needing perfect fingers. That makes it a good fit for long hair that likes to frizz or break apart in humid air. The twist pattern is tighter, cleaner, and a little more modern than a loose plait.
Start by smoothing the hair with a pea-sized amount of cream through the mid-lengths. Split the hair into two equal sections, twist each section in the same direction, then wrap them around each other in the opposite direction. That simple change is what gives the style its rope look. Keep the twist low and over one shoulder so the length stays visible.
I’d pick this style for straight or lightly wavy hair. Very curly hair can do it too, but the rope shape gets lost if the texture is too fluffy. If you want a braid that reads neat from a distance and still feels softer than a tight updo, this is a solid choice. No drama. Just good shape.
7. Side Braid That Rolls into a Low Chignon

If you want the braid off your shoulder but you do not want a plain bun, this hybrid is the sweet spot. The braid gives you the visual interest; the chignon keeps the hair contained. Long hair is perfect for this because there’s enough length to braid first and still have material left to coil.
Where the Braid Should End
Start the braid at the heavier side of the part and work it down to the nape. Don’t make the braid too tight at the start or the bun will sit stiffly against the head. Once you reach the neck, twist the remaining length into a small low chignon and pin it with U-pins or two crossed bobby pins.
How to Keep It Soft
Pull a few strands loose around the temples and nape before you pin the bun. That small move keeps the whole style from reading severe. If your hair is very thick, split the ponytail base into two coils before tucking it in; one big coil can feel bulky and hard to secure.
This is one of those styles that looks more complicated than it is. That is the fun part.
8. Ribbon-Woven Loose Side Braid

A ribbon changes the whole mood fast. A simple side braid can go from casual to dressed-up with one strip of satin, velvet, or grosgrain woven through the sections. On long hair, the ribbon has room to show, which is why this style works so much better than people expect.
Use a ribbon that is about 1/4 to 1/2 inch wide. Anything thicker starts to crowd the braid, especially if your hair is dense. Satin gives a softer look, while grosgrain holds its shape better and feels a little more structured. Match the ribbon to your outfit or choose a muted contrast so it doesn’t scream for attention.
- Thread the ribbon through the base before you start braiding.
- Keep the braid loose enough that the ribbon peeks through evenly.
- Tie the ribbon at the end, then trim the tails if they are too long.
- Finish with a light mist of hairspray on the braid only, not the ribbon.
This braid is lovely for dinners, photos, or any day when you want the hair to feel a touch more deliberate. The ribbon does the heavy lifting. You just keep the braid clean.
9. Pull-Through Side Braid with Big Loops
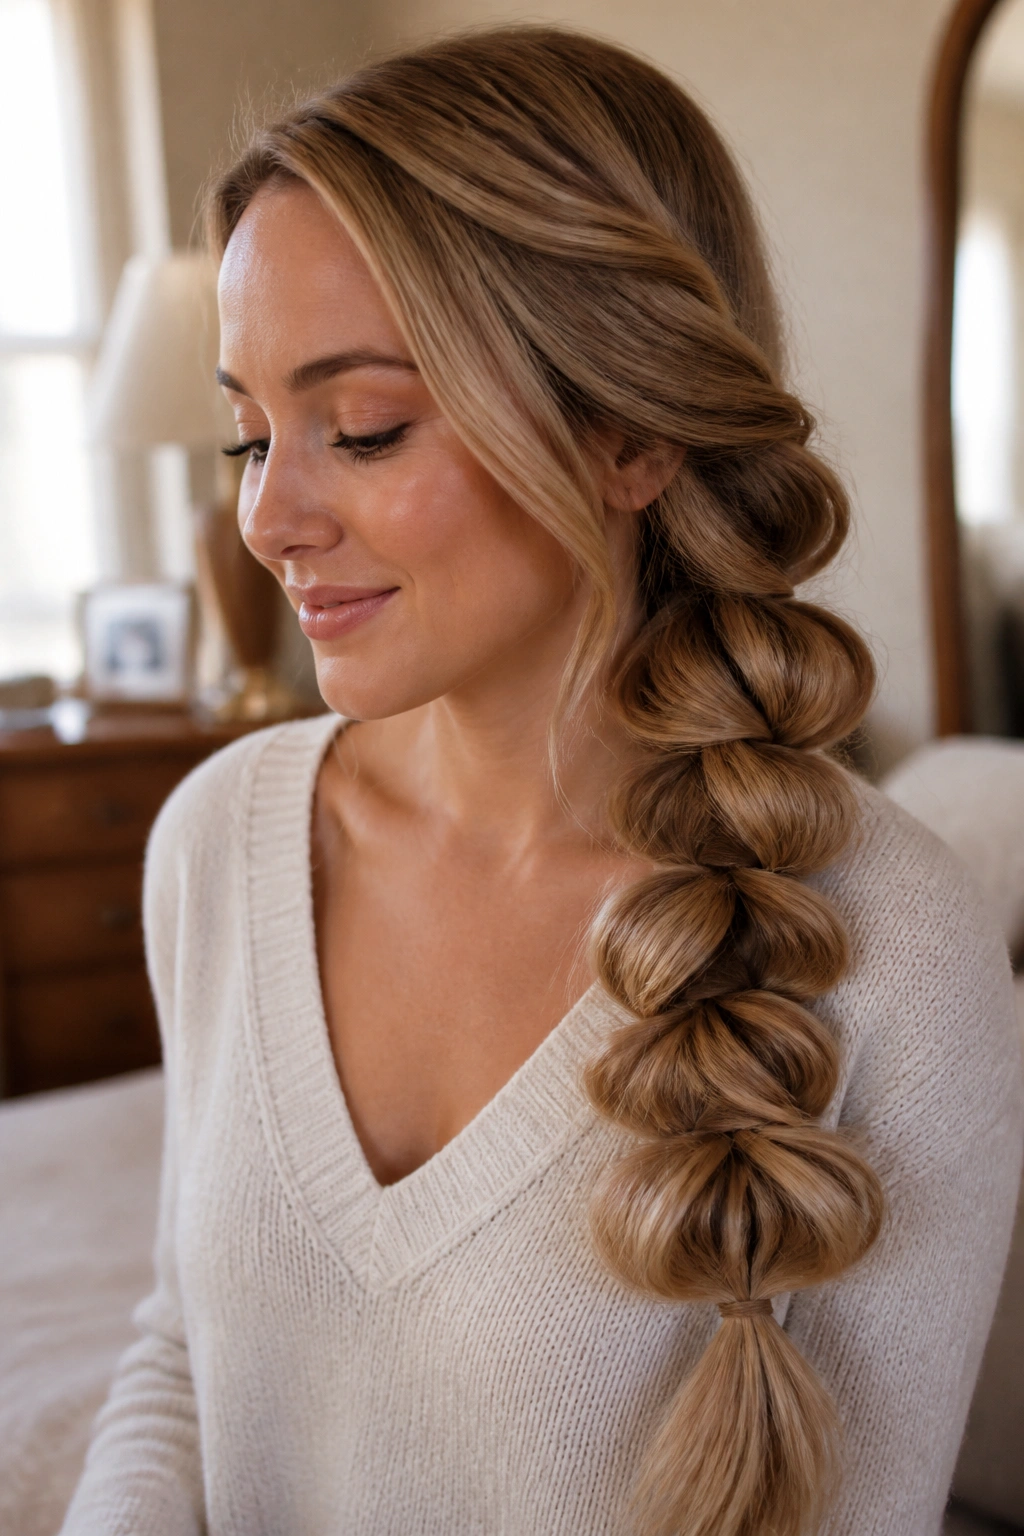
A pull-through braid is what I reach for when the hair is so long that a normal braid starts to feel flat before it even reaches the shoulder. The loops stay big, the shape stays full, and the whole style looks almost puffed out in a good way.
You build it with a stack of small ponytails, not with traditional crossing. That means clear elastics every 2 to 3 inches, then splitting and folding each ponytail to create the link shape. It sounds fussy on paper. In practice, it goes fast once you get the rhythm.
- Best for thick, layered, or very long hair.
- Use small elastics that blend into your color.
- Tug each loop outward after you secure the next section.
- Stop once the braid reaches the top of the shoulder so the loops don’t get stretched out by friction.
This one gives the most volume of the styles in the list, and that can be a blessing if your hair disappears into a regular braid. It has a playful, almost oversized look that never feels shy.
10. Lace Braid That Traces the Hairline
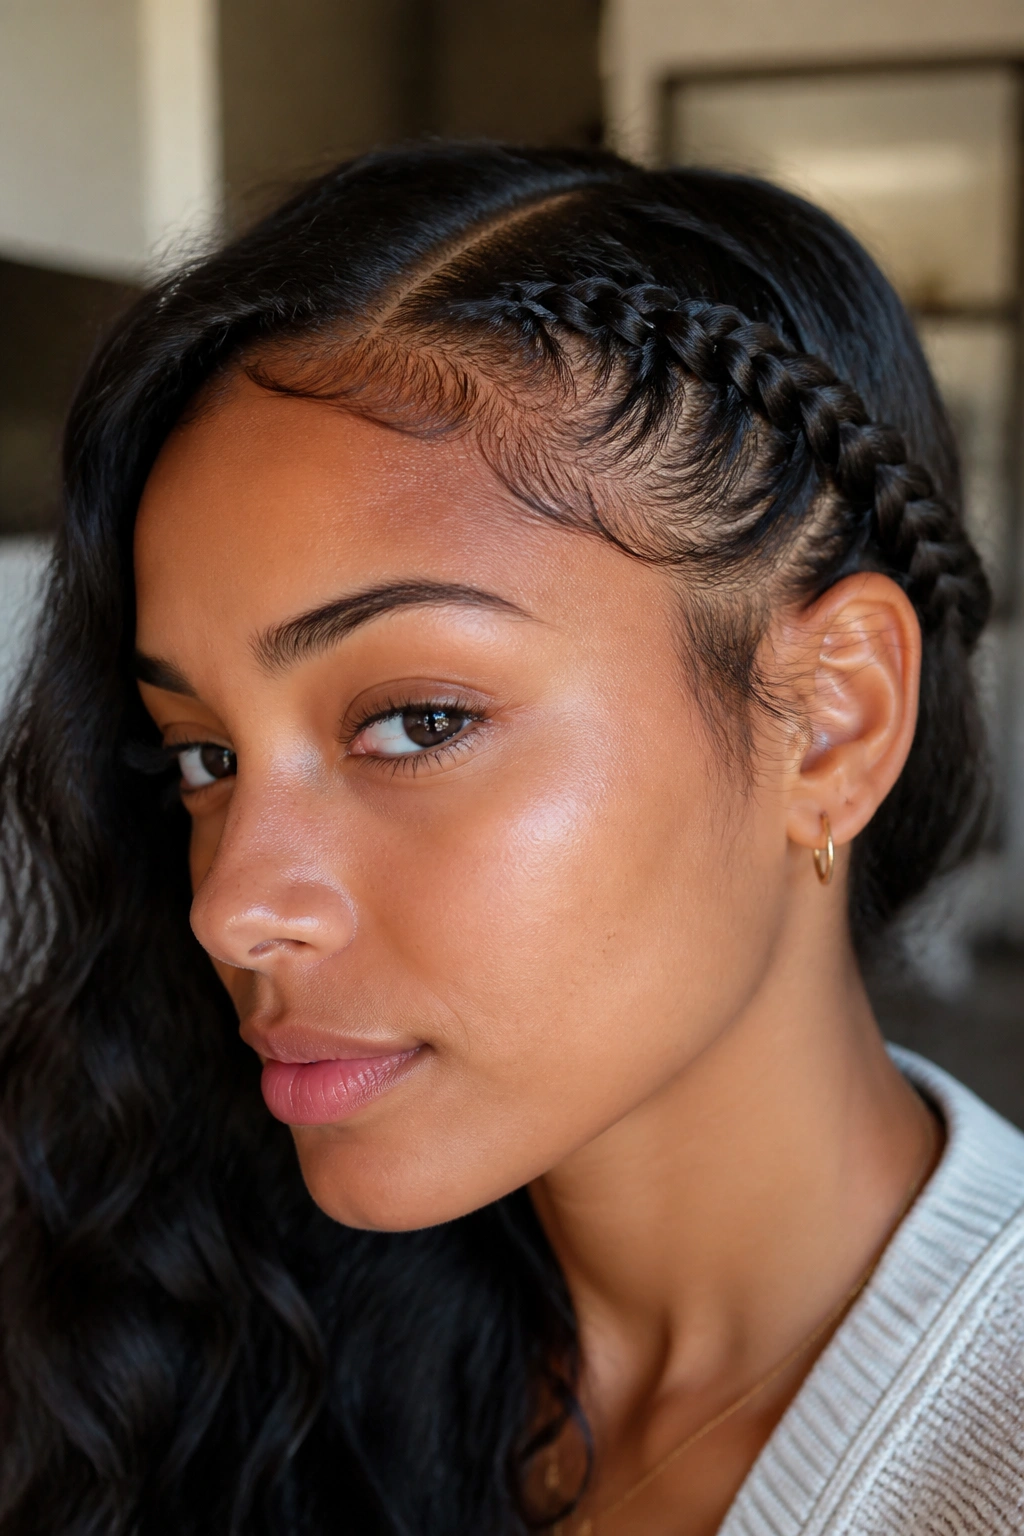
A lace braid hugs the head before it falls away, which gives long hair a cleaner frame than a braid that starts loose right away. It is a nice middle ground between a waterfall braid and a standard side braid. You get the softness, but you also get a visible line that follows the hairline.
What Makes It Different
With a lace braid, you add hair only from the top side as you braid along the edge. The bottom side stays freer, which lets the braid drift toward one shoulder without swallowing the rest of the hair. That makes it especially useful if you want one side of the face open and the other side more controlled.
This style shines on long hair with layers around the front because those shorter pieces naturally blend into the braid. If the layers are very short, pinning a few pieces back first can help. I also like this braid when the rest of the hair is left soft and wavy. The contrast is half the appeal.
How to Wear It
- Start near the temple and follow the curve of the hairline.
- Keep the braid low enough to avoid pulling at the edge.
- Finish with the remaining hair gathered over one shoulder.
- Use a tiny pin under the braid if the front section slips.
11. Boho Side Braid with Tiny Accent Braids
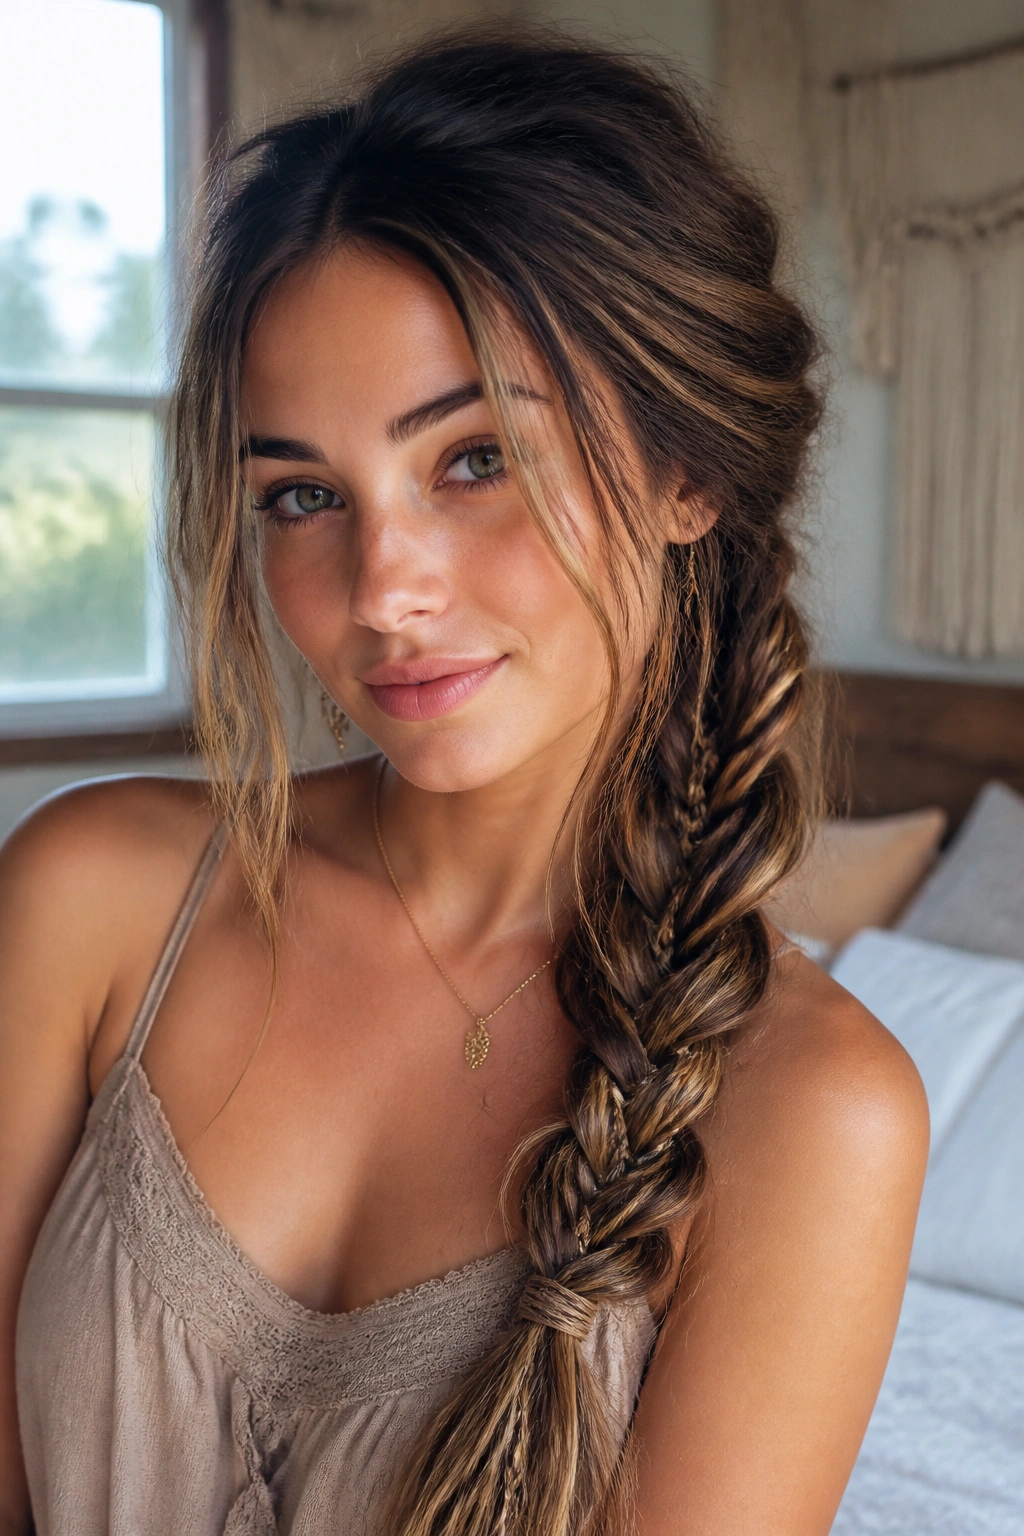
Tiny accent braids change the whole feel of a side braid without making it look crowded. That’s the trick. A few narrow plaits tucked into the main braid add texture, and long hair gives them enough space to show.
The key is restraint. Two or three accent braids are enough. Make them about 1/4 inch wide, braid them tightly so they stay neat, then fold them into the main side braid after a few inches. If you keep adding more and more, the style starts to look busy instead of relaxed.
Small Details That Matter
Leave the rest of the hair slightly tousled so the accent braids do not look pasted on. A little dry texture at the crown helps too, because the style needs a soft base to balance the extra detail. If you have naturally wavy hair, even better. The contrast between smooth braid sections and loose wave gives the whole look a lived-in feel.
This is a good one when you want the braid to look personal, not generic. It has a handmade feel that works especially well with long layers and softer makeup.
12. Side Braid Ponytail Hybrid for Long Hair

A half-braid, half-ponytail style is a smart move when your hair feels too heavy for a full braid but you still want that braided shape. It keeps the top section neat and lets the length swing free, which is a nice trade on long hair.
Start the braid on one side of the crown, braid it down to the area just above the shoulder, and then secure the rest into a low ponytail. You can wrap a small strand around the elastic if you want the handoff to look smoother. The change in texture—from braid to loose tail—is what makes the style interesting.
This one works especially well on hair that holds a curl at the ends. Straight lengths can feel a little plain in the ponytail section, so a quick bend with a curling iron can help. Keep the braid loose at the top, or the ponytail base will feel too tight and the style loses its easy shape.
It’s practical. It’s not precious. And that’s exactly why people end up wearing it a lot.
13. Curled Side Braid with Loose Ends
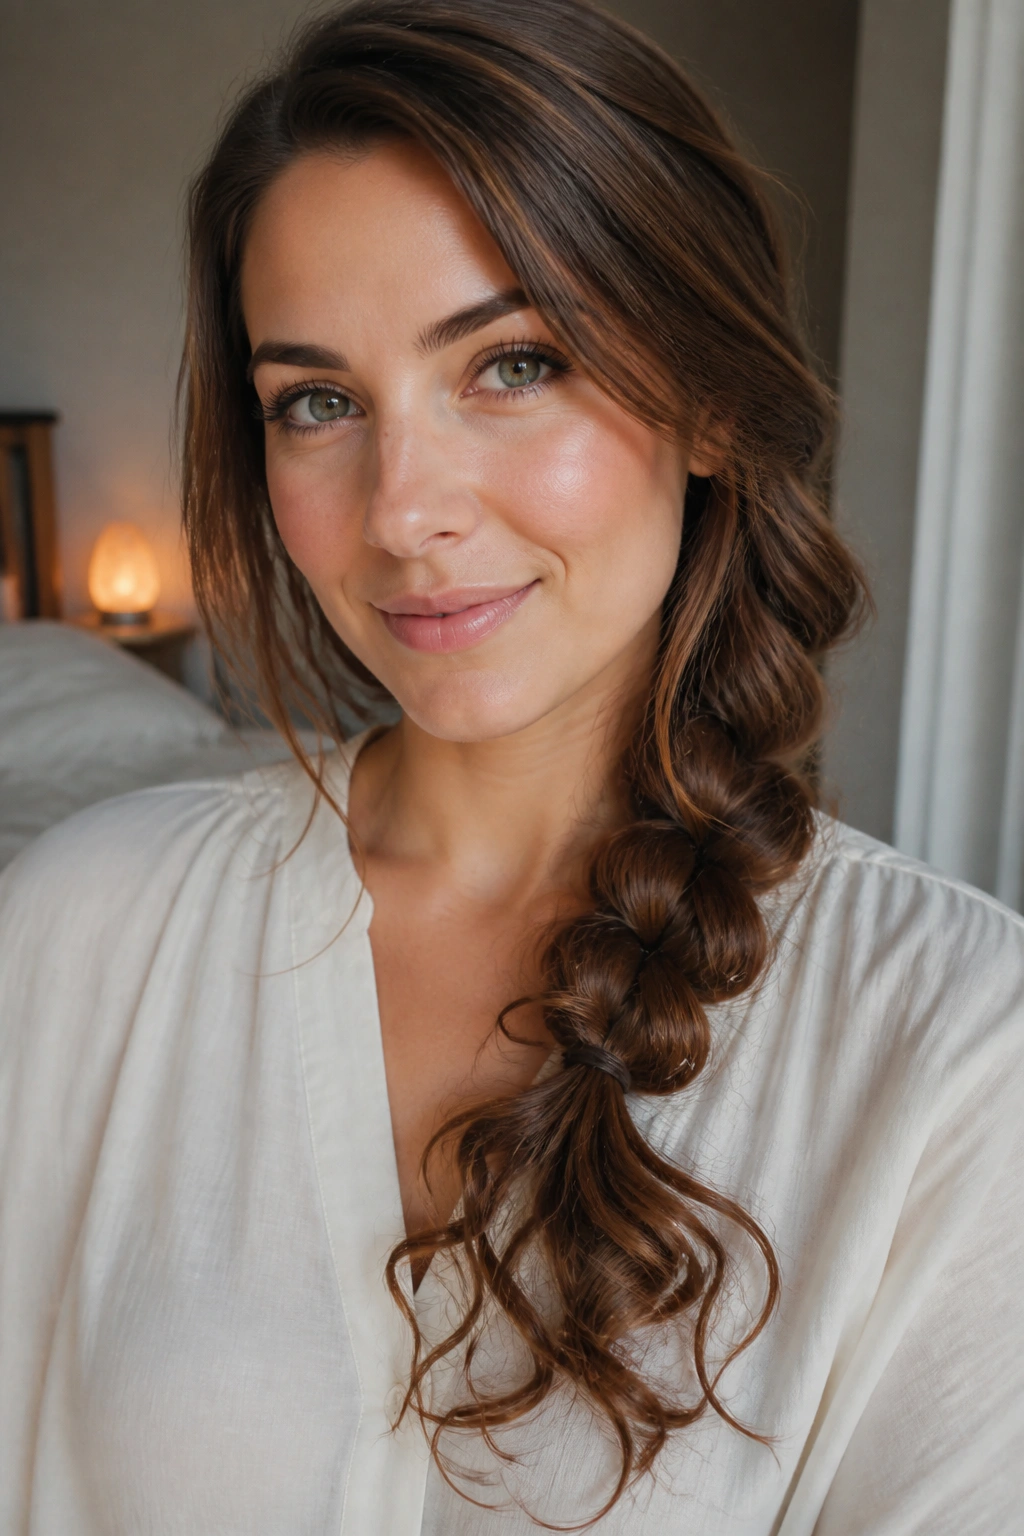
Loose curled ends make a side braid feel softer without making the braid itself messy. That balance is the whole point. You get the structure of the braid and the movement of curls at the bottom, which is a good match for long hair that can handle a bit of extra texture.
Curl the ends first if your hair is straight, using a 1-inch iron or hot rollers. If your hair already has wave, you can skip that and just smooth the top section so the braid looks clean near the crown. Braid down to the mid-lengths, then leave the last few inches loose and curled rather than tying them into the plait.
- Keep the curls loose, not tight ringlets.
- Use a flexible-hold spray so the ends stay touchable.
- Let the braid end at the point where your layers stop fighting you.
- Pin one side back if the front pieces keep escaping.
This style is a good compromise for anyone who likes braid texture but wants the ends to still feel pretty and open. It has enough movement to look soft in photos and enough shape to stay interesting in person.
14. Milkmaid-Inspired Side Braid Loop
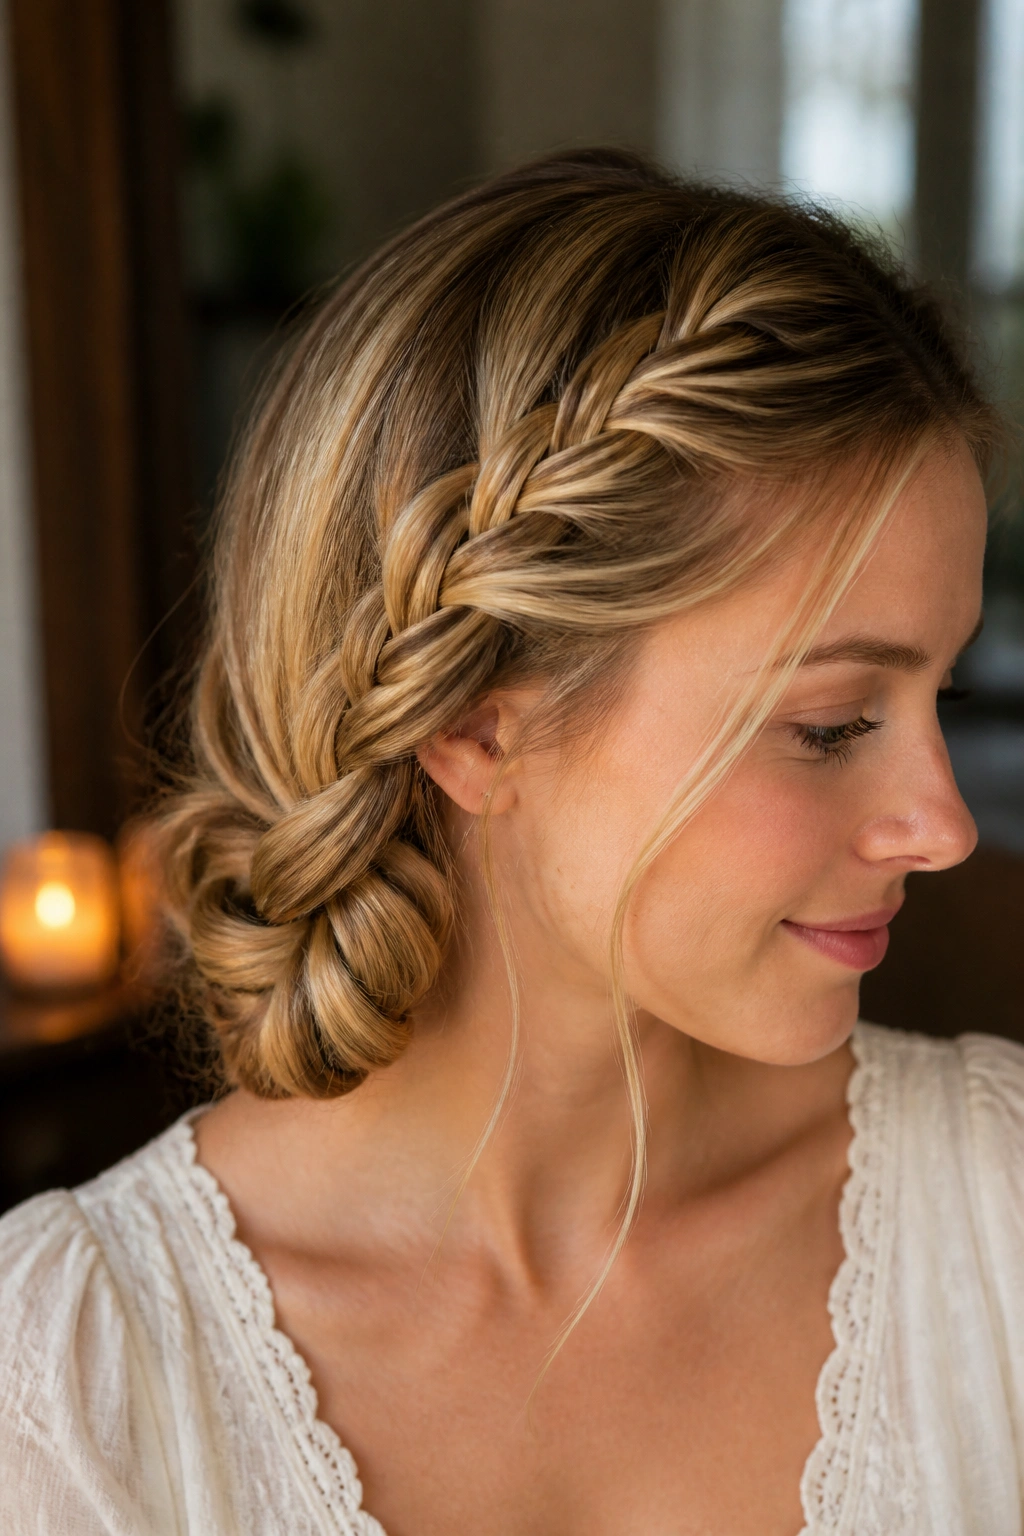
When a braid crosses the head and loops back in a low sweep, the whole style gets a softer, older feel. This version borrows that idea without turning into a full crown braid. It works best when the braid starts on one side, travels around the back of the head, and settles low on the opposite side with the length still visible.
The shape depends on neat anchoring. Start with a clear side part, braid the hair low and slightly back, then guide the braid around the nape instead of letting it fall straight down. Use two or three hidden bobby pins where the braid changes direction. If the pins show, the illusion falls apart.
- Best for long hair with a bit of grip.
- A little texture spray helps the braid hold its curve.
- Keep the braid soft at the ear so it doesn’t dig in.
- Let the tail fall over the shoulder once the loop is secured.
This is the style for someone who wants something a little prettier than a plain side braid and a little less formal than a full updo. It sits in a nice middle space.
15. The Loose Side Braid You’ll Reach for Most
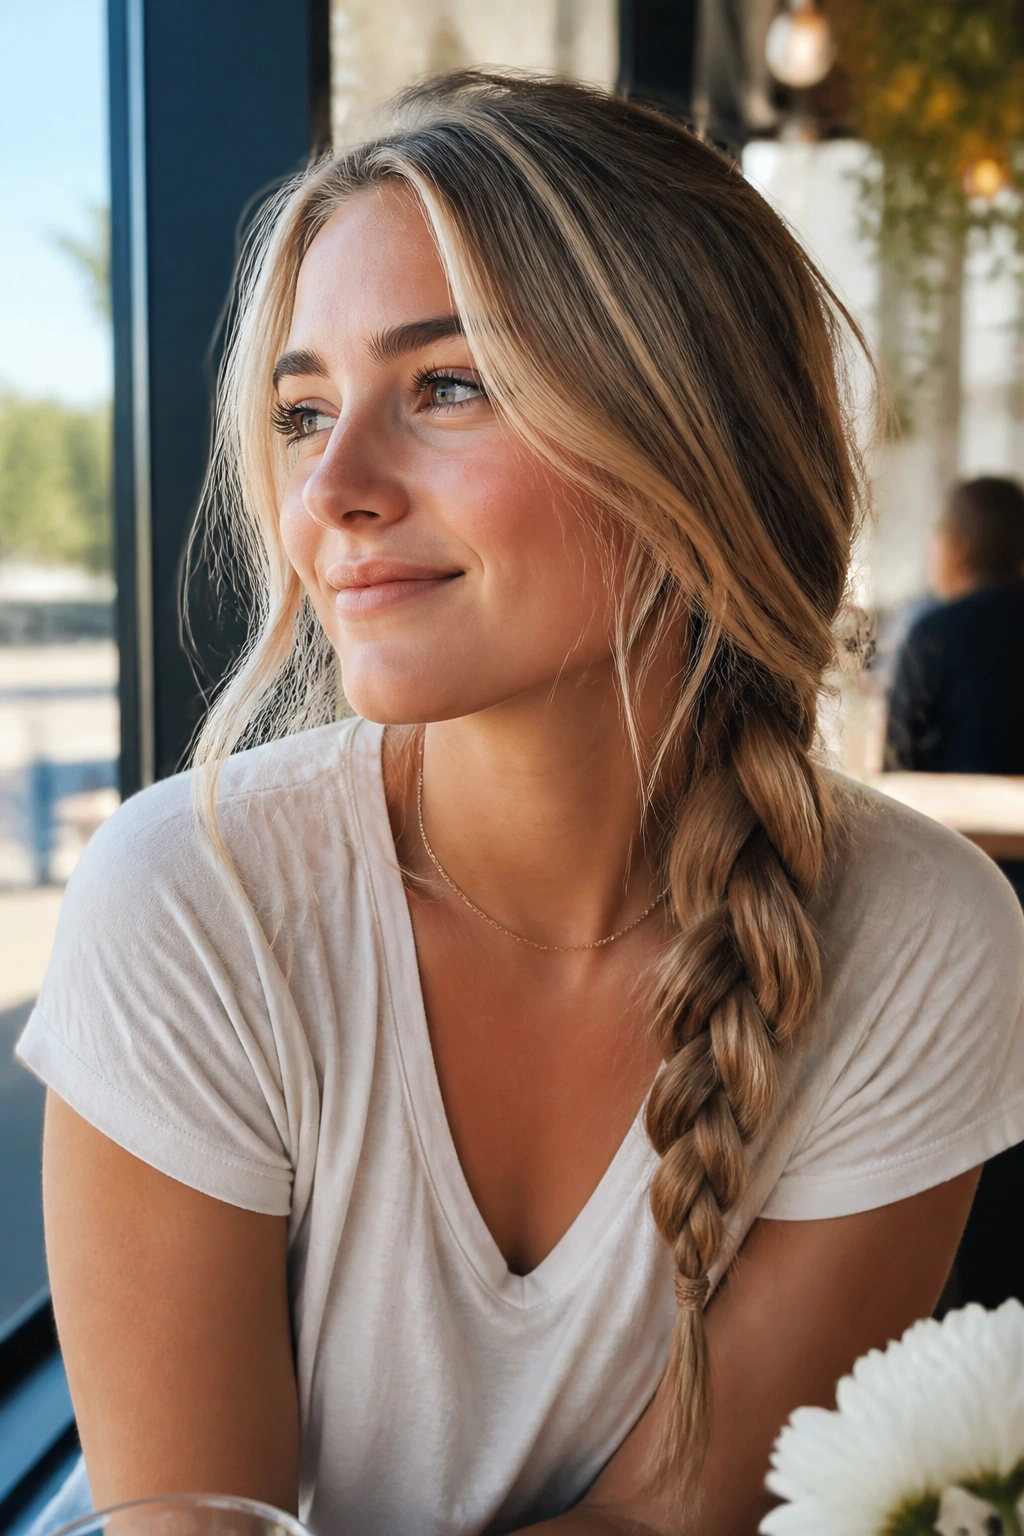
Sometimes the plain version wins. A simple, loose three-strand side braid is the one most people end up using again and again because it is fast, flattering, and easy to adjust when the hair changes during the day.
What saves it from looking flat is a little attention to the finish. Start low, keep the first pass soft, and pull the braid apart gently once it’s secured. If your hair is thick, pinch the braid wider in three or four spots instead of trying to loosen the whole thing at once. That keeps the shape neat. Too much tugging turns it fuzzy fast.
This is the braid I’d call the safest everyday pick for long hair. It works with a middle part, a side part, curled ends, straight ends, or second-day texture. It also plays nicely with hats, earrings, and collars, which sounds small until you try styling long hair around all three at once.
A good braid does not need to shout. This one knows that.
