



Nothing feels more frustrating than checking your reflection three hours into the day, only to see that carefully constructed updo sliding south. You know the feeling. The weight of your hair pulls at the scalp, the pins start to migrate, and the entire structure begins to droop into a sad, shapeless knot. A bun should stay put from your first cup of coffee until you are ready to take it down, regardless of how thin, thick, heavy, or slippery your hair is.
Getting a style to last relies less on the strength of your hairspray and more on the foundation you build. Most people fail because they try to secure the final shape without creating a solid anchor. If your anchor—the initial ponytail or base—is weak, the rest of the building will inevitably collapse. The secret is knowing how to use tools like U-pins, spiral pins, and texturizing powder to distribute weight so that gravity works in your favor rather than against you.
You do not need a degree in styling to master these looks. You just need to understand the mechanics of tension, friction, and proper anchoring. Let’s look at thirty ways to create a bun that survives the day without you having to constantly push it back up or re-pin it.
1. The Classic Ballerina Bun
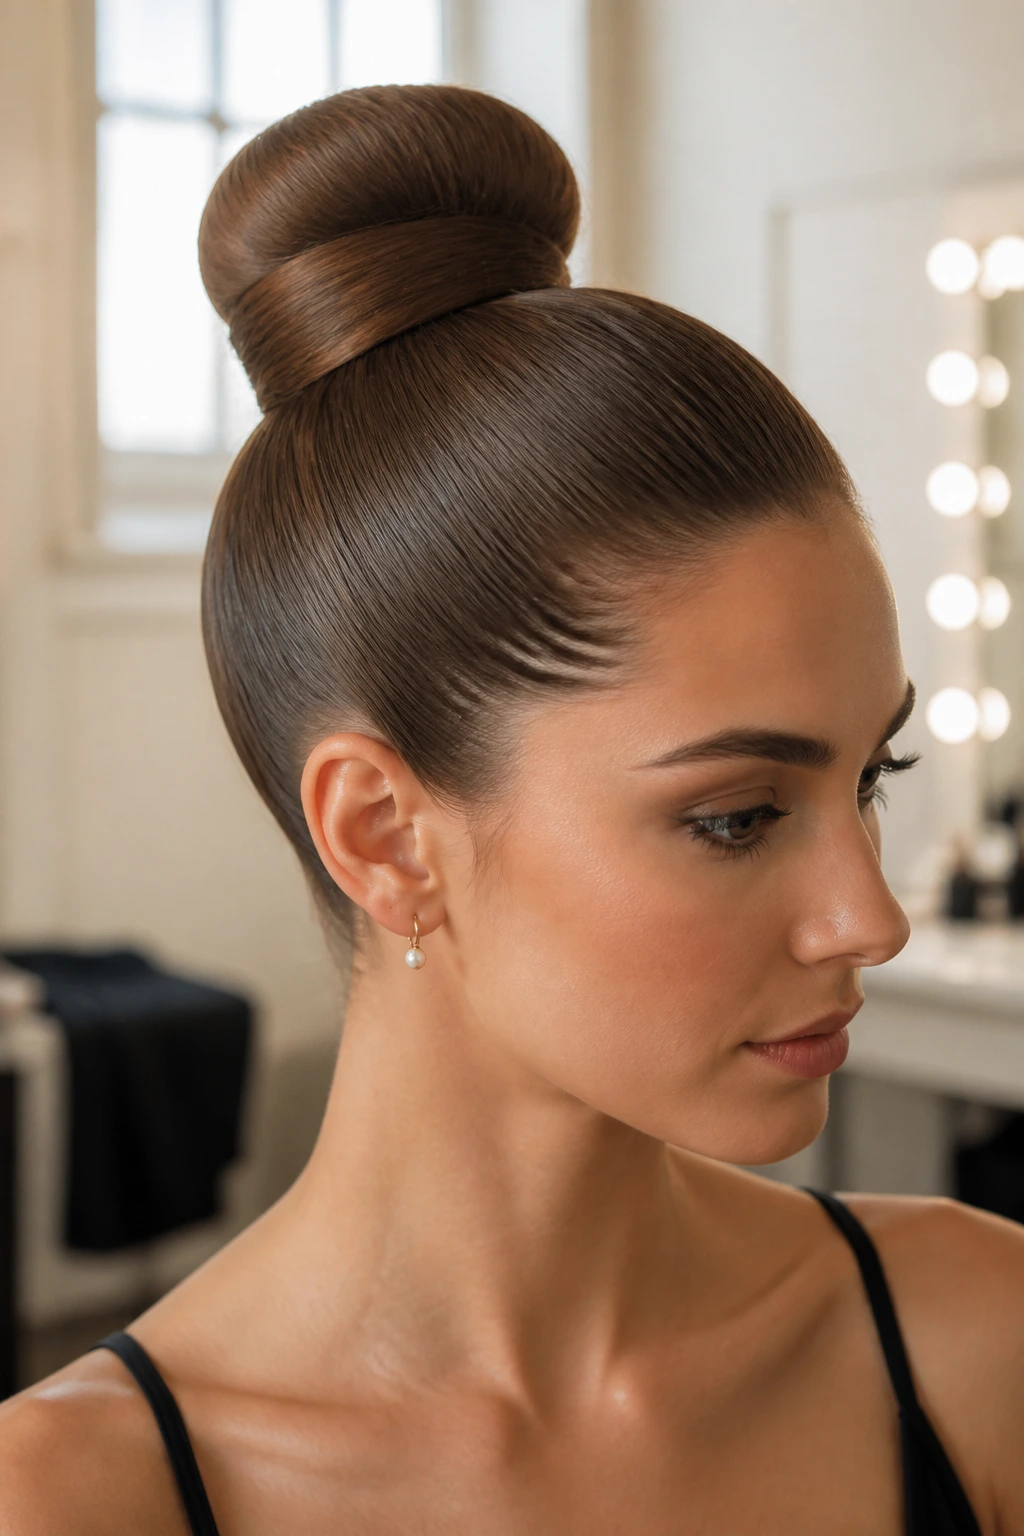
This is the gold standard for security, mostly because it relies on a perfectly tight base. The goal here is sleekness, which means you need to eliminate friction by using the right products. Start by brushing your hair into a high ponytail, ensuring the underside is just as smooth as the top. If you have flyaways, a touch of pomade smoothed over the surface with a boar bristle brush will lock everything down before you even start twisting.
The Anchor Technique
The trick is to use a thick hair tie that matches your hair color, looped tightly enough that the ponytail feels firm against your scalp. Once the base is set, twist the ponytail into a rope. Wrap it around the base, tucking the ends under, and pin it. Use long, sturdy U-pins rather than standard bobby pins. Push the U-pin through the outer edge of the bun, catch some of the base hair, and flip the pin inward. This “flip-and-tuck” motion is what keeps the bun from sagging.
2. Messy Top Knot

The messy bun often fails because it is too loose, or the hair is too clean and slippery. If you are washing your hair the same day you plan to wear this style, your bun will likely slide. Instead, use dry shampoo or a salt spray to add grit to the hair shafts. This texture is what gives the pins something to grab onto.
Keeping It Messy but Secure
Pull your hair into a high ponytail but do not pull it all the way through on the final loop. This leaves you with a loop of hair and ends hanging out. Instead of trying to smooth it, pull on small sections to create volume. Use a clear elastic to secure the base of the bun itself, then use three or four large bobby pins to “anchor” the messy loops to the base. By pinning the bun to the base, you remove the weight that usually causes it to flop forward.
3. Low Sleek Chignon
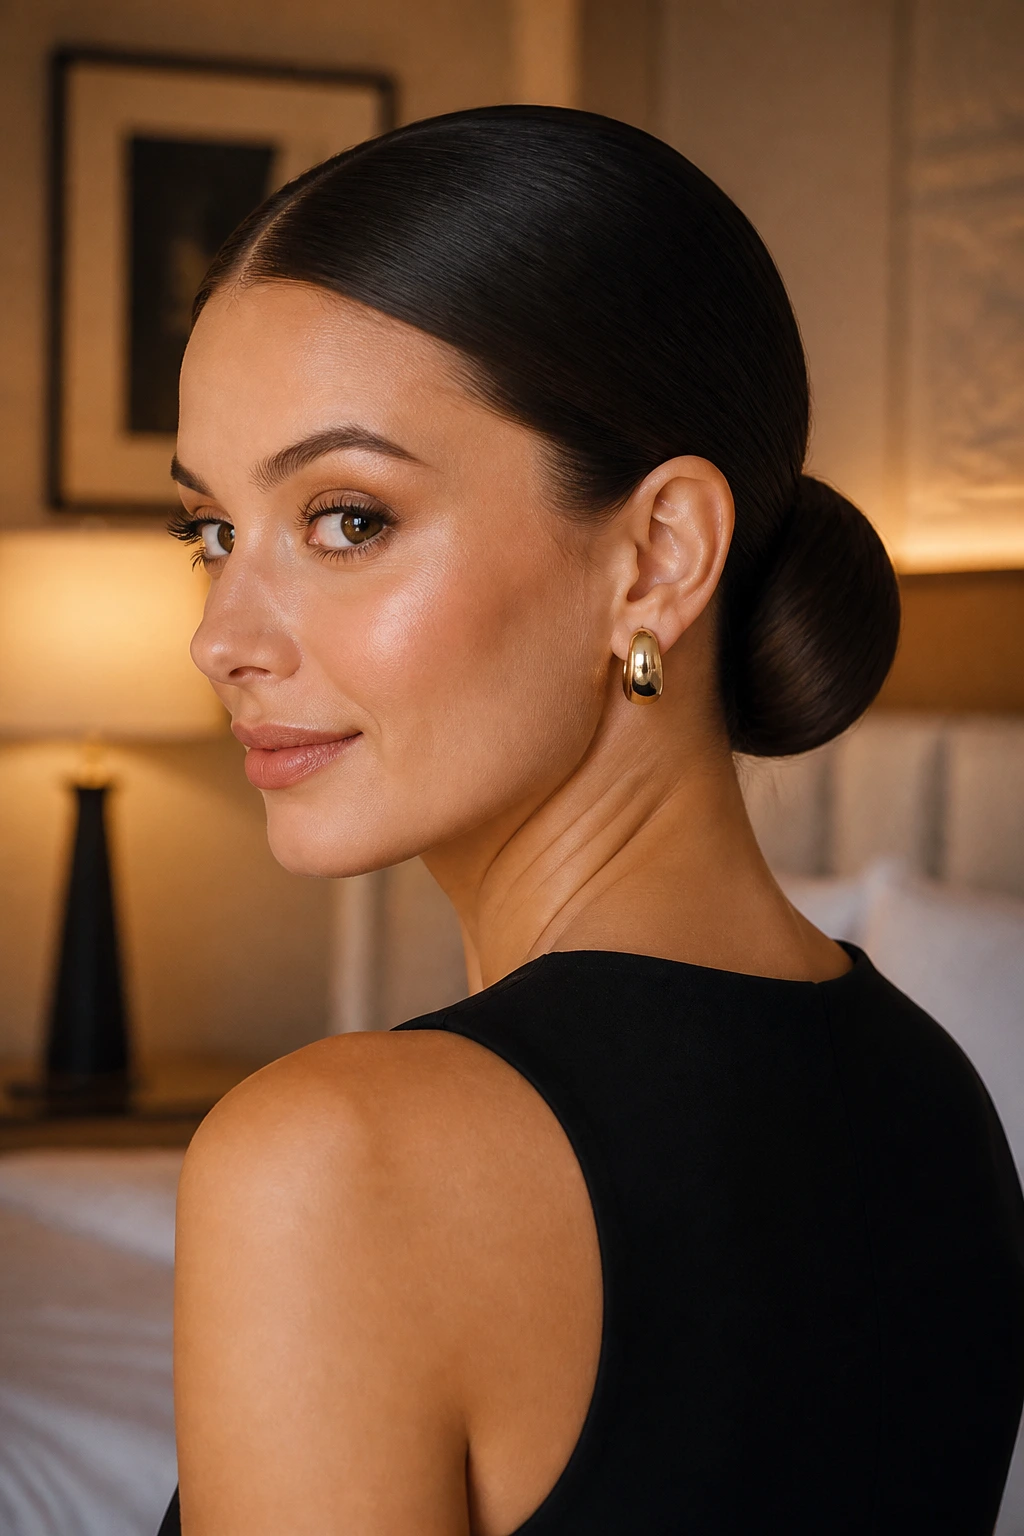
A low chignon is elegant, but it can quickly look unpolished if the weight of your hair isn’t distributed correctly. The key here is the middle part or side part placement. You want the hair to hug the nape of your neck snugly. If you have long hair, do not just roll it and pray.
Why This Style Lasts
The secret to the chignon’s longevity is a two-step pinning process. First, roll your hair into a low, horizontal tube. Pin the center of the roll to the base of your neck. Then, pin the two side edges separately. By securing the center and the sides independently, you stop the bun from swaying or unrolling as you move your head. It is a simple matter of compartmentalizing the weight.
4. Braided Crown Bun
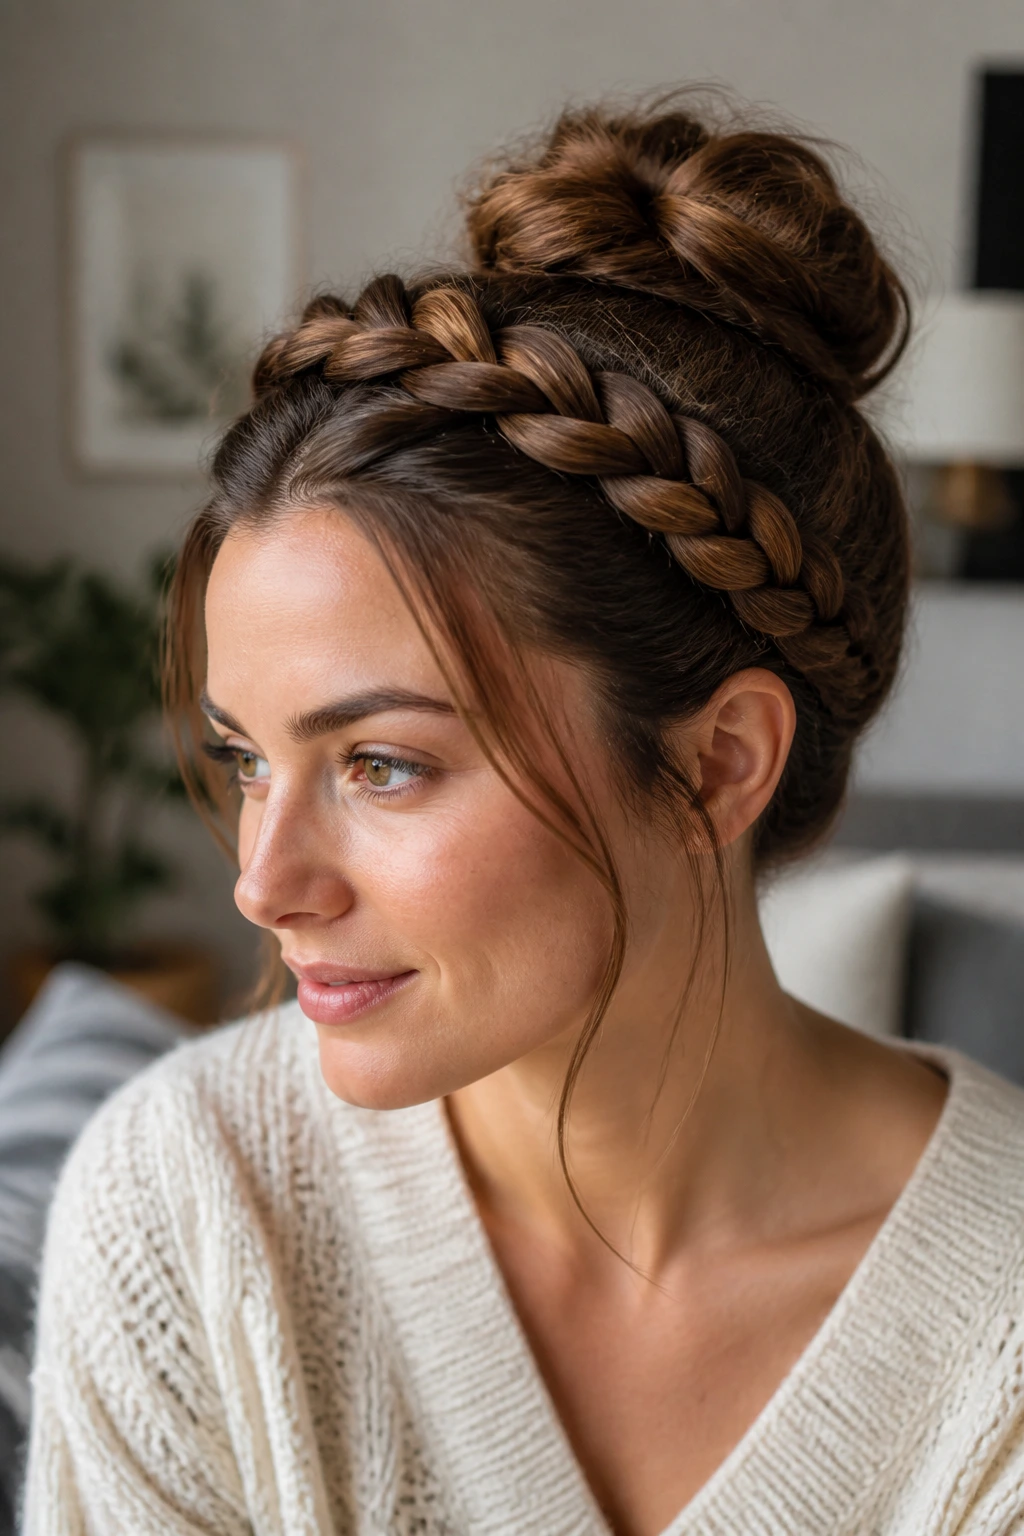
This style is effectively built to last because the braid itself acts as a structural cage. When you braid your hair before putting it into a bun, you are essentially pre-securing the strands. The braid holds the hair in place, and the bun holds the braid. It is double-duty security.
How to Execute
Section off two large chunks of hair near your temples. Braid these toward the back. Once they are secure with small elastics, pull the rest of your hair into a mid-level ponytail. Wrap the braids around the ponytail base first, then wrap the ponytail itself. This creates a foundation of braided hair that grips the rest of your mane. If your hair is fine, this method adds density, which makes the bun feel fuller and less likely to unravel.
5. High-Volume Donut Bun
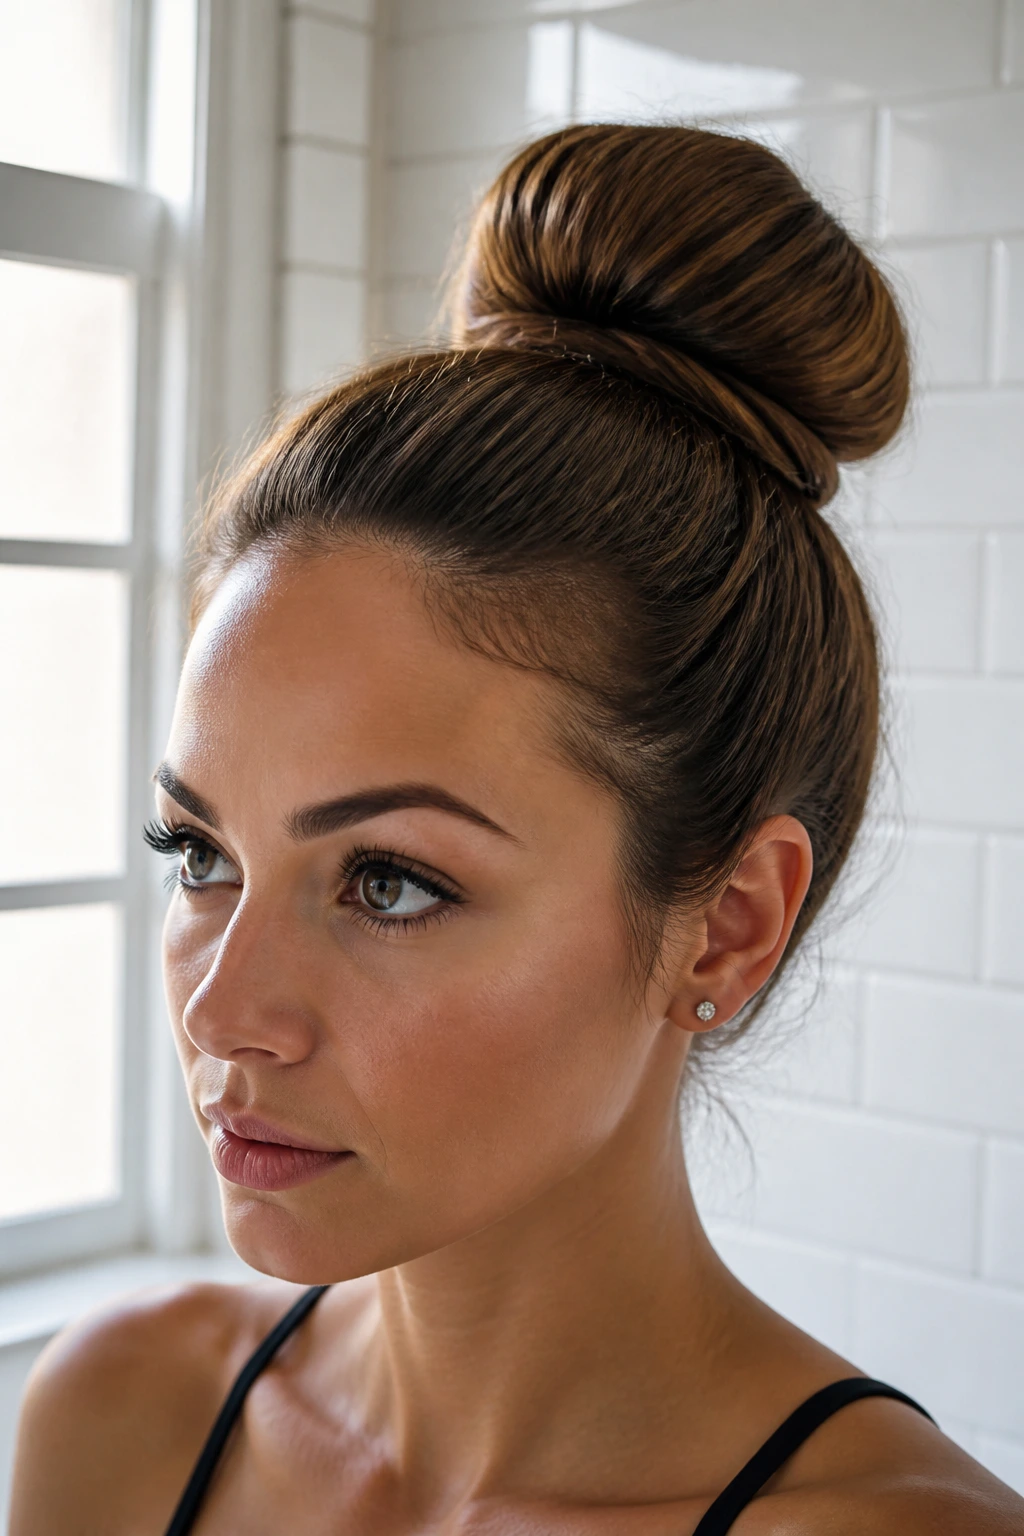
Sometimes, the issue isn’t the pins; it is that the hair is simply too heavy. A foam hair donut is a lifesaver for people with heavy hair because it provides a lightweight internal structure that holds the shape for you. The hair wraps around the donut, so you aren’t relying on the weight of the hair to keep the bun round.
Ensuring It Stays
To make this hold all day, you must pin the donut itself to your head, not just the hair covering it. Once you pull your ponytail through the donut, slide a few bobby pins through the foam and into your scalp hair. Then, once you cover the donut with your hair, use a second elastic to secure it. This “double-anchor” approach makes the bun feel like part of your skull. It won’t budge, even if you are running for a train.
6. Double Mini Space Buns

These are not just for festivals. They are incredibly practical because splitting your hair in two halves means you are carrying less weight on each anchor point. When you gather all your hair into one bun, the weight pulls downwards. By dividing it, you are effectively halving the gravitational pull on each individual bun.
The Secret to Symmetry
Part your hair down the center. Use a comb to get a clean line, as uneven parts will make the buns sit at different heights. Once you have two pigtails, twist each one into a tight coil. Secure them with velvet scrunchies if you want a softer look, or basic elastics for a cleaner aesthetic. Because the buns are smaller, they require less pinning. A single U-pin inserted vertically into each bun is usually enough to keep them from bouncing.
7. Half-Up Half-Down Bun

This is a high-risk style because the bun sits on top of your head with no base to support it. To get this to hold without looking like it is about to fall off, you need to rely on the tension of the hair surrounding the bun. Do not pull the top section too far back. Keep it at the crown.
Building the Base
Gather the top section and twist it into a small knot. Here is the trick: before you pin it, pull the hair around your face slightly forward. This creates a “puff” of slack, which prevents the bun from pulling too tightly on your hairline. Then, use a decorative claw clip or a sturdy elastic to secure the bun. If you are using an elastic, wrap it around the bun twice, then stick a bobby pin through the elastic and into the ponytail base. That anchor pin is non-negotiable.
8. Twisted Rope Bun
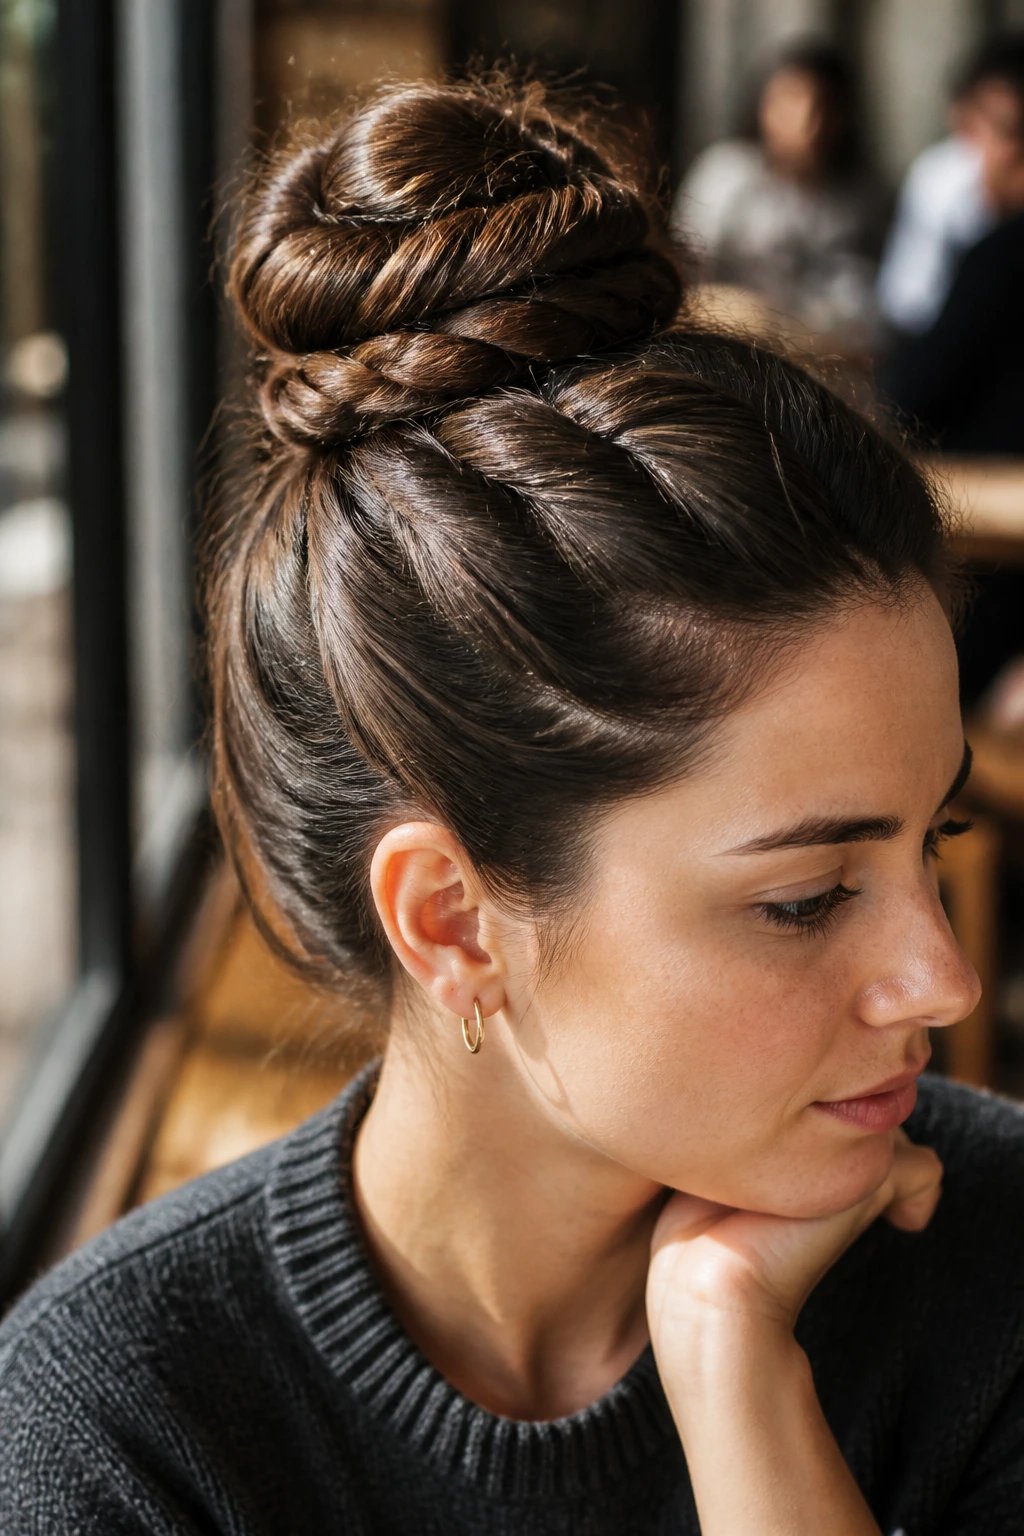
Rope twists are fantastic for hair that is a bit slippery because the twisted texture creates friction within the hair itself. When you twist two strands of hair around each other to form a rope, they naturally want to hold together.
Getting the Tension Right
Divide your ponytail into two equal sections. Twist each section individually in the same direction, then cross them over each other in the opposite direction. Wrap this rope around the base. Because the hair is already twisted, you do not need as many pins. One or two U-pins at the base will hold the entire structure. The tension is already built into the hair, which makes this one of the most reliable styles for long, straight hair.
9. Knotted Messy Bun
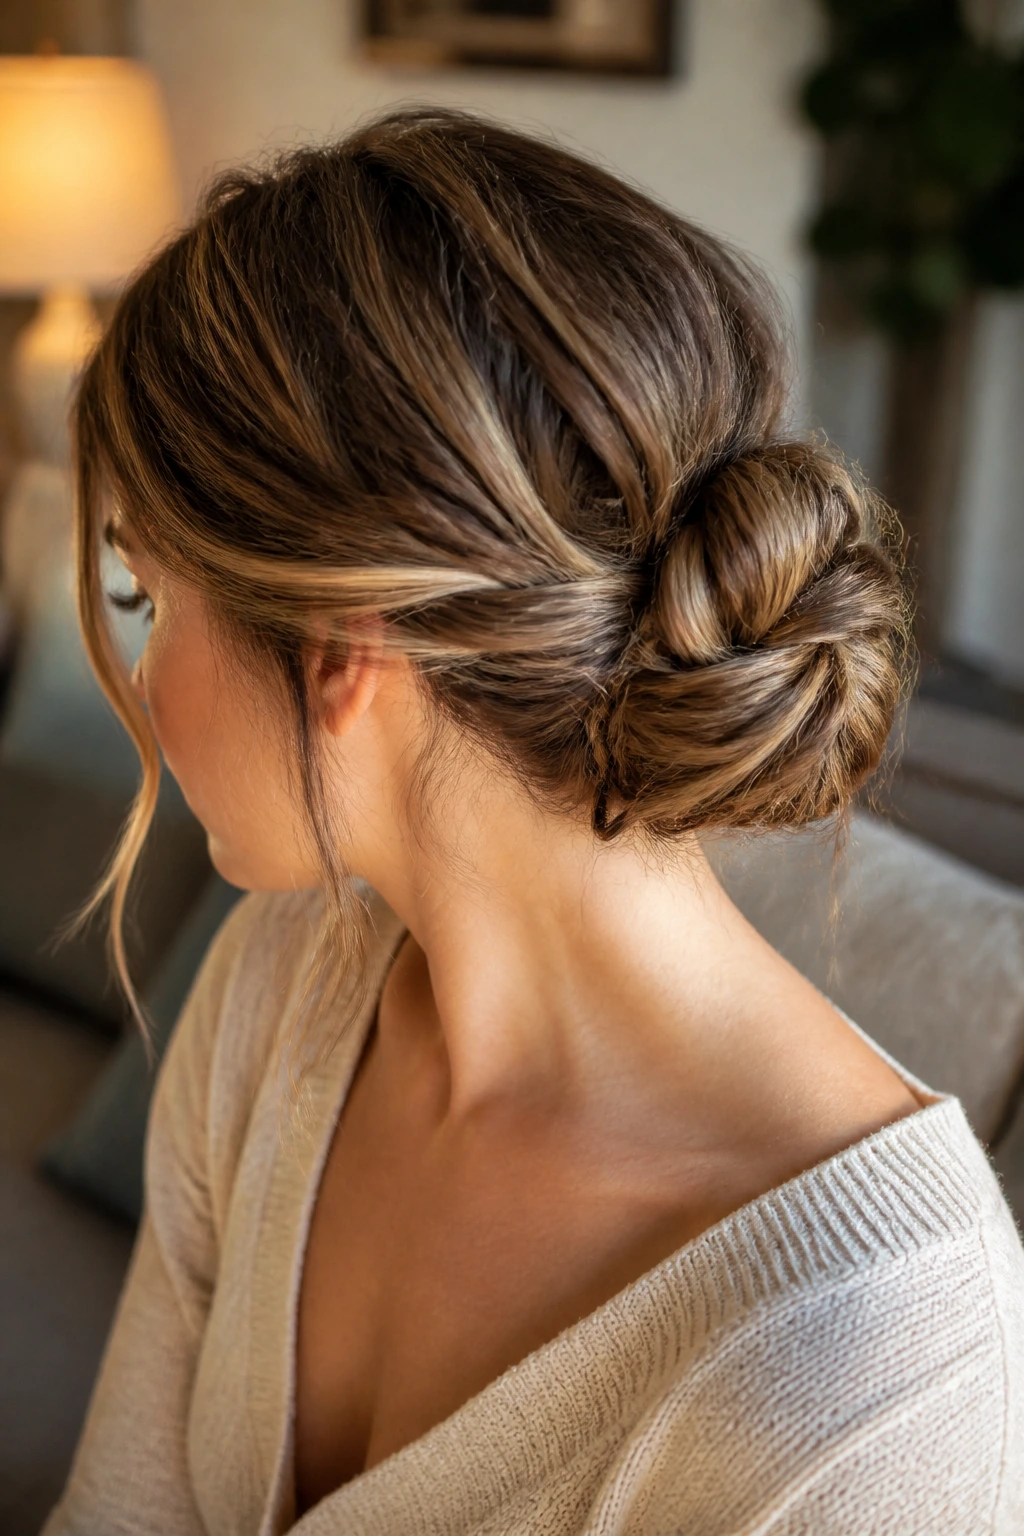
Instead of twisting your hair into a coil, you are going to tie it into an actual knot. It sounds counterintuitive, but tying your hair is more secure than wrapping it. It creates a physical knot that locks the hair into place, similar to tying a shoelace.
The Knotting Process
Pull your hair into a ponytail. Take the length and tie it in a simple knot, as if you were starting to tie a shoe. If your hair is long enough, tie it a second time. Pin the loose ends underneath the knot. Because the hair is tied, the knot will not unspool. This style works best with second-day hair that has enough “grip” to stay knotted without needing a thousand pins.
10. Dutch Braid Into Bun
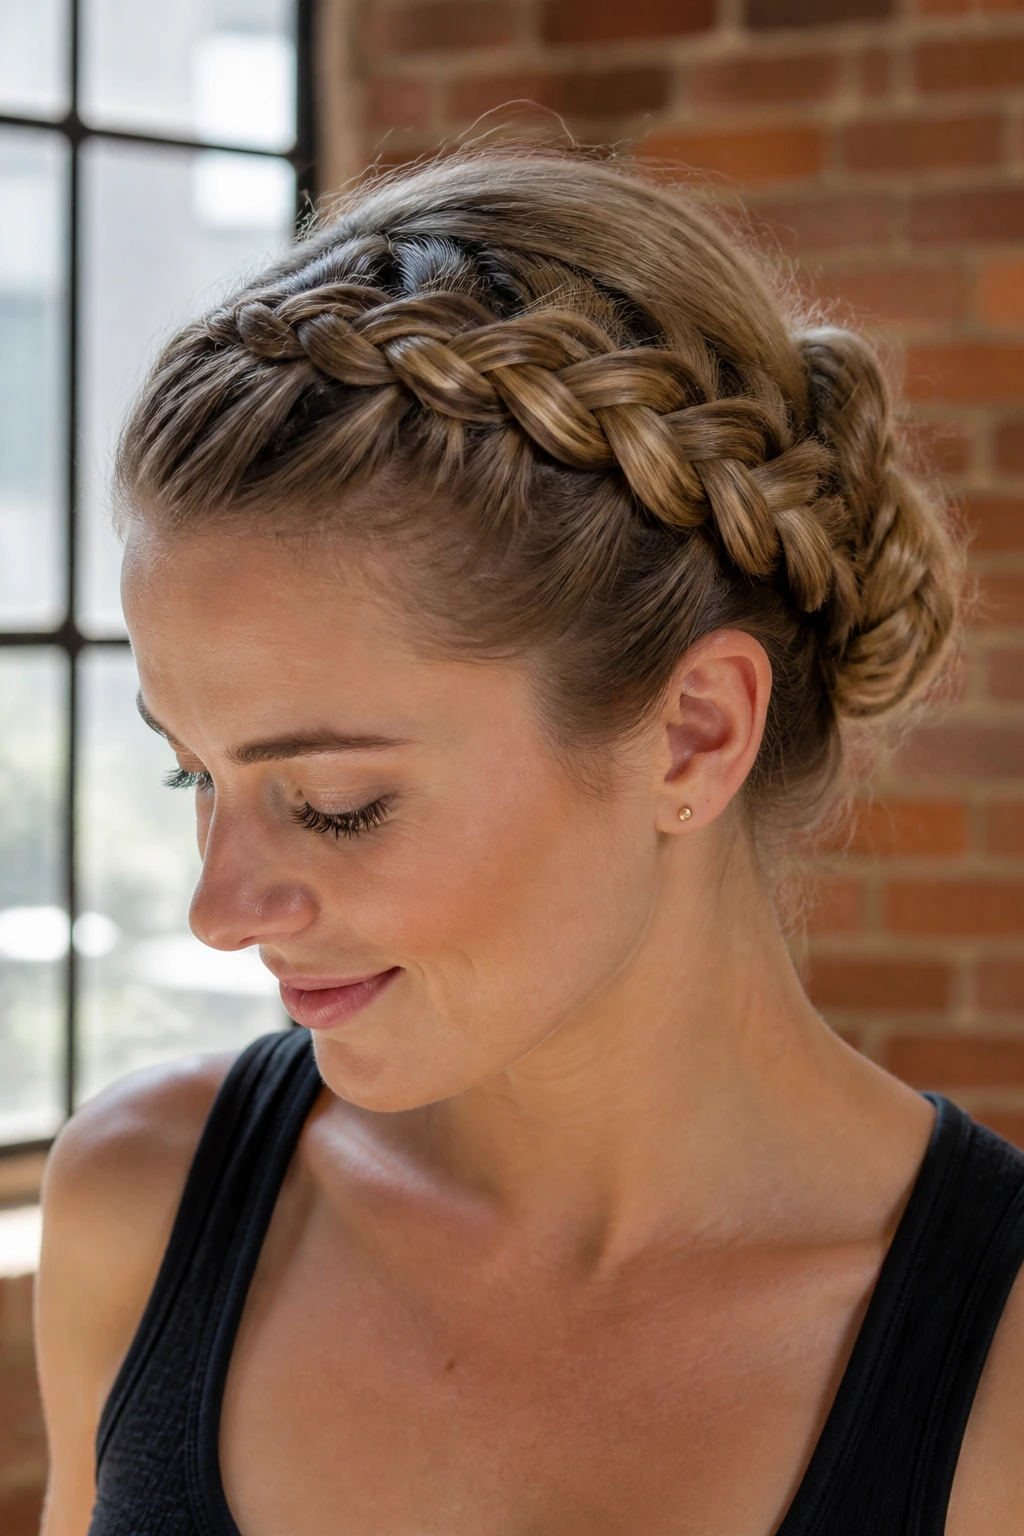
If you want a bun that will survive a literal workout, this is the one. The Dutch braid starts at the hairline and pulls the hair tight against the scalp. By the time you reach the back of your head, your hair is already anchored by the braid.
Why It Works
You are not relying on a single elastic band to hold the weight of your hair. You are using the braid to distribute the tension across your whole head. Finish by pulling the remaining tail into a bun. Because the braid is holding the tension, the bun itself can be loose and relaxed without the risk of falling apart. It is the perfect balance of aesthetic messiness and structural integrity.
11. Side-Swept Elegant Bun
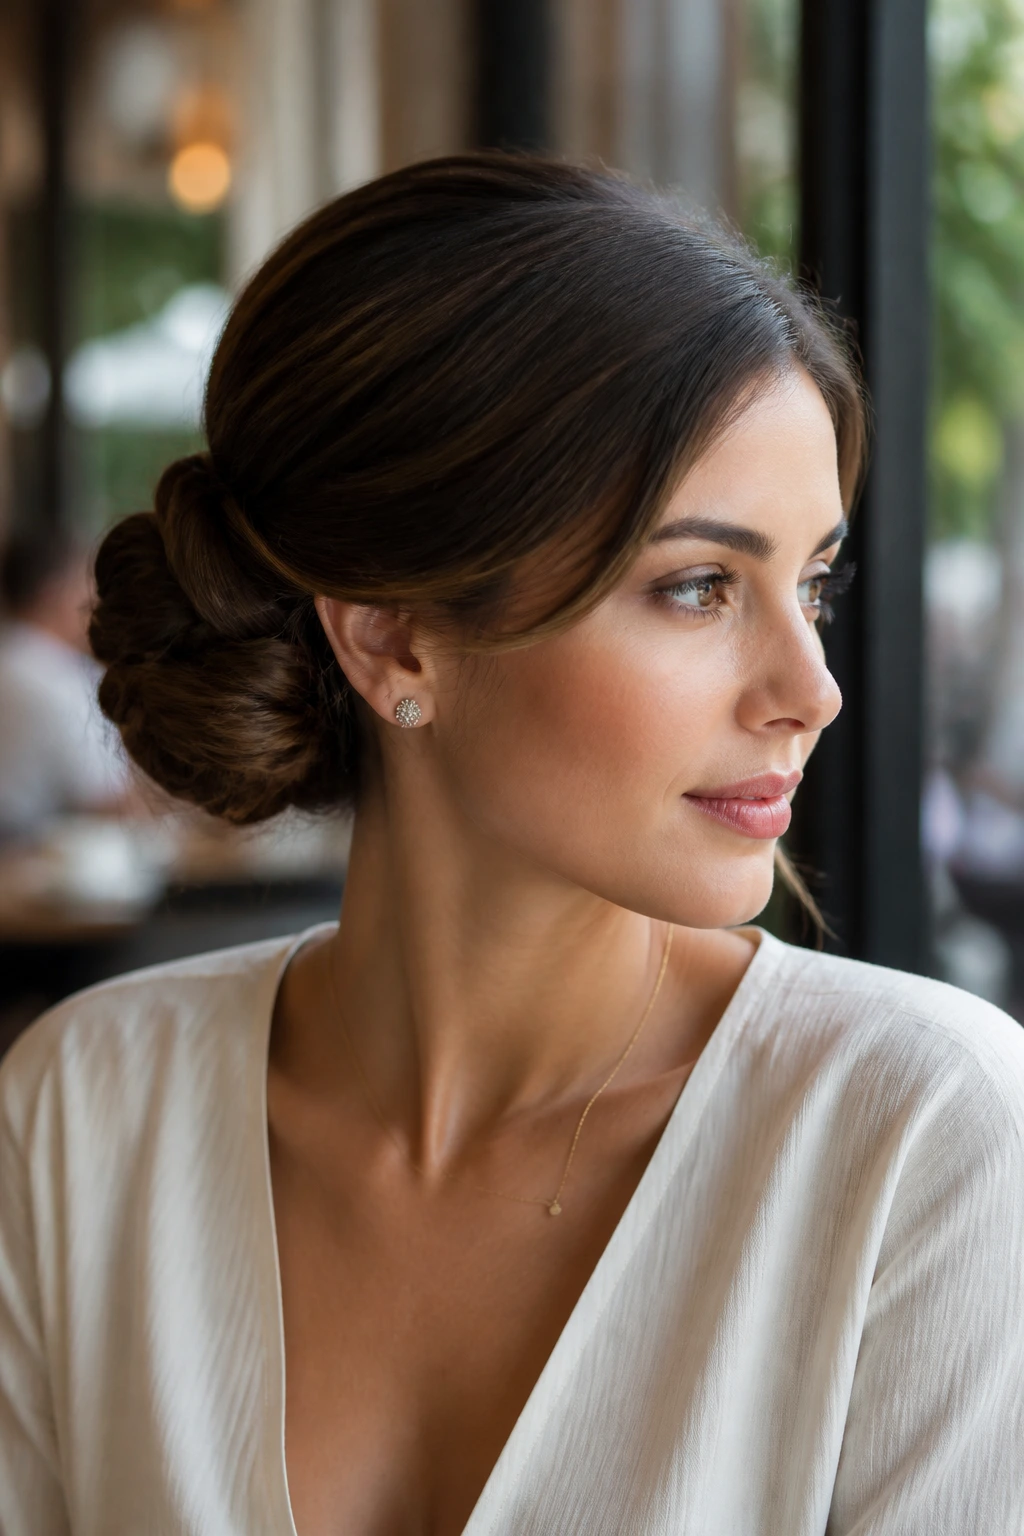
This style is all about balance. Because it sits to the side, it can easily droop or slide toward your ear. You need to create a base that is slightly off-center to counteract the weight.
Strategic Pinning
Pull your hair to the side you prefer. Secure it with a hair tie. When you wrap the bun, wrap it towards the opposite side. If the bun is on your left, wrap the hair clockwise. This creates a bit of resistance against the hair tie. Use “spin pins”—those corkscrew-shaped metal pins—to hold this style. They grab much more hair than bobby pins and essentially “sew” the bun into your head.
12. Waterfall Braid Bun
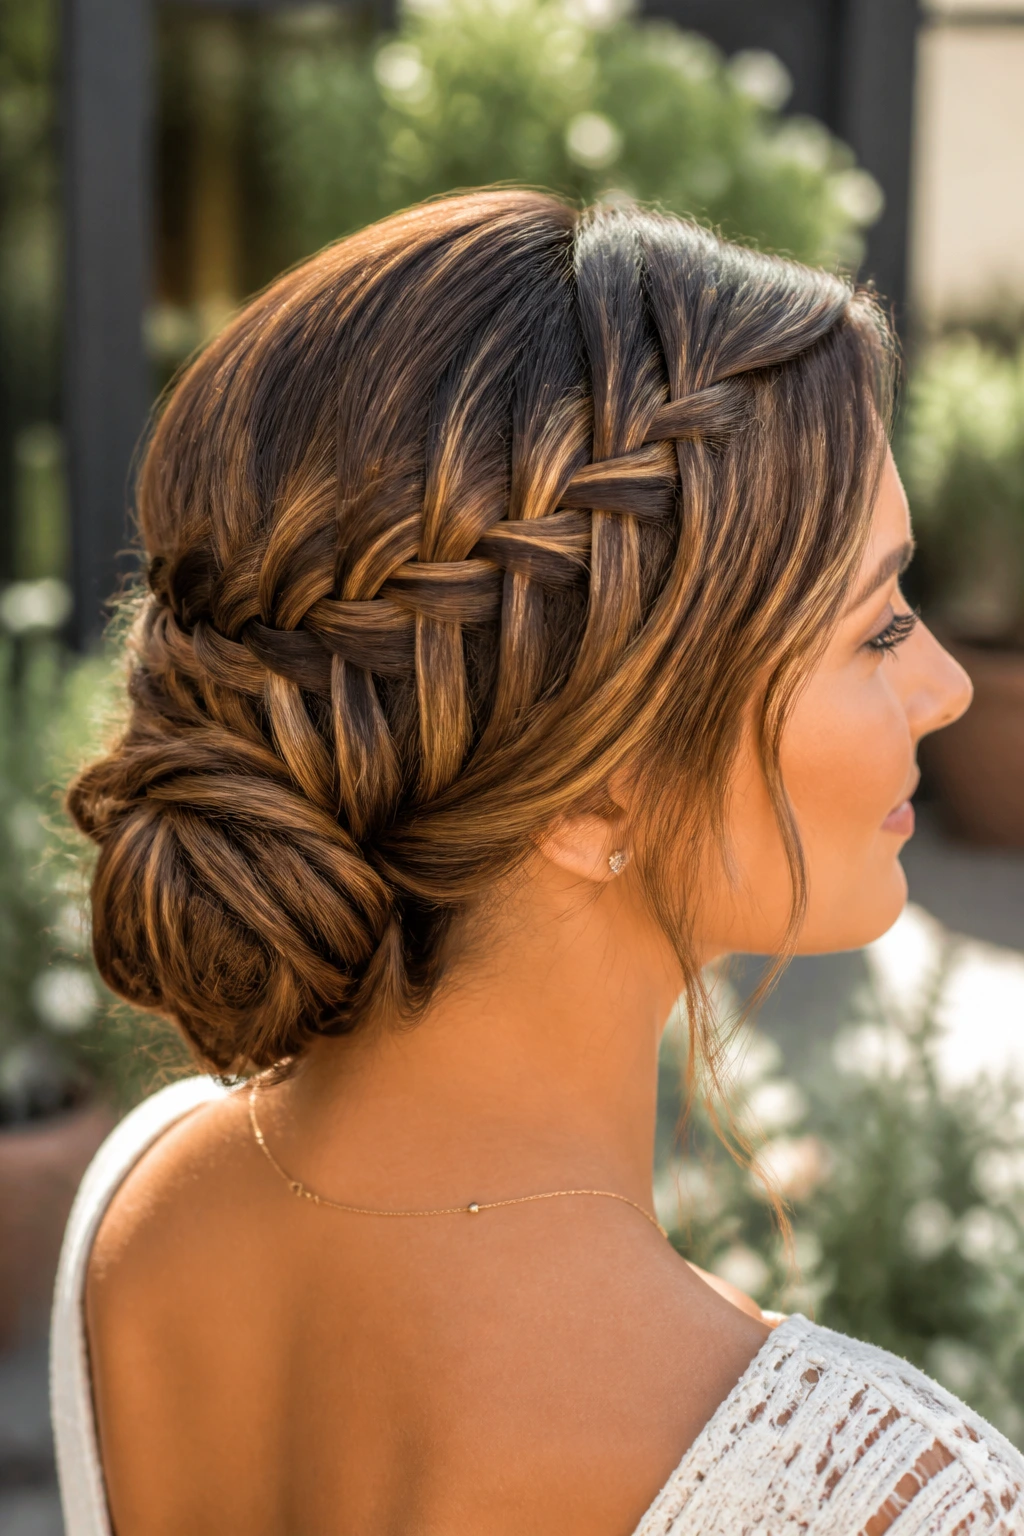
This is an intricate look that seems like it requires a lot of maintenance, but the braid actually does the work for you. By weaving sections of hair into the braid before gathering it all into a bun, you are pinning individual strands to your head as you go.
Maximizing the Hold
Create your waterfall braid, but leave the “dropped” strands out initially. Once the main braid is finished, gather those dropped strands and the tail of the braid into a low bun. Because the main braid is already secured to your head with pins, the bun is just an extension of a fixed structure. It provides a level of stability that a standard ponytail bun simply cannot match.
13. Casual Scrunchie Bun
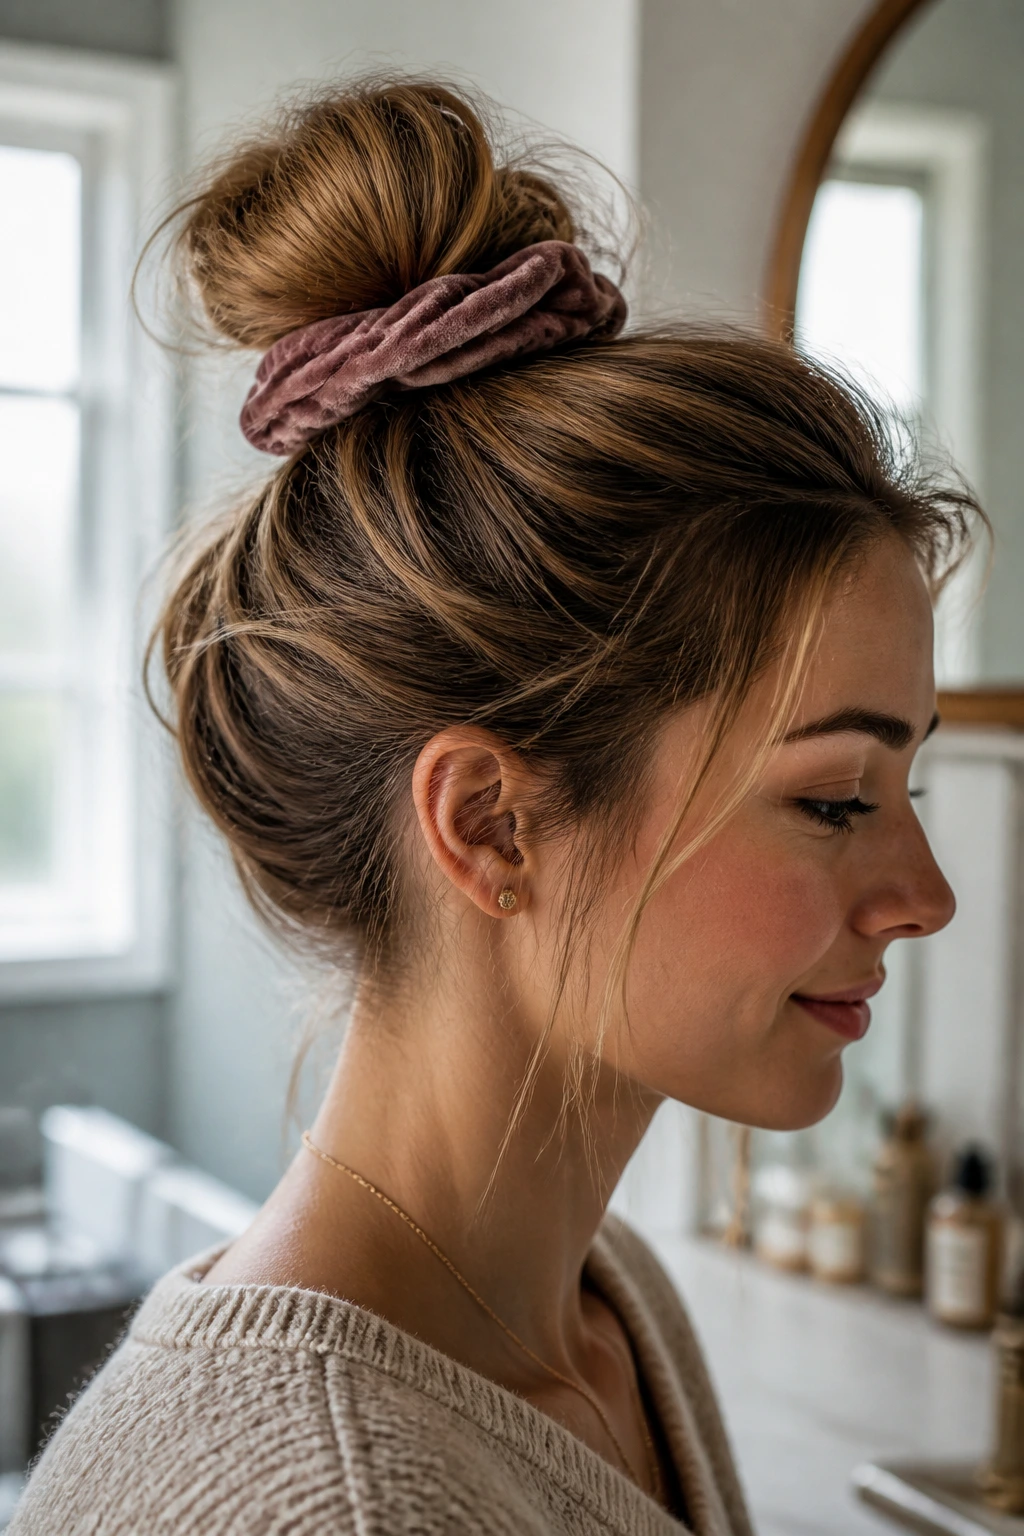
Scrunchies are making a comeback, and they are not just for looks. A fabric scrunchie provides more surface area and friction than a thin elastic. If you have fine hair, this is your best friend.
Choosing the Right Scrunchie
Avoid the silk ones if you have very fine hair, as they tend to slip. Opt for velvet or cotton. The texture of the fabric clings to the hair. To make this style stay, do not rely on the scrunchie alone. Put your hair in a thin, strong elastic first to create the anchor, then wrap the scrunchie over it. The elastic holds the weight; the scrunchie keeps the bun looking full and provides extra grip.
14. Formal French Twist Bun
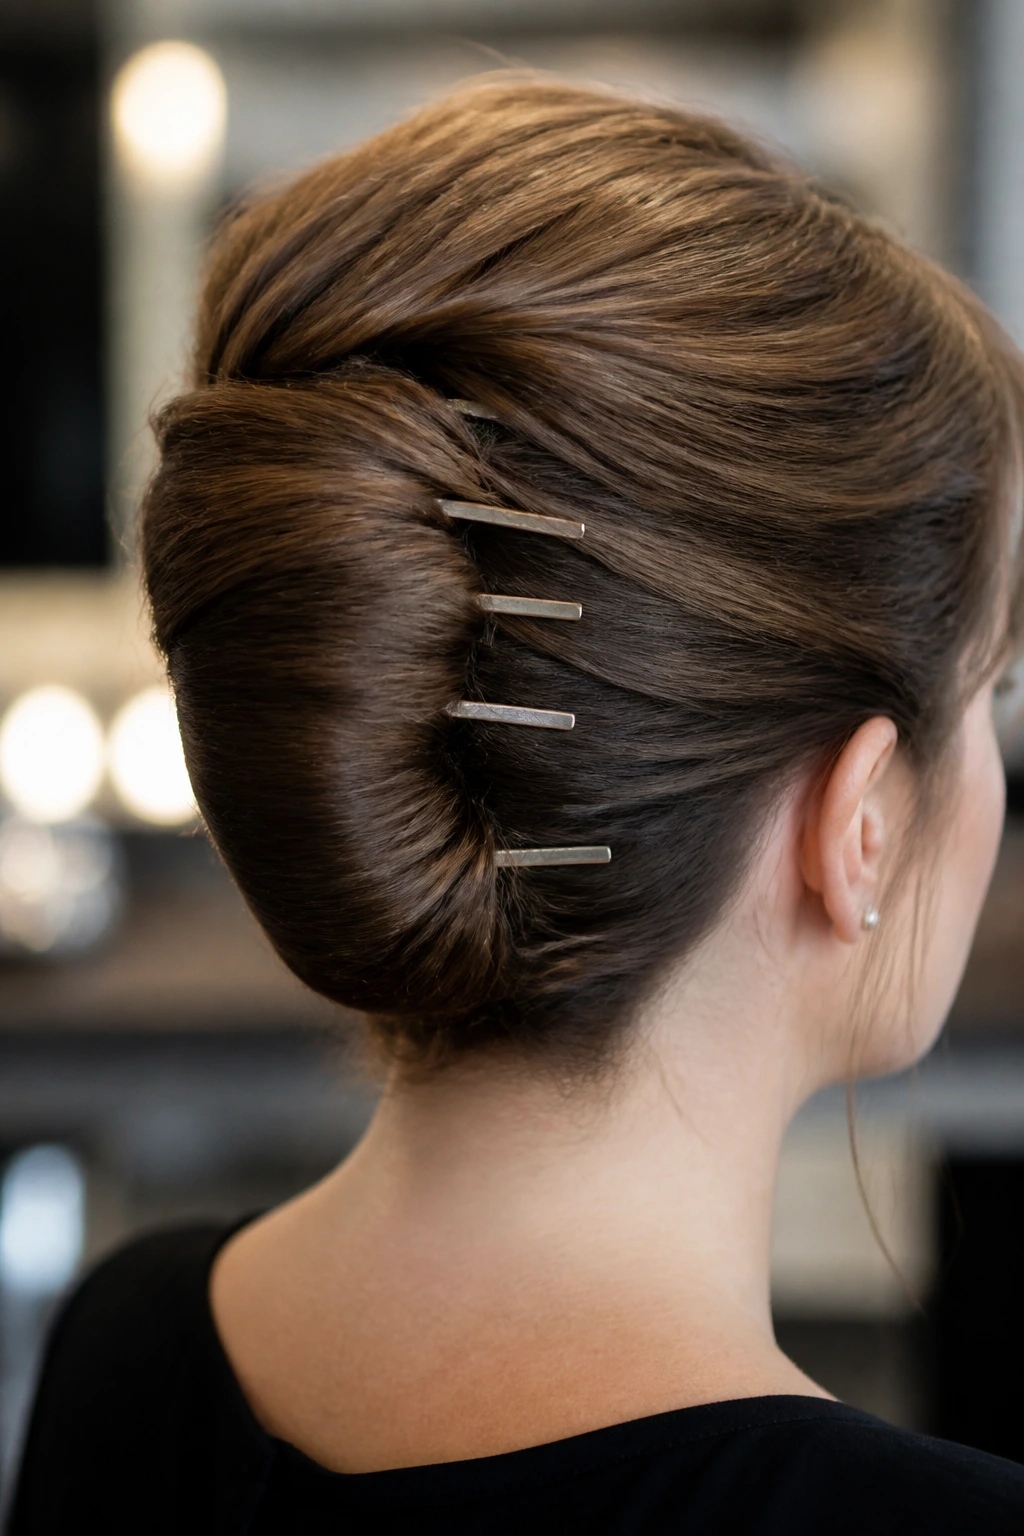
The French twist is essentially a vertical roll. It is a classic for a reason—it distributes the weight of your hair vertically along the back of your head, rather than pulling it all from one point.
The Locking Mechanism
The key to a French twist is the pins. You need to use large, flat hairpins, not the tiny ones. Once you have twisted your hair up, slide the pins into the fold of the twist, then flick them downwards into the hair against your head. This “in-and-out” motion locks the twist to your scalp. If you miss the scalp hair, the roll will simply flop open. Always ensure the pin makes contact with your scalp hair.
15. Heatless Sock Bun
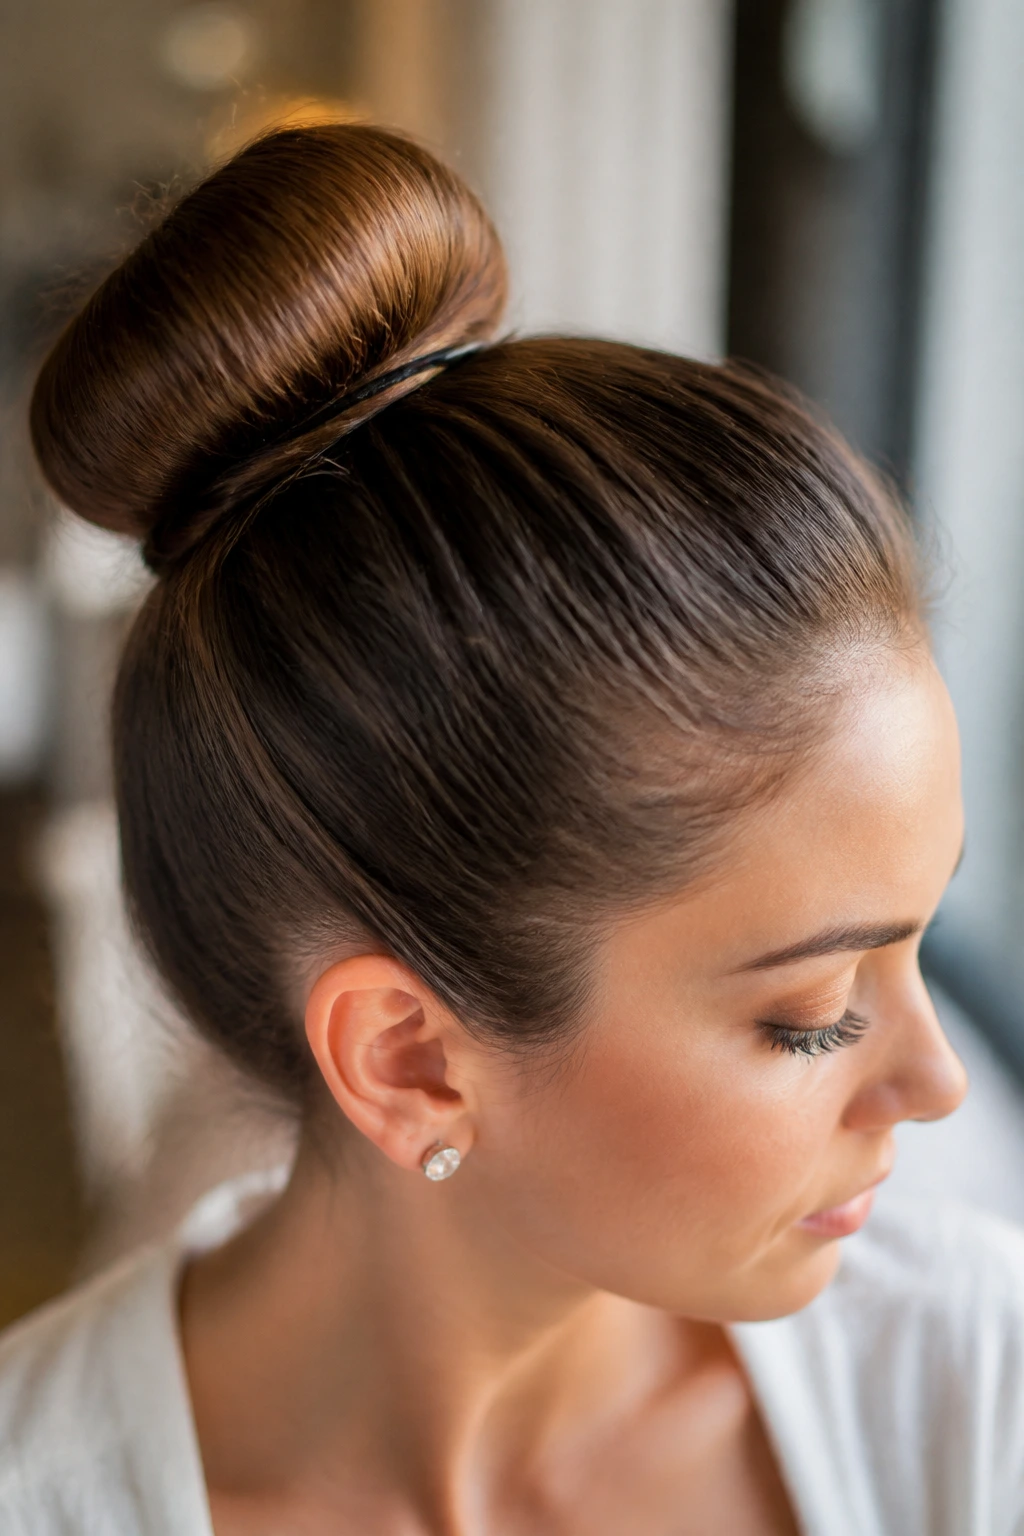
Using a sock or a donut sponge is the ultimate way to get a uniform, secure bun. By wrapping your hair around a cylindrical object, you ensure the weight is evenly distributed around the center.
Making It Stay
To secure this, use a hair tie that is tight enough to hold the donut in place, but not so tight that it snaps. After you have wrapped your hair and tucked the ends, don’t just rely on the hair tie. Use three pins: one at the top, one at the bottom, and one at the side. This locks the donut to the base. Even if the hair covering the donut loosens, the donut itself remains fixed to your head.
16. Fishtail Braid Bun
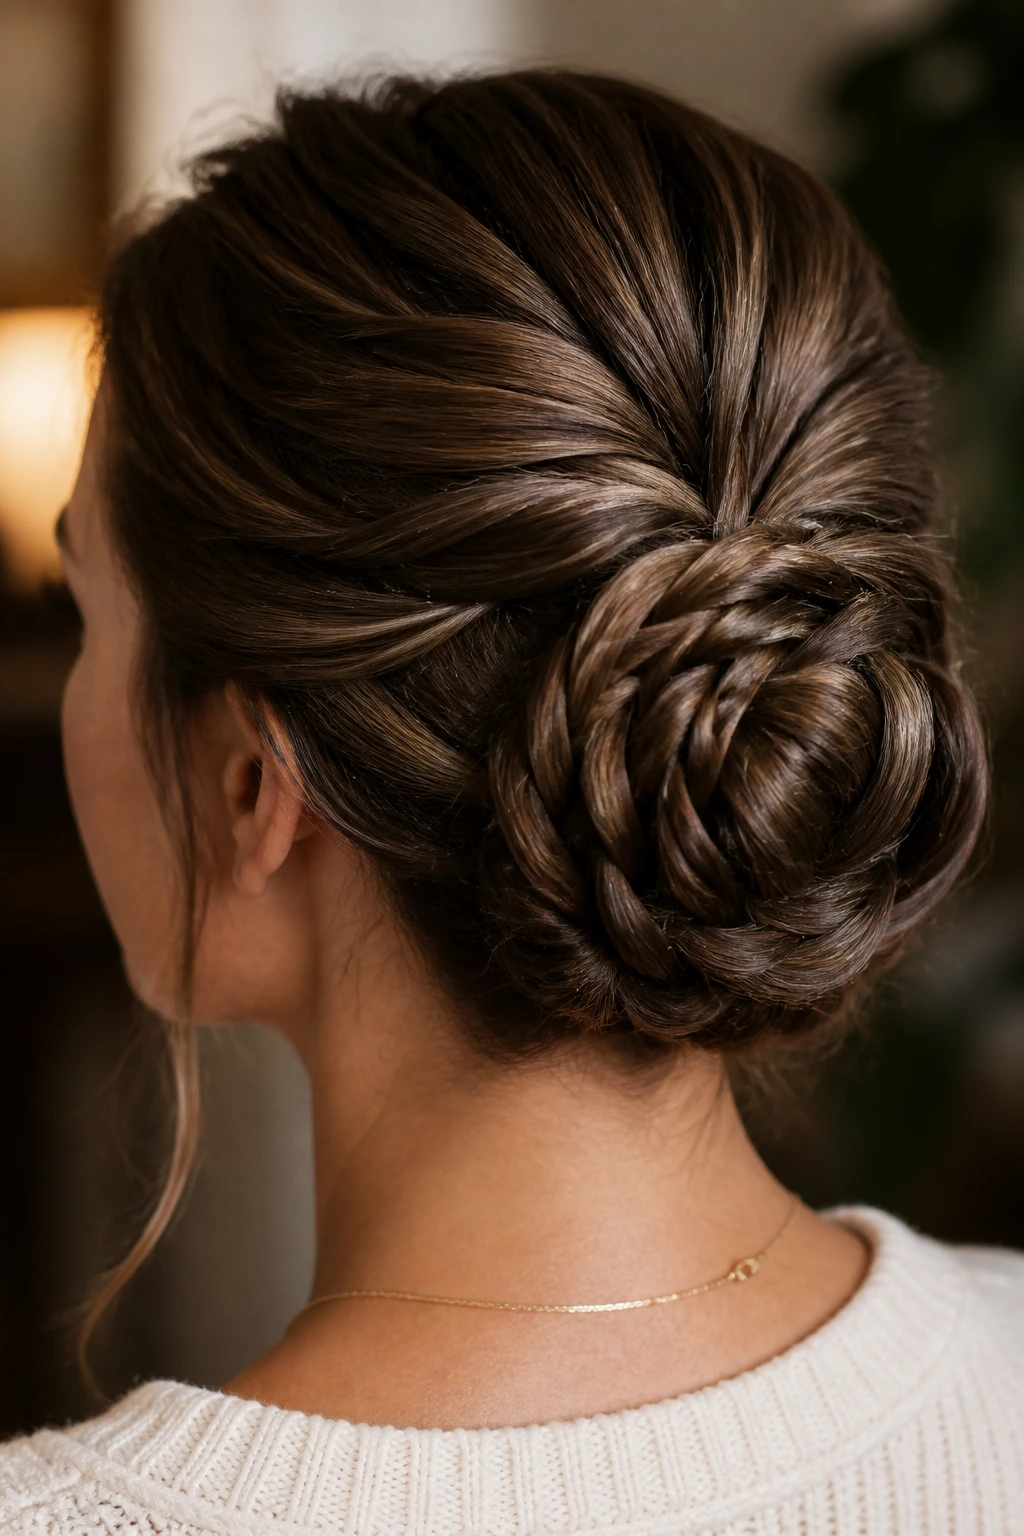
Fishtail braids stay tighter than standard three-strand braids because of the smaller, denser weaving. This makes for a very secure foundation.
Step-by-Step Security
Fishtail braid your ponytail until you reach the ends. Gently tug on the edges of the braid to thicken it up. Then, wrap the braid into a flat, wide bun. Because the braid is already flat, it lays against the head much better than a twisted rope of hair. Secure the edges with bobby pins. The flat surface area of the braid means there are fewer gaps for the hair to slip out of, which keeps the bun compact throughout the day.
17. Claw Clip Bun
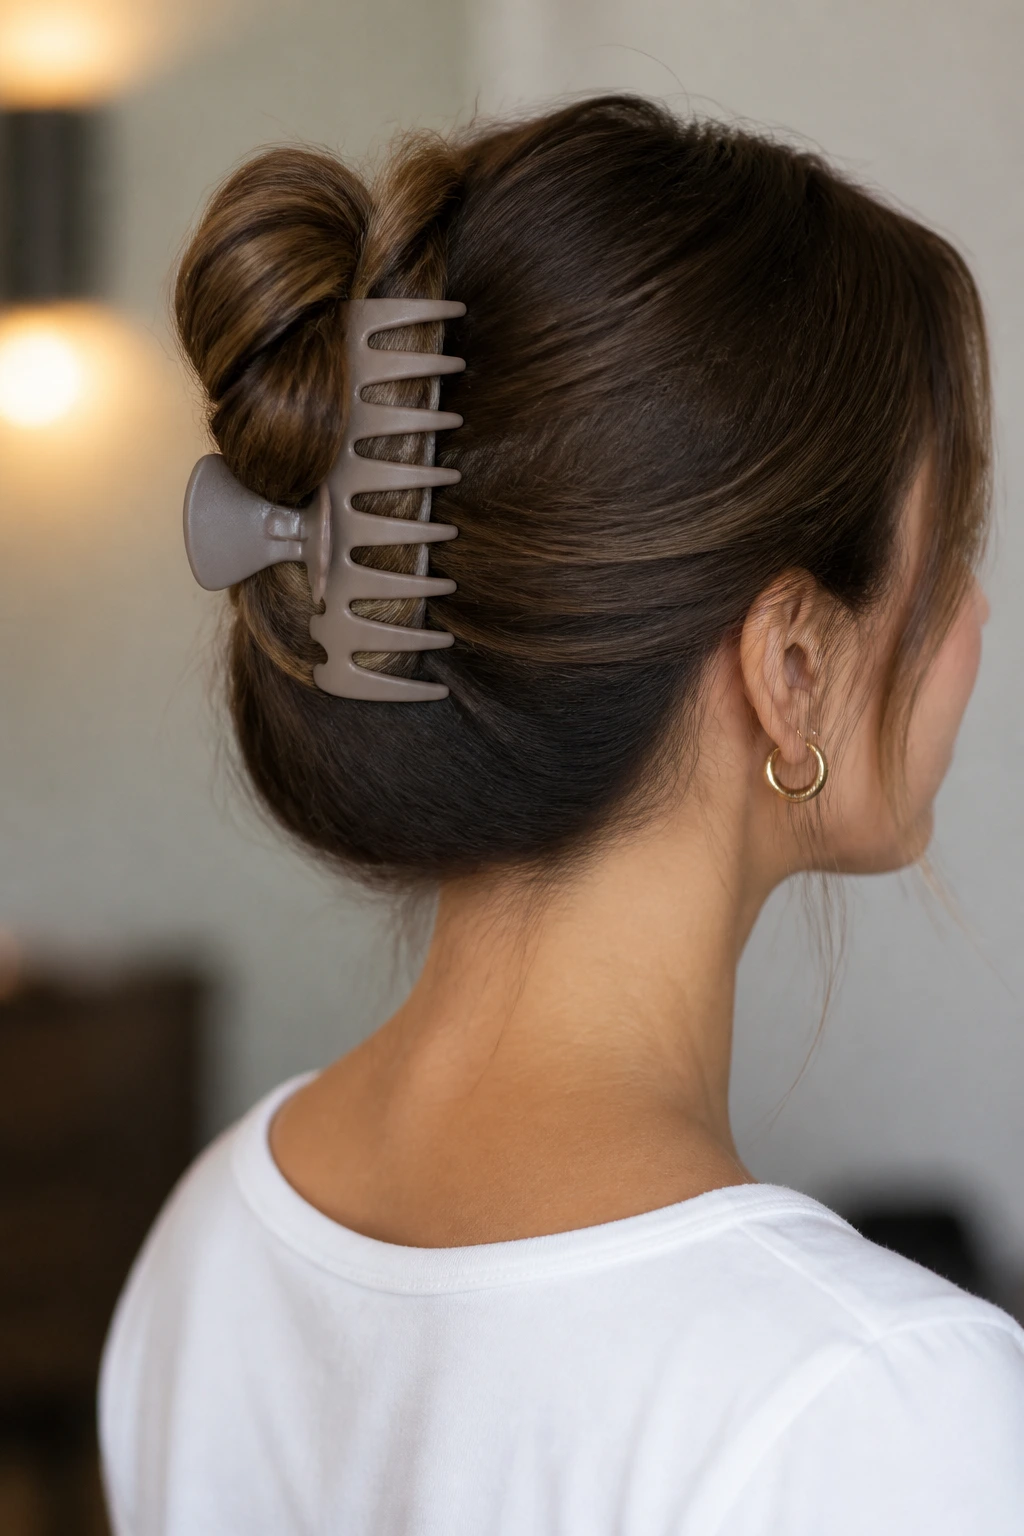
The claw clip is the king of low-maintenance, high-hold hairstyles. The beauty of the claw clip is that it doesn’t just hold the bun; it acts as the structure.
The Perfect Twist
Gather your hair as if you are making a ponytail. Twist the entire length tightly. Instead of wrapping it into a circle, fold the twist in half and lay it against the back of your head. Open the claw clip and clamp it over the entire twist. Because the clip grips a large section of hair all at once, it is much more secure than trying to pin a bun together piece by piece. If your hair is very thick, choose a clip with long, widely spaced teeth to accommodate the volume.
18. Wrapped Low Bun
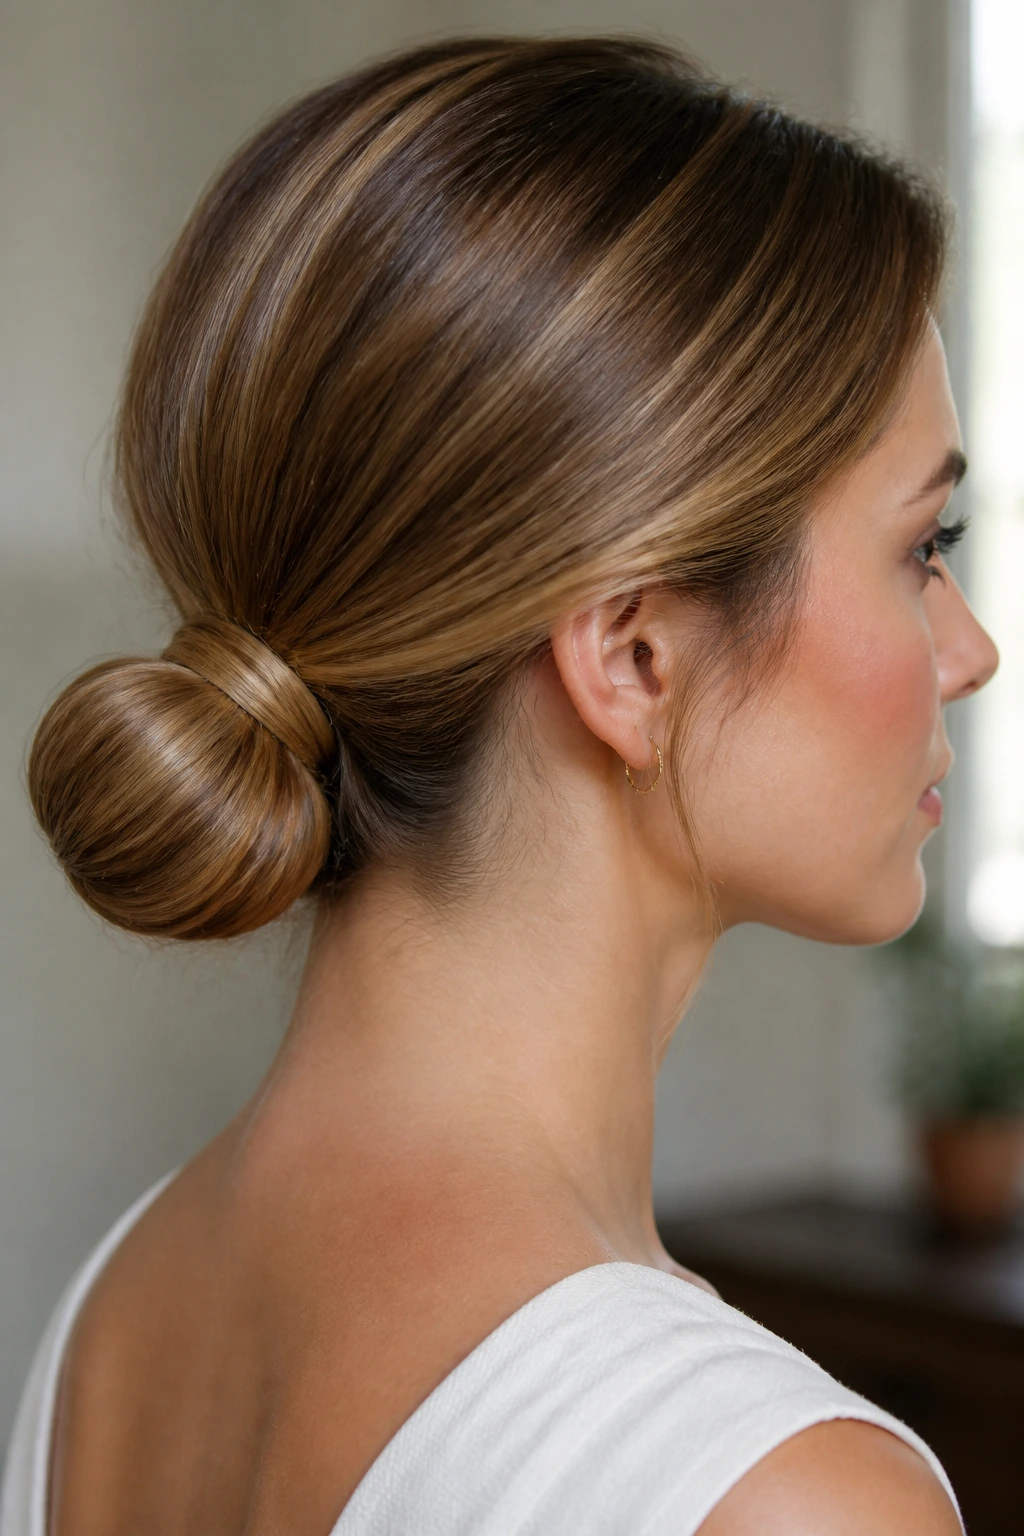
This look involves wrapping a small section of hair around the base of the bun to hide the elastic. While it looks like a stylistic choice, it is actually a functional one.
The Hidden Anchor
Take a small piece of hair from the underside of your ponytail. Wrap it around the elastic until the elastic is fully covered. Then, pin the very tip of that strand underneath the bun with a bobby pin. This extra layer of hair acts as a secondary grip. It tightens the elastic ever so slightly, which adds a bit of extra security to the base. It’s a simple trick, but it tightens the whole foundation.
19. Slicked-Back Power Bun
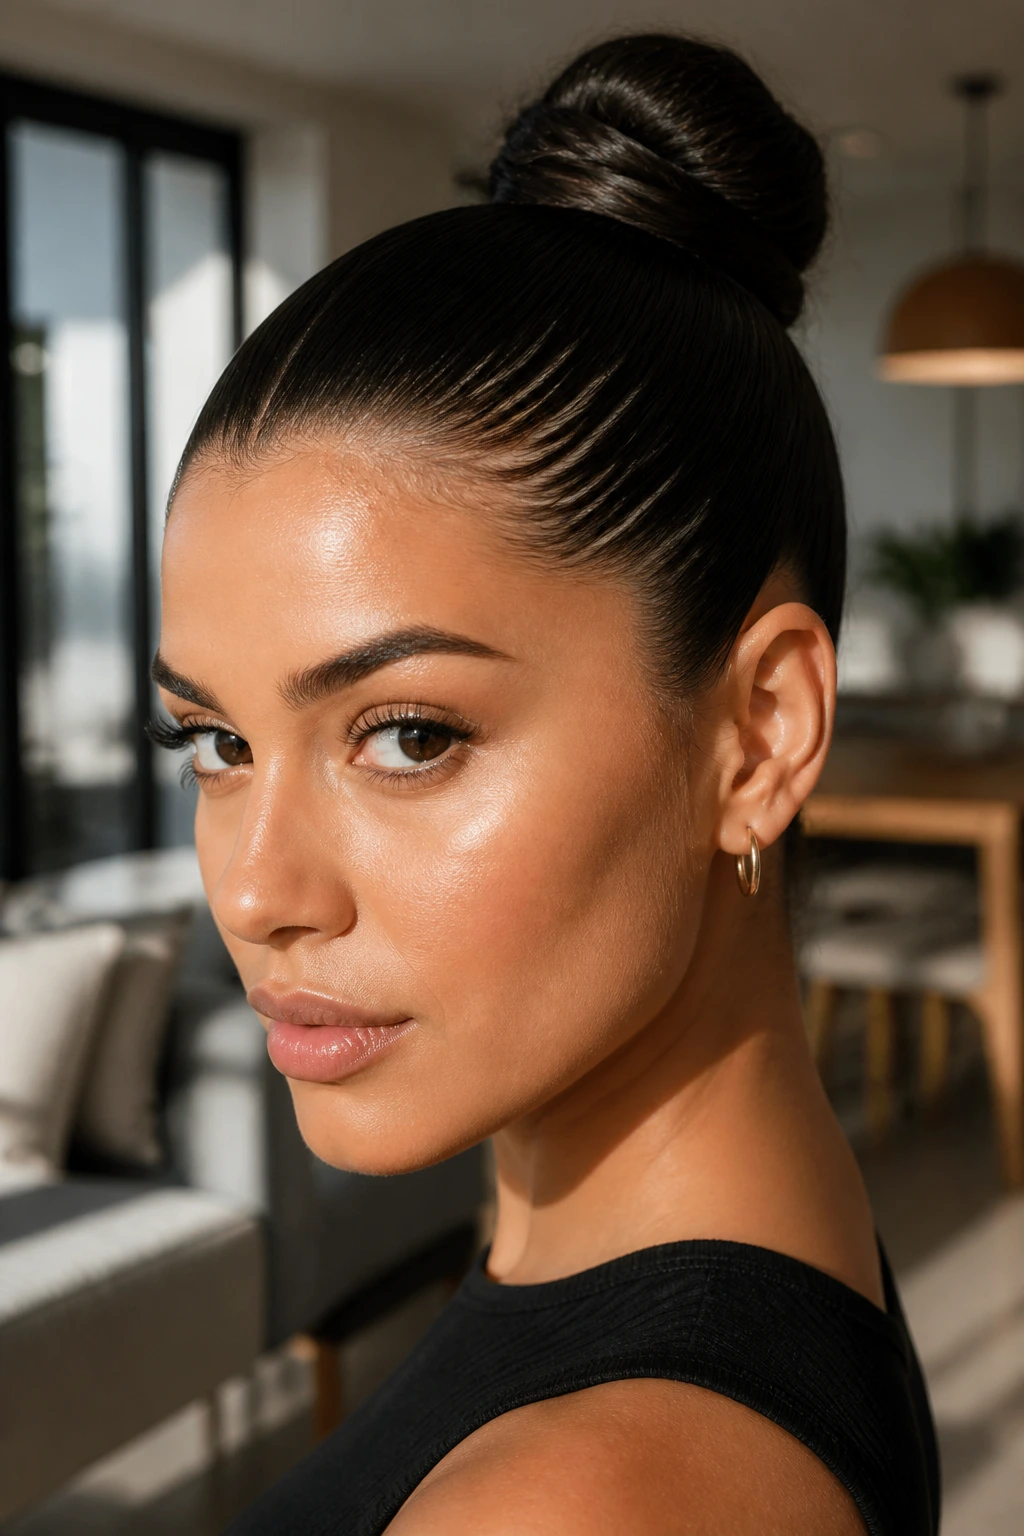
This style is designed to stay. It uses product to essentially “glue” the hair to your scalp, which eliminates the movement that usually loosens a bun.
The Glue Method
Use a strong-hold gel or pomade. Apply it generously to the hairline and the lengths of your hair. Brush it through until the hair is perfectly flat. Once the hair is slicked back, pull it into a tight bun. Because the hair is coated in product, it will dry in place. It becomes a rigid, secure structure that isn’t going anywhere until you wash it out. This is ideal for days when you know you will be active.
20. Soft Bohemian Wavy Bun
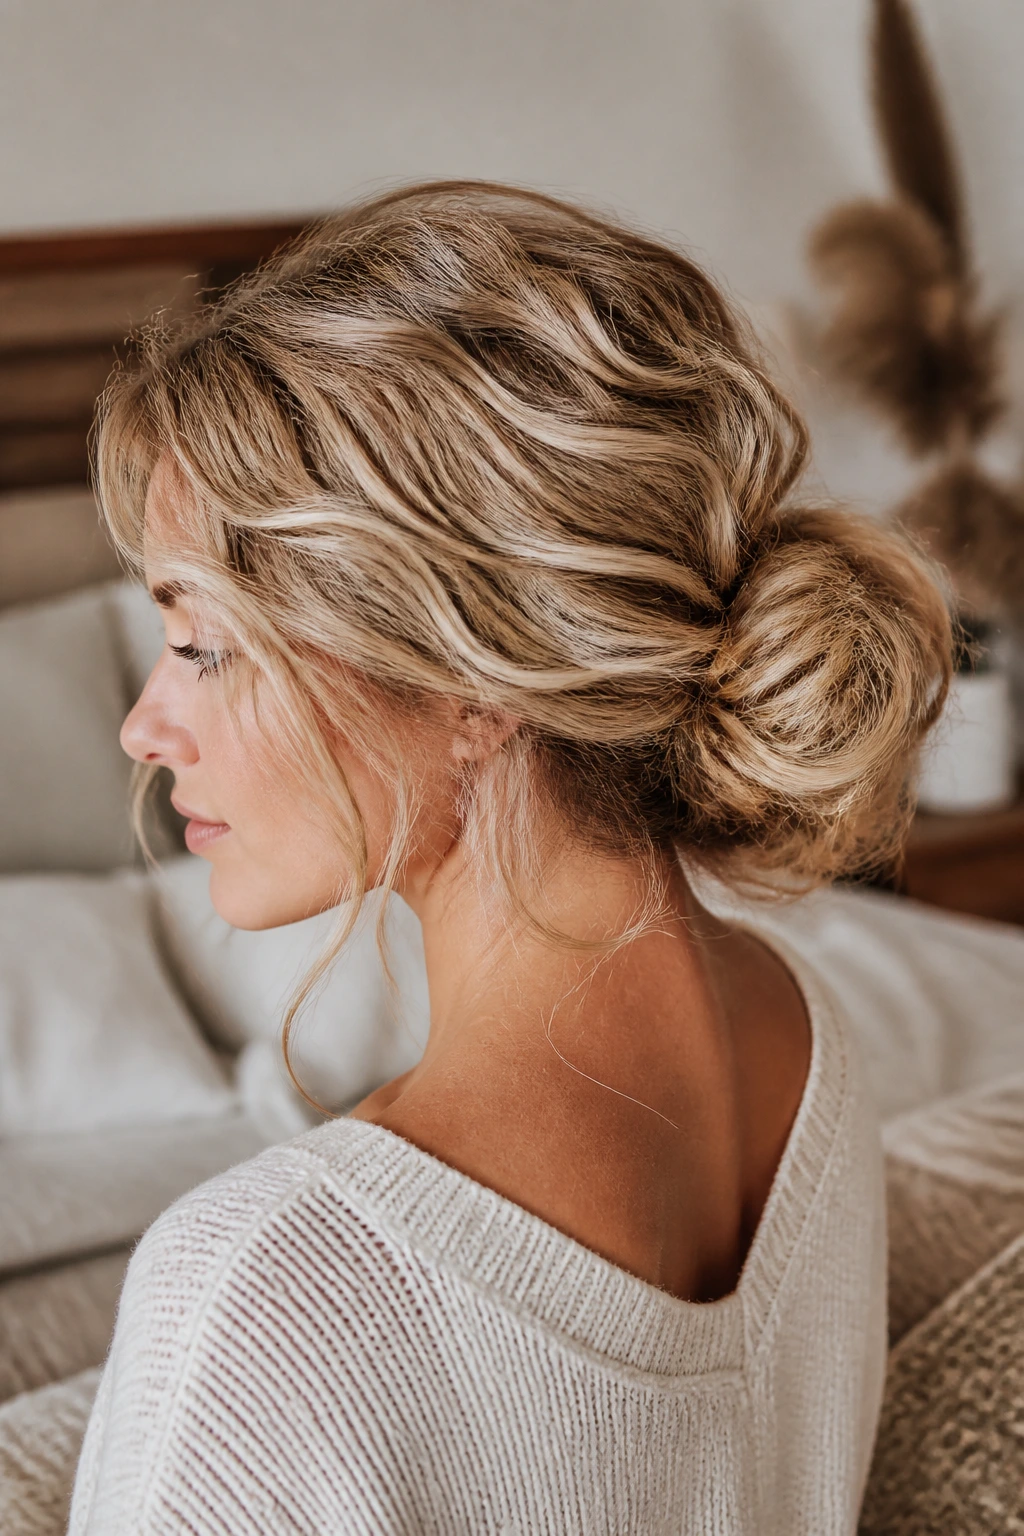
This is the opposite of the slicked-back bun. It relies on volume and texture. If your hair is straight, you will struggle to keep this style in place without adding some wave first.
Texturizing for Hold
Use a curling iron to add loose waves to your hair before you style it. These waves create “bends” in the hair that lock together, much like Velcro. When you gather the hair into a bun, those waves create friction. You only need a few pins to keep this style secure because the hair is already interlocking with itself. It’s the easiest way to hold a loose, voluminous style without it turning into a tangled mess.
21. Loop Bun
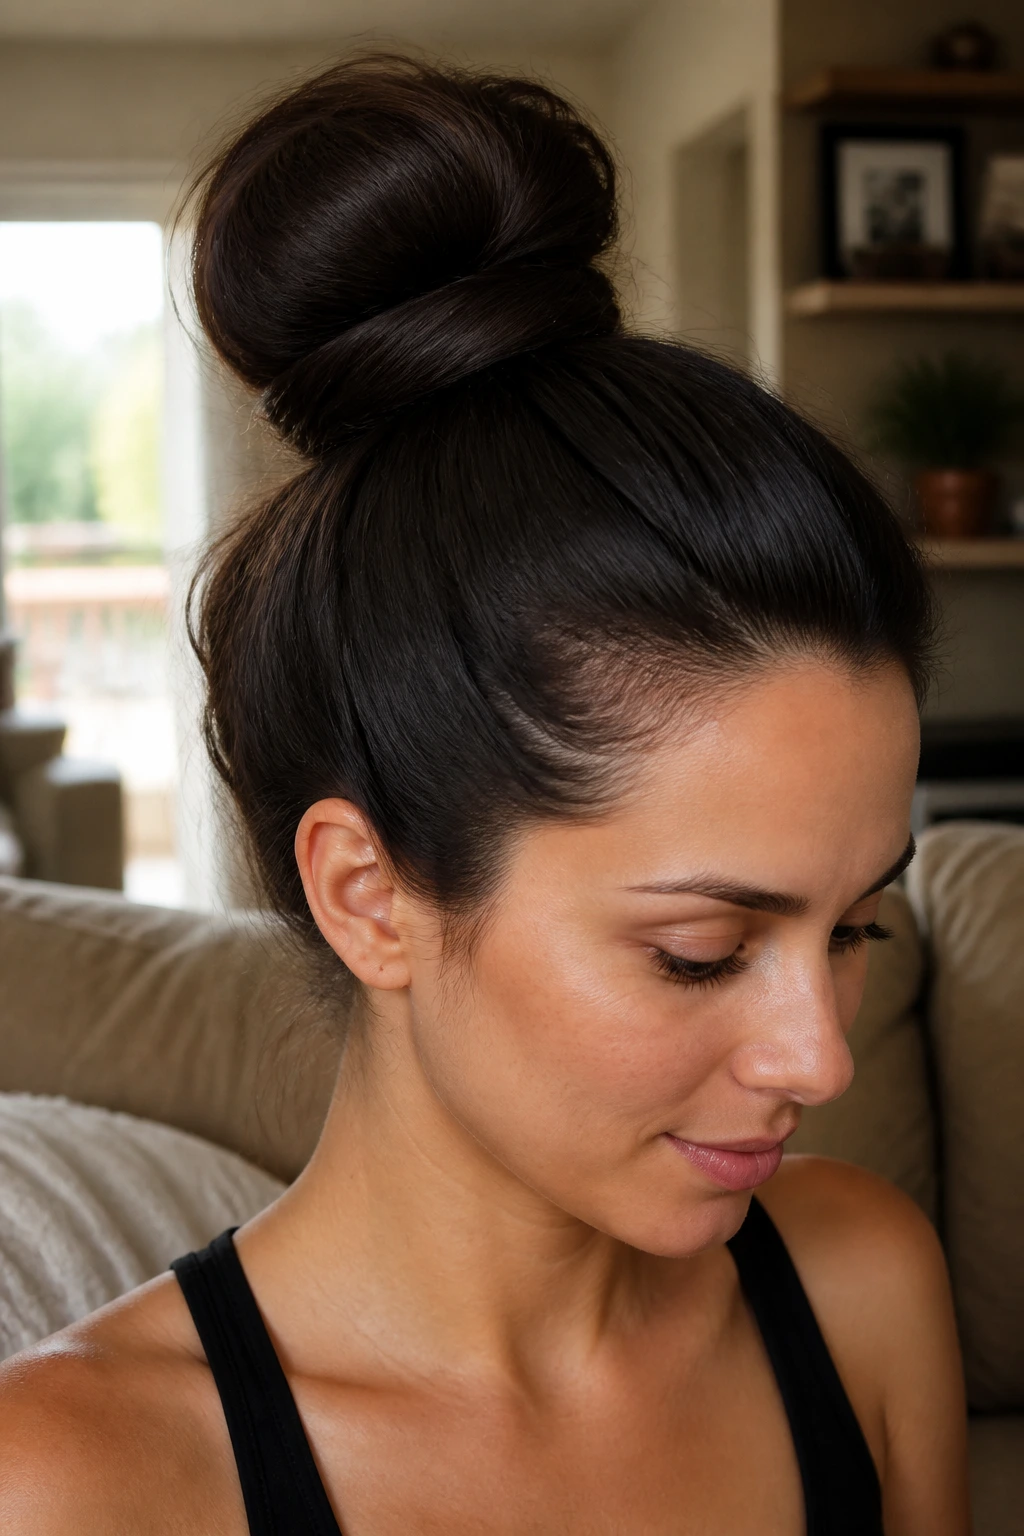
This style is a throwback to the nineties. It is essentially a ponytail folded in half. It is fast, easy, and very secure because it uses the elasticity of the hair tie to its maximum potential.
The Loop Mechanics
Pull your hair through an elastic, but stop halfway through the final pull. You are left with a loop and a tail. Wrap the loose tail around the base of the elastic and tuck it in. The pressure of the elastic holding the loop is immense, which keeps the style rock-solid. If the bun feels too big, pull on the edges of the loop to tighten the base. It is the most reliable “quick” style you can master.
22. Ribbon-Wrapped Bun
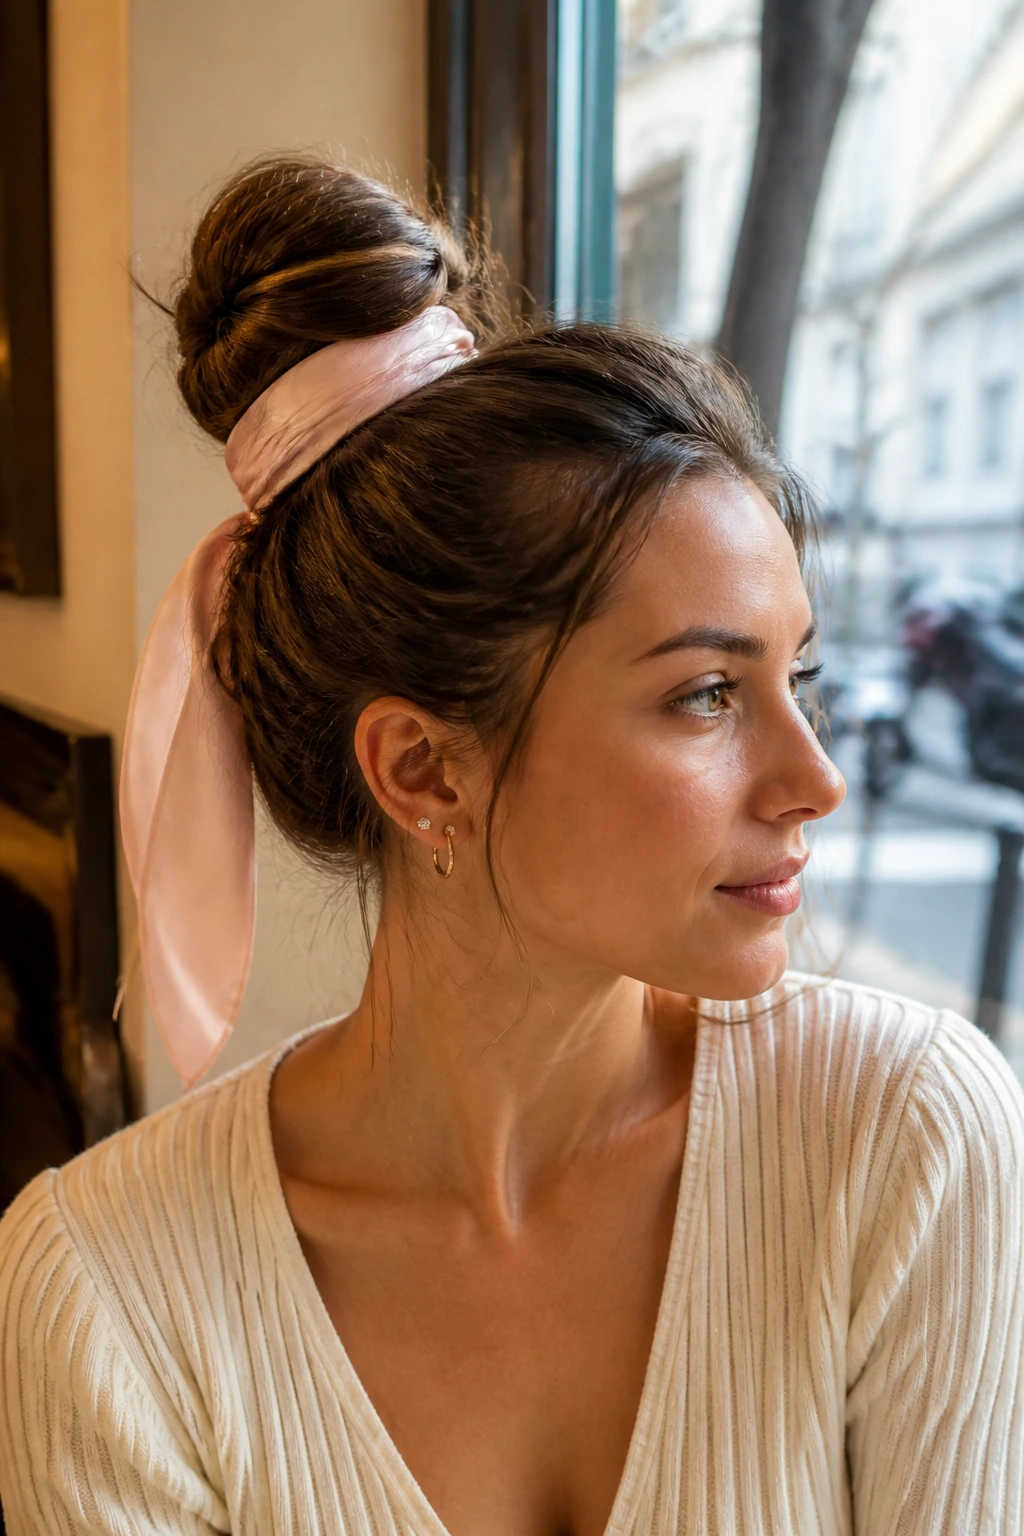
Adding a ribbon is not just about aesthetics; it is about physical reinforcement. A ribbon acts as an external binding for your bun.
Tying for Security
Put your hair in a bun using a standard elastic. Then, take a long ribbon and wrap it around the base of the bun several times, tying it off in a knot or bow. The ribbon creates a “belt” for your hair. It compresses the base of the bun, making it tighter against your scalp. If your hair is heavy, this external compression helps hold the weight that the elastic might struggle to support on its own.
23. Textured Pull-Through Bun
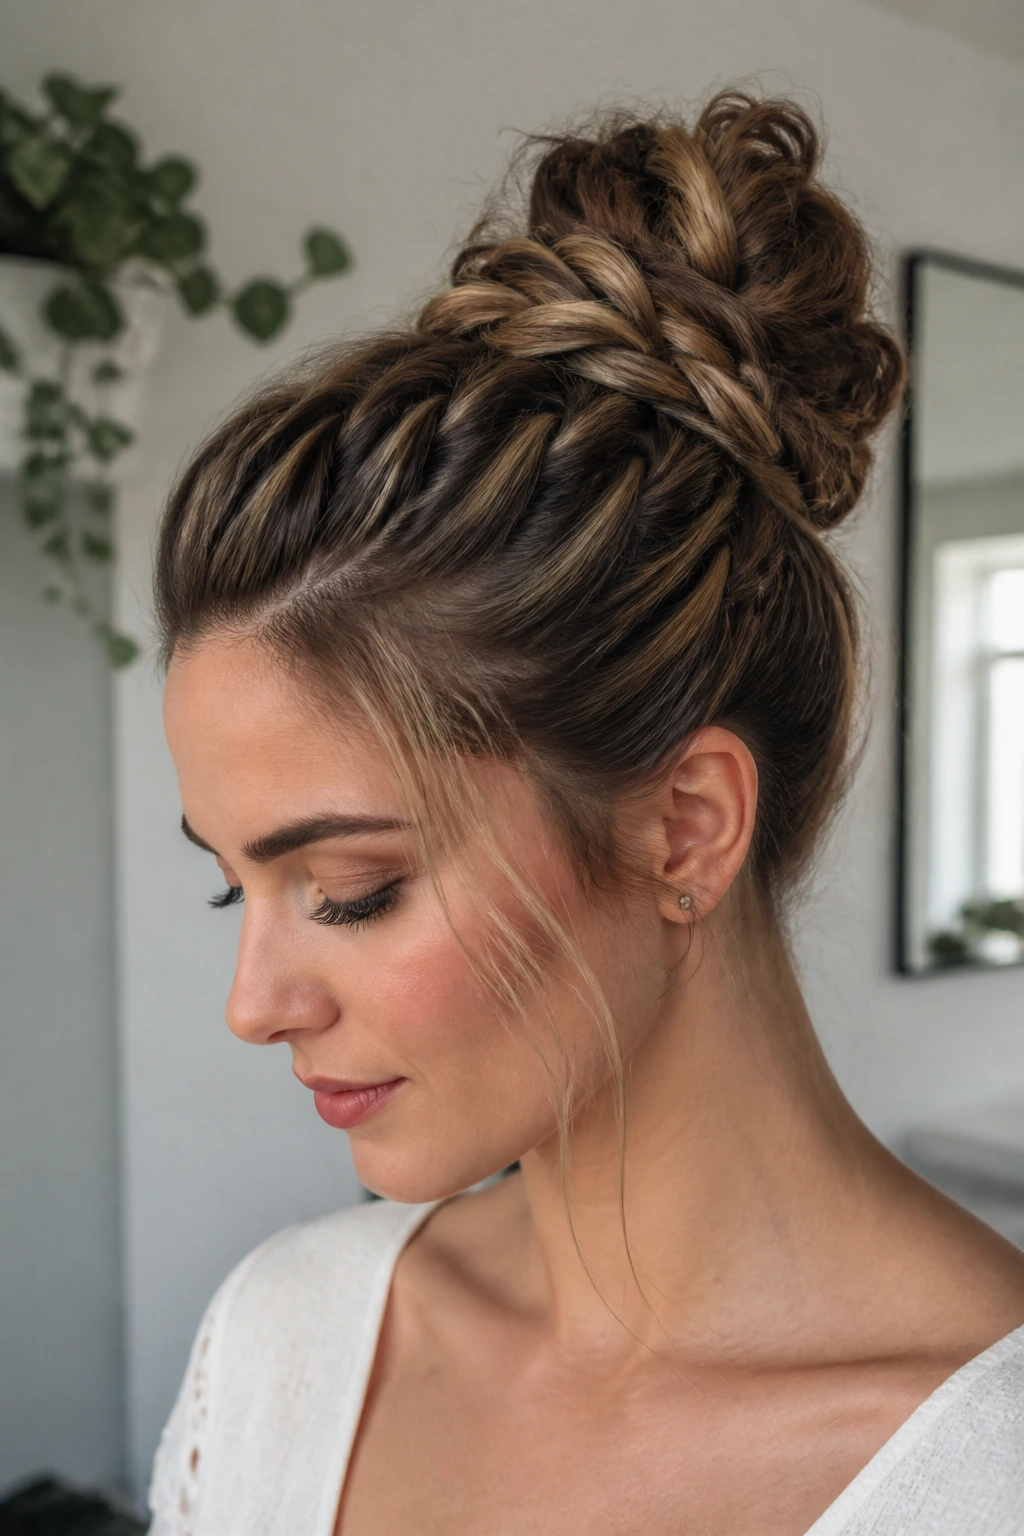
This style looks incredibly complex but is actually just a series of small, secured sections. By breaking the hair into smaller subsections, you are creating multiple points of security.
Sectioning Strategy
Tie your hair into a ponytail. Section the ponytail into three parts. Braid each part, then pull the sides of the braids to make them wide and messy. Coil these wide braids into a bun. Because you have three separate braids working together, the weight is distributed. If one pin slips, the other two braids are still held by the elastic base. It is a redundant security system for your hair.
24. Faux Hawk Bun
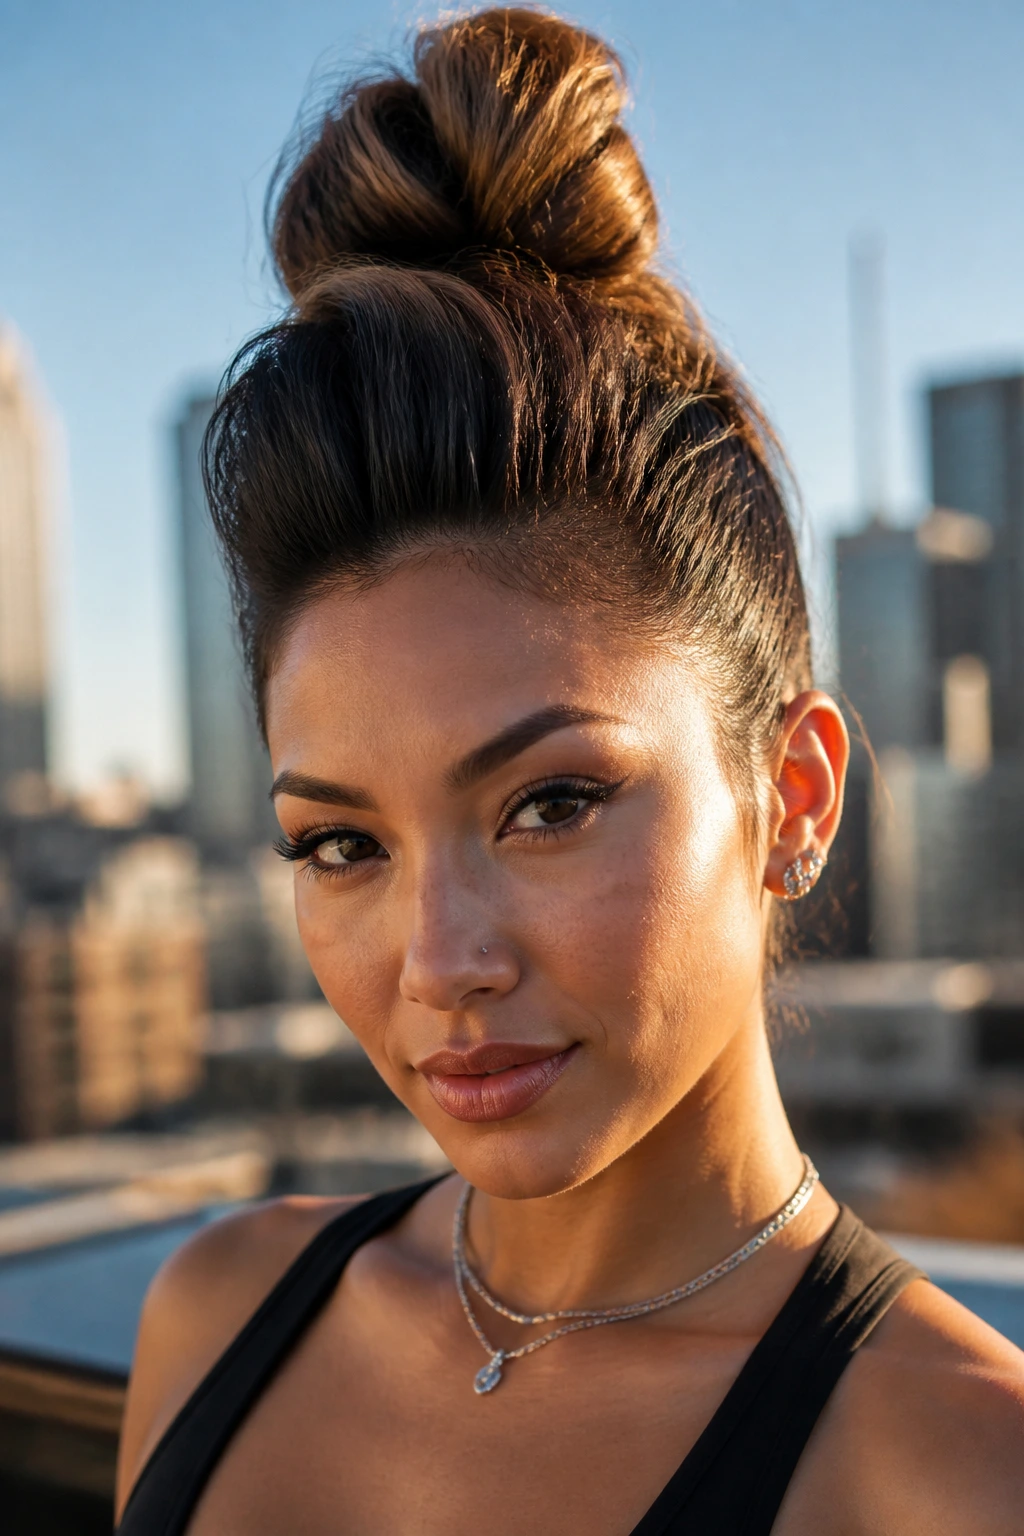
This style pulls the hair from the center of the head, creating a tall, dramatic shape. Because the hair is pulled from the center, it has a natural “lift” that fights gravity.
Structural Lift
Tease the hair at the crown before you begin. This backcombing provides a shelf for the bun to sit on. Pull the hair up and into a bun at the top of the head. Use U-pins to secure the base of the bun to the teased section. The teasing provides the grip—the pins have something substantial to grab onto, which makes the bun feel incredibly secure.
25. Vintage Roll Bun
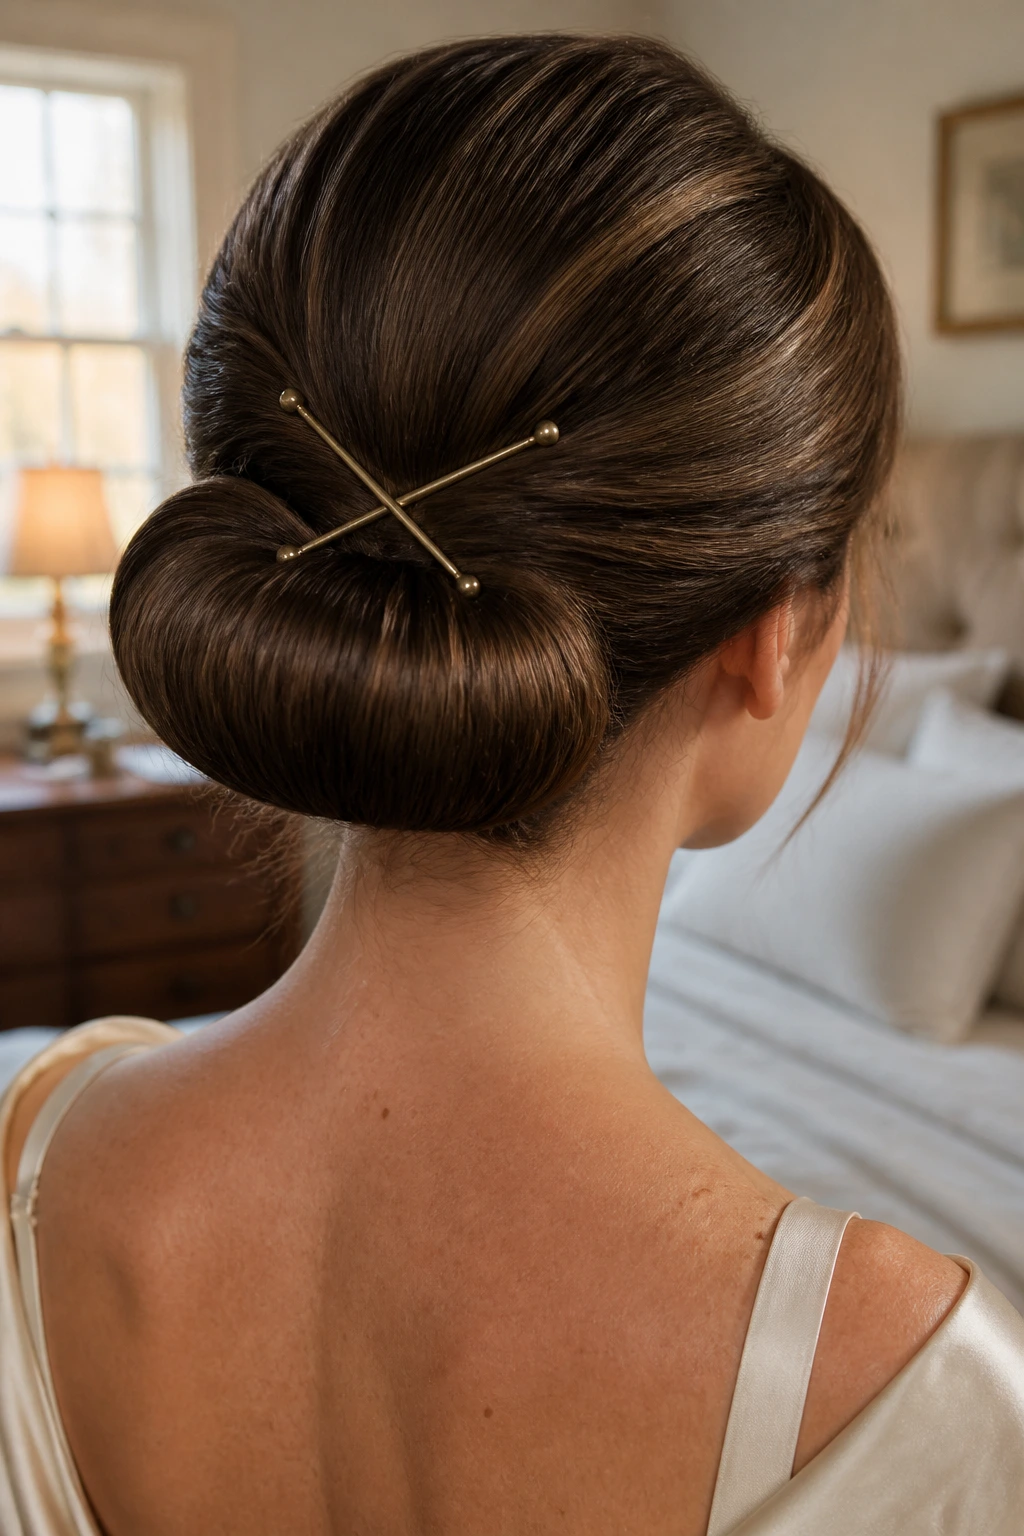
This style sits low and is rolled inward, creating a smooth, classic shape. It is usually seen in older styles, but it is extremely secure.
The Roll Technique
Start with a low ponytail. Hold the ends of the ponytail and roll them toward your scalp, tucking the hair into itself. Once the roll is against your neck, pin it heavily. The key here is to use two long pins that cross each other, forming an “X.” This cross-pinning locks the roll in place so it cannot unspool, no matter how much you move your head.
26. The Three-Second Claw Clip Messy Bun
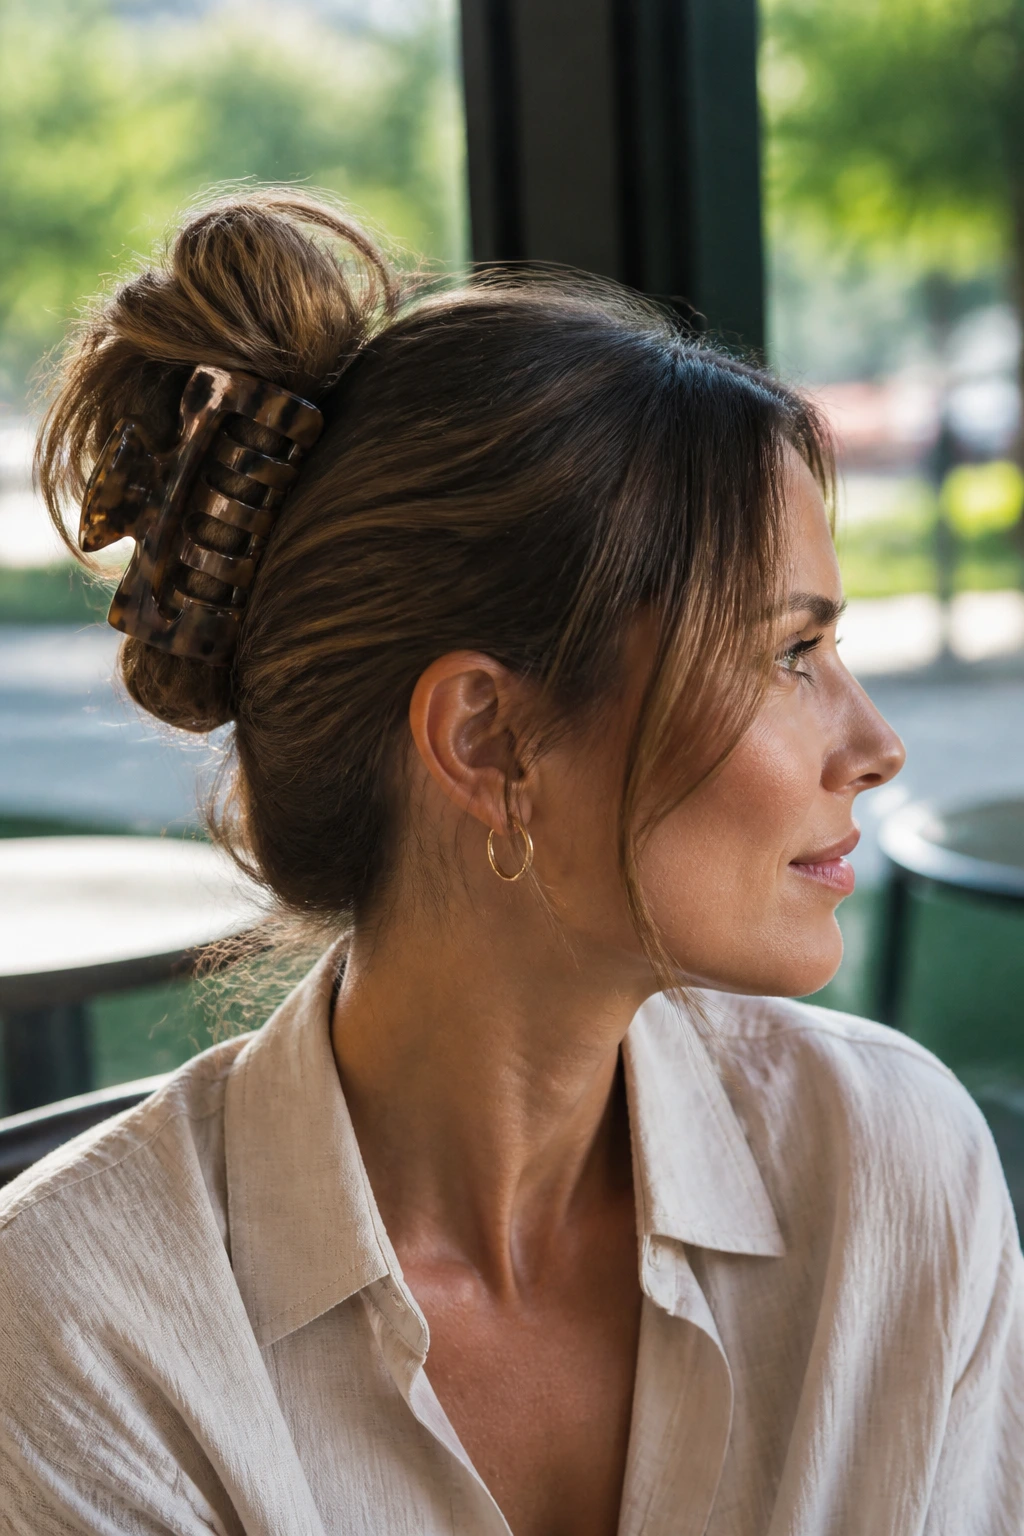
Sometimes you don’t have time to worry about pins and elastic tension. You need a bun that works in three seconds.
The Quick Clamp
Gather your hair into a high ponytail height with your hands. Twist it twice—just enough so the hair doesn’t fall apart. Fold the twisted hair in half, bringing the ends back down toward your scalp. Grab your largest claw clip and clamp it right over the folded section. The trick is to ensure you catch the base of your scalp hair inside the clip along with the bun. If you only clip the bun, it will sag. Clip it to the base, and it will stay all day.
27. Double-Braided Low Bun
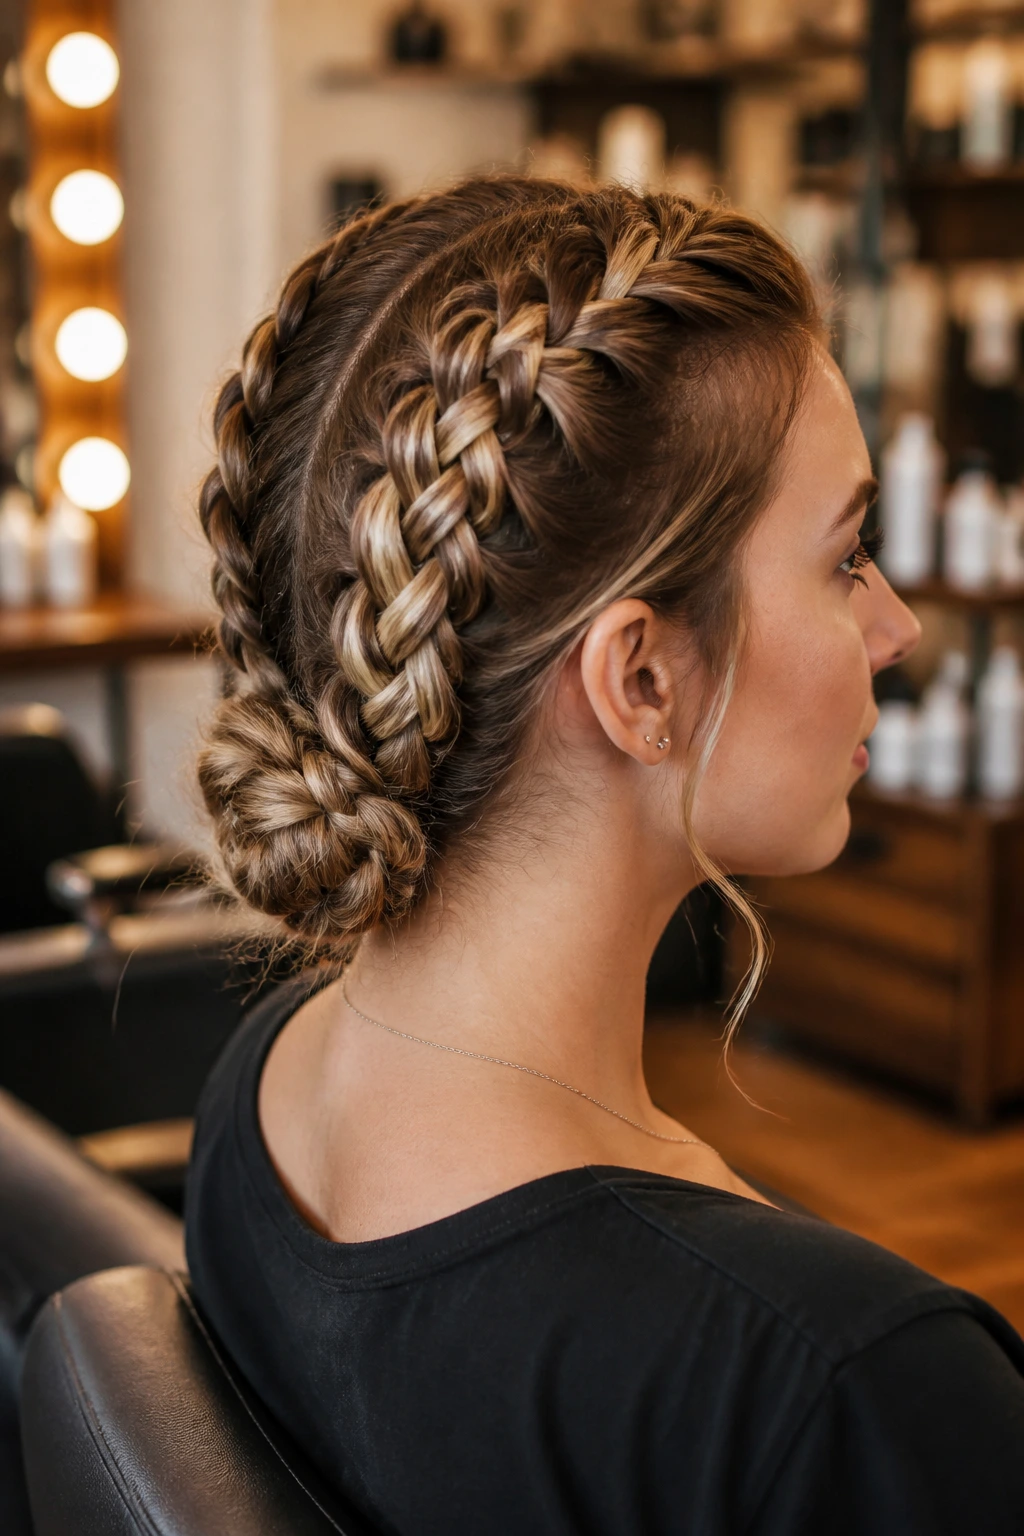
If you are doing an activity that involves a lot of movement, you need the hair to be braided against the head before it hits the bun.
Braiding for Anchor
Part your hair down the middle and create two French braids that meet at the nape of the neck. When you reach the nape, secure them with an elastic. Twist the remaining tail into a bun and pin. Because the two braids are pulling hair from the sides and top, there is zero slack in the hair. It is physically impossible for the bun to sag because the braids are acting as a guide, pulling the hair tight toward the base.
28. Pin-Up Victory Roll Bun
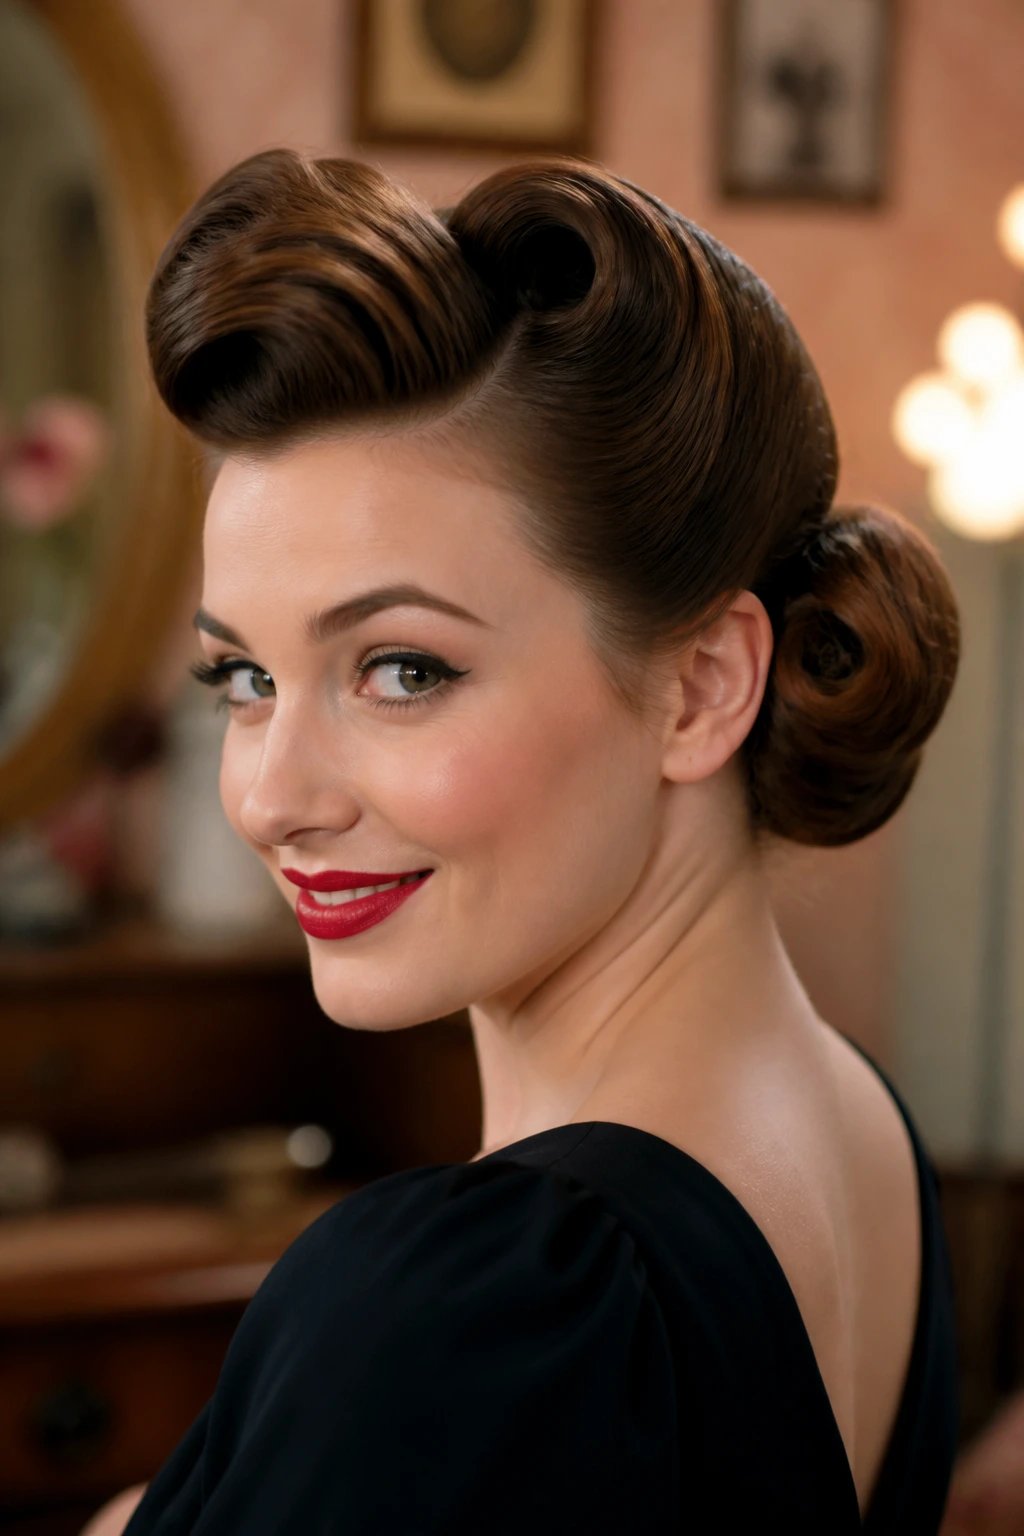
This style uses a roll on the crown of the head combined with a bun at the back. It requires structure and product.
The Importance of Hairspray
Spray your hair with a flexible-hold hairspray before you start styling. Then, roll a section of hair at the front and pin it securely. Then, take the remaining back section and roll it into a low bun. By using hairspray on the strands before you manipulate them, you are adding a layer of tacky texture that makes the hair stay where you put it. Don’t spray at the end; spray during the process.
29. Sleek Spiked Bun
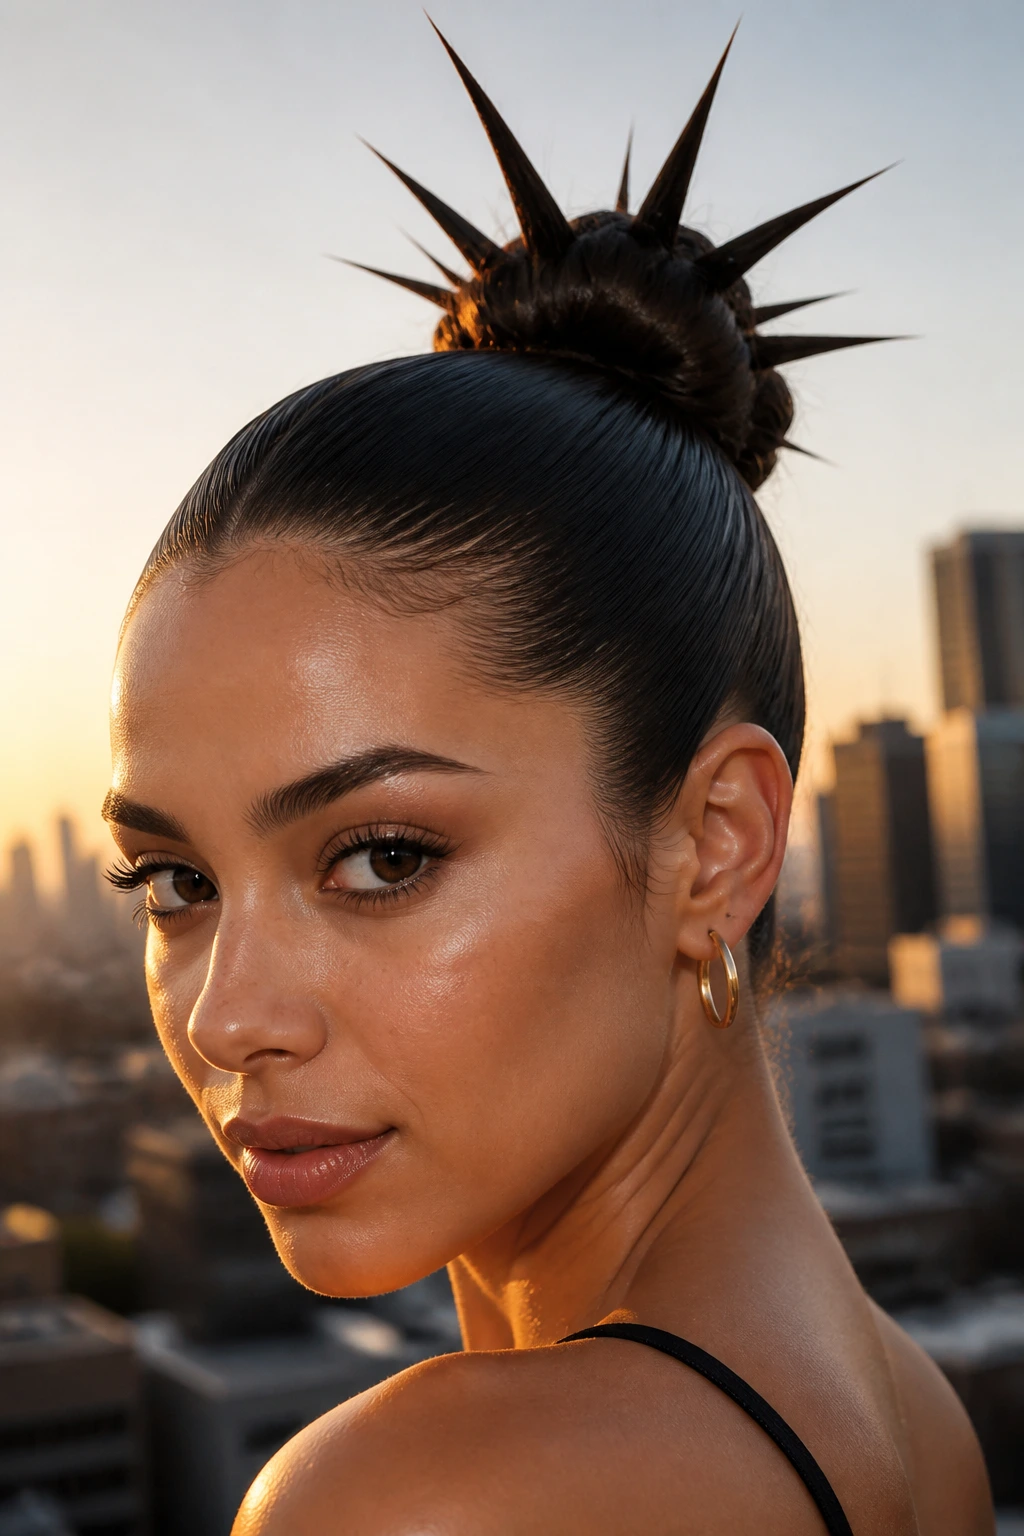
The “spiked bun” is popular for a reason—it’s edgy and holds well. By leaving the ends of the hair sticking out, you create a look that feels intentional even if it moves slightly.
Using Gel as Cement
Take a dollop of strong-hold hair gel. Apply it to the ends of your ponytail. When you wrap the bun, let those gel-coated ends poke out like spikes. Because the gel acts like cement, those spikes will stay exactly where you leave them. They aren’t going to droop or soften. This style is virtually immovable once the gel dries.
30. The Gym-Proof Secured Bun
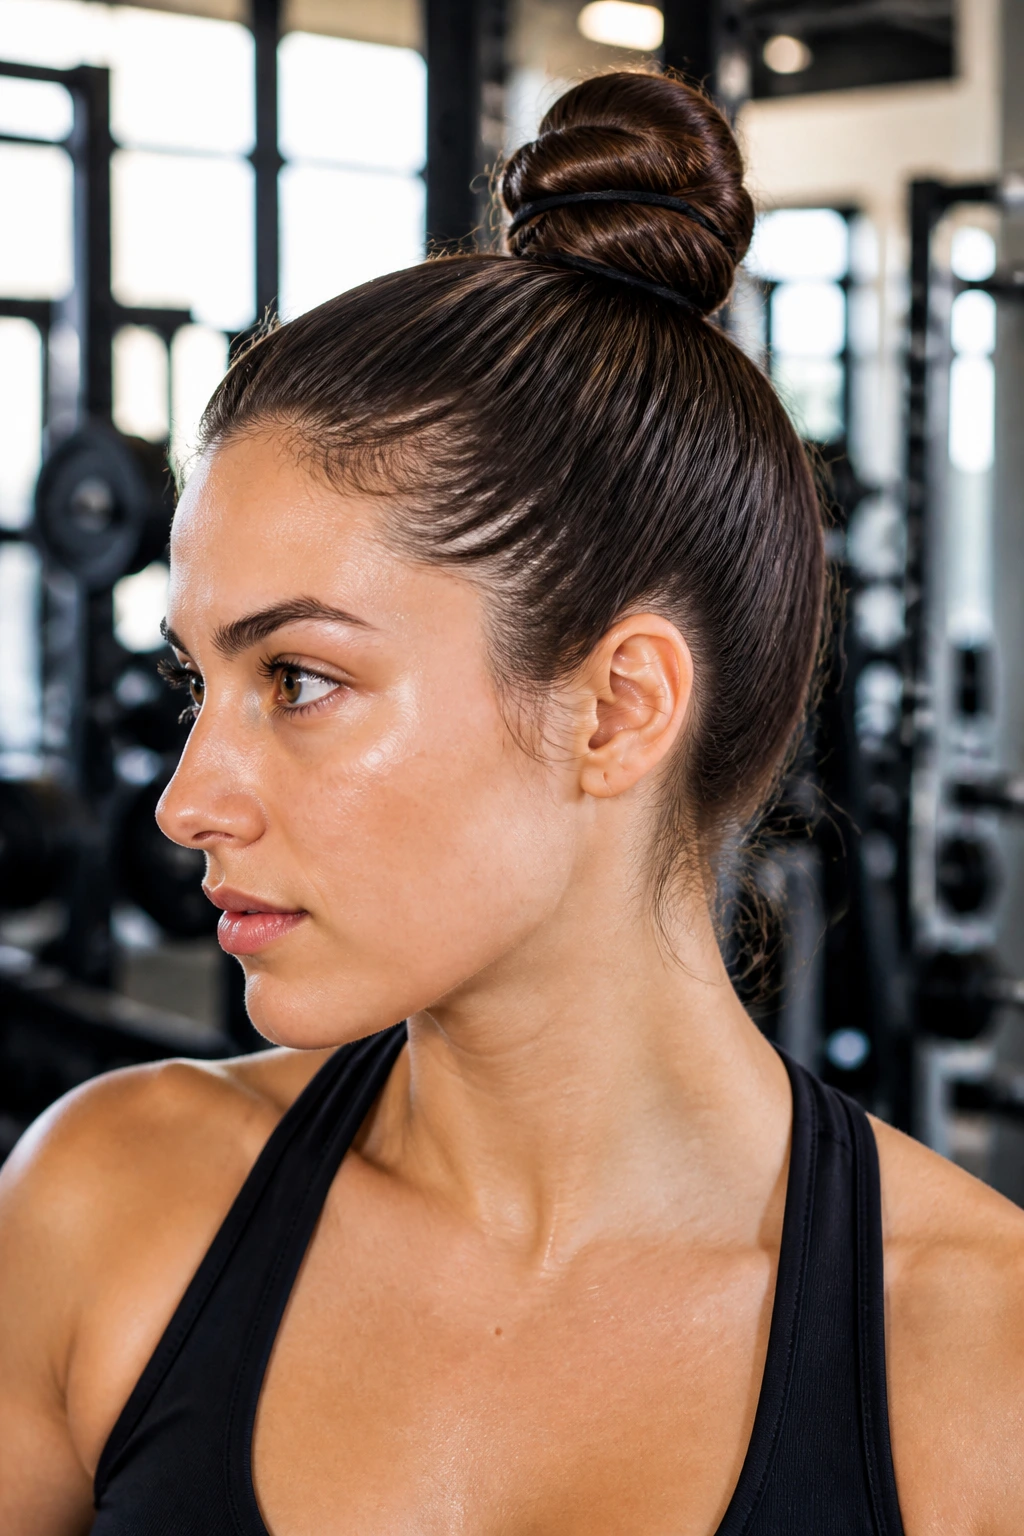
If your goal is actual exercise, you cannot rely on aesthetics. You need raw function. This bun is about using the right materials, not just the right technique.
Material Choice
Use two elastics. Put your hair in a ponytail with the first one. Twist your hair and wrap it into a bun. Use the second elastic to go over the entire bun. This essentially straps the bun to your head. It is not pretty, but it is the only way to ensure your hair stays in a single position while you are jumping, running, or lifting. It is a “set it and forget it” solution for high-intensity movement.
The Bottom Line
Finding the right bun hairstyle is less about finding a trendy look and more about understanding what your hair needs. Some hair types need the grit of a texturizing spray, while others need the slickness of a pomade to behave. The universal truth across all thirty of these styles is that the foundation—the anchor—is what dictates the success of the hold.
Do not settle for a bun that needs constant adjustment. Once you master the art of pinning to the scalp and choosing the right hair tie tension, you will find that a good updo can be the most reliable, comfortable way to wear your hair. Experiment with the techniques above, find which one clicks with your hair texture, and make it your own. You will never have to worry about a drooping bun again.
